Neil's Military Scale Models
Contact Me
What to Build
Armour:
This is a very popular category because there is an almost endless selection of vehicles and most are 1:35 scale, which makes for an ideal size: big enough for lots of detail but small enough not to take up too much space for display. Armour in 1:35 also allows for the creativity of Dioramas (scenery using your model to tell a story) and the use of figures, which can make each build unique.
Aircraft:
Building model airplanes as kids is where most of us started. The more experienced modelers today have a large variety of aircraft to choose from, and with more choices of scales than armour. Many choose 1:72 which offers more display space and good detail. The 1:48 scale is probably the most popular now, and there are some good kits using 1:35. I prefer 1:48 because most kits (and their aftermarket accessories) are in that scale and it seems the ideal size to show extremely good detail. As in armour, many choose to display their aircraft models in a diorama.
Warships:
Building model warships is a significantly different category than armour or aircraft. Over the years, I have built all categories, although in the past most of my builds have been warships. There are many ships to choose from, though most have a well-known and historical reason for the kit manufacturers to produce them (such as the Arizona or Bismark).
Some kits are in 1:700 scale which helps with display space, but most are in 1:350 scale and have always been my choice as it provides for building good detail (if you are patient), while still finding room on a shelf or display case. Recently, a few models have been offered in 1:200 scale which can provide for a long-term project with amazing detail as long as you have room to exhibit your skill. (The 1:200 WW II aircraft carrier Enterprise by Trumpeter is 49 inches long).
Many modelers never build them, for several reasons. Besides taking up too much room, they take much longer to build, involve difficult rigging, and use a lot of PE (photoetch) to add ladders, railings, radar screens, small boats etc. For many, bending the tiny brass PE pieces and installing them all over the model requires just too much time and patience. I see this often myself, but when finished, there is something very special about a fully fitted out battleship in 1:350 scale on display.
Best Kits
As a general rule, you should purchase the model you are looking for from any manufacturer; you can always work around some of the quality differences to make a great model. Modelers are very particular about quality; so what I do mean about quality? The best kits have very detailed pieces keeping to scale, using the best molds to make parts that fit up exactly and come with easy to follow directions.
The big majority of kits are plastic (styrene). This is because they are made using injection molding and the metal molds can last for thousands of uses, making it economical to mass manufacture quality kits. There is a small market in resin kits, where you can find specific models not made by the big manufacturers. Resin parts use rubber molds only good for a few uses, and are made by dedicated individuals who make a few kits at a time. Resin kits will have less detailed small parts and are more expensive. I have built only a few resin ship models, again, only because that was the only choice for the specific ship I wanted.
I would recommend the following kit manufacturers base on overall quality and ease to build:
Tamiya
Tamiya is well known for the last 30 years to make a good variety of high quality armour, aircraft and warship kits. I think their warship kits are the best available and I always see if Tamiya makes the next ship I want to build. Their amour and aircraft kits sell in the $15 to $50 range, while their warships are in the $50 to $200 range (a lot more parts and precise molds).
Trumpeter
Trumpeter is also very popular and offers warships not made by Tamiya. I have built several of their warships and there have been some minor fitting issues but still a good choice.
Academy
Academy (previously marketed as Accurate Miniatures) also has all three types of kits. I have been pleased with their 1:48 aircraft with the only issue being poor instructions (use of Youtube helps!)
Hasegawa
Hasegawa's quality is right there with Tamiya. They don't offer armour, however.
Others:
There are other kit manufacturers (Airfix, Eduard, Italeri and Dragon) that are popular and should be good builds. I haven't purchased from them so I can't personally compare them but if you find the model you want they should be fine.
Aftermarket Suppliers
As the modeling industry grew over the years, speciality parts suppliers became viable and they have added much to our ability to make more detailed models and better display them. The best example is the PE (Photo-Etched Detail) suppliers such as Eduard, Tom's Modelworks, and White Ensign. Other suppliers have decals, figures, display bases, and dioramas to add to your model. You can also find display case suppliers who will ship you a specific base and acrylic case to keep your models dust free.
Tools of the Trade
As an adult modeler the big change is the attention to more accurate scale and more detail. A plastic model becomes a scale model, looking as much as an exact miniature of the real thing as possible. To accomplish that, more tools and specific aids are necessary. For example, putting an aircraft fuselage or ship hull together normally makes a seam. Special putty and sanding sticks hides them. An airplane cockpit can show off instruments and seat harnesses, a ship can have railings, ladders, wooden decks and detailed guns. To put it all together scale models are painted in flat colors with special paints and using an airbrush (more on paints and their application later).
Basic Tools
- Hobby Knives (Generically X-acto or equivalent. The basic blade is No.11 but other blade types are useful for cutting or scraping. Having 2 or 3 handles is helpful and plenty of spare blades, as they get dull quickly.
- Set of Tweezers These are needed to hold small parts and help place them as well. Get good ones from a hobby supplier. Get fine point and curved point types as well as one or more reverse (you squeeze to open) type.
- Hobby Files Also best from a hobby supplier, they are useful to file down the nubs from the sprue attachments and any other smoothing needed
- Sanding Sticks These are very fine grits on small flexible sticks needed for smoothing and finishing
- Sprue Cutter This tool has one purpose: Cutting all the numbered parts away from the frames (sprues) they are molded with. This tool helps avoid damaging a part (especially small ones) when freeing them.
- Hobby Masking Tape Hobby suppliers offer several widths of special tape used for masking when painting. They make a fine edge but come off easily, usually not sticking to previous paint or leaving any residue. These tapes are also used to keep big sub assemblies like an aircraft fuselage tight while the cement is drying.
- Model Styrene Cement When I was a kid this was just model airplane glue in a tube. Now they come in small jars using a brush or a narrow applicator tube. They also come in regular and thin thickness. I will usually build an entire model just with the brush type and regular thickness. With a little practice you can join parts together with no mess from excess cement.
- Acrylic Flat Paints and Brushes Hobby suppliers provide special model paints from many manufacturers and with all the military colors needed. While enamel (spirit based) paints are still used, almost all scale modelers use acrylic (water based) paints. You should have a set of good brushes to apply them, from very fine point to flat sizes. I will discuss more about paints in the next section.
- Clamps Occasionally you need to hold two parts tightly together to get a good and complete bond. Small clamps can really help here, usually better than clothes pins!
- Pin Vise A very small hand held twist drill is needed to drill out portholes on a ship hull or place a small hole to better fit a special part. The vise use very small (mm) bits the size of pins.
- Filler Putty As mentioned earlier, the putty is applied in small amounts along a seam or small joint crack, then carefully sanded down to a smooth surface ready for painting.
- PE Bending Tools When you have to bend the Photo-Etch metal parts to make angles etc. a flat surface pliers and a special jig makes it much easier.
- CA Glue Get this from a hobby supplier. Cyanoacrylate (CA) or Super Glue is used occasionally to attach small parts instantly. They have setup times in 10 seconds or less and can be very messy if not applied carefully. I almost use a toothpick to apply a tiny amount to the part. Model warship builders use CA glue the most. CA is necessary to assemble and attach the PE (metal) railings etc. to their models as Styrene cement doesn't work.
- Pulpdent Sticks These plastic sticks are like a Q-Tip with a sticky end. You can touch a small part with the sticky end, pick it up and cement it exactly in a tight space and then with a little twist the stick comes free.
- Decal Fix Decals make a model come to life, especially aircraft. The kits today provide excellent decals compared to decades ago and they are easy to apply. Decal Fix is a thinned solvent that is brushed onto the decal and when it sets and dries it snugs the decal onto the surface making it look like it was painted on.
- Dull Coat Lacquer Spray One of the last things you do with a finished model is apply a light coat of dull (matte) lacquer. This can be done with an airbrush or with a small spray can (only from a hobby supplier). This application reduces edges between colors and generally flattens the overall appearance. It also helps protect the model and makes it easier when you later have to brush off dust.
Painting
Model Paints
Model paints are especially made with very fine pigments to adhere to the surface (usually styrene plastic) but with a thin coverage that doesn't cover up the surface details (panel lines, rivets, etc.). The manufacturers have made a great effort to match military colors where possible and the color names reflect that effort. You don't use a lot of paint with scale models and they don't last forever, so they are sold in bottles in small amounts, like 10 ml. They offer your choice of enamel (spirit based) or acrylic (water based) paints. A long time ago we only had enamel paints and, because they are glossy, had to apply a dull coat or flatner when we were finished. Today, the acrylic paints are by far the most used. I haven't actually had to use an enamel paint for many years. The acrylics are thinned and cleaned up with water and are easier to use in an airbrush.
You can buy the acrylics in small glass bottles with a cap or in plastic dropper containers. The bottles let you paint right out of the bottle, or if you had transferred paint to another container (e.g., a plastic bottle cap), you can return unused paint to the bottle. The dropper containers let you transfer small amounts to another container and are perfect for airbrushing, but you can't return unused paint. I use both types based on the colors I need, but prefer the dropper containers. The following manufacturers all provide excellent paints:
- Tamiya
- Testors
- Vallejo
- Tru-Color
- MR. HOBBY
Like any good craftsmen, you need quality tools to do work properly, and this definitely applies to paint brushes. Get your brushes from a hobby store and pay a little extra. Synthetic (silicone) brushes are good to use but sable brushes are still prefered for fine detailed work. You should have a set of pointed and flat brushes and you will set aside some just for weathering or dry-brushing (a technique to apply just a little paint for details). Brush sizes are in numbers. A No. 2 is big enough, a No. 000 is very small. I have one at 10/0 just to do faces of figures (a 1:48 pilot). To start off with, you can get a set of 5 and then go from there.
You can do a good paint job on large model surfaces using brushes, but you have to practice this. Depending on the paint type and color, you may have to thin the paint, but the key is to apply thin coats only. If you try to do the job with one coat you will almost for sure cover up the etched details as I mentioned earlier. So thin (to avoid brush strokes) and more than one coat is the rule.
Airbrushing
Essentially all scale model builders today have expertise in using an airbrush. This is a necessary tool for your craft, and with a little practice, you can use your airbrush to produce a beautiful scale model. The airbrush makes the best use of the fine pigments in model paint, applying total coverage but with an extremely thin coat, preserving all the etched details.
An airbrush is a small, air-operated tool that atomizes and sprays model paint. You can control the amount of paint and the spray area with a finger touch pad on the top of the airbrush. The tool uses a needle and very small nozzle to produce a wide spray or a very small one (dot size). Your airbrush requires a small air compressor (specifically designed) producing about 10-20 psi, or you can use special cans of compressed air. Air brushes can draw paint from a tube and bottle (syphon feed) or from a small cup integrated onto the top (gravity feed). The cup on the top is the choice of most modelers. Airbrushes come with two types of control, single action (controls flow only) or double action (controls air flow and amount of paint). You also have options on the nozzle size (e.g., .15mm, .25mm or .4mm) for fine or a wider spray.
If you are just beginning you can get a beginners plastic, single action, syphon feed airbrush and pressure cans a under $30 and then grade up to the higher end models and get a compressor. I started out that way with mid-level models and then finally went to a high end model (Harder and Steenbeck). The biggest difference with the high end models is that besides the ease of use and quality of the spray is the ease in cleaning (a necessary chore every time you use your airbrush). There are many good videos on YouTube on how to use an airbrush, so I recommend you view those and then practice. But, here are the best tips I learned over the years:
- Thin your paint.
- Approach the model from a distance (say at least 4 inches).
- Constantly move your airbrush and adjust the spray size as needed to cover (never stop or it will look wet and even might drip).
- Apply a thin coat the first time. Depending on the color you might need another coat.
- Watch you nozzle cap to see if paint is accumulating (usualy on longer applications); use a wet Q Tip to clean.
- Always, always clean your airbrush throughly after very use (also good YouTube videos on this)
- Harder and Steenbeck
- Iwata
- Paasche
- Badger
Panther Tank
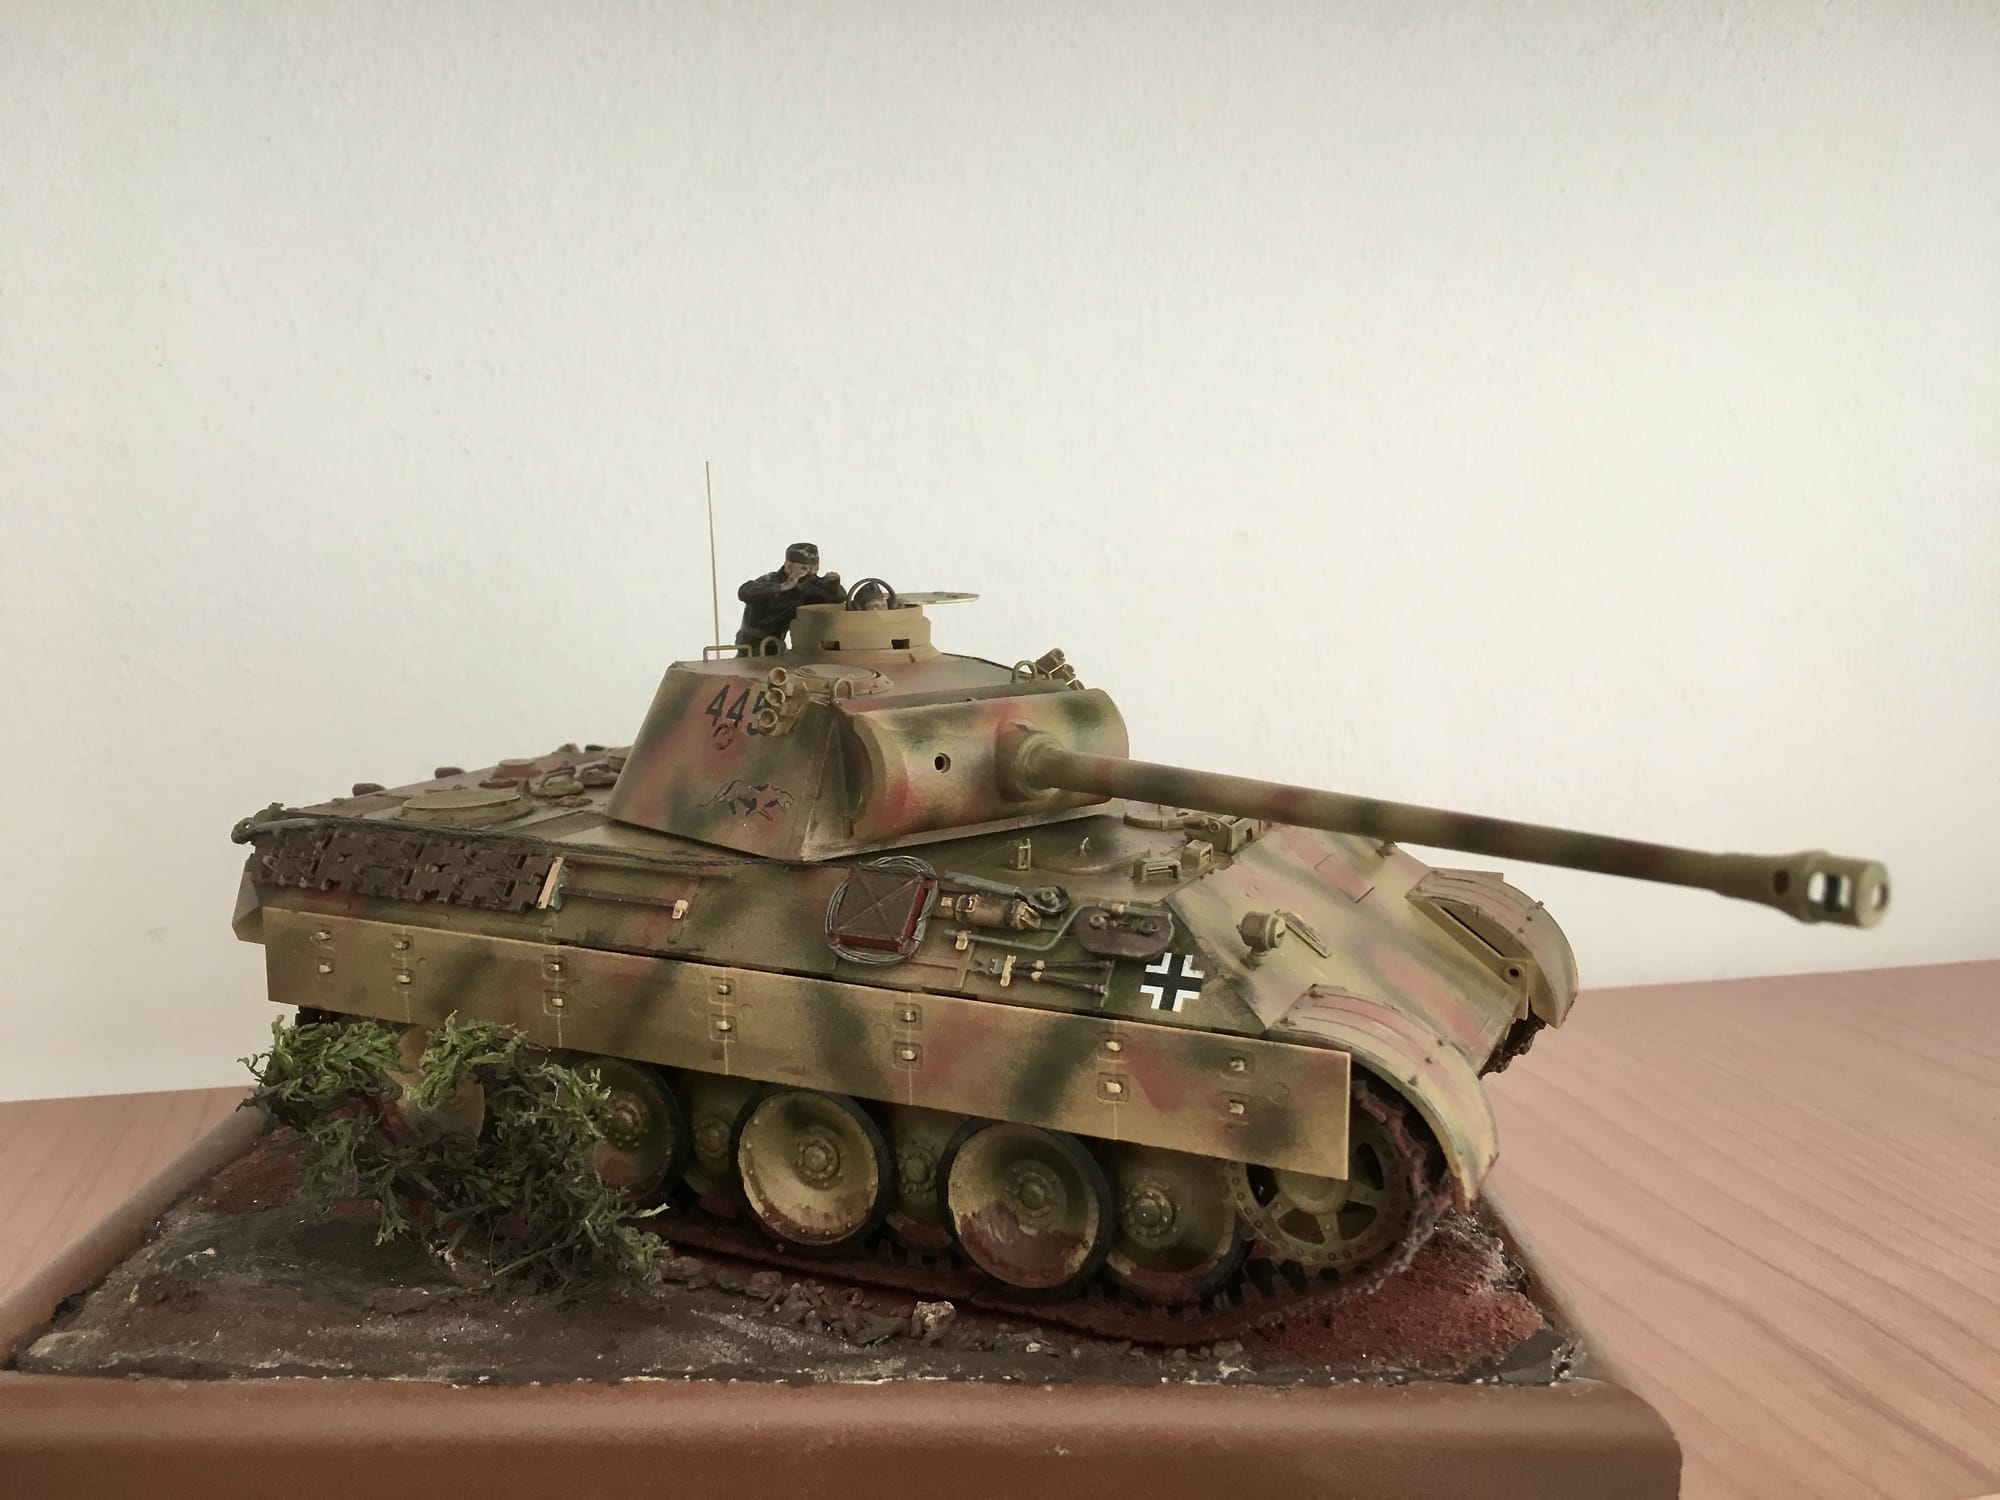
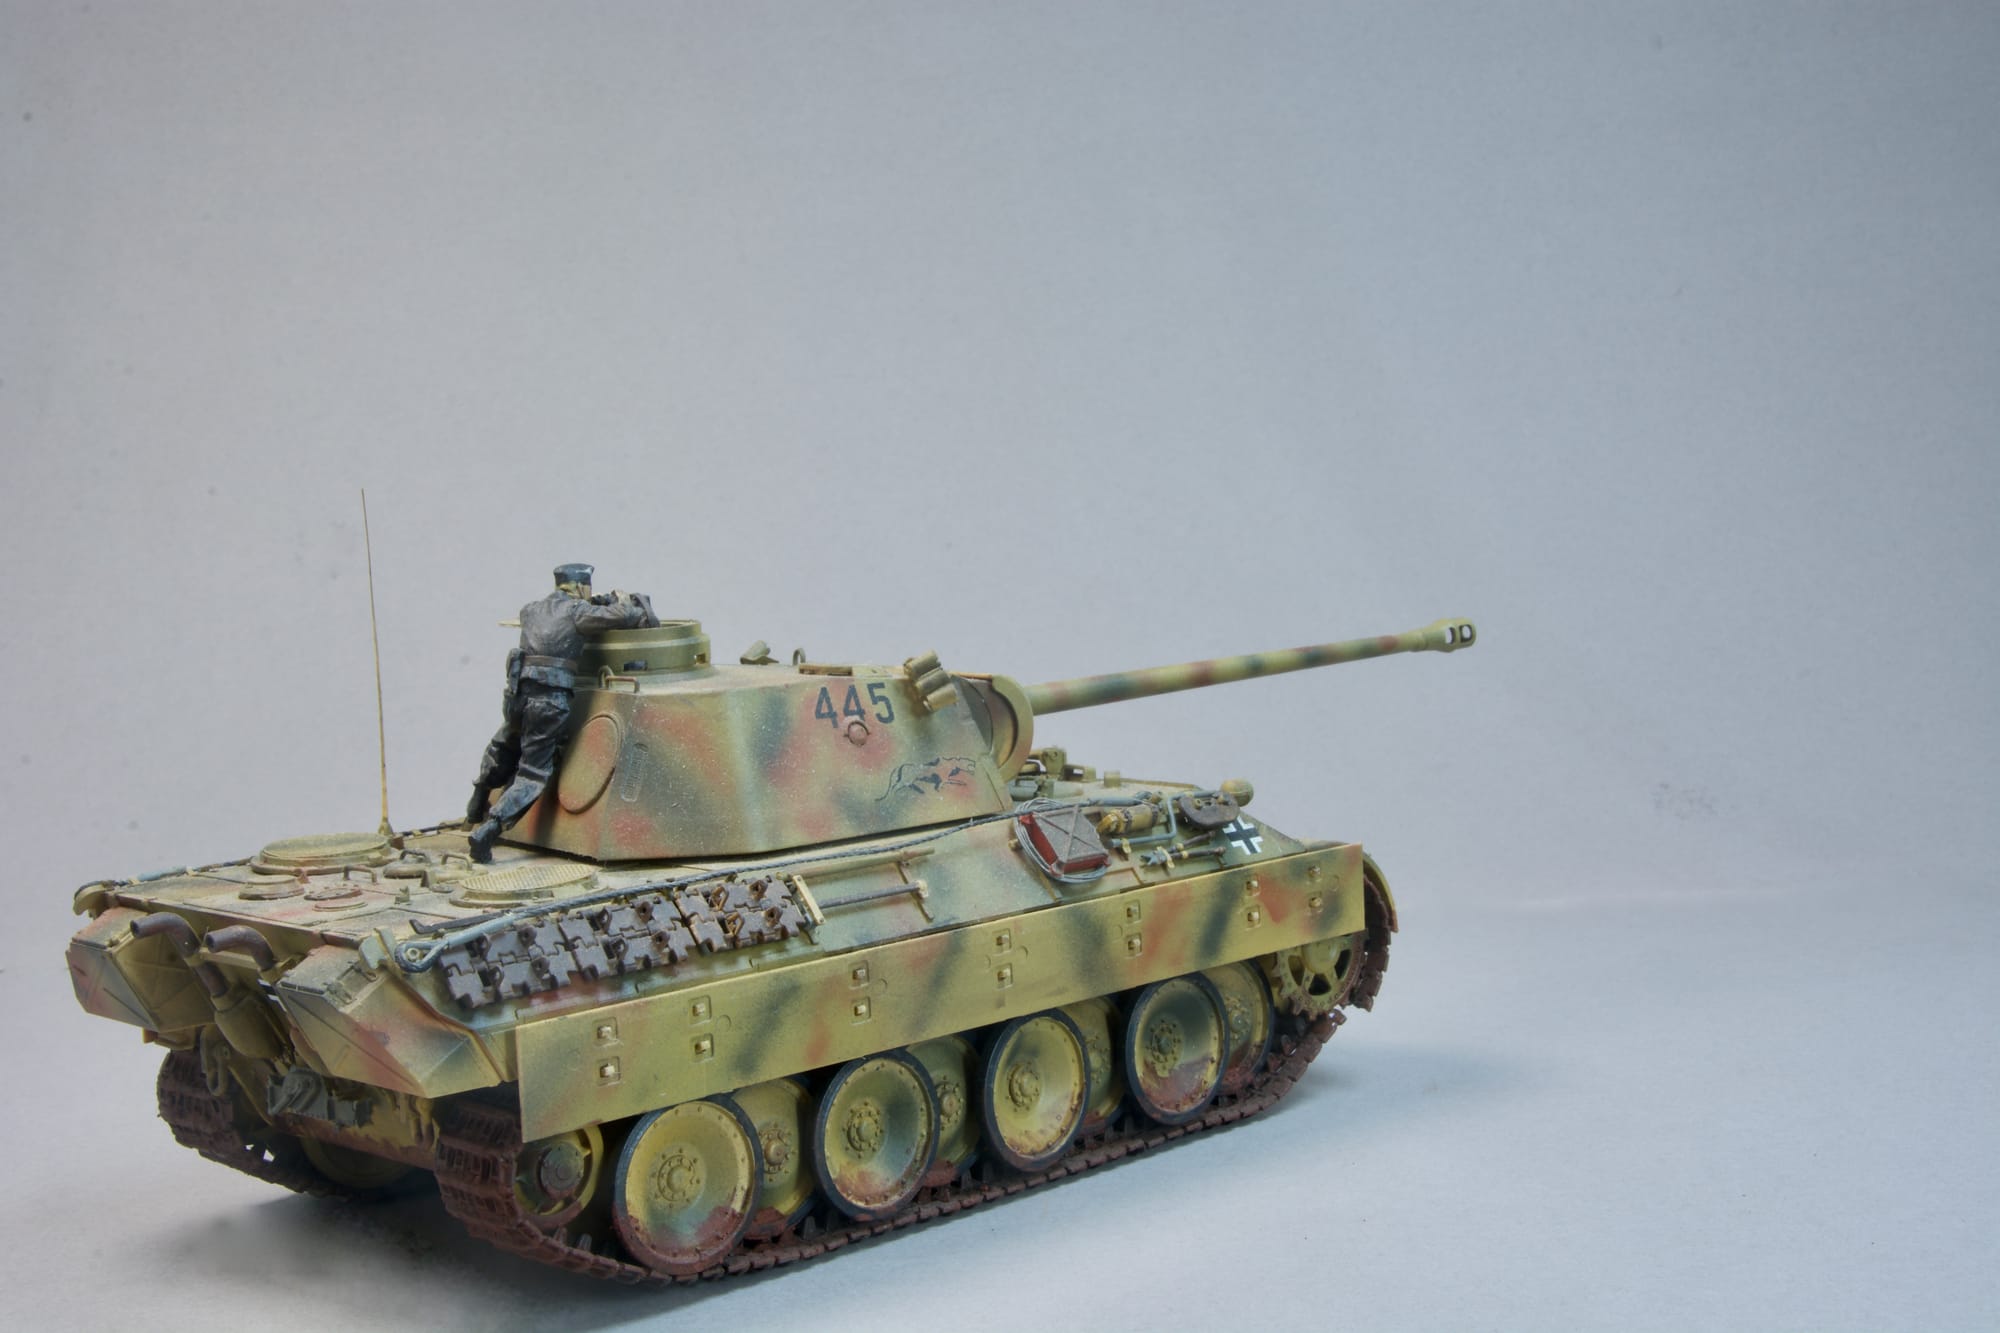
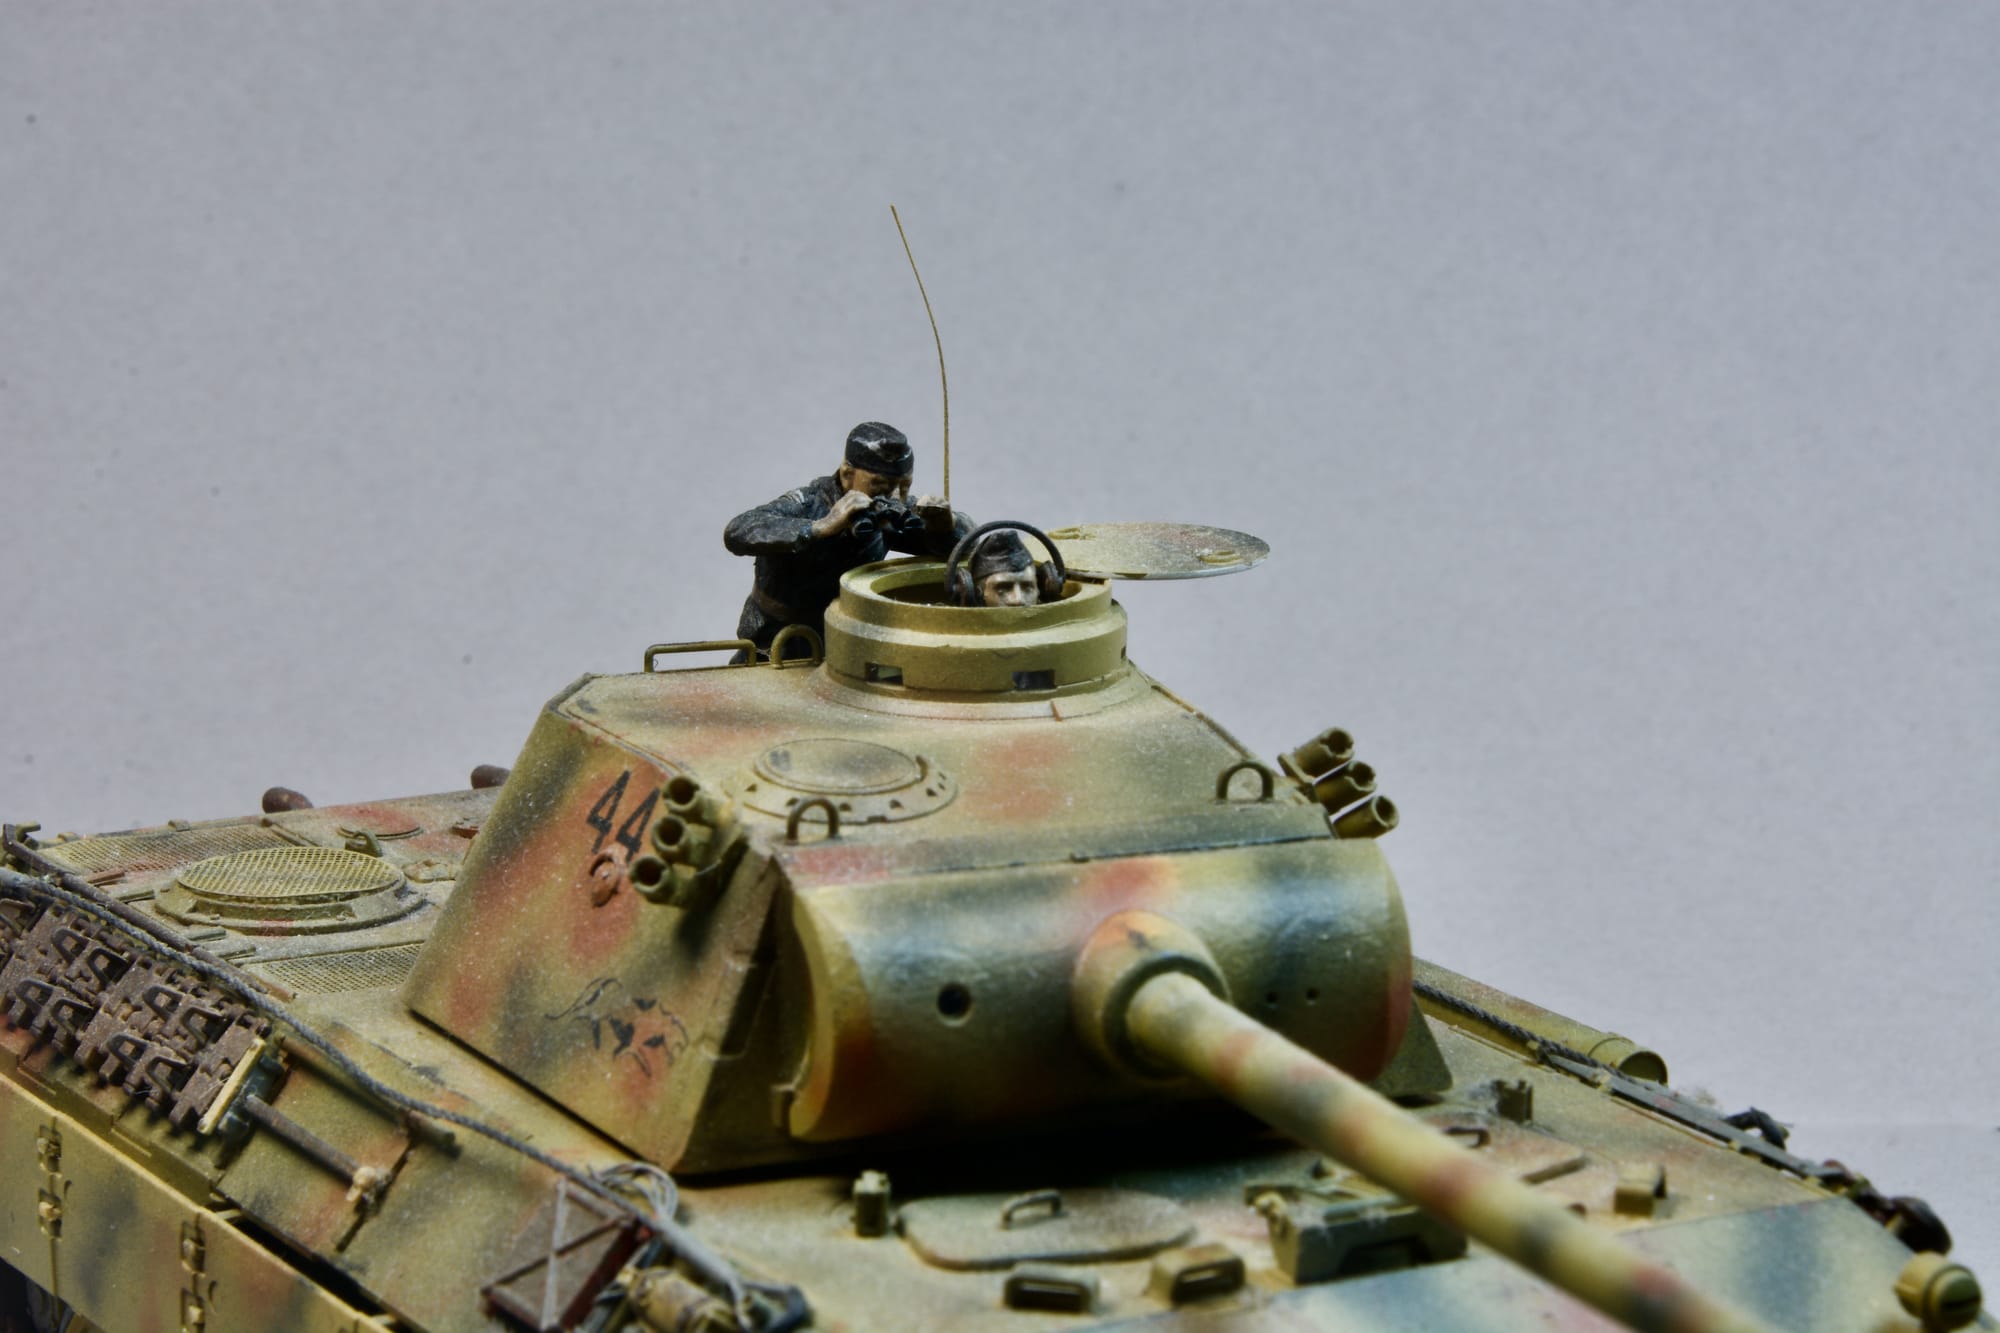
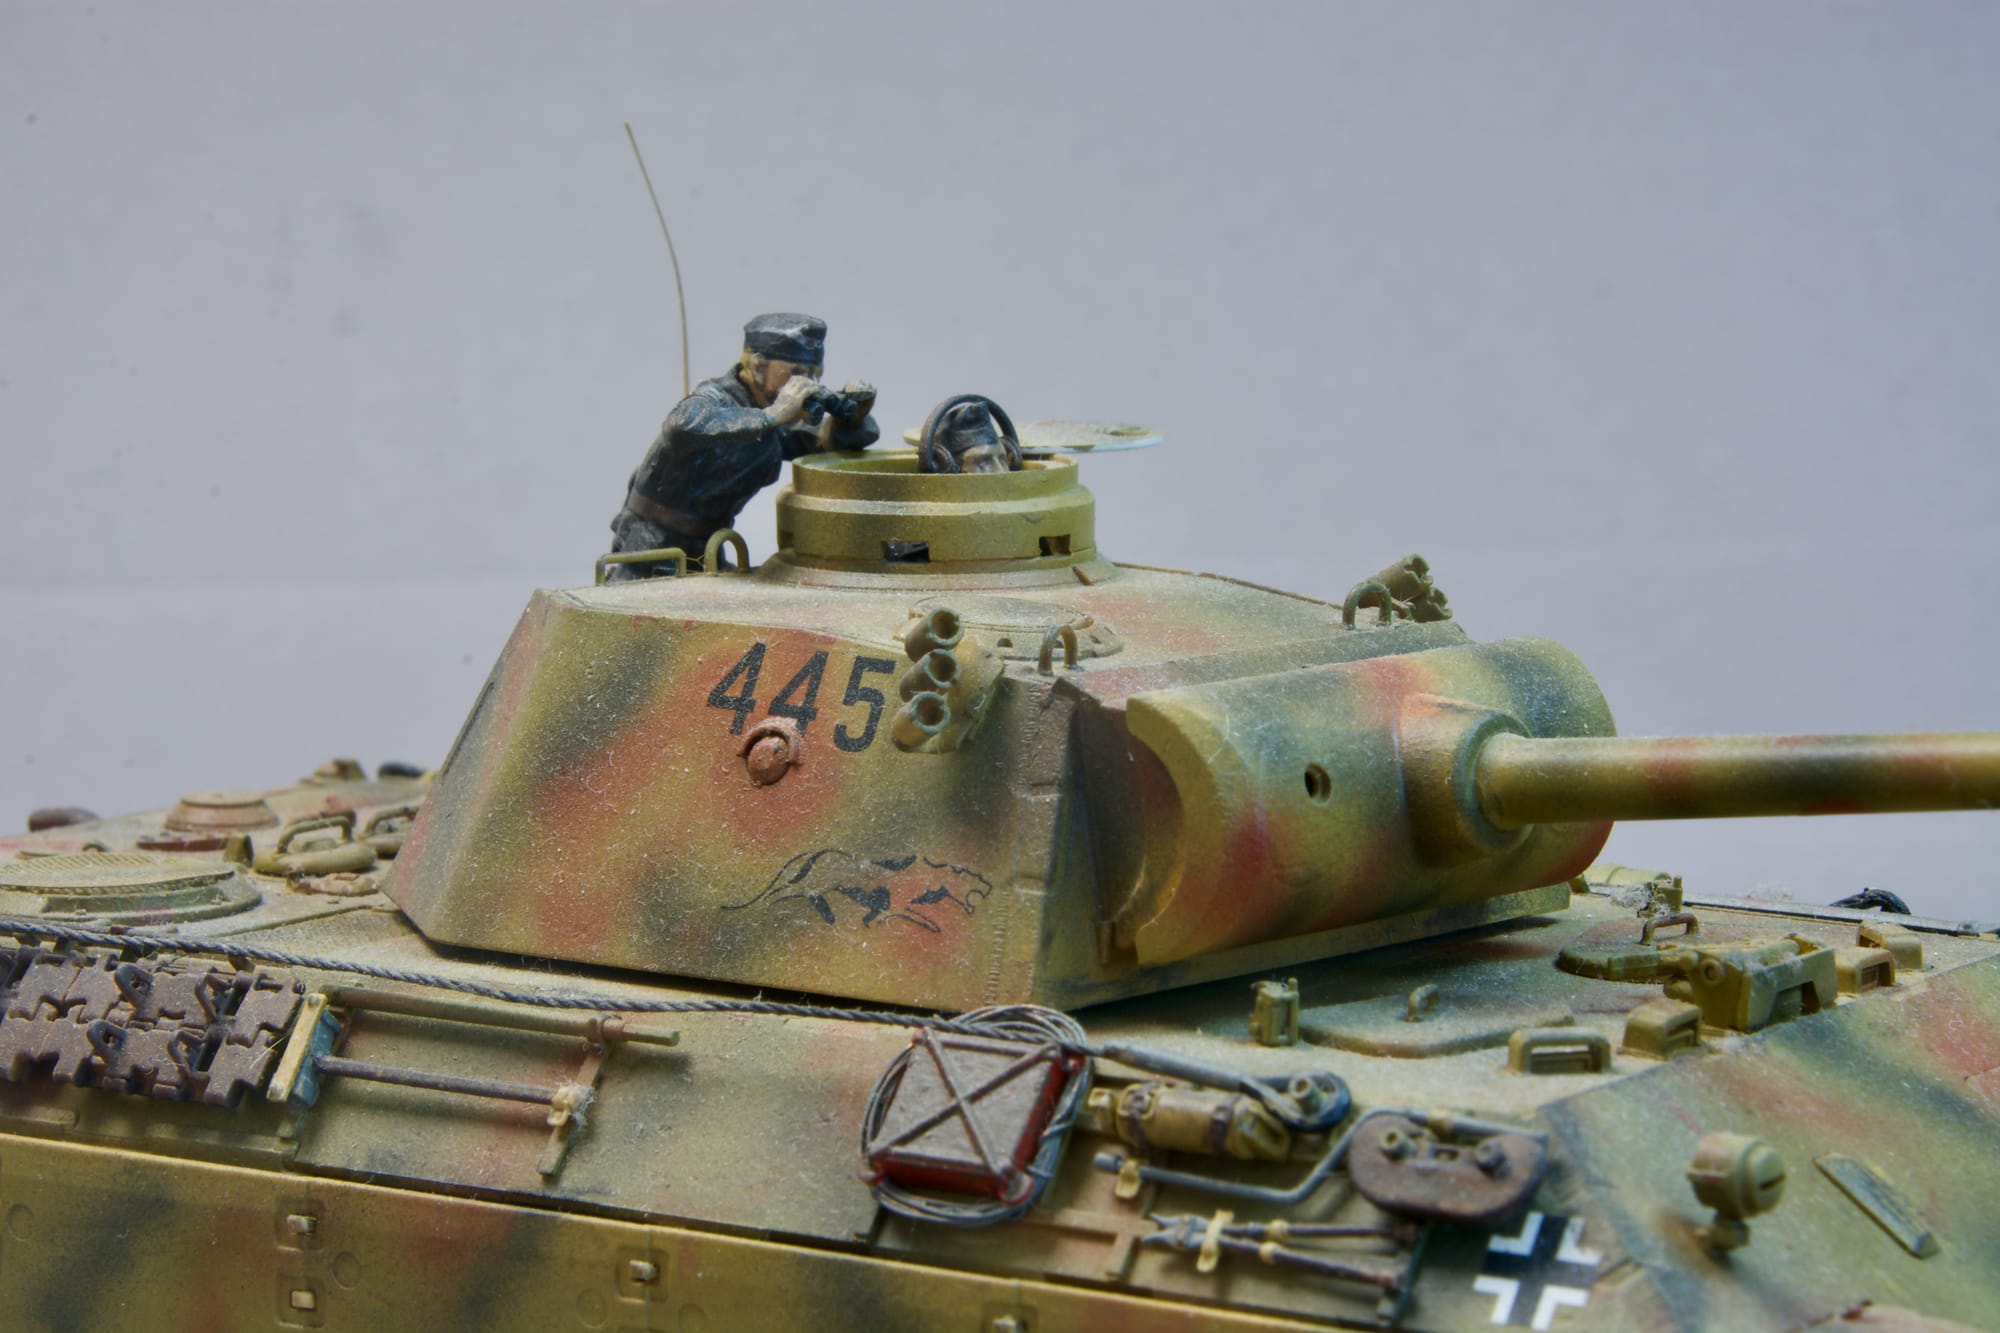
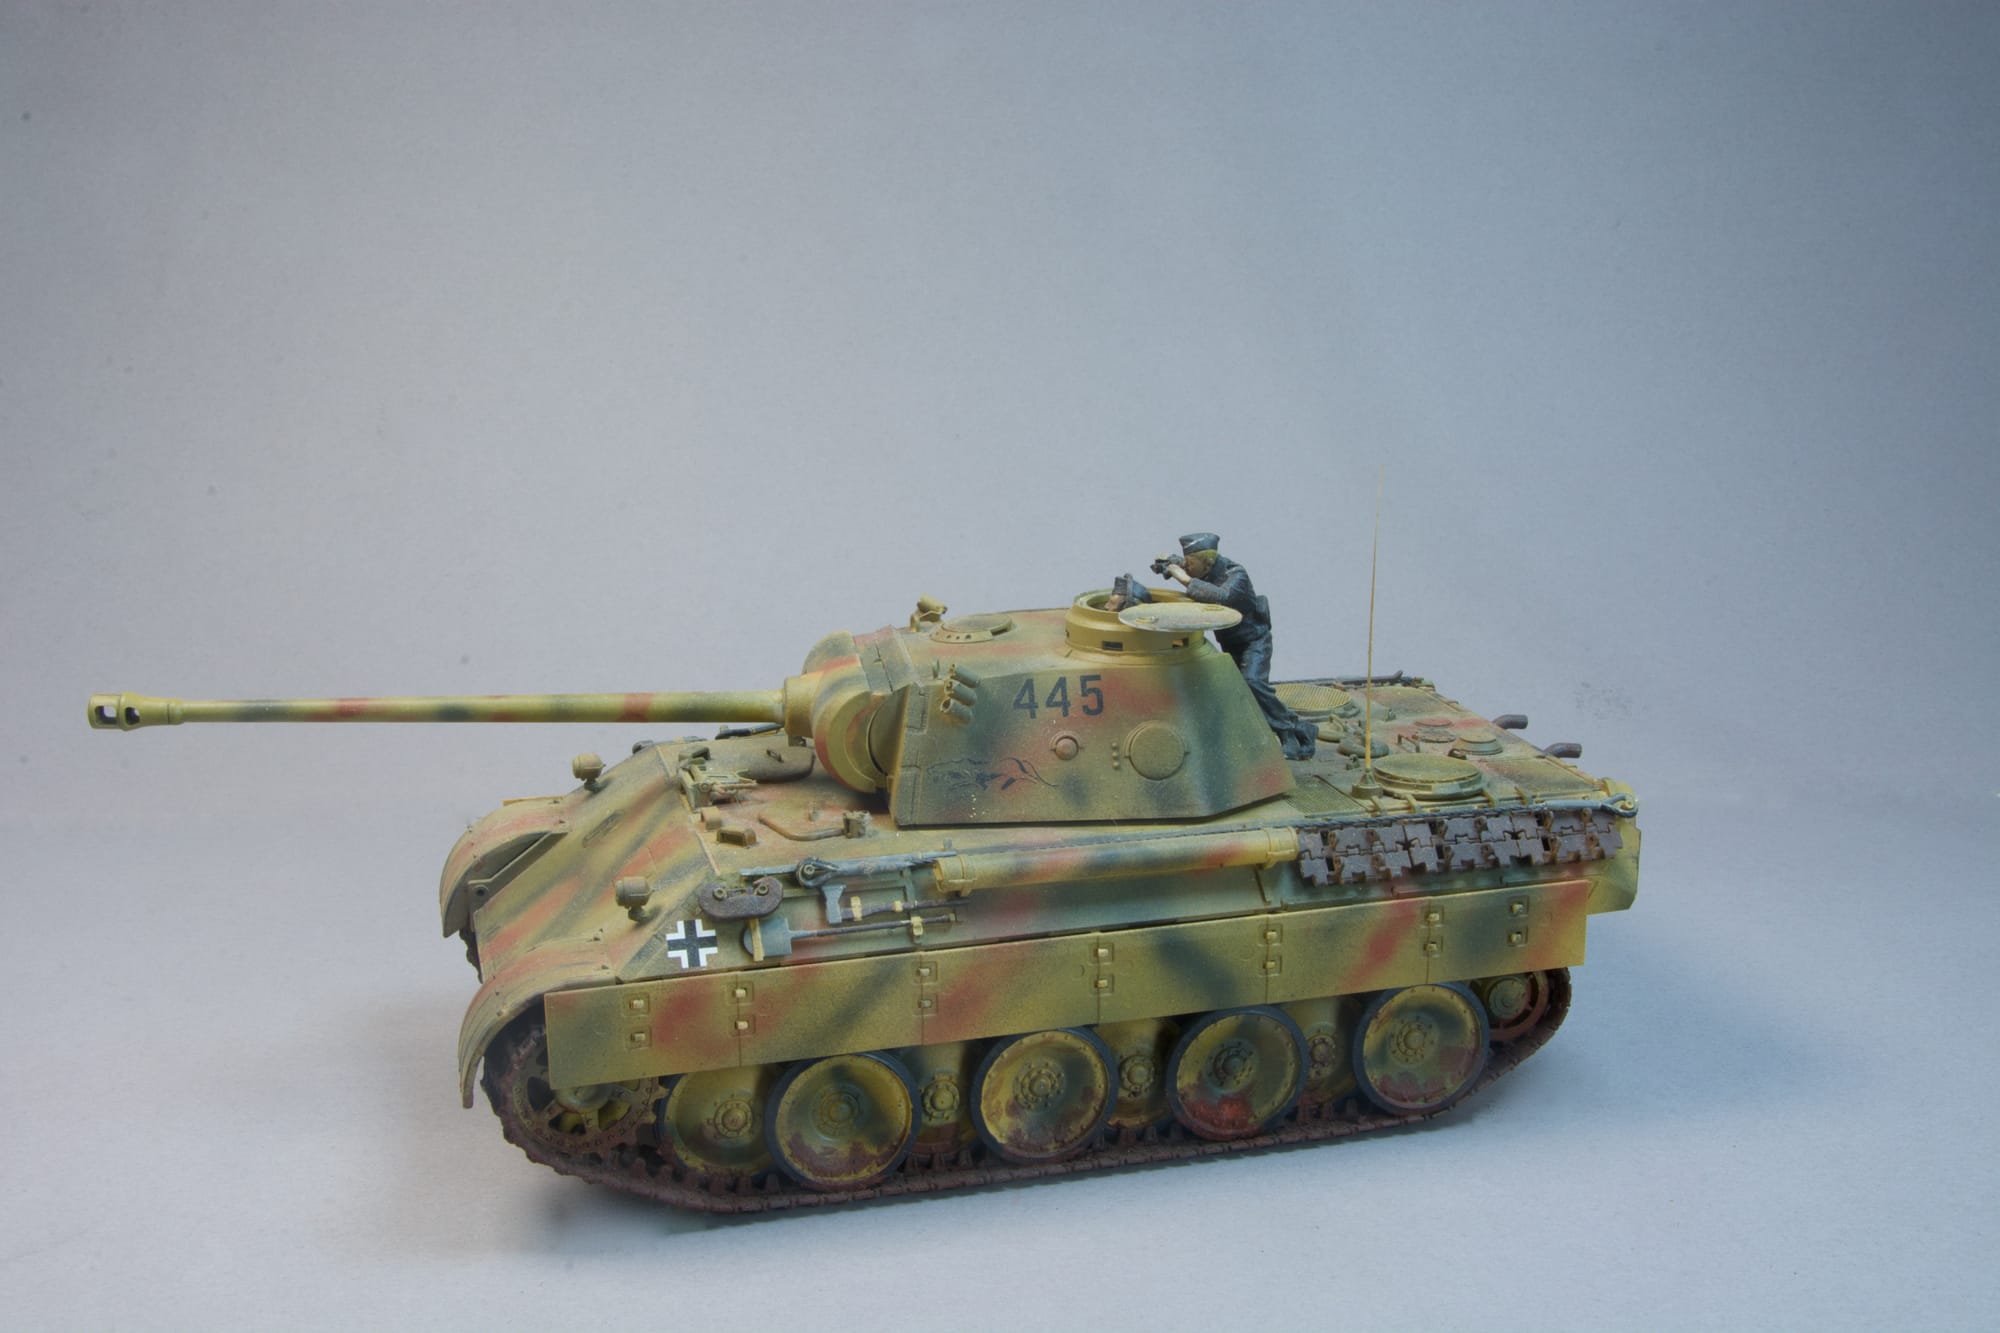
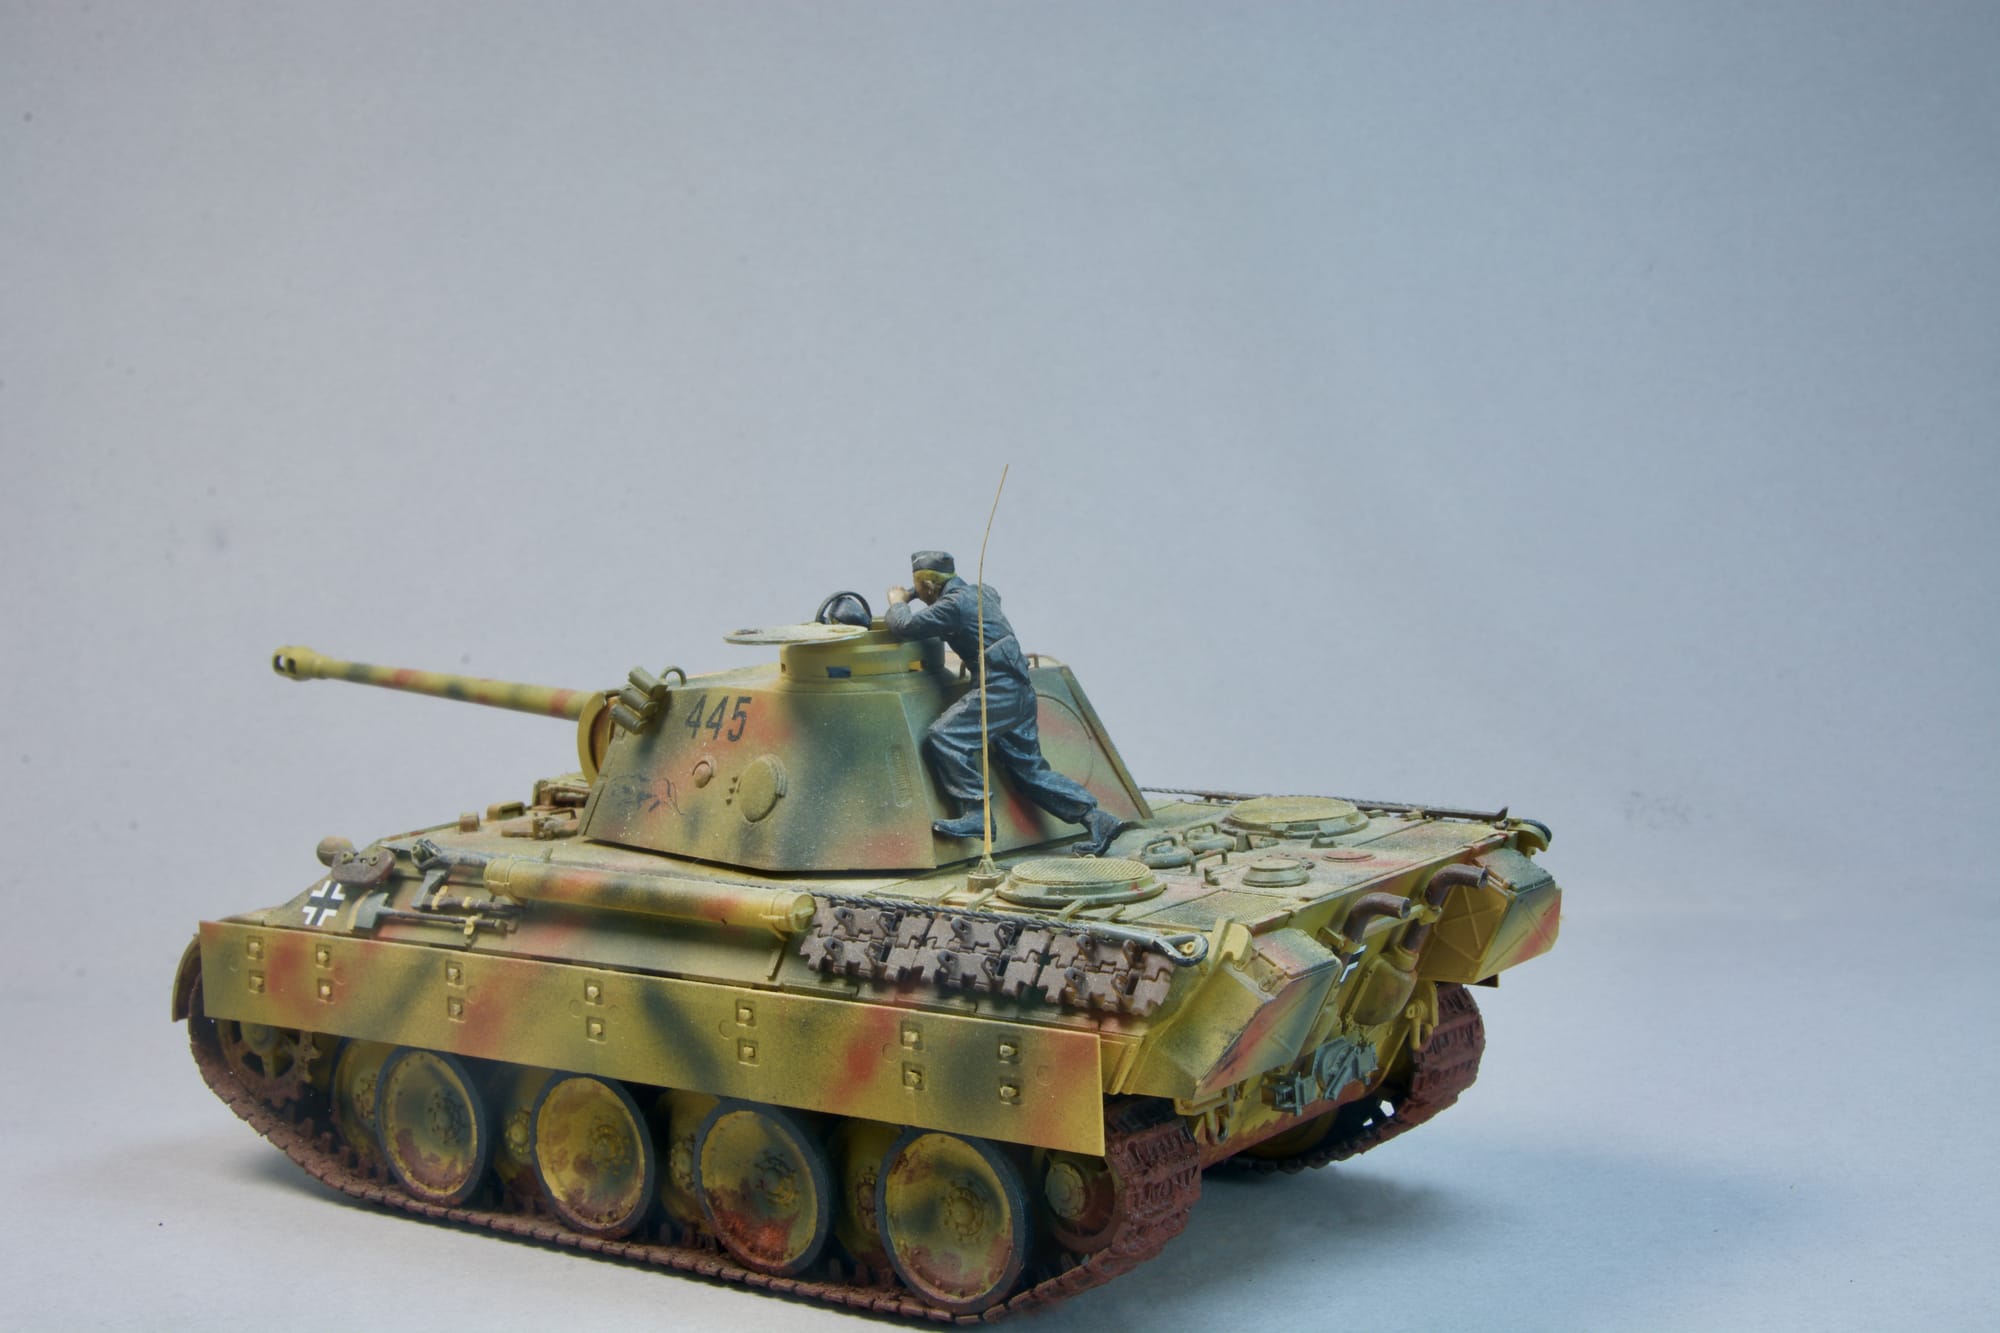
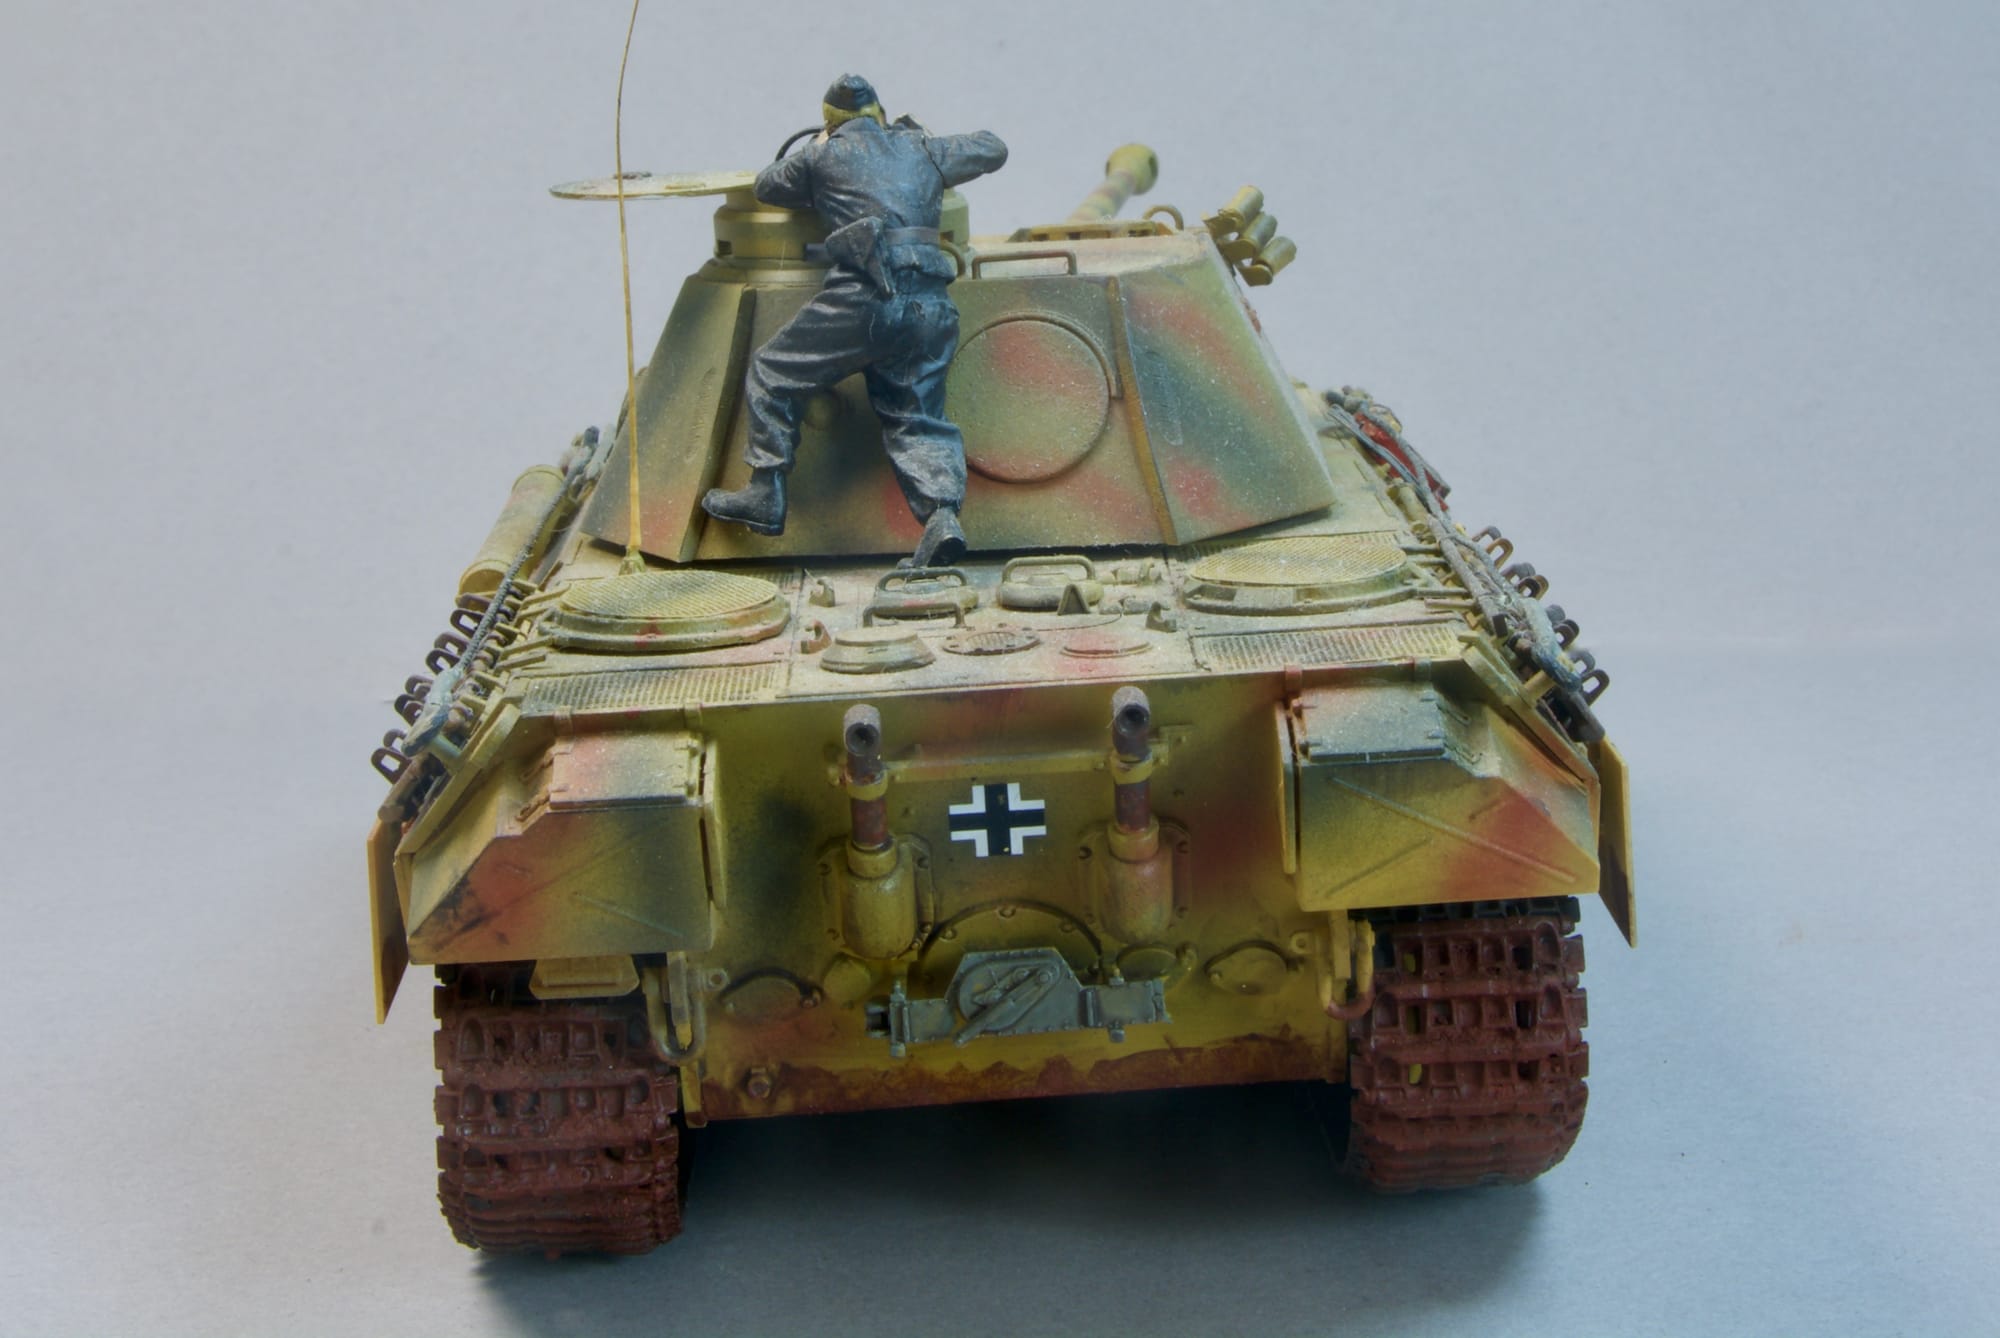
The WWII German Panther Tank was one of the most effective tanks in the war. The Ausf.D was its first model. The tank offered a complete performance package, with firepower from the imposing 75 mm gun, excellent protection afforded by its sloped armor, and maneuverability thanks to a 700hp gasoline engine. Around 840 Ausf.D Panthers were produced between January and September of 1943, and the first time it appeared on the battlefield was in the Battle of Kursk in July of that year where they took out some 140 Soviet tanks from a range of 1,500 to 2,000 meters, all the while protected impeccably by their sloped plate. The Panther revolutionized German armored vehicle design and remained on the front line until the end of the war.
The model is from the Tamiya 1:35 scale kit with the Tamiya “Detail-Up” kit, including photoetch (PE) engine grilles and metal gun barrel. The paint scheme and markings are from the battle of Kursk.
The model is from the Tamiya 1:35 scale kit with the Tamiya “Detail-Up” kit, including photoetch (PE) engine grilles and metal gun barrel. The paint scheme and markings are from the battle of Kursk.
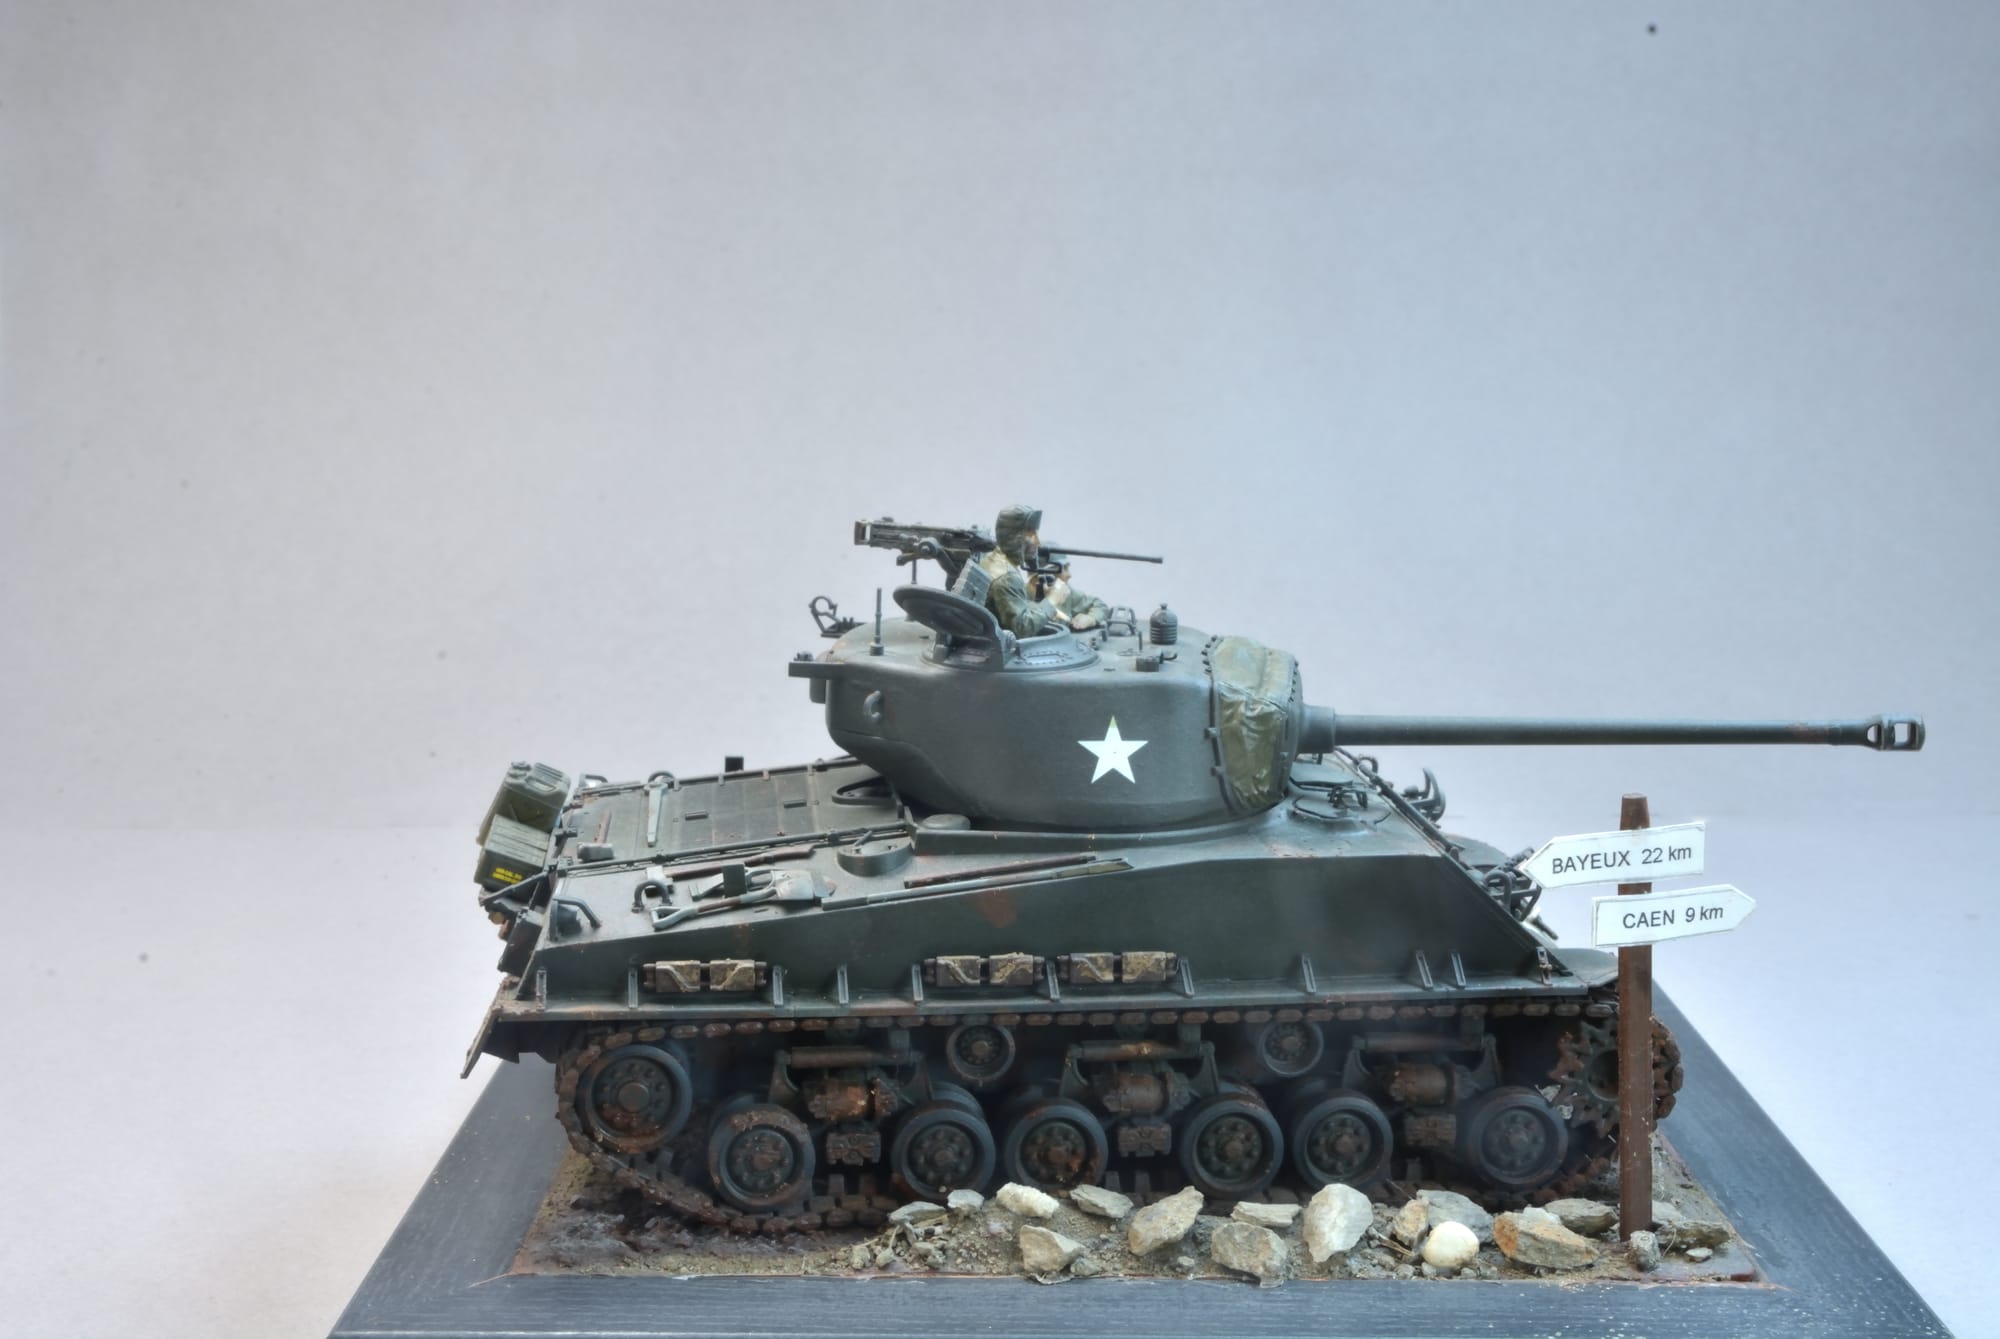
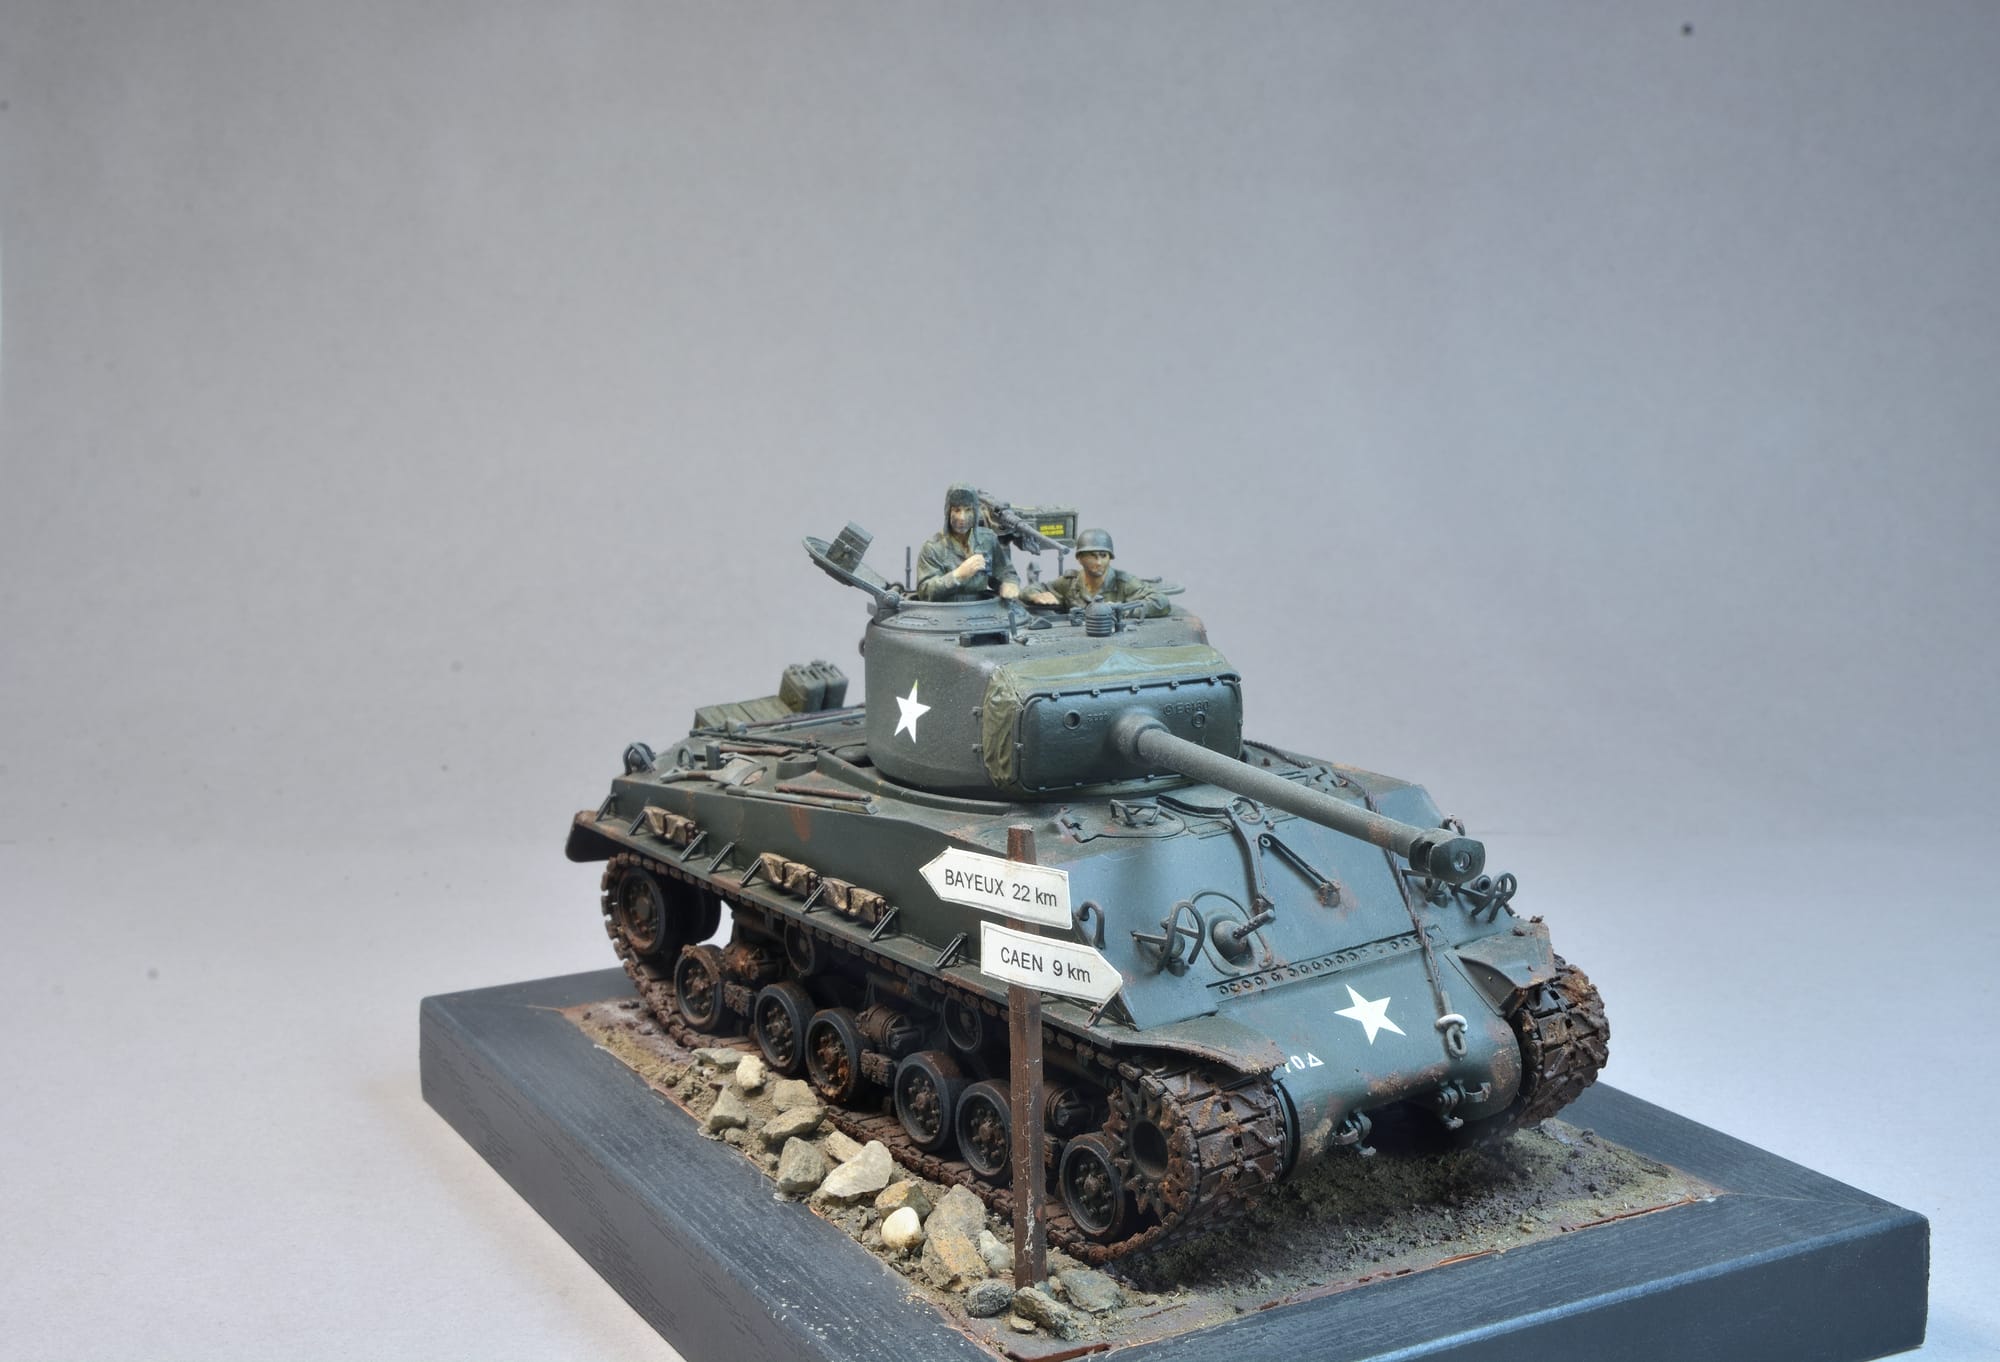
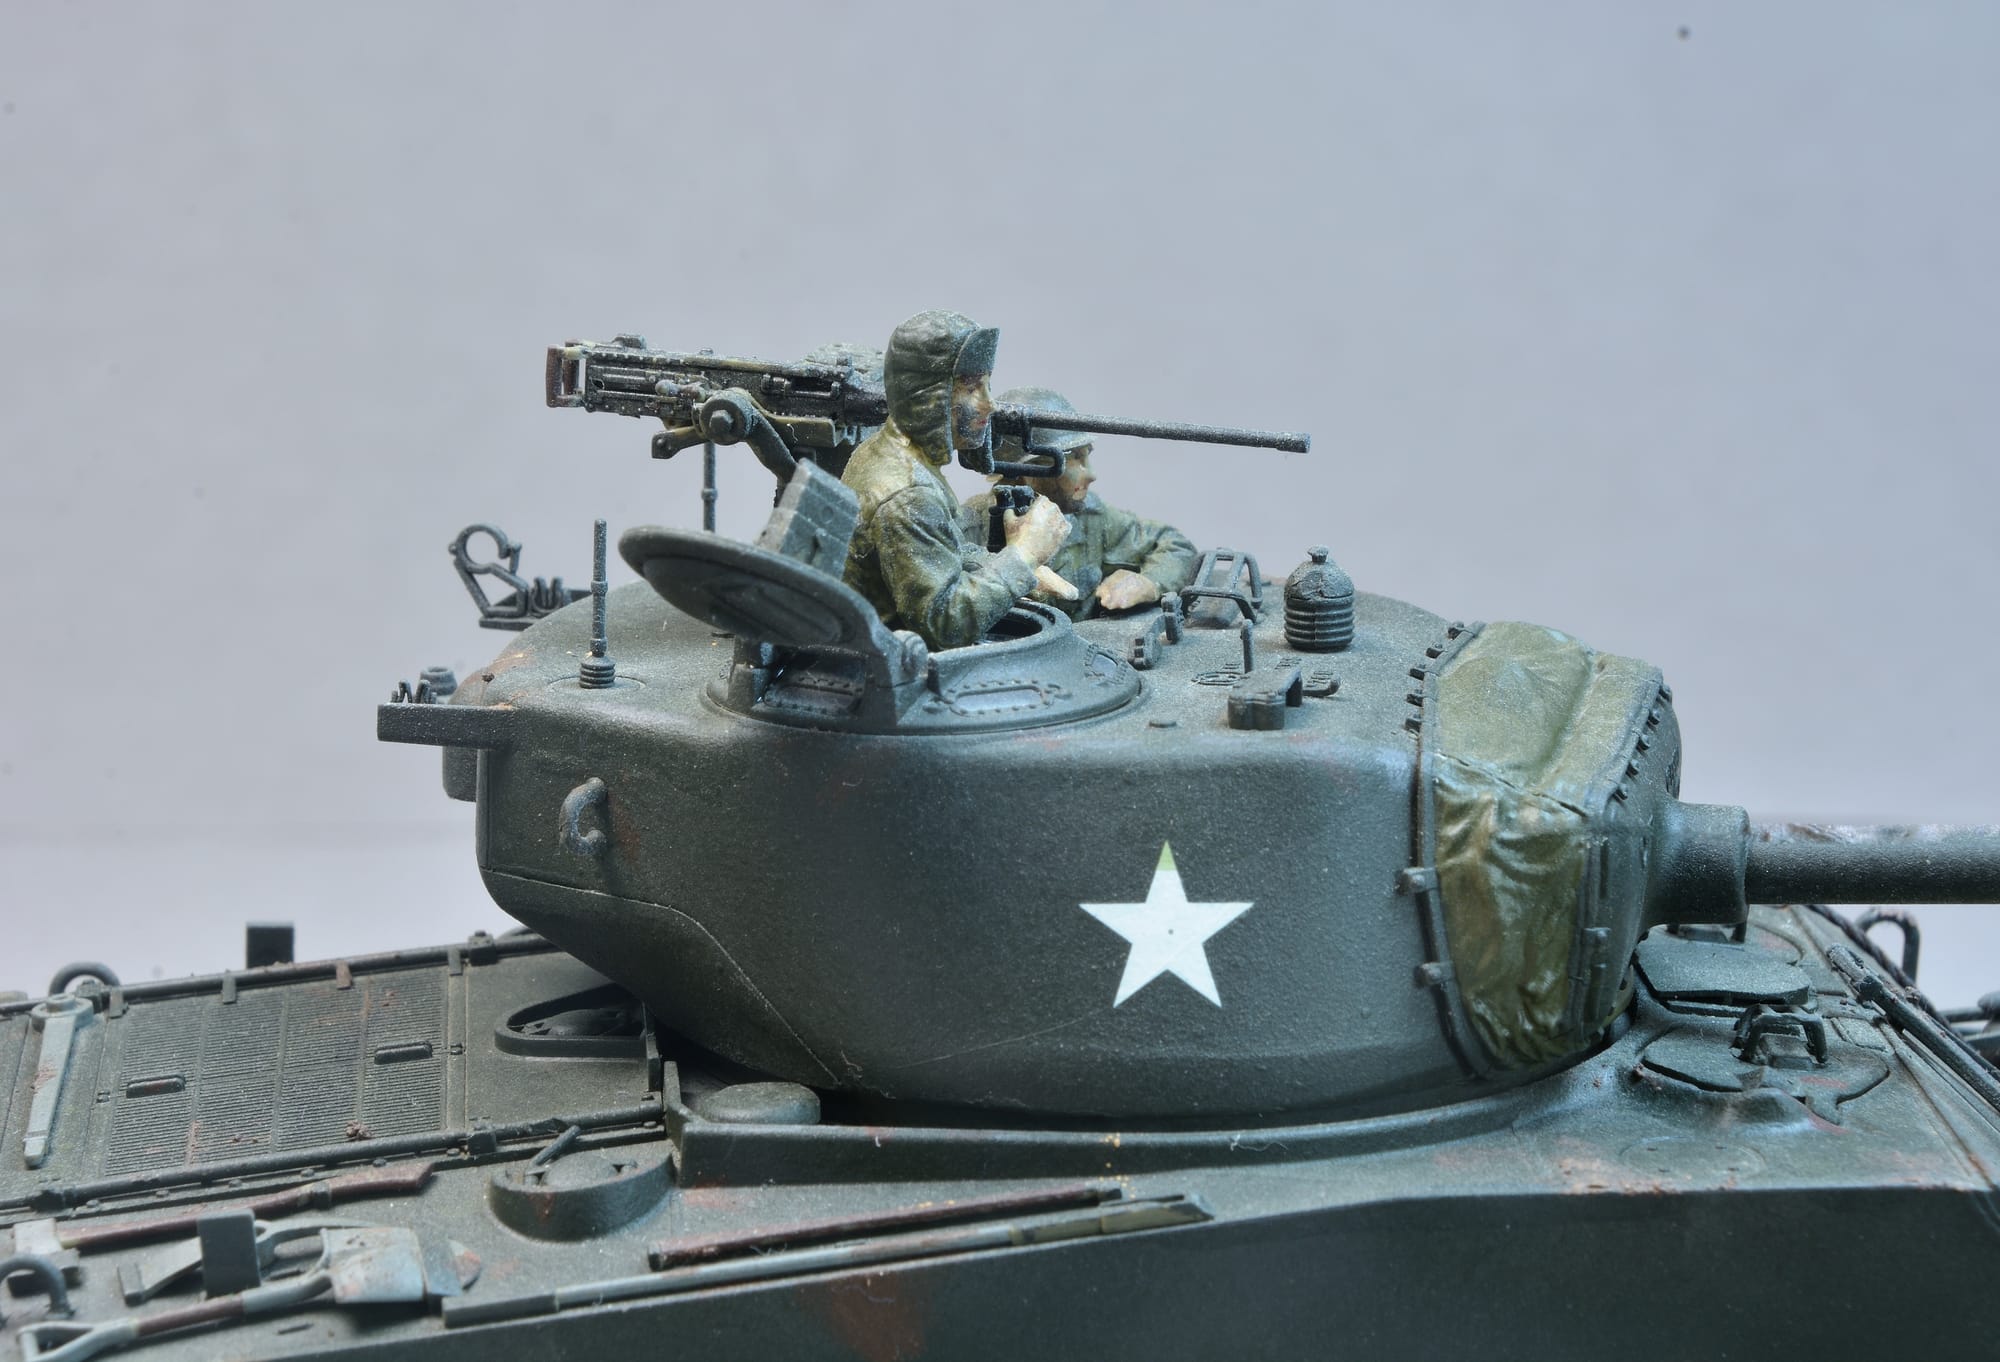
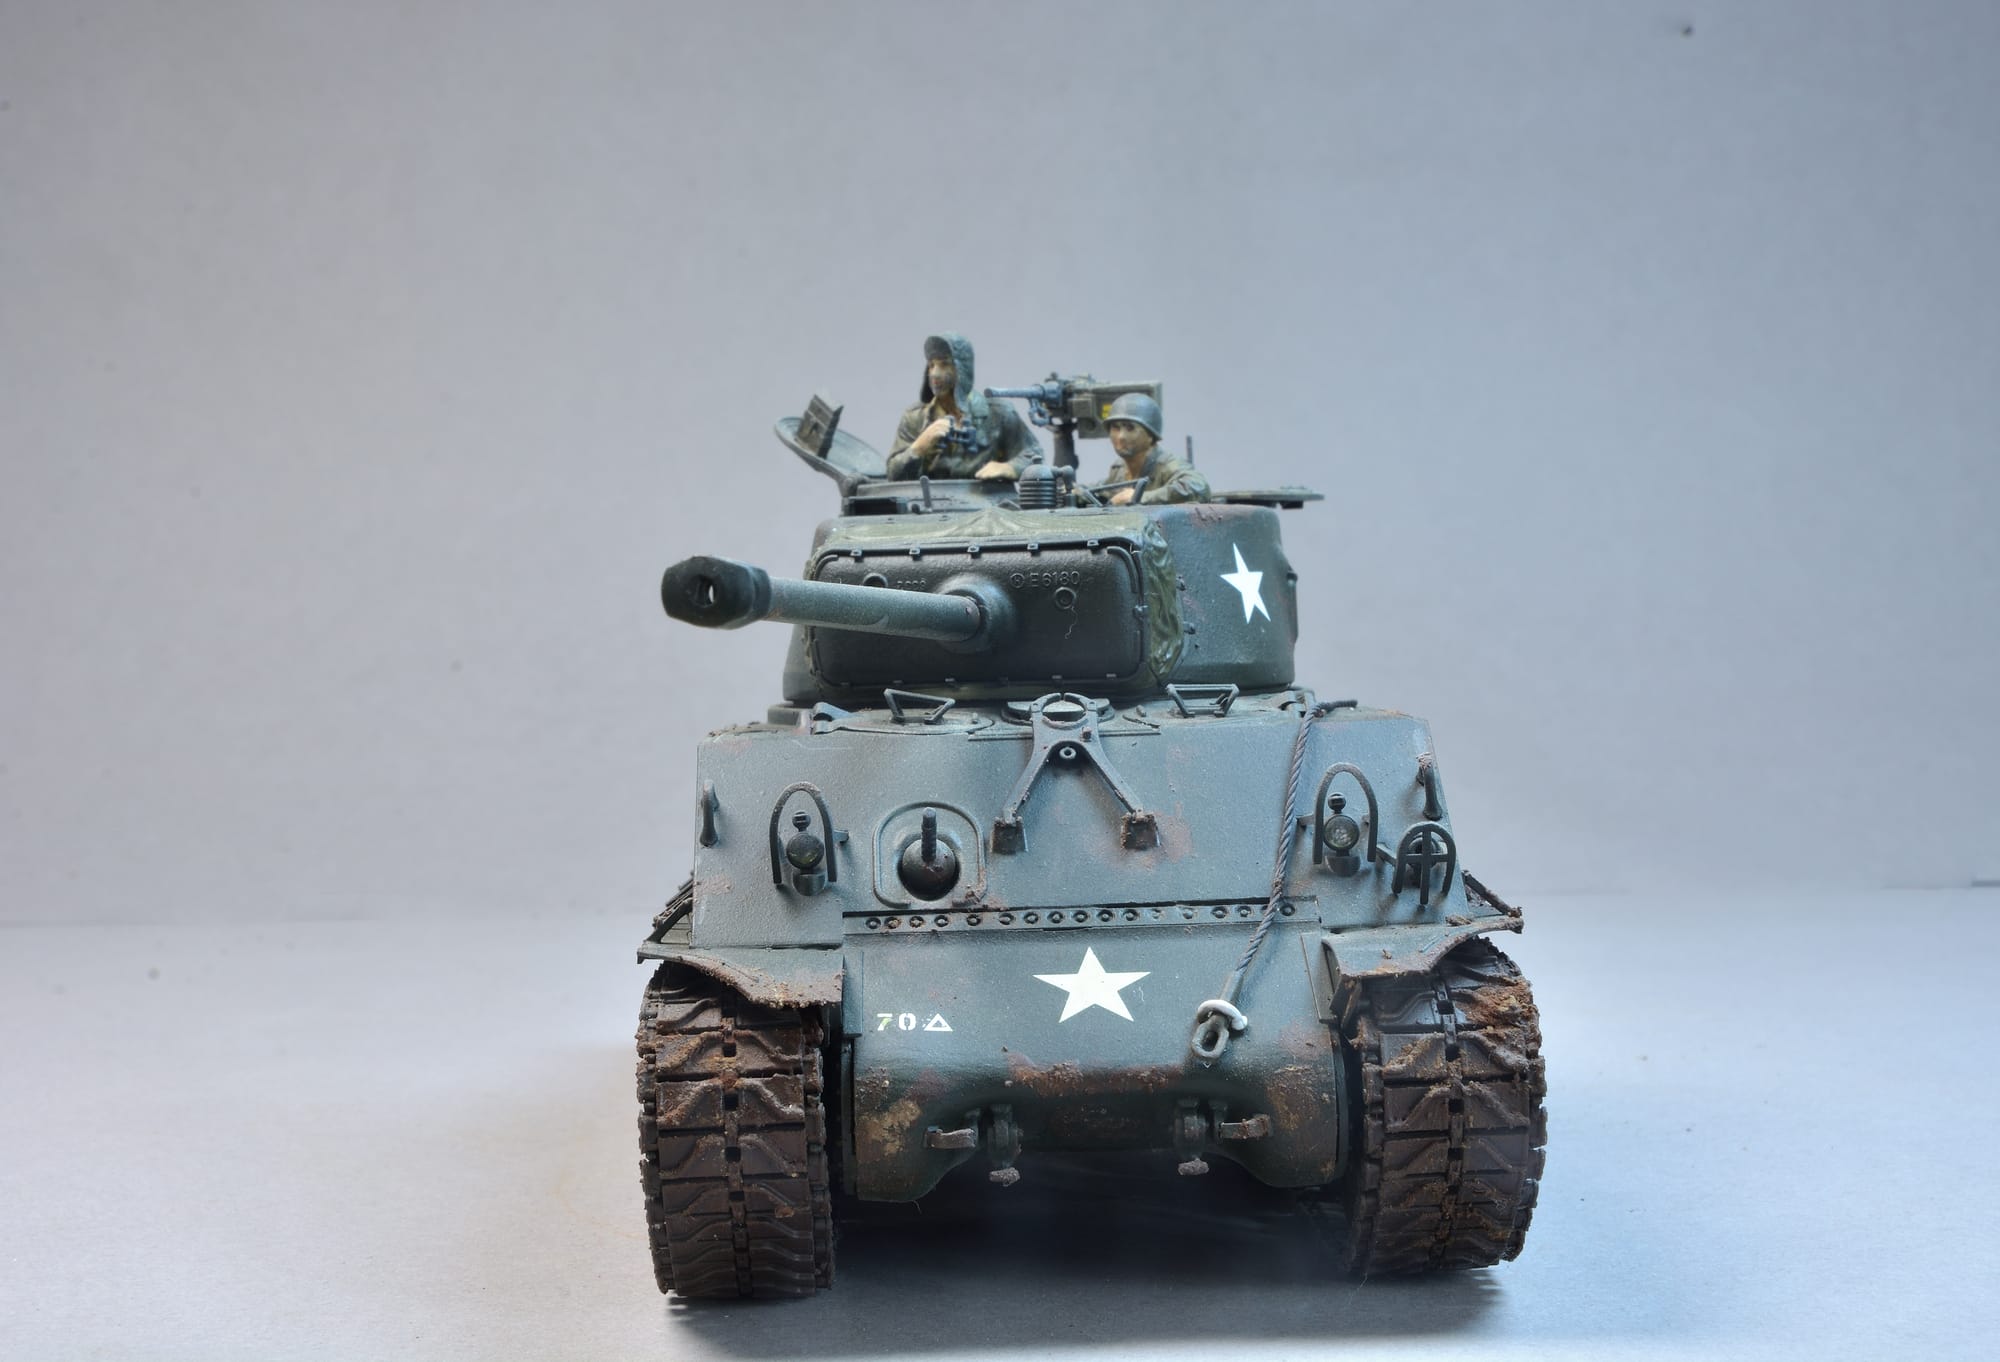
Sherman Tank
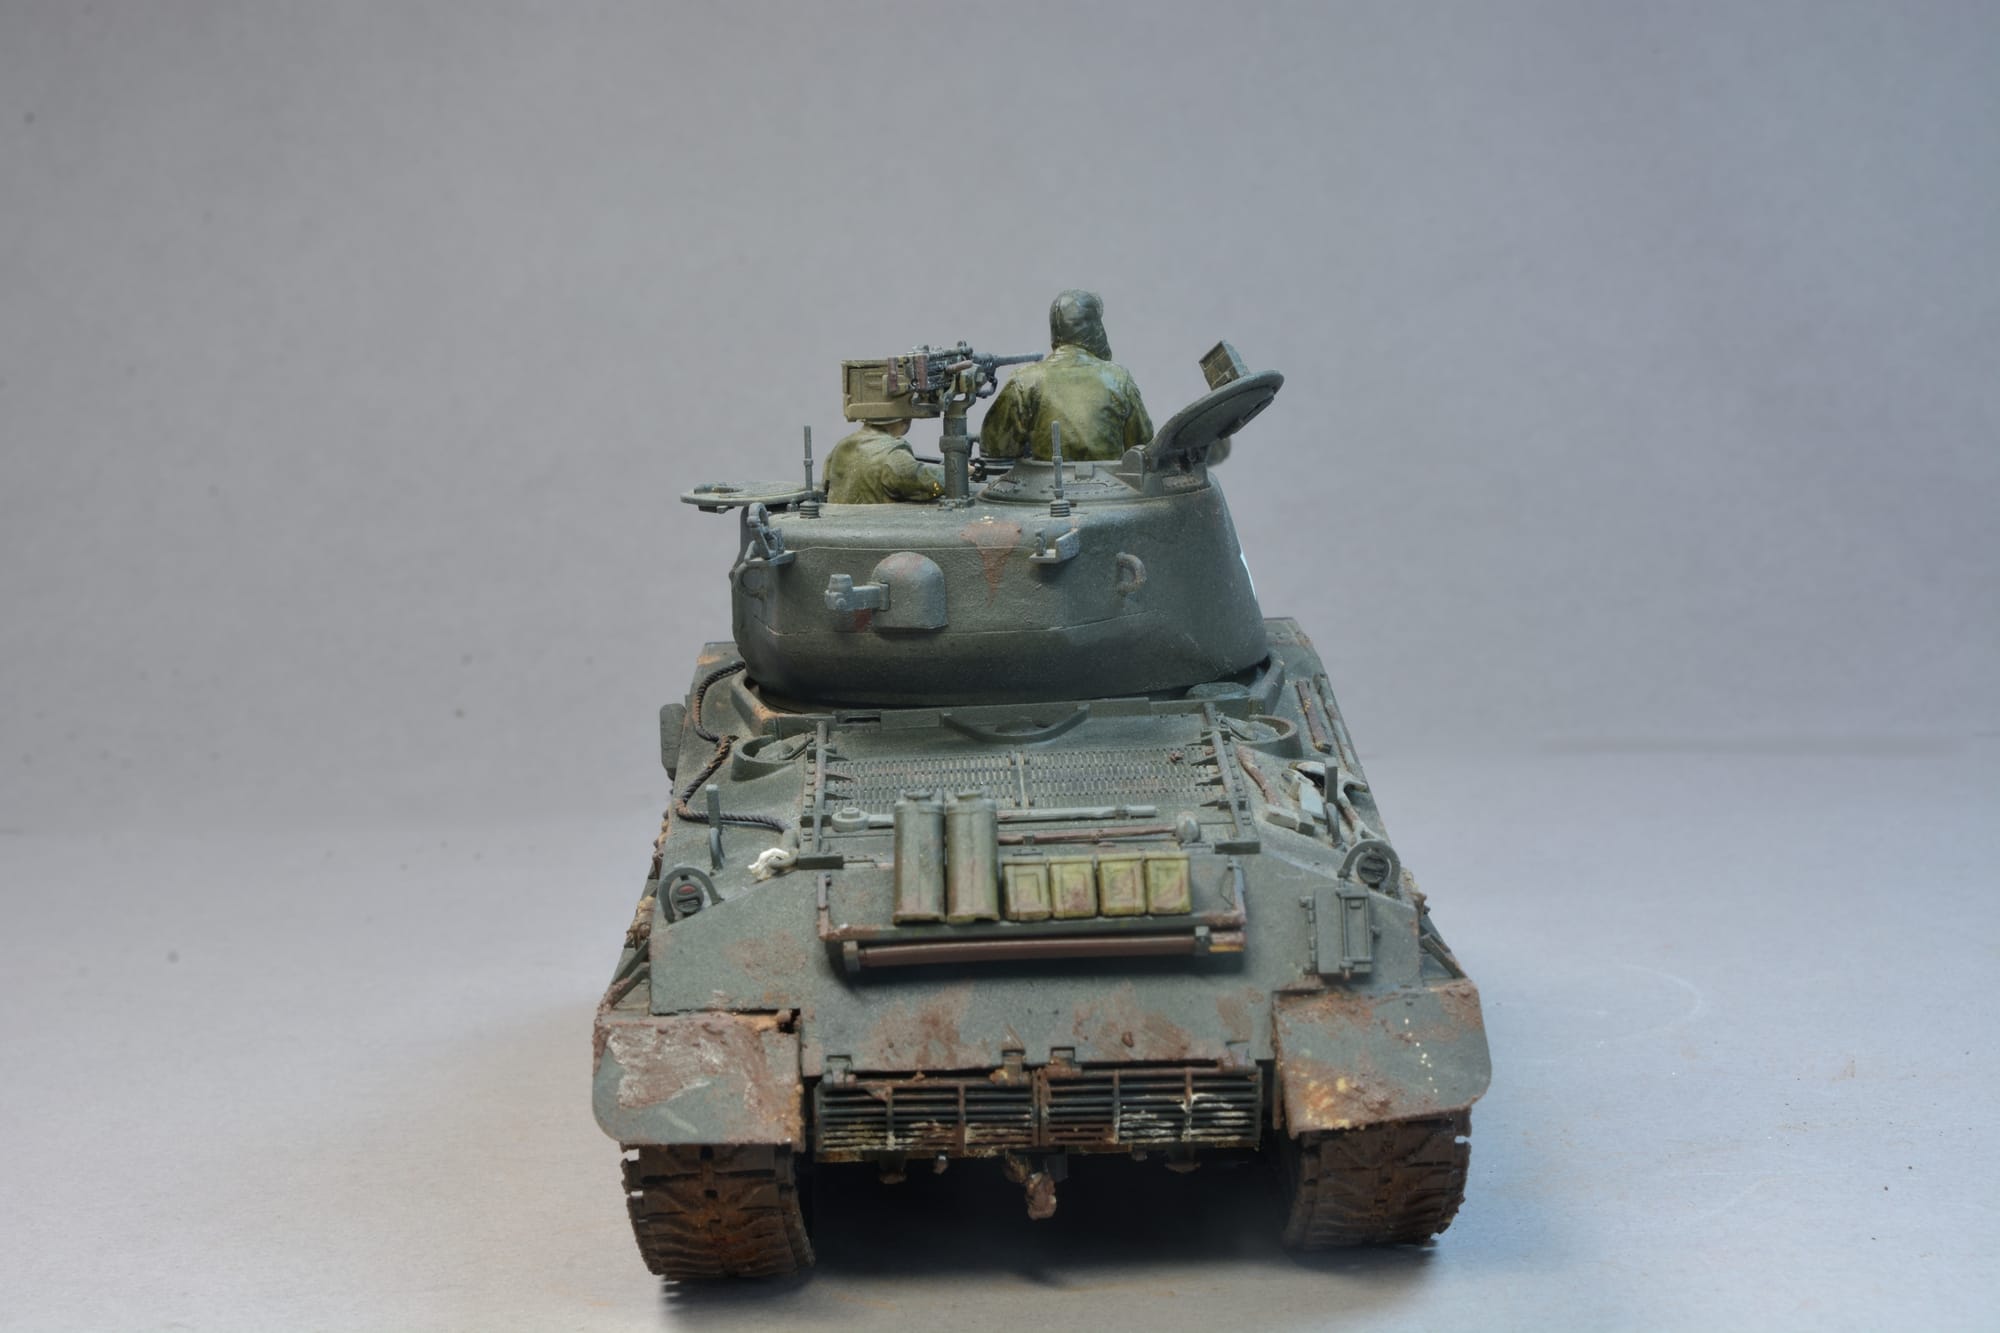
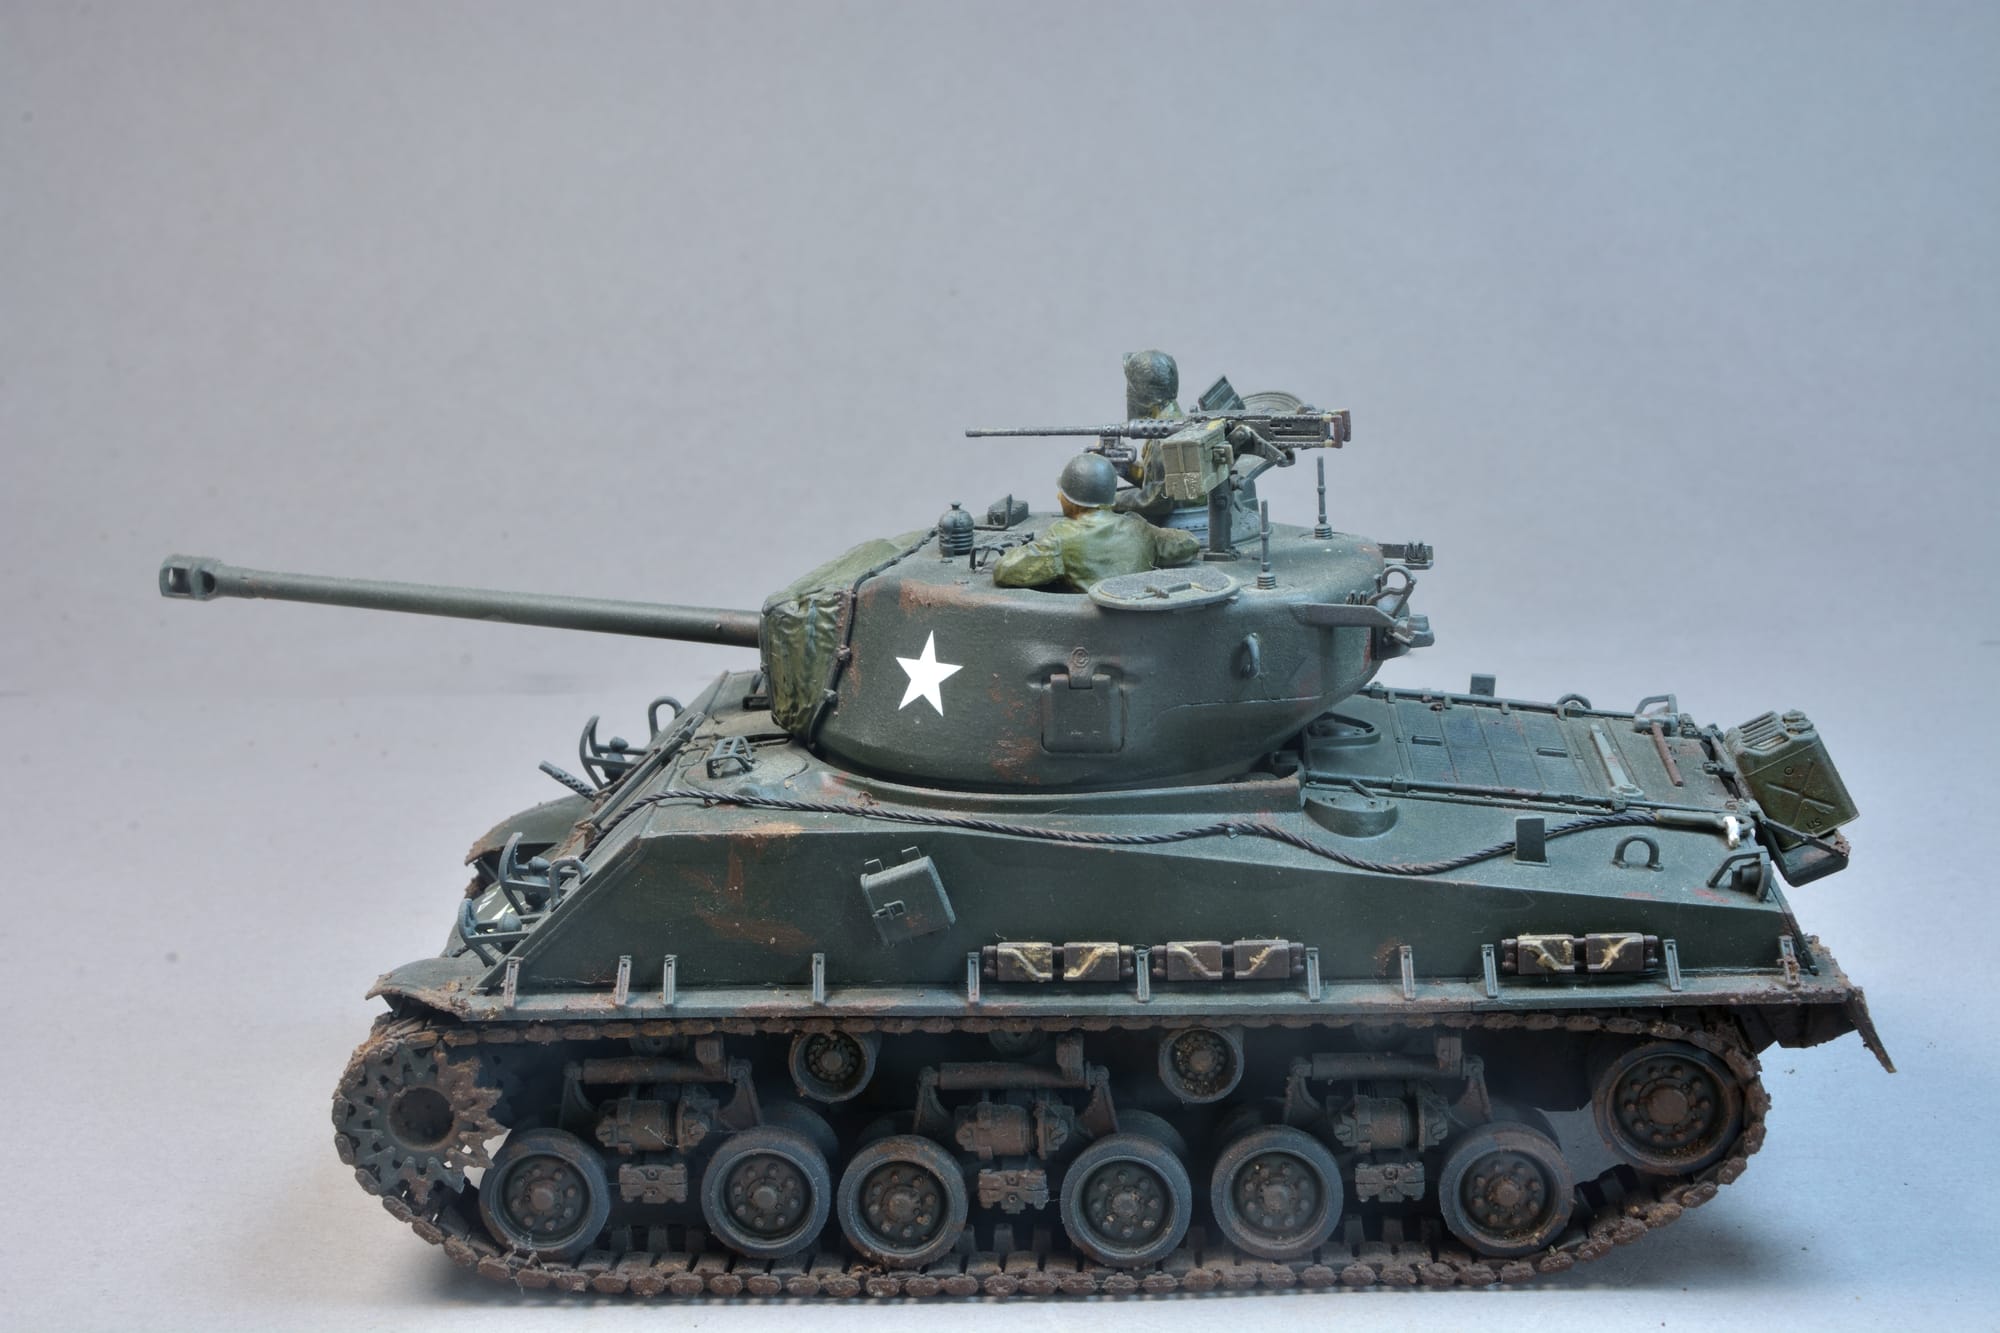
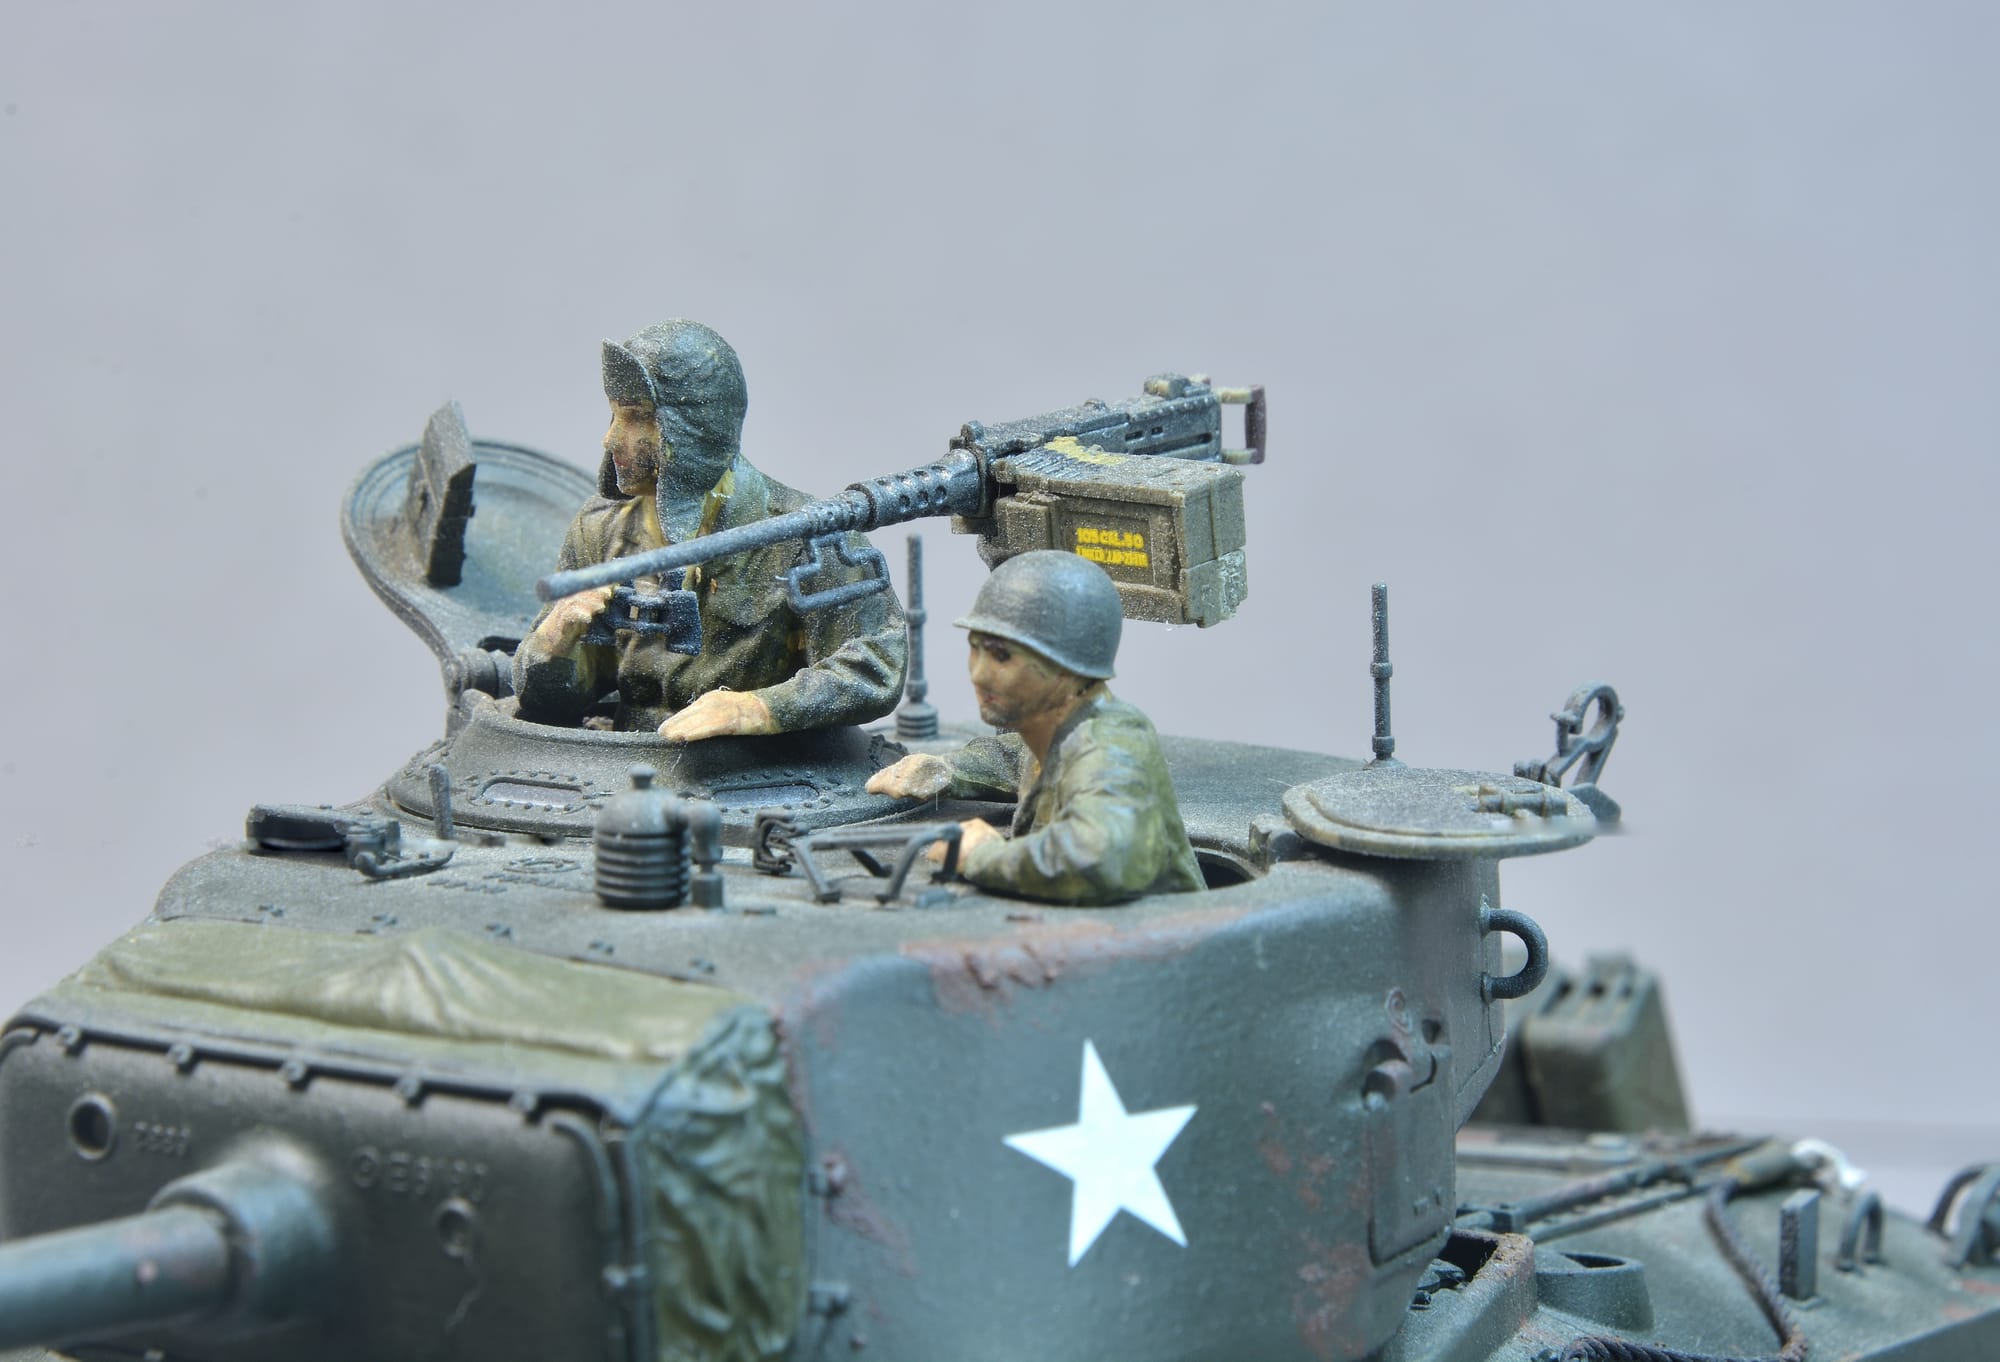
The M4 Sherman Tank was the most widely used medium tank by the United States and Western Allies in World War II. The M4 Sherman proved to be reliable, relatively cheap to produce, and available in great numbers. Initially superior to German medium tanks, by 1944 the M4 was inferior in firepower and armor to increasing numbers of German upgraded medium tanks and heavy tanks but was able to fight on with the help of considerable numerical superiority, greater mechanical reliability and better logistical support. The M4 was the most-produced tank in American history, with 49,324 produced (including variants).
The M4A3E8 variant featured better armor and suspension and an improved 76mm gun. The U.S. produced 11,424 of this variant.
The model is from the Tamiya 1:35 scale kit. The model represents the M4A3E8 variant.
The M4A3E8 variant featured better armor and suspension and an improved 76mm gun. The U.S. produced 11,424 of this variant.
The model is from the Tamiya 1:35 scale kit. The model represents the M4A3E8 variant.
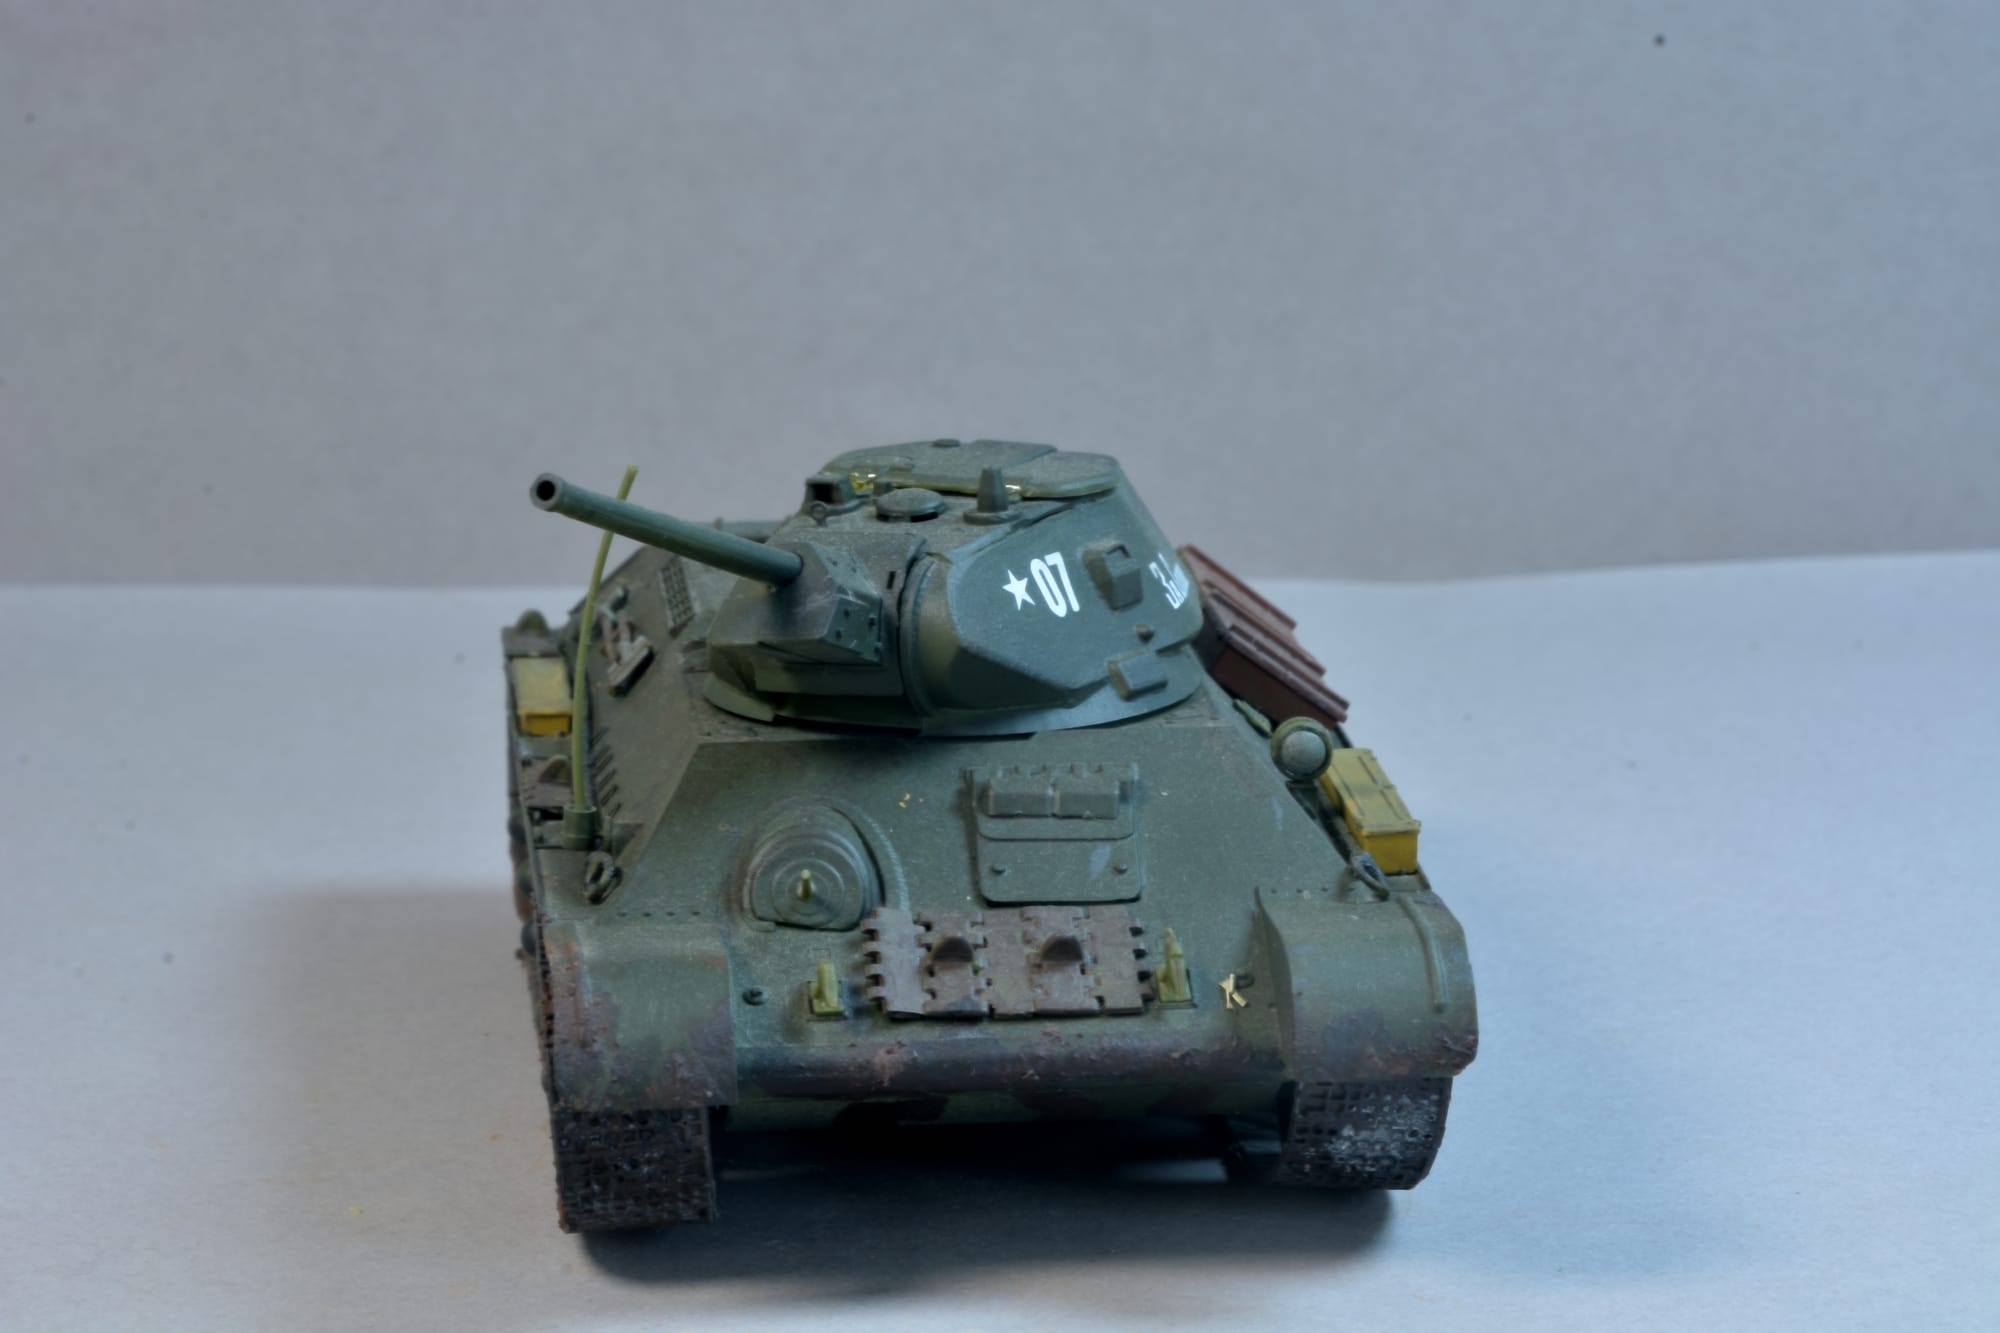
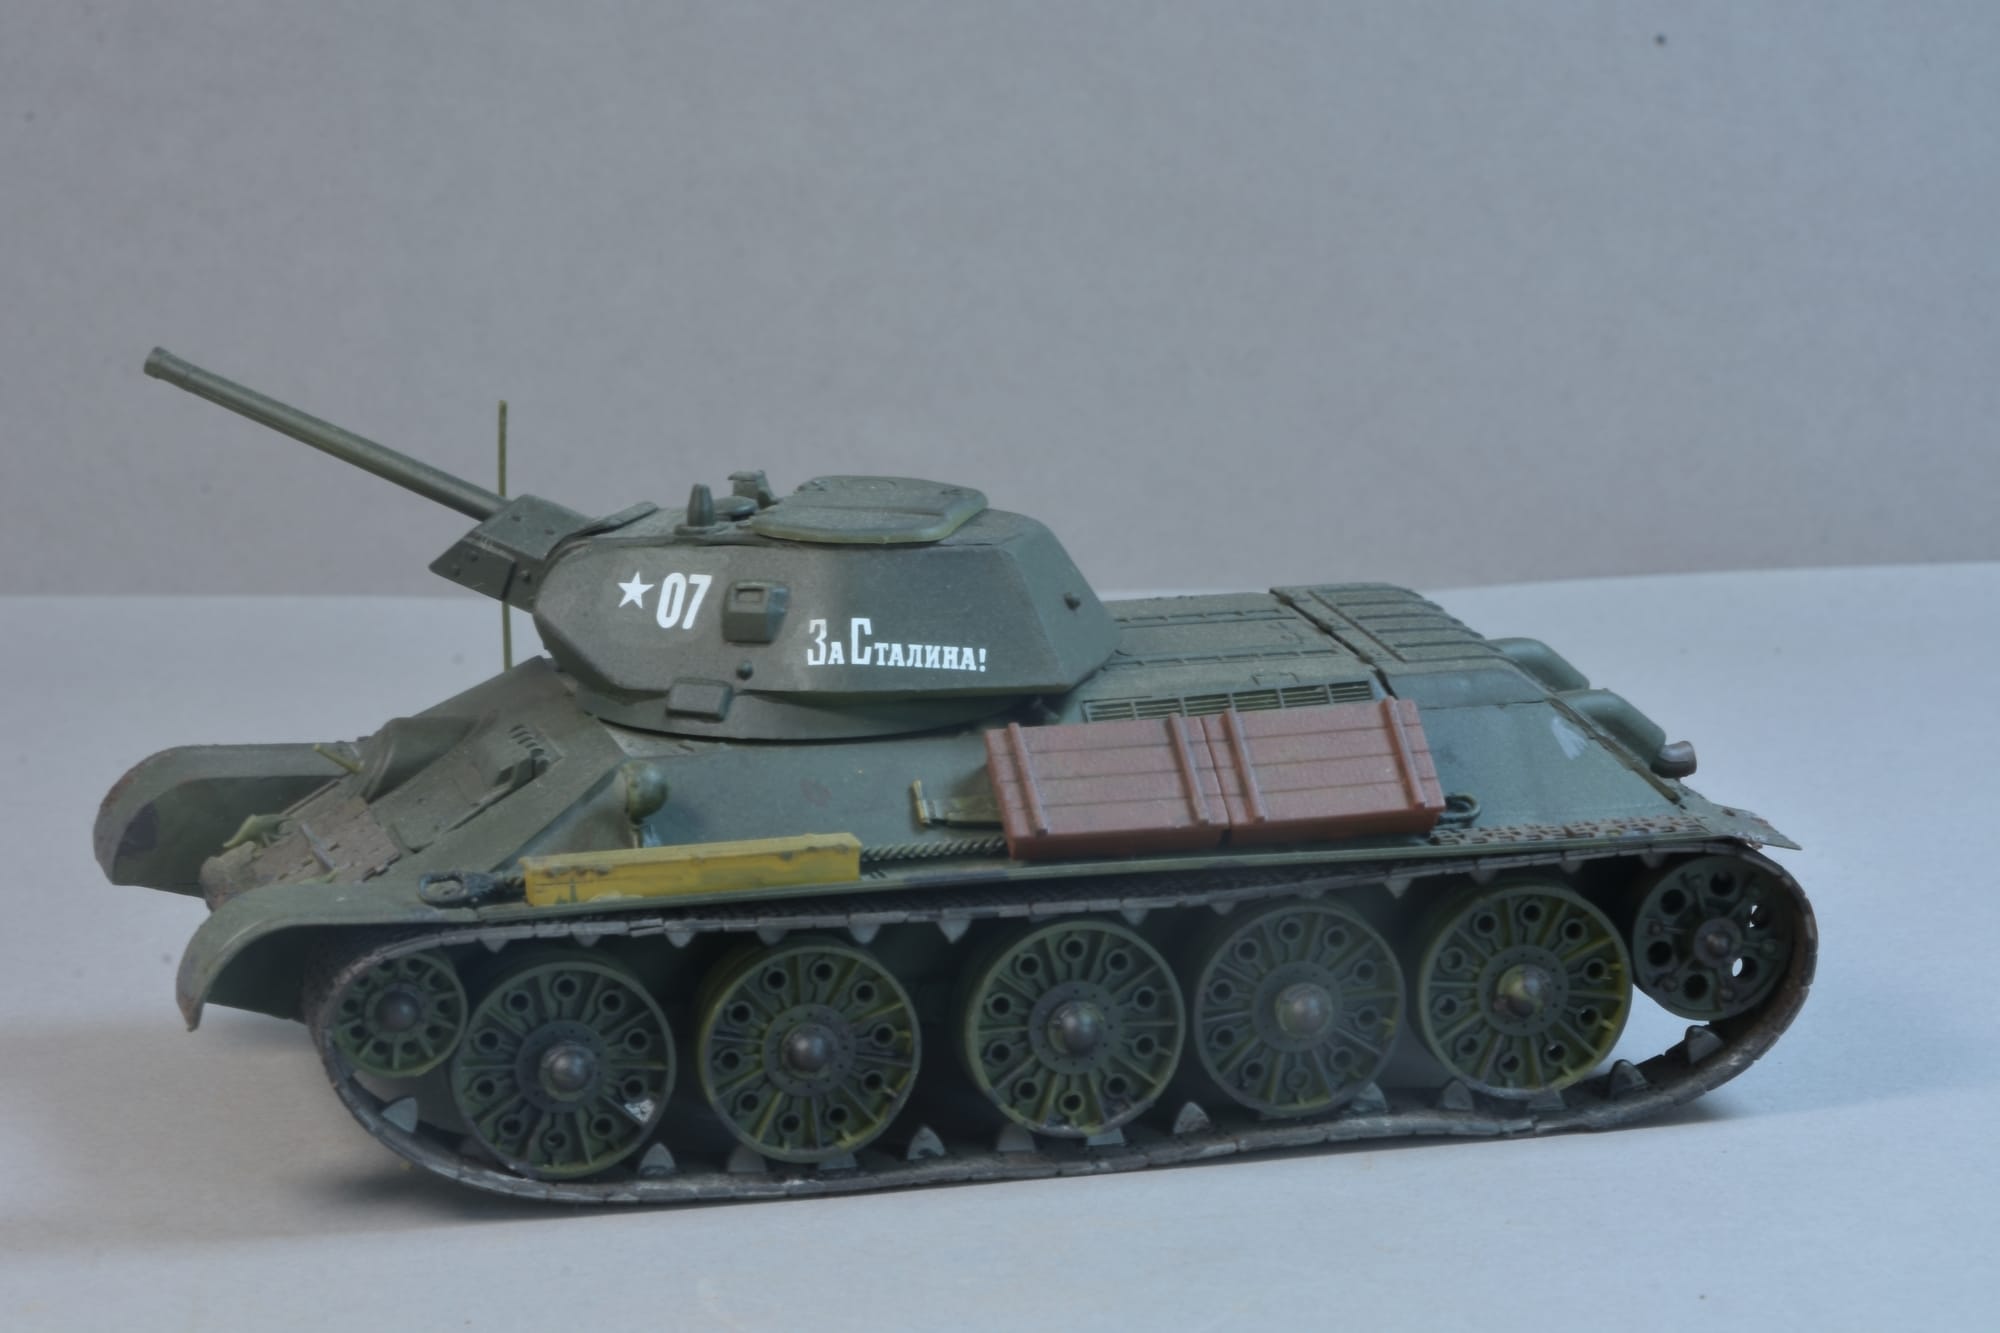
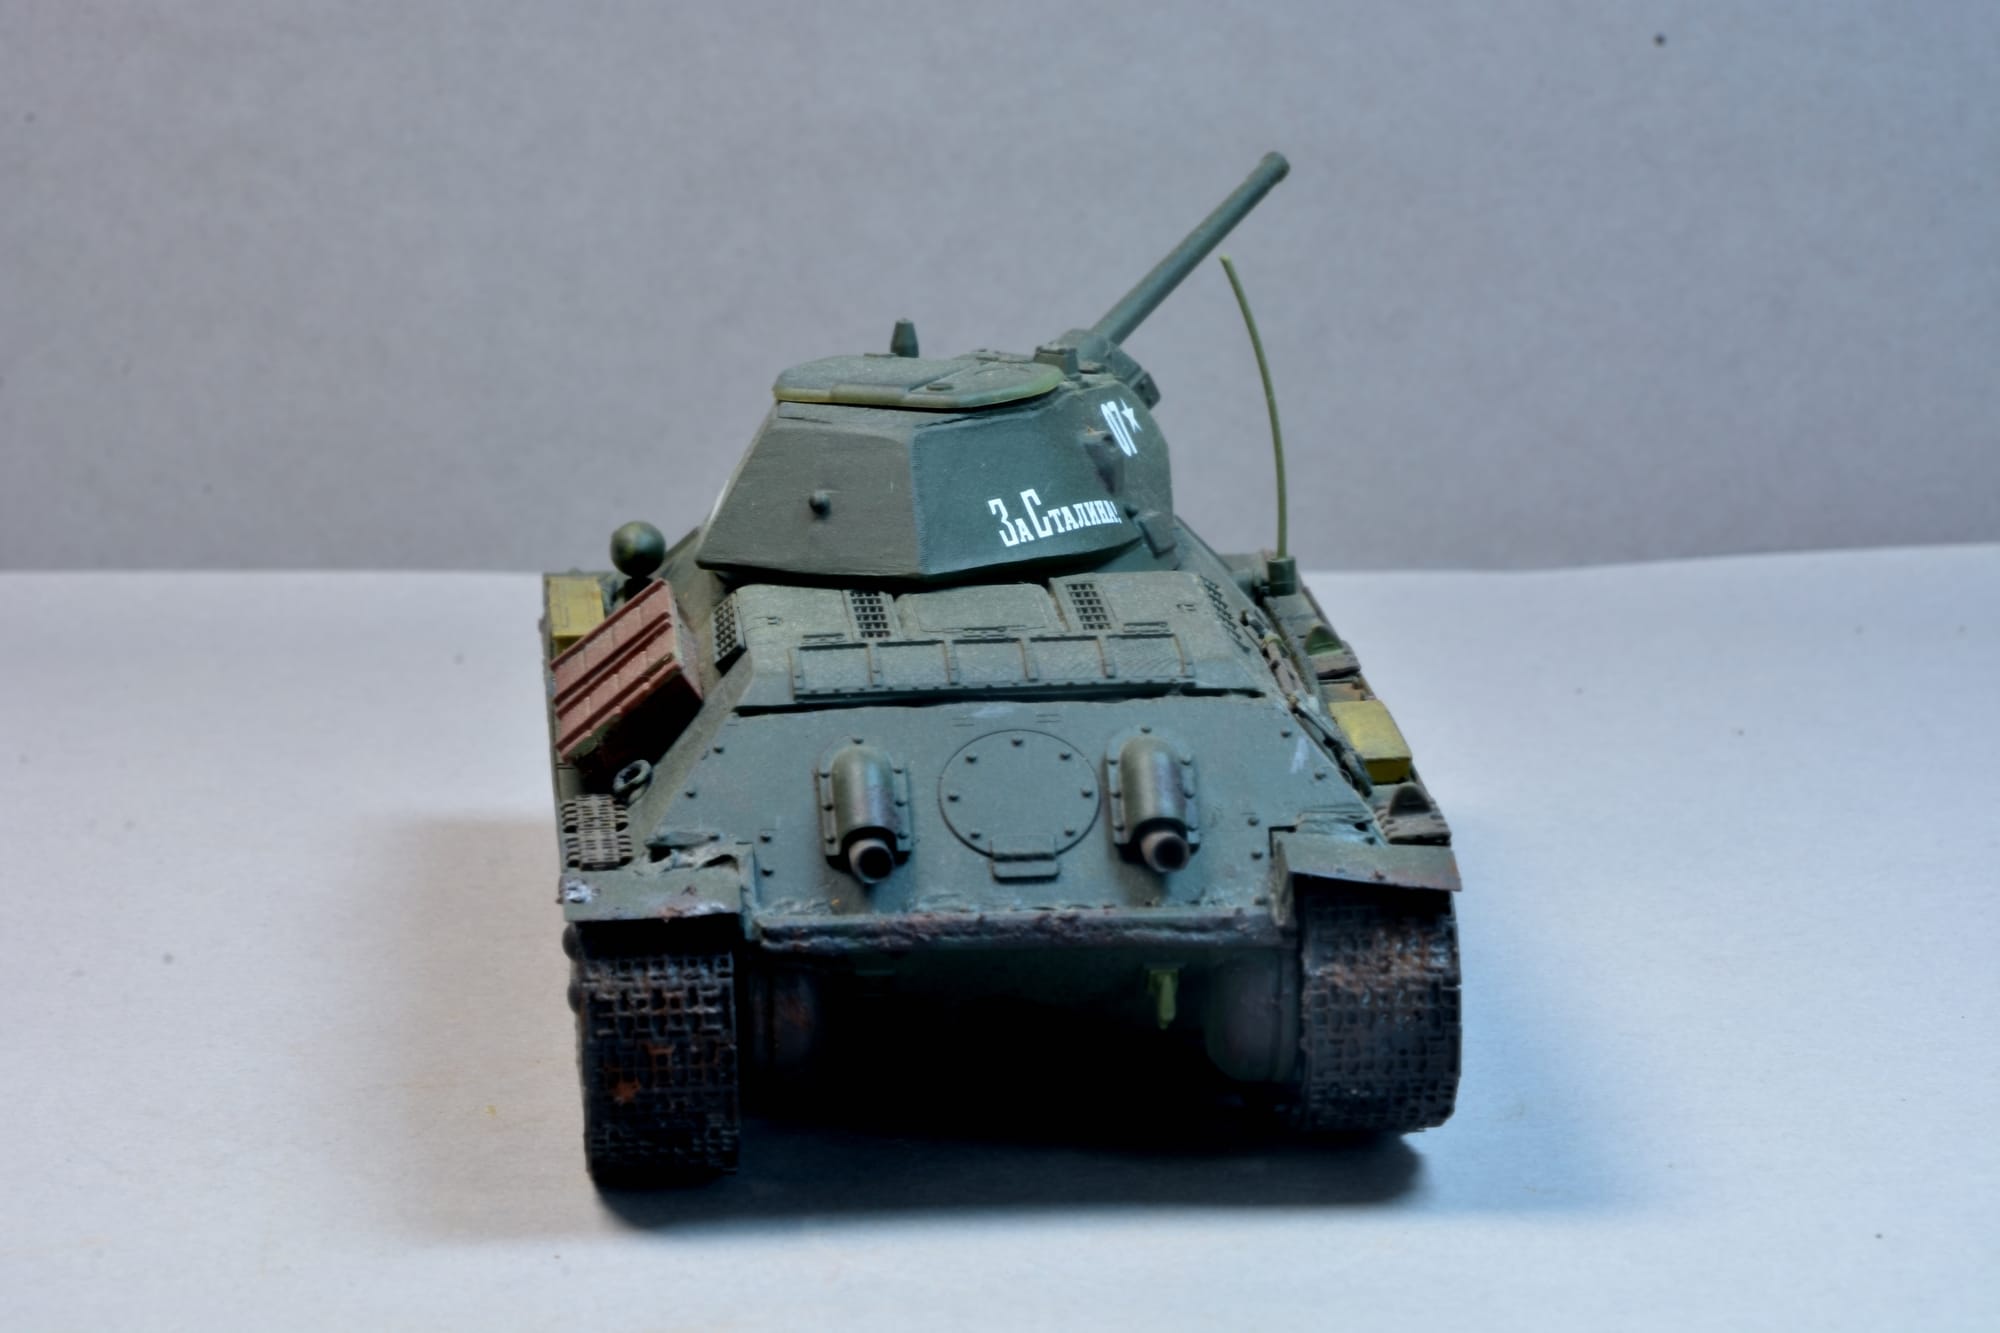
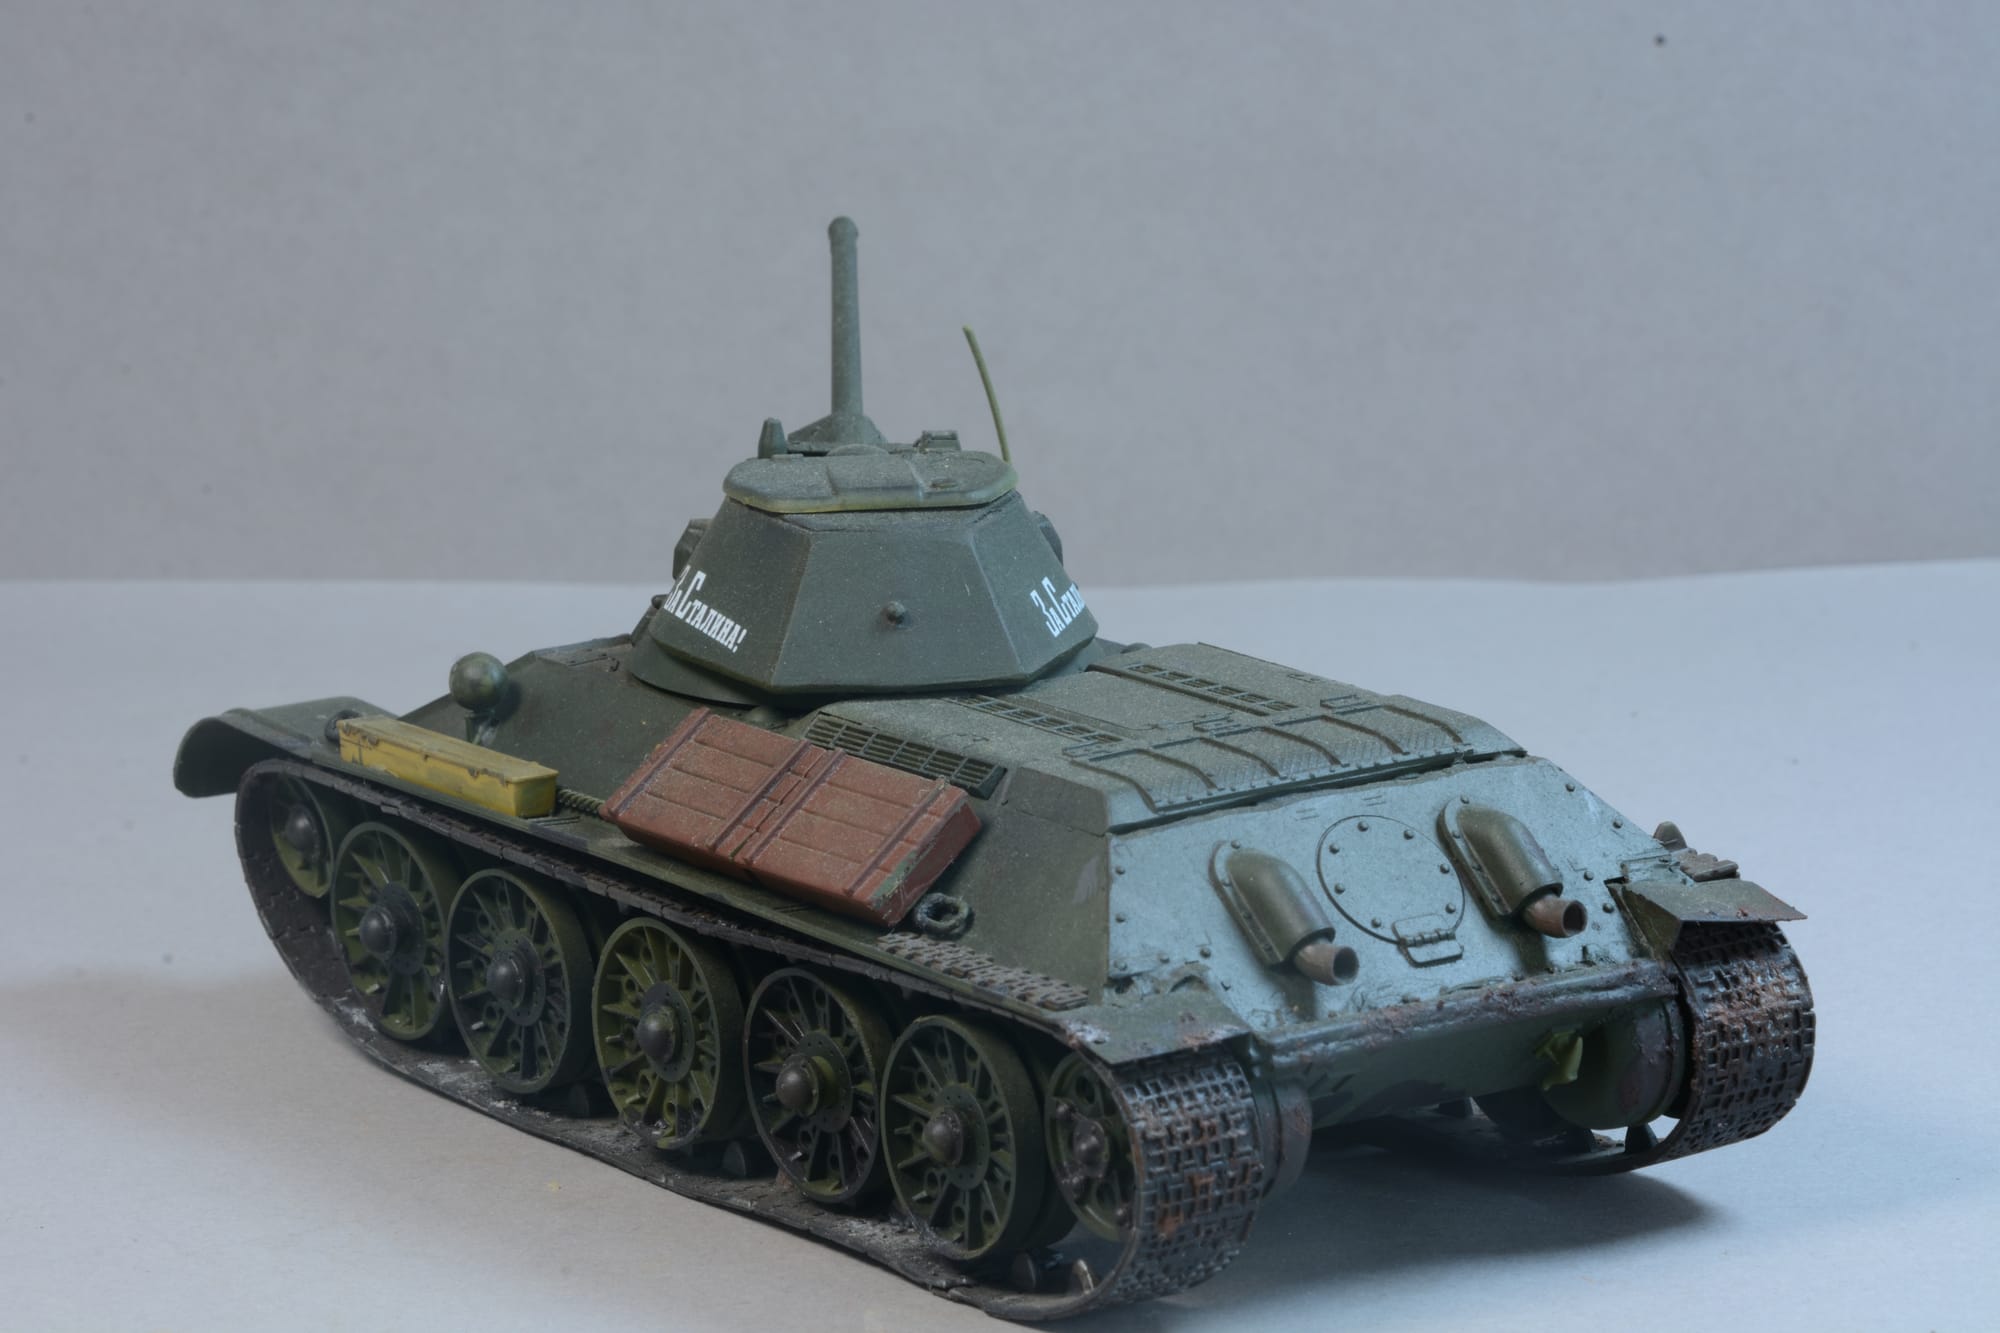
T-34 Tank
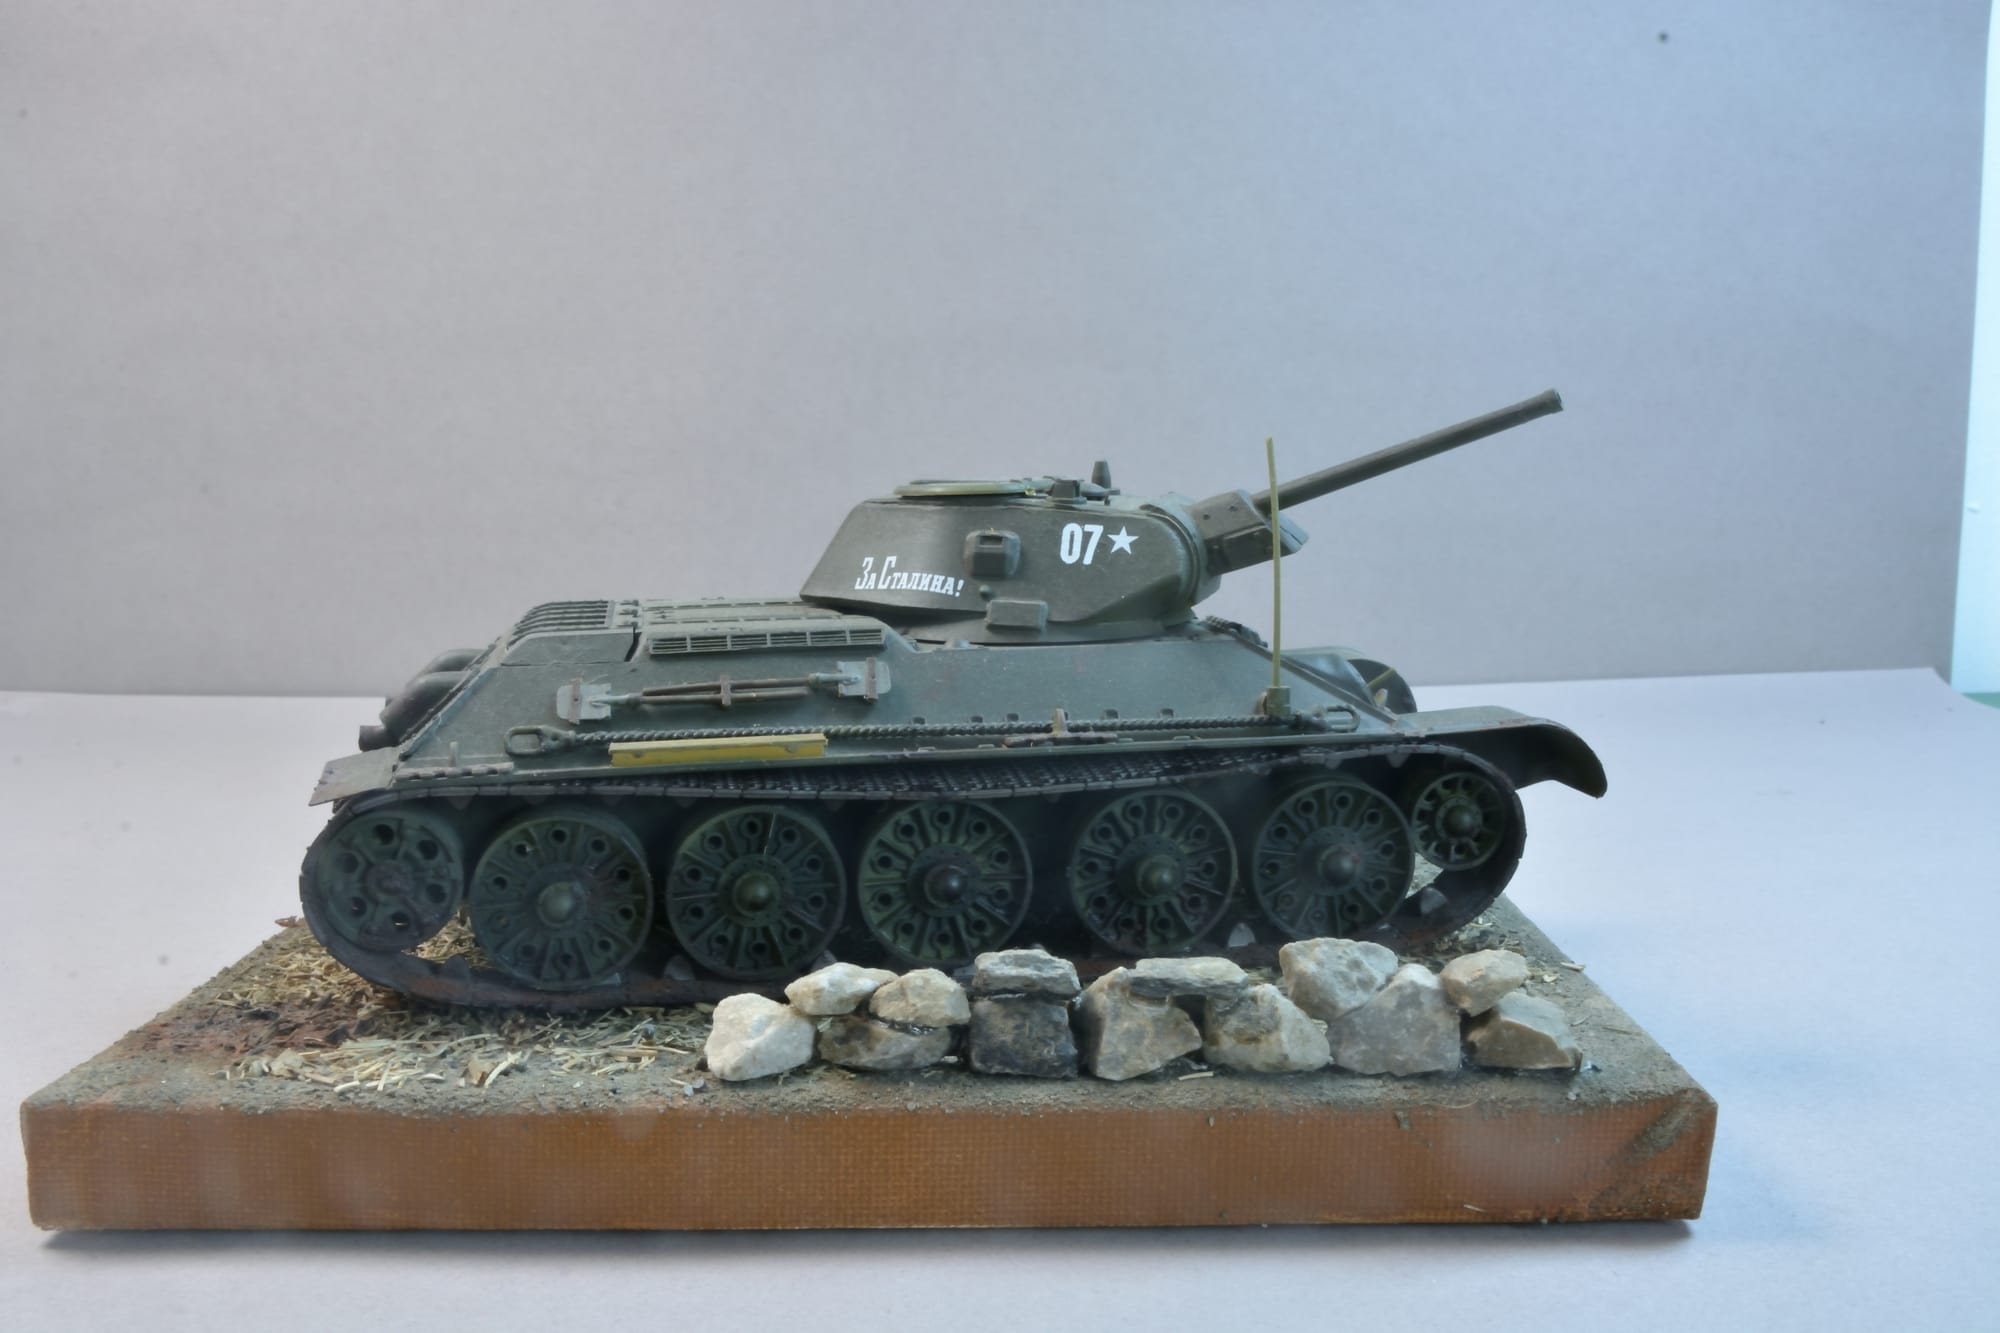
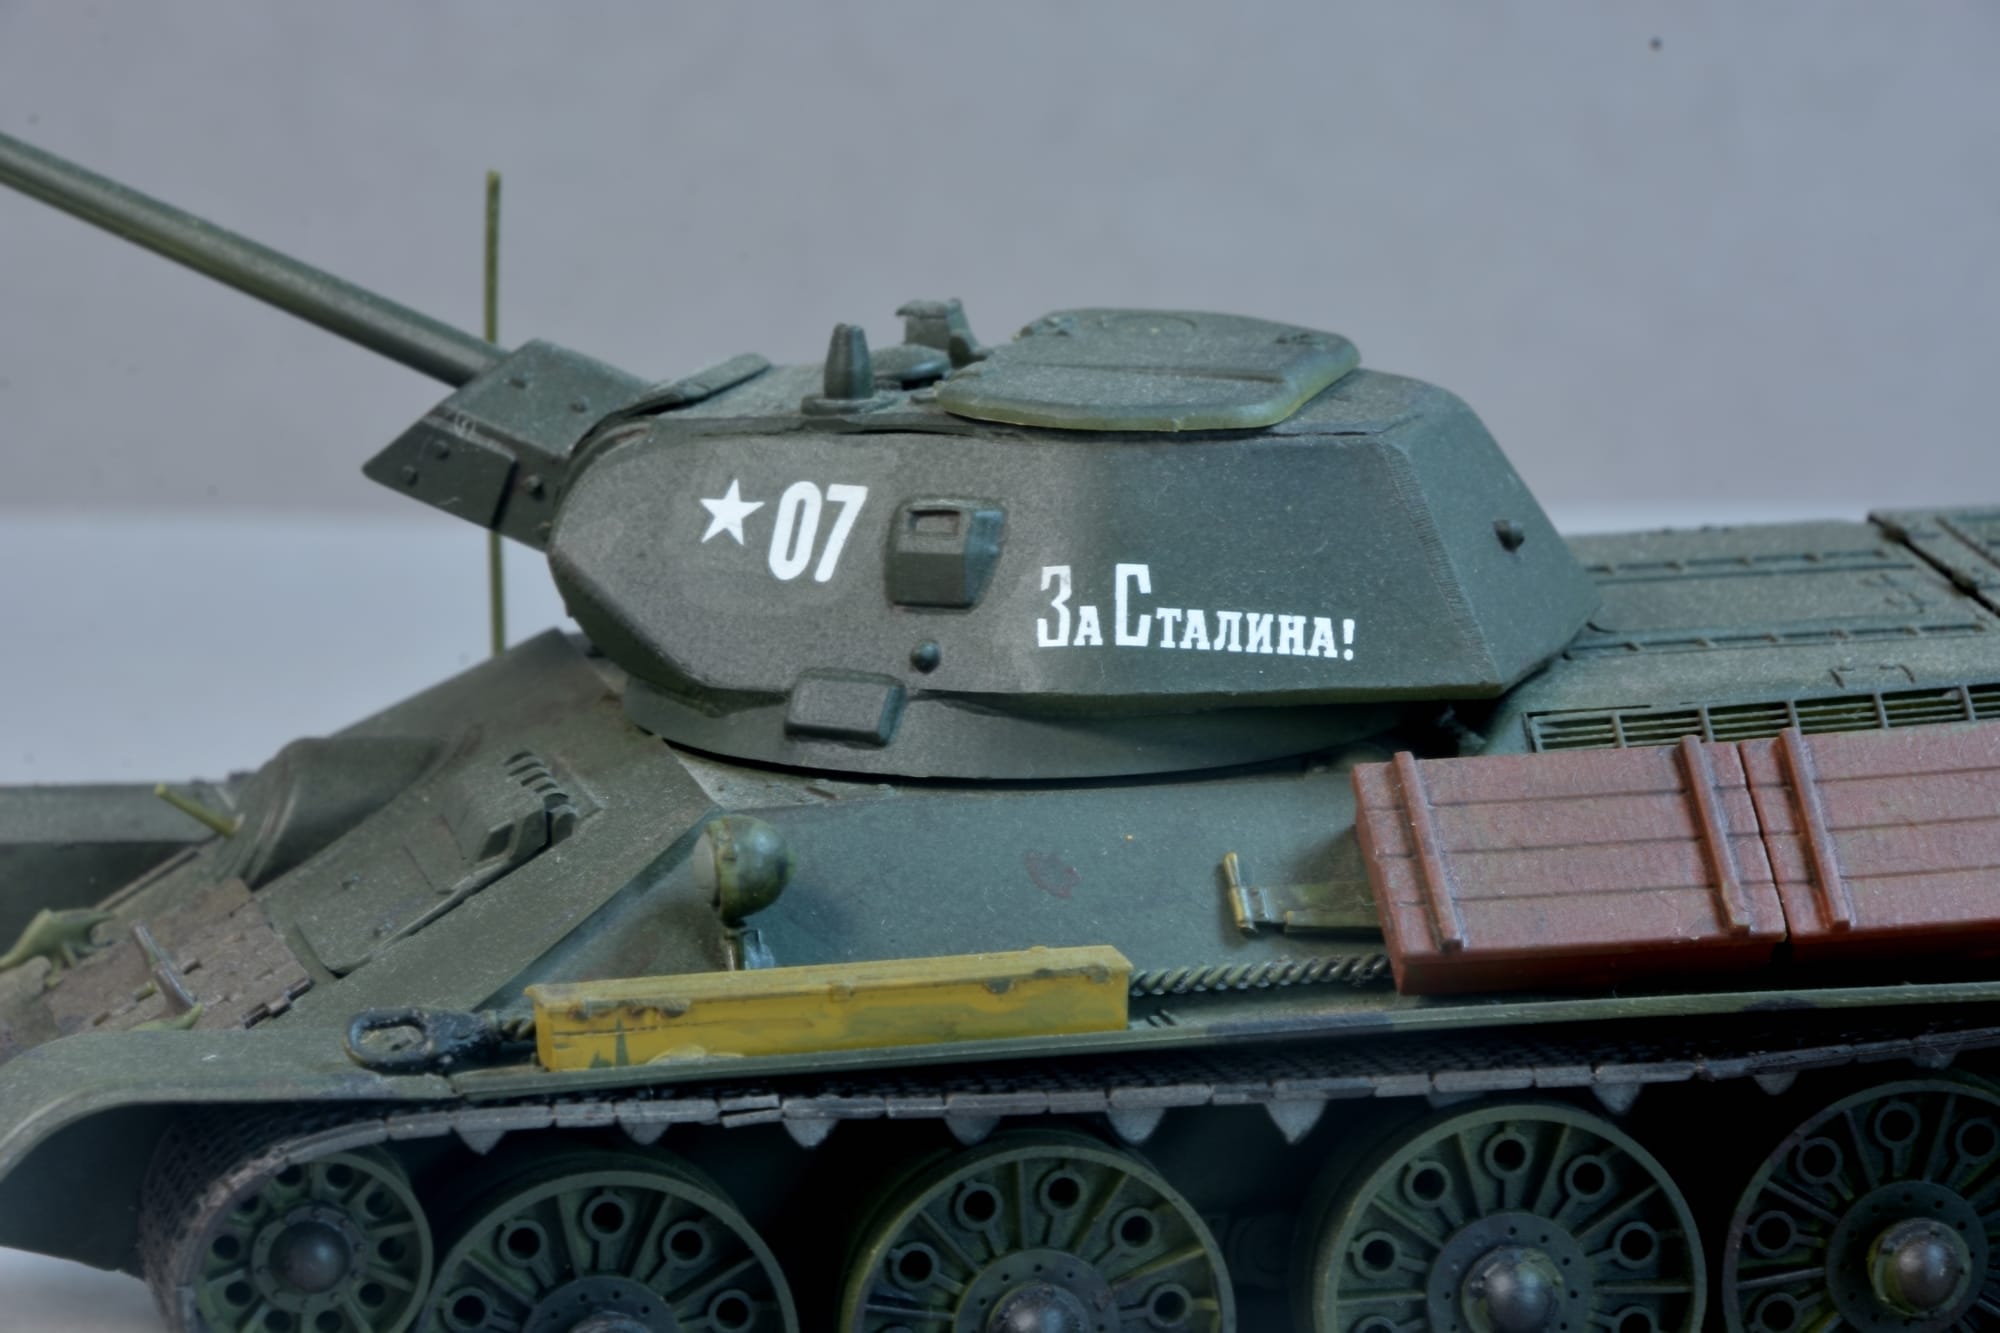
The T-34 was a Soviet medium tank that greatly influenced the outcome of WW II. Introduced in 1940, its 76.2 mm gun was more powerful than its contemporaries while its 60 degree sloped armor provided good protection against anti-tank weapons. After the Germans were surprised by the tank in 1941 during Operation Barbarossa, German general von Kleist called it "the finest tank in the world”.
The T-34 was the mainstay of the Soviet Red Army throughout the war. Its general specifications remained nearly unchanged until early 1944, when it received a firepower upgrade with the introduction of the greatly improved T-34-85 variant. Its production method was continuously refined and rationalized to meet the needs of the Eastern Front, making the T-34 quicker and cheaper to produce. The Soviets ultimately built over 80,000 T-34s of all variants, allowing steadily greater numbers to be fielded despite the loss of tens of thousands in combat. With 44,900 lost during the war, it also suffered the most tank losses ever.
The model is from the Zvezda (Russian) 1:35 scale kit. The build was fine but required some minor fill-ins and body work to correct for the lack of superior tooling found in Tamiya kits. The model represents the type used in the Battle of Kursk.
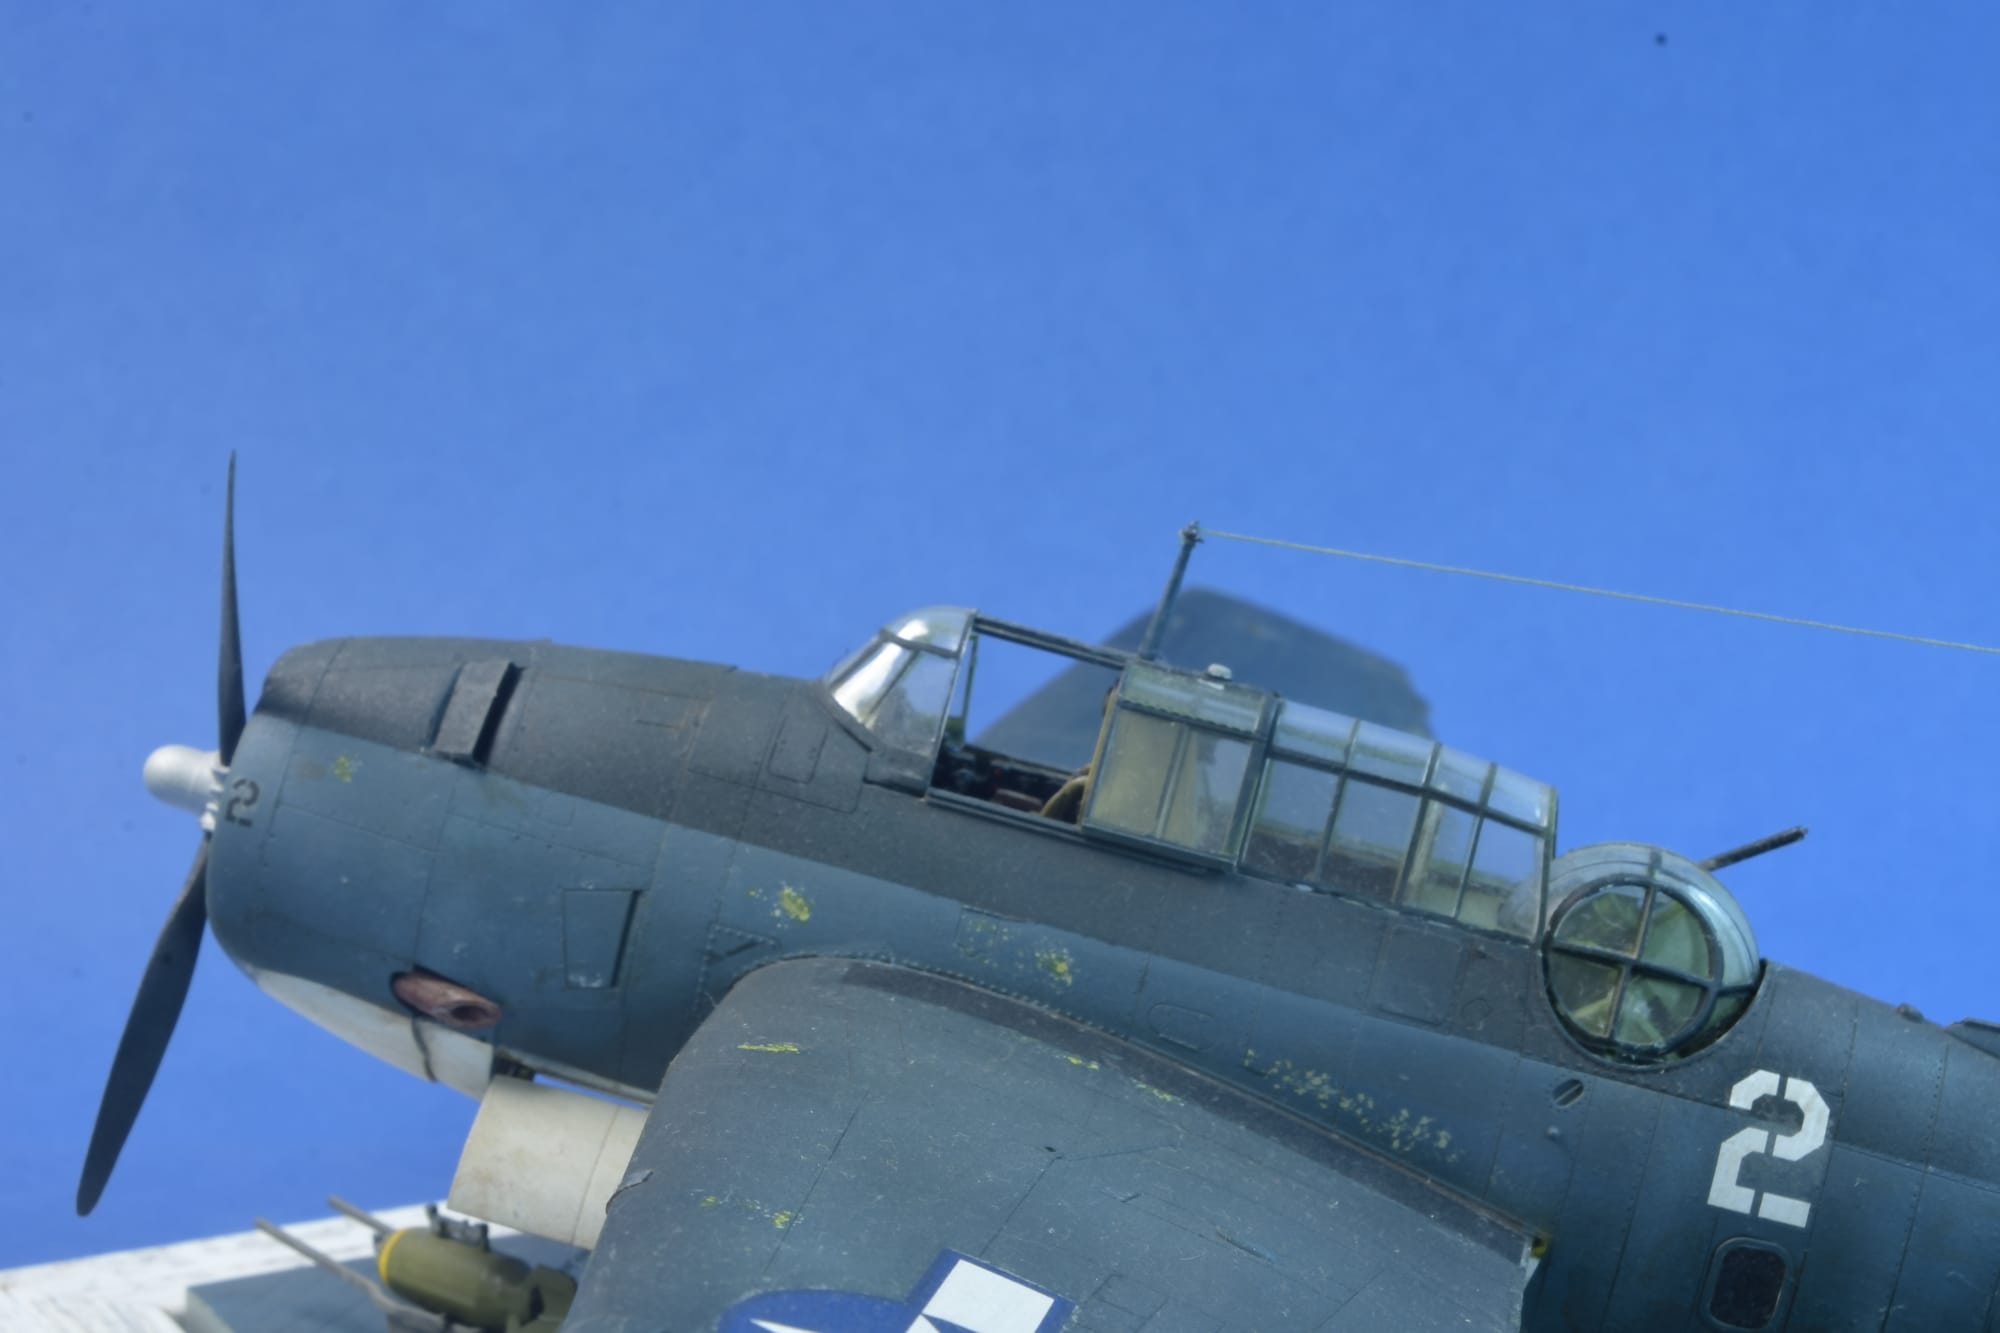
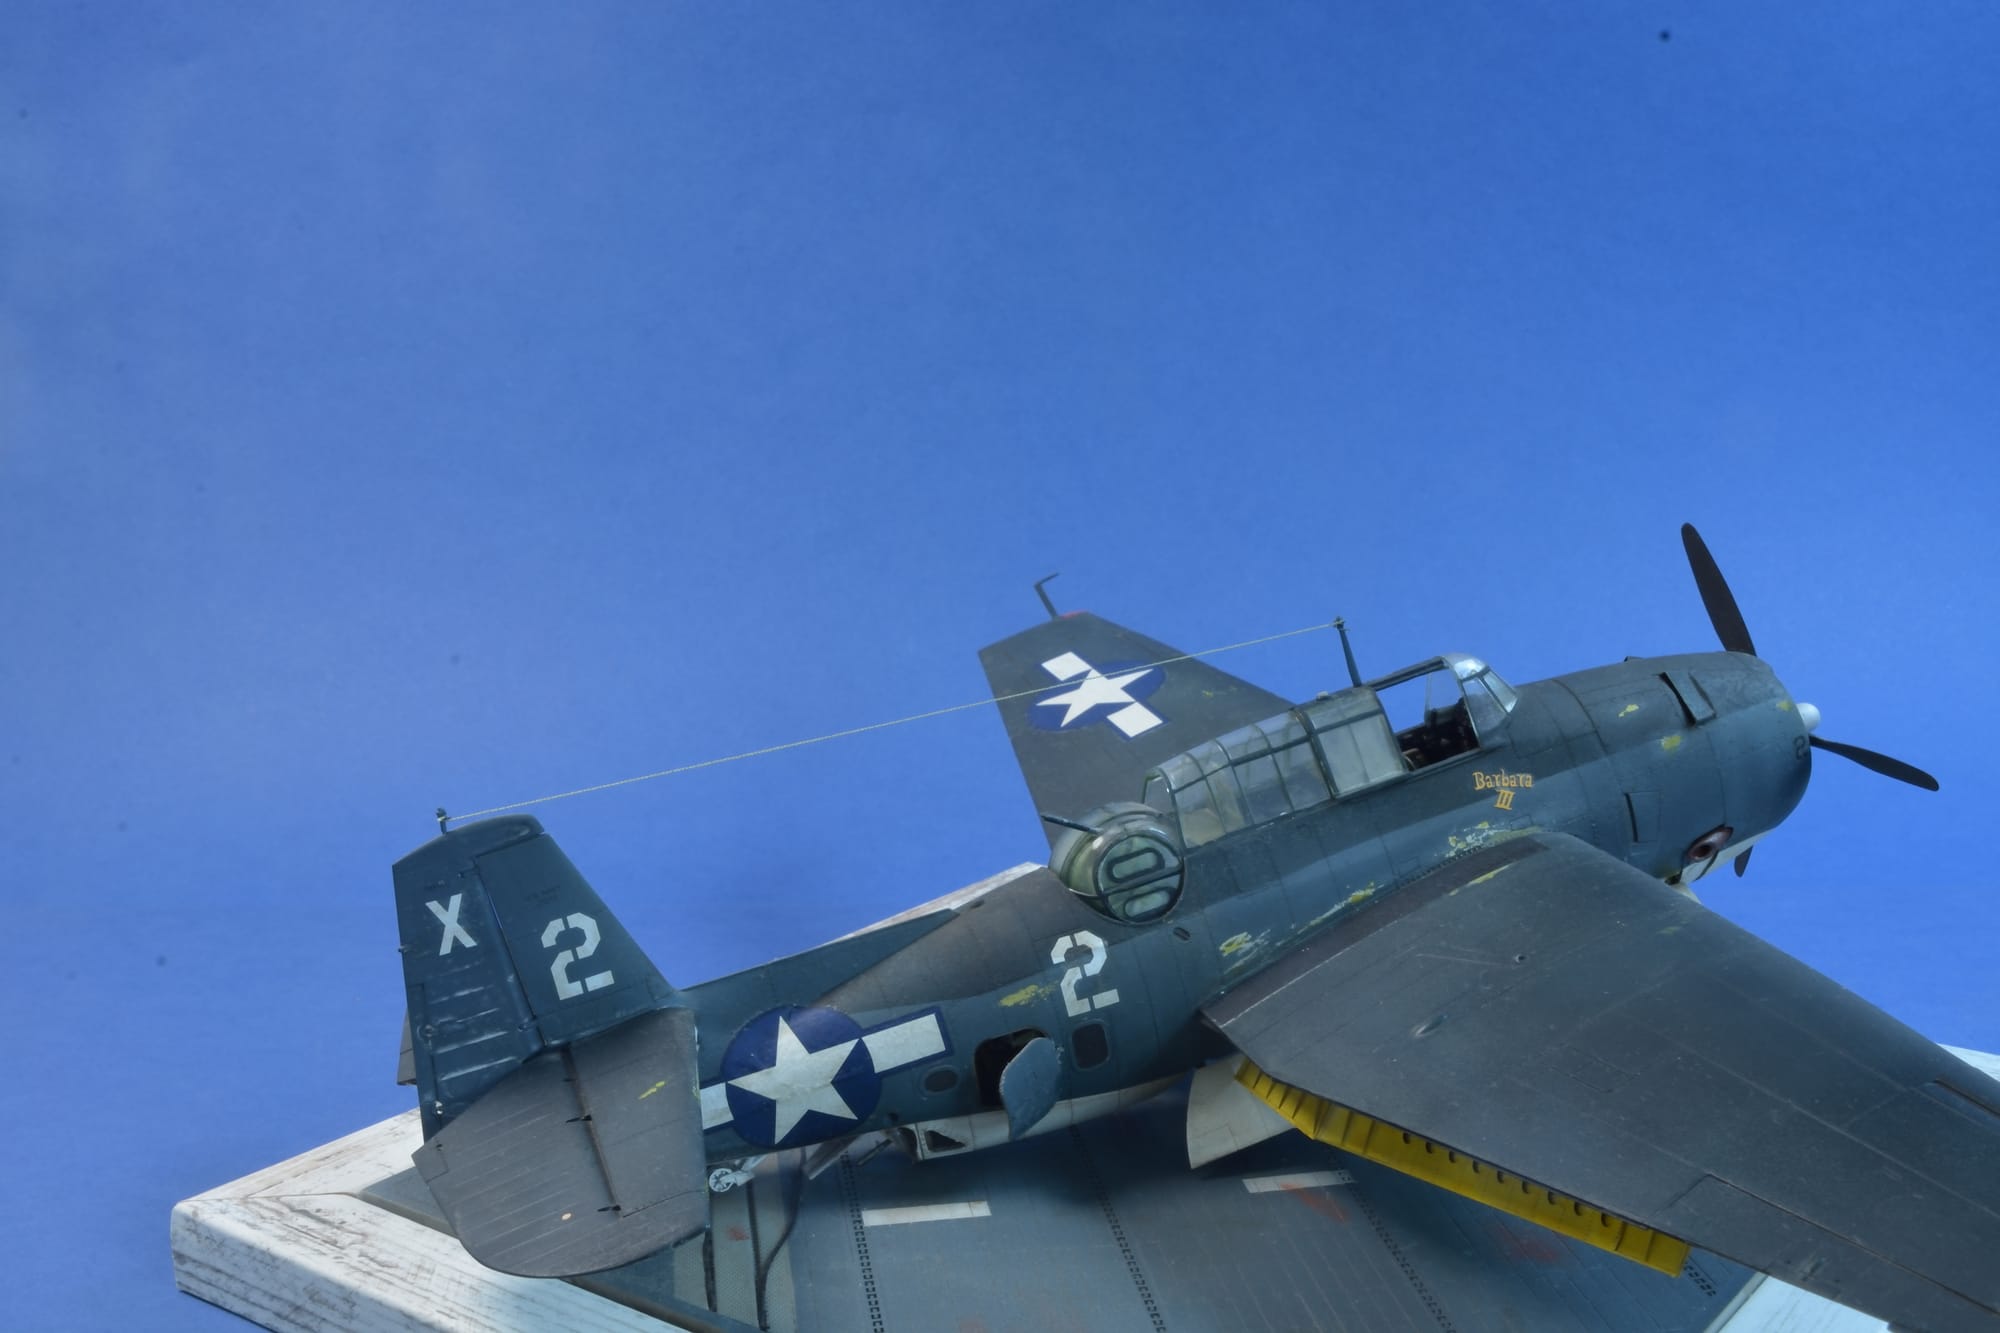
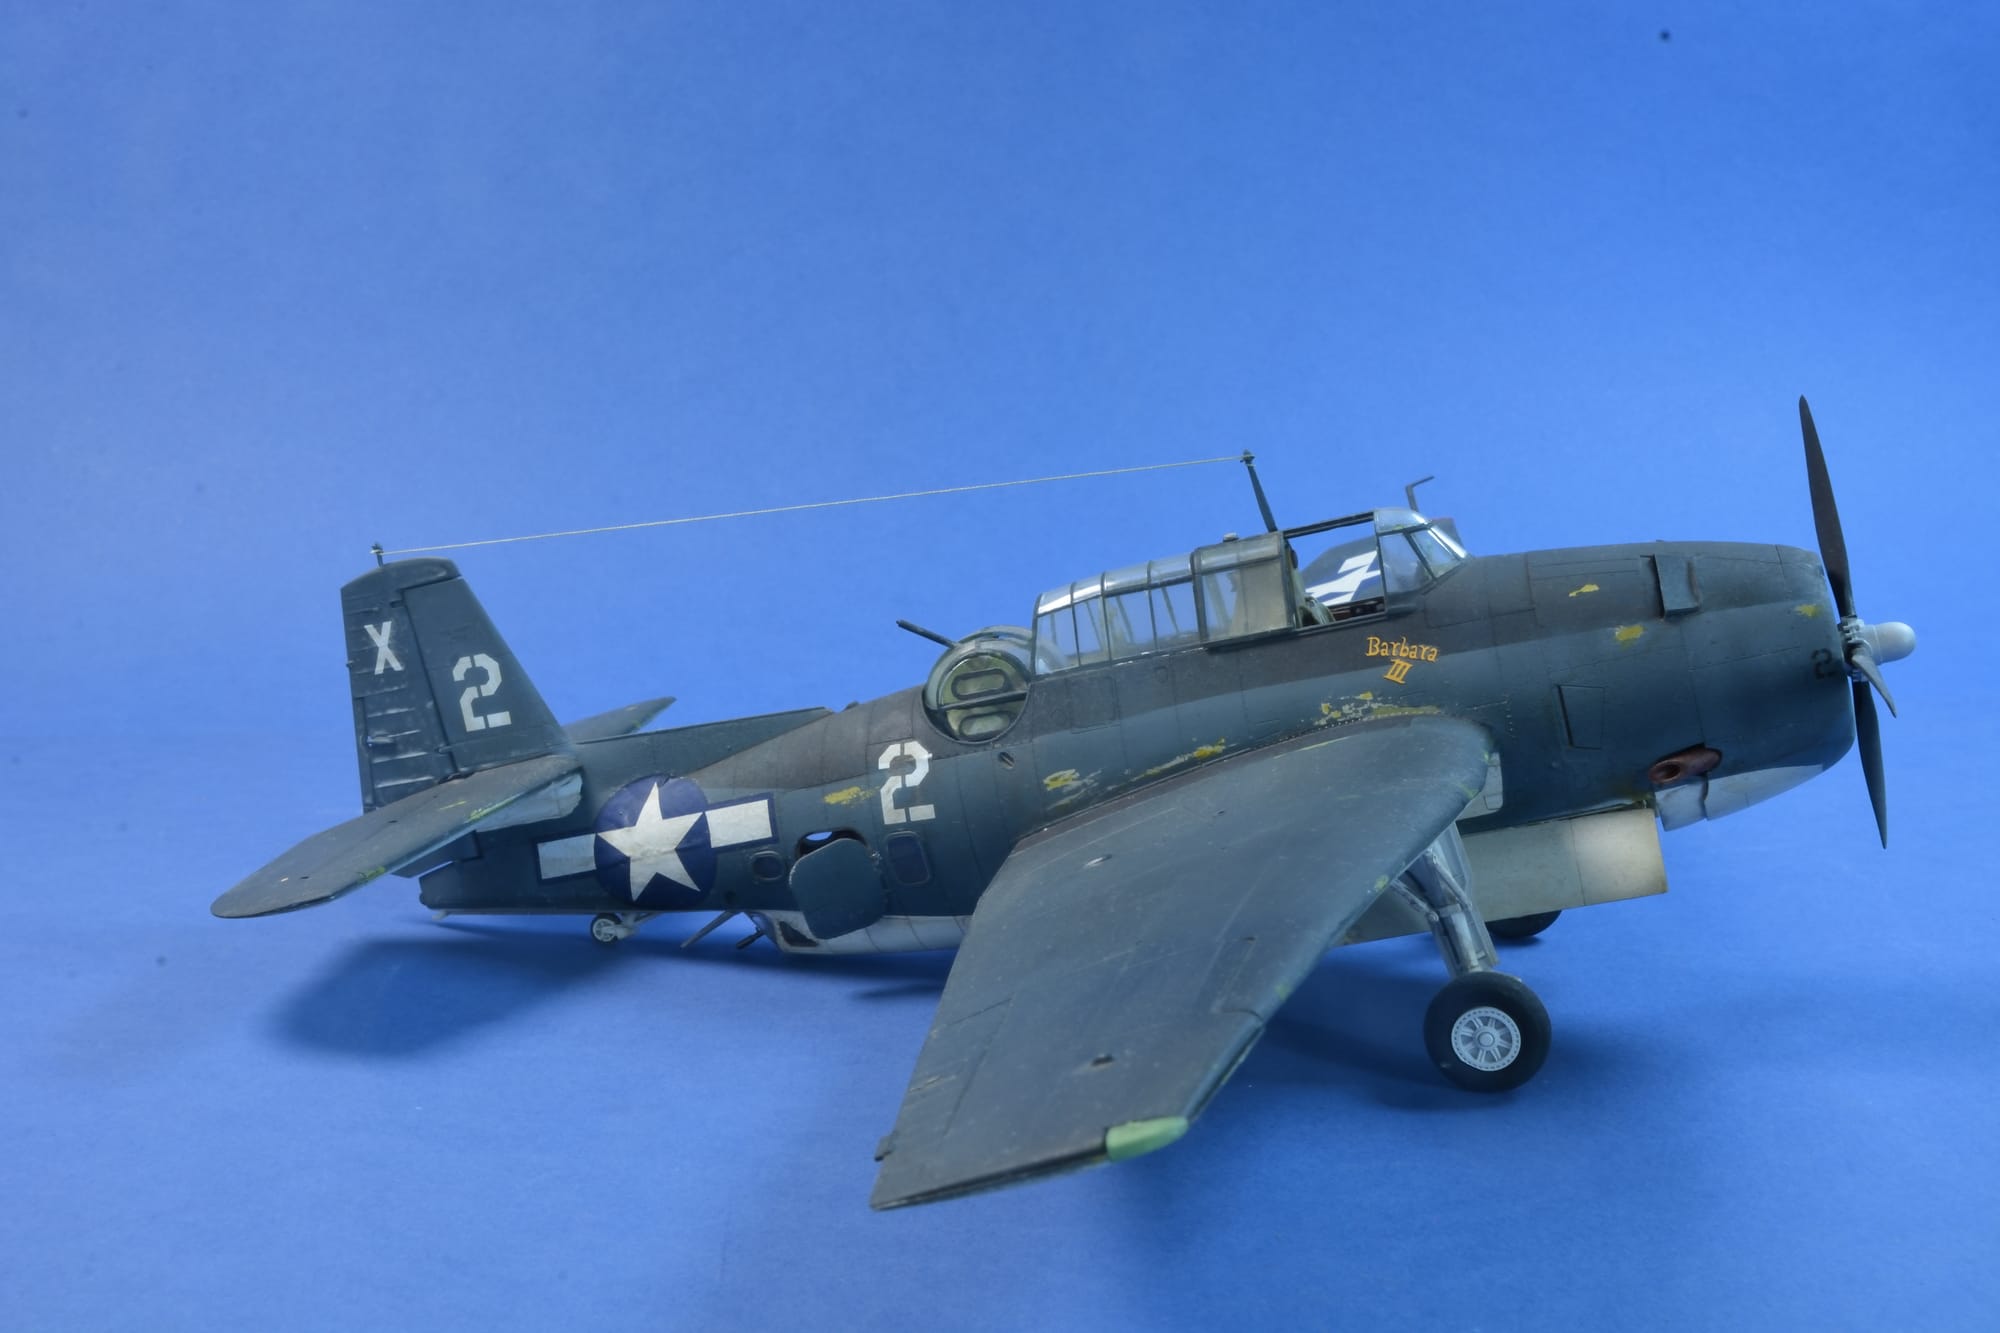
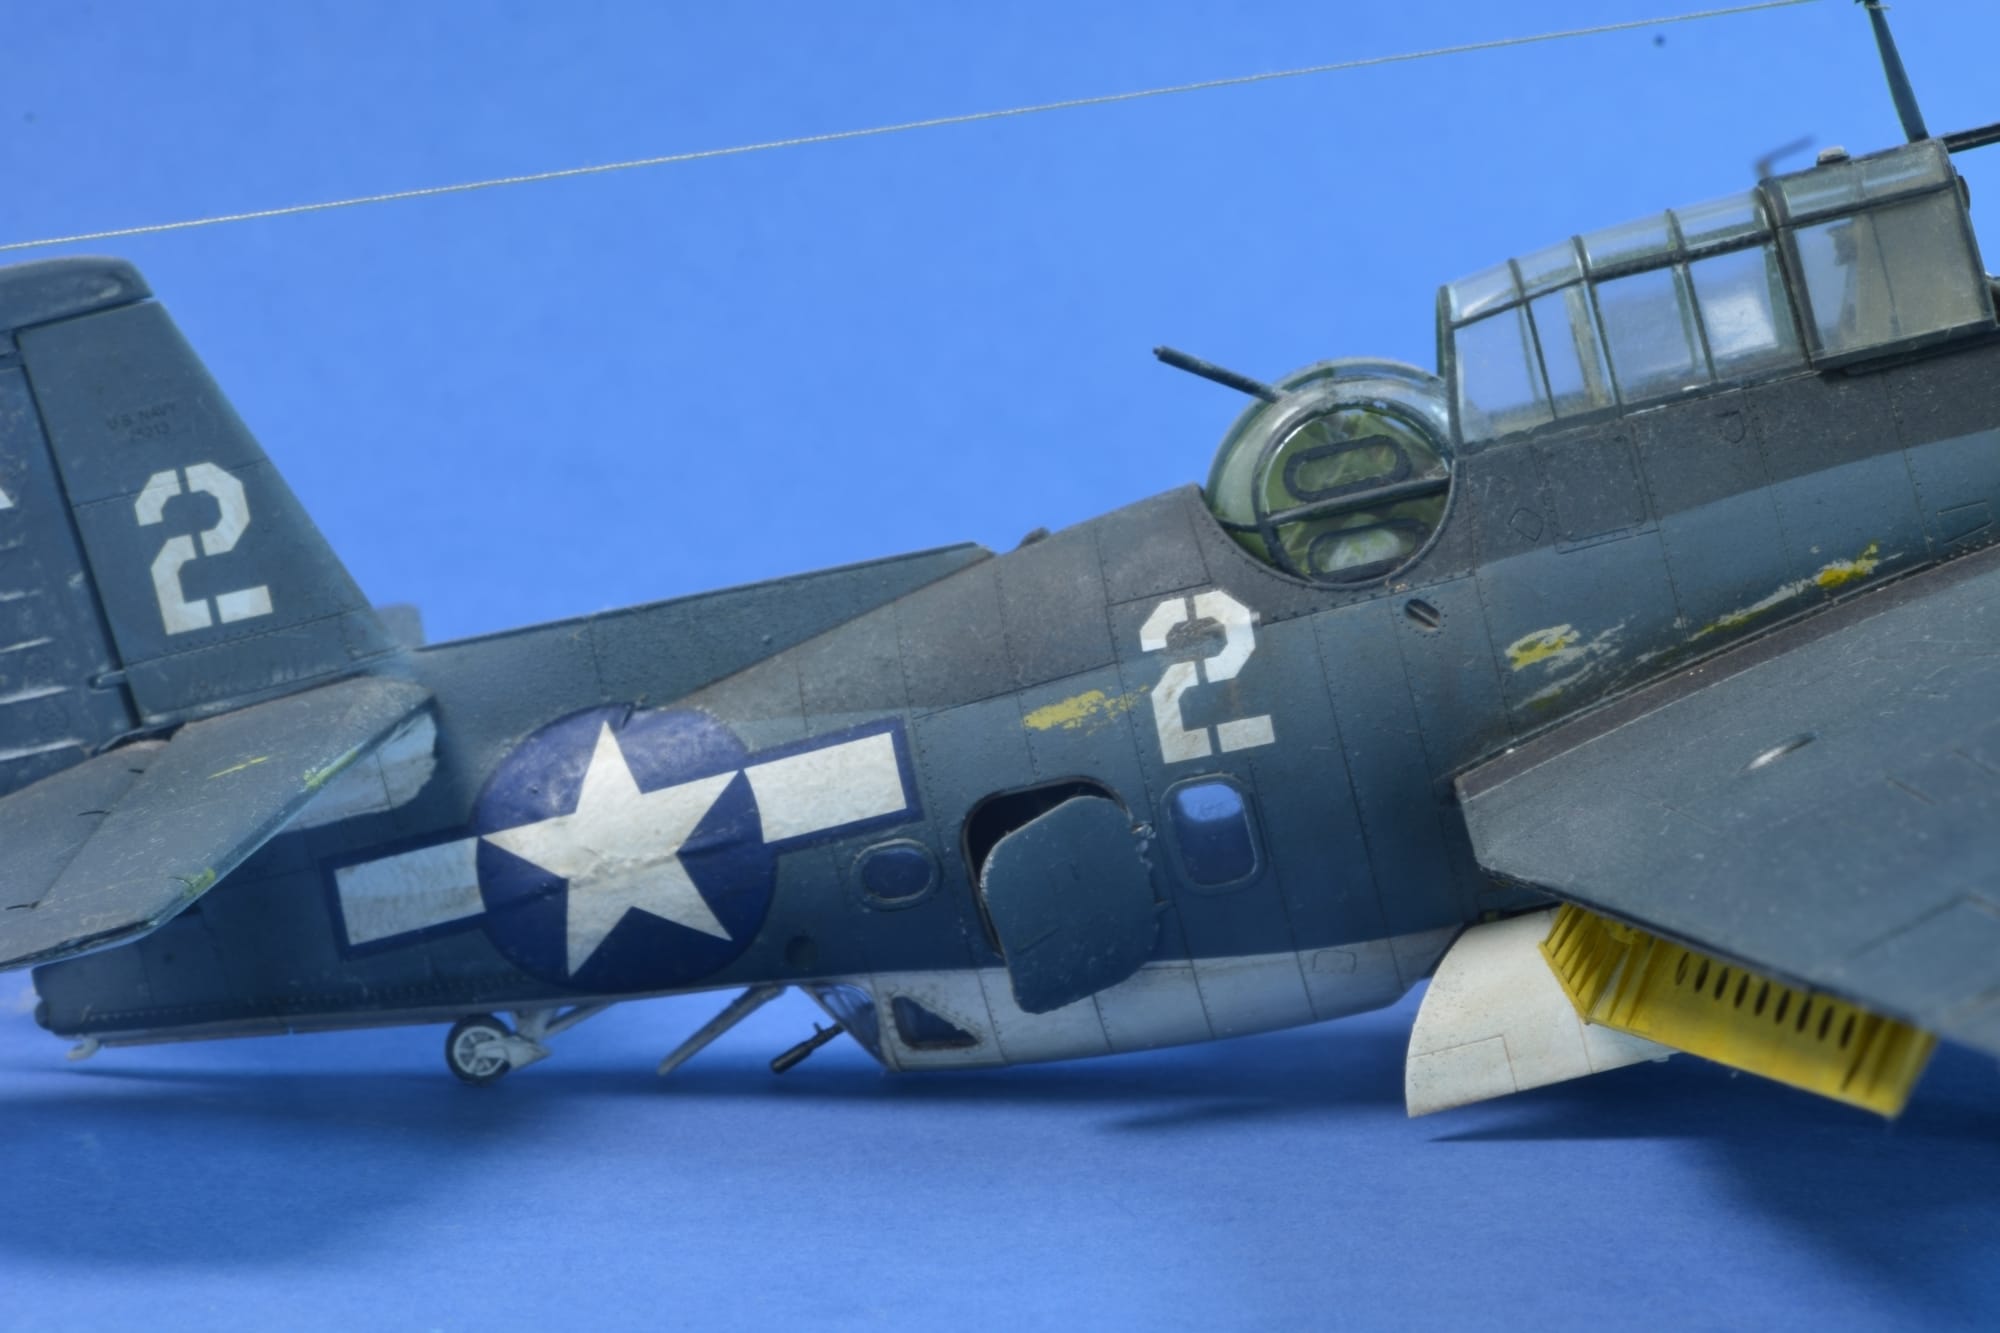
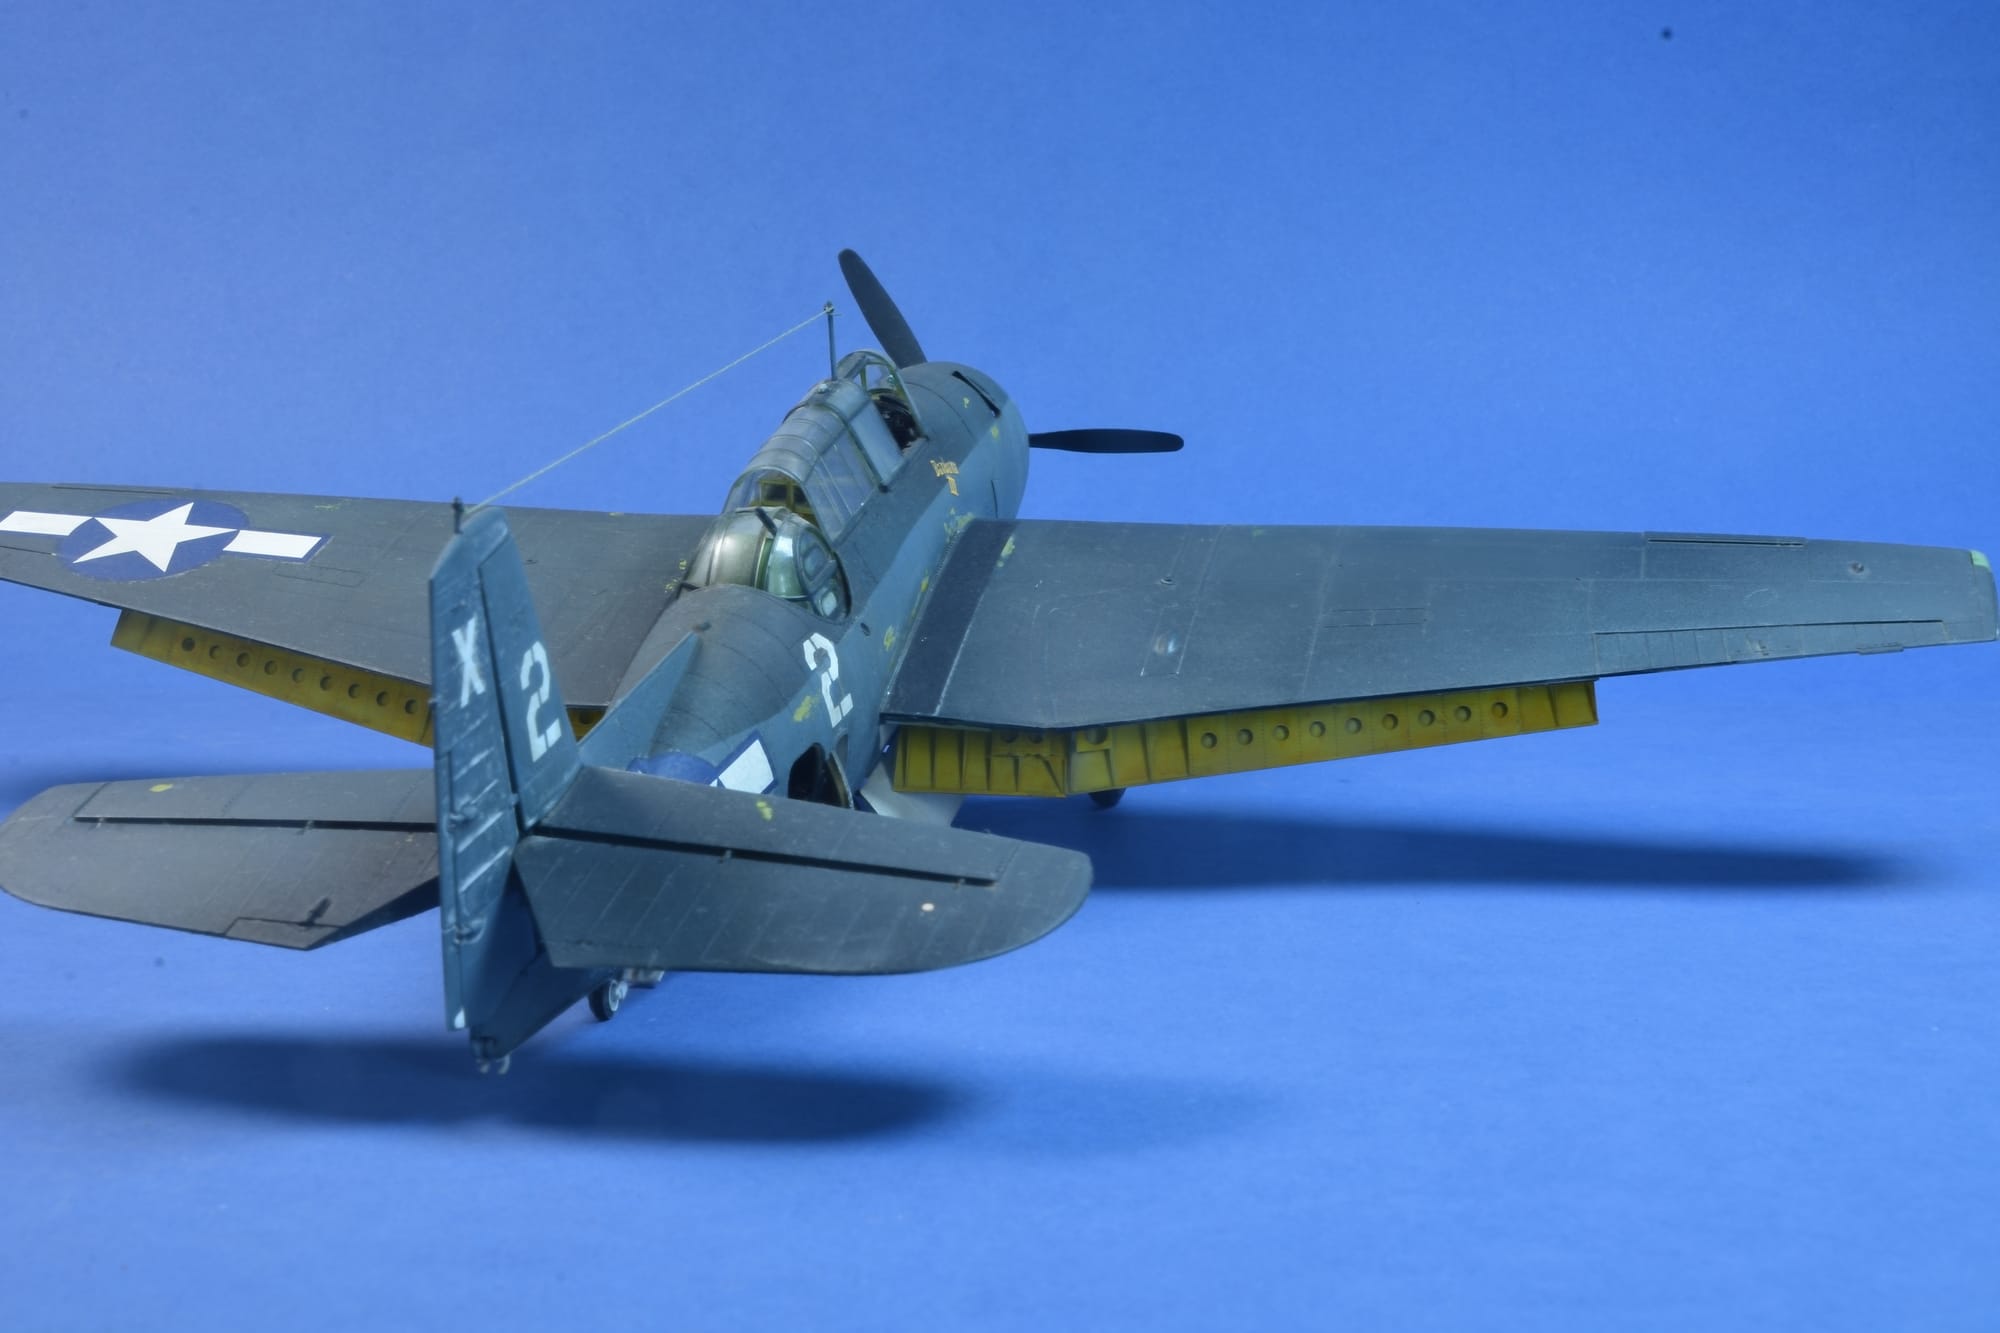
TBF Avenger
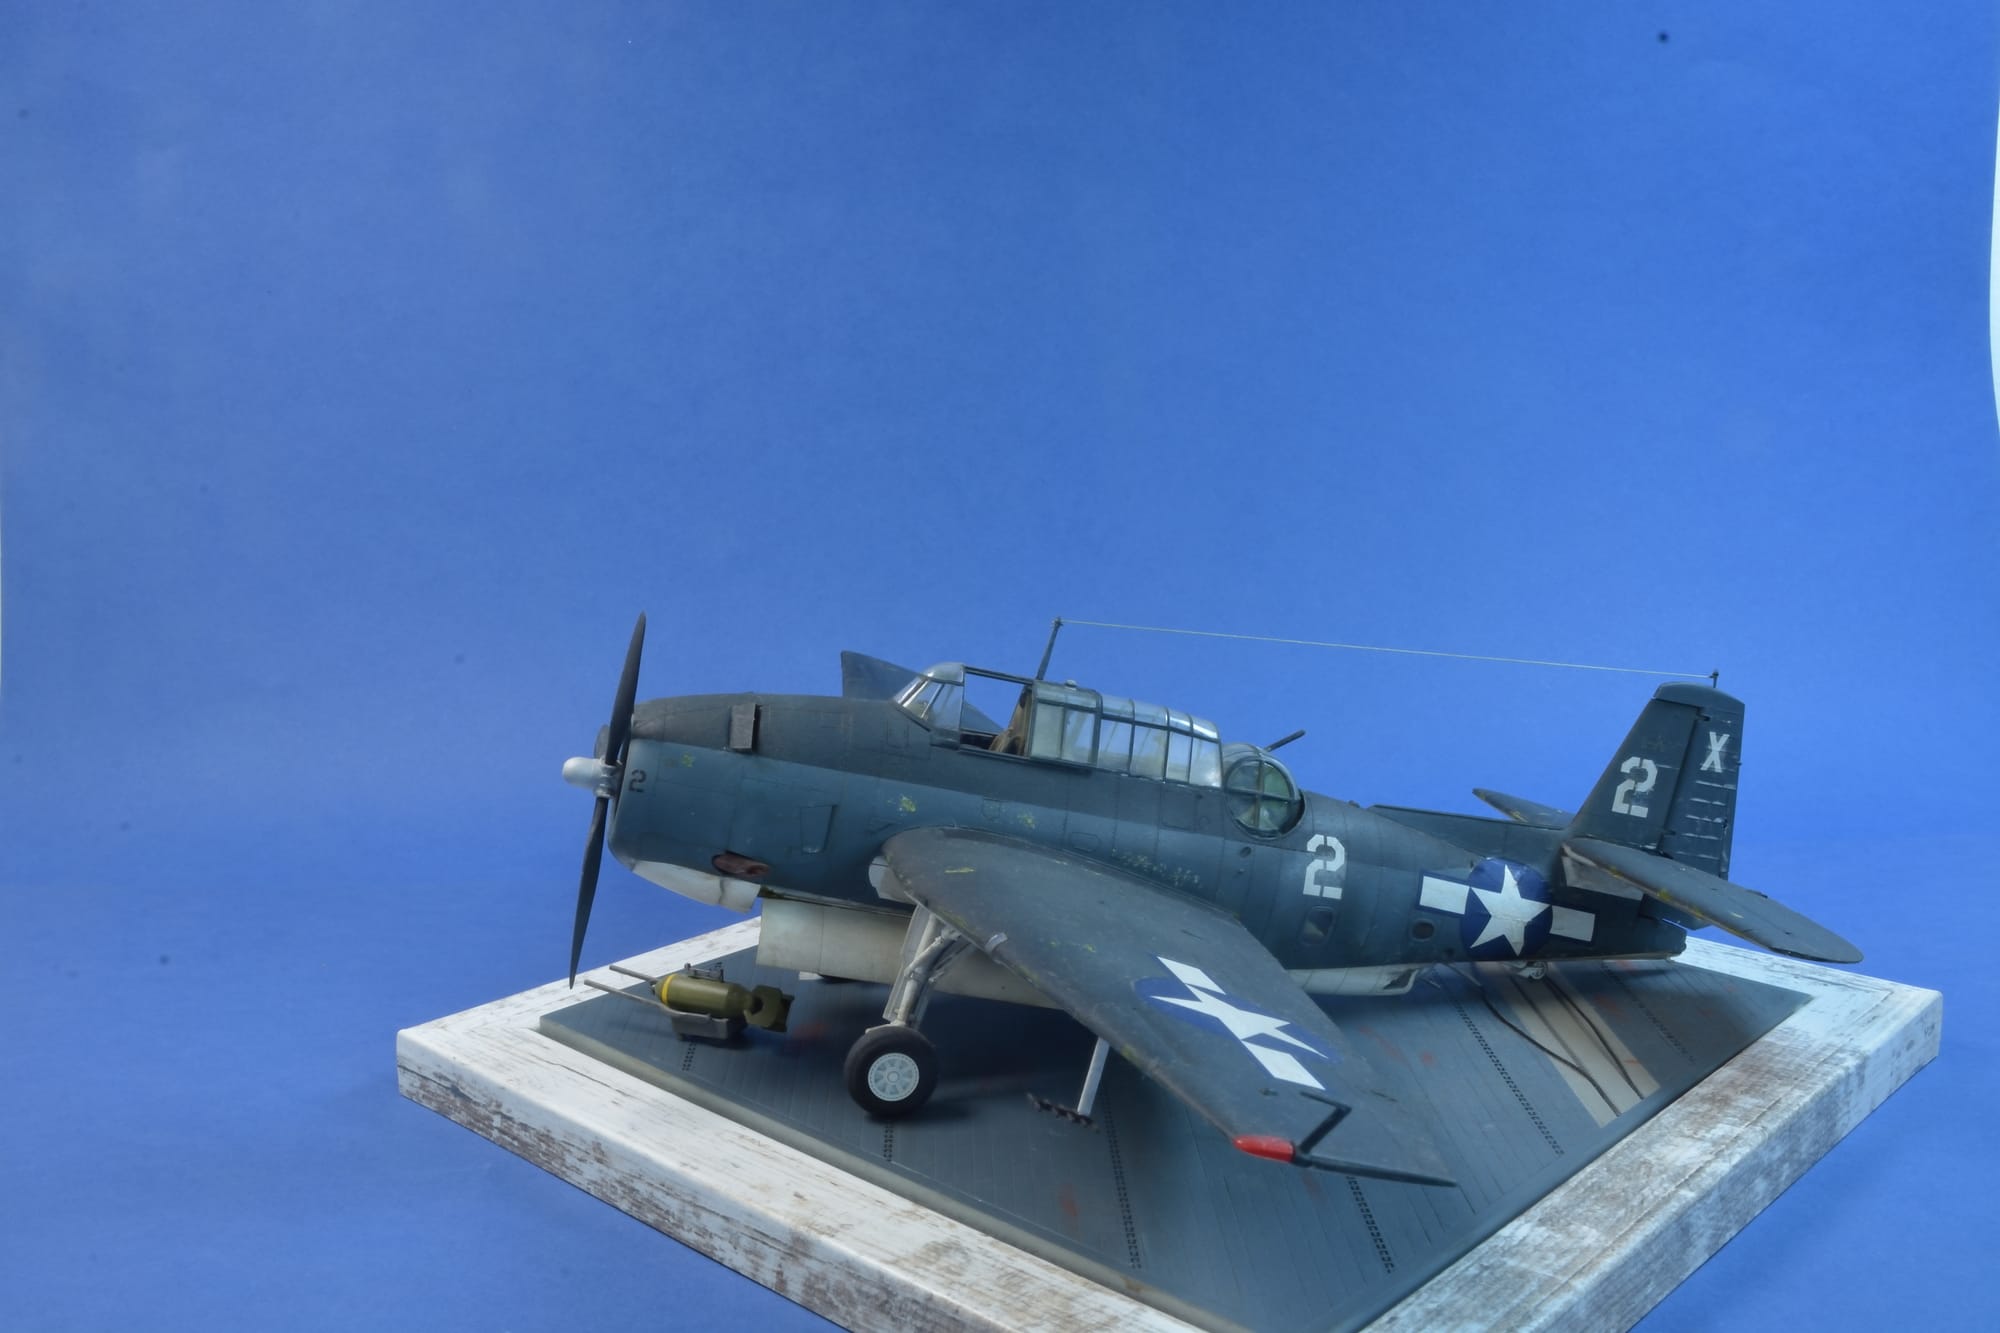
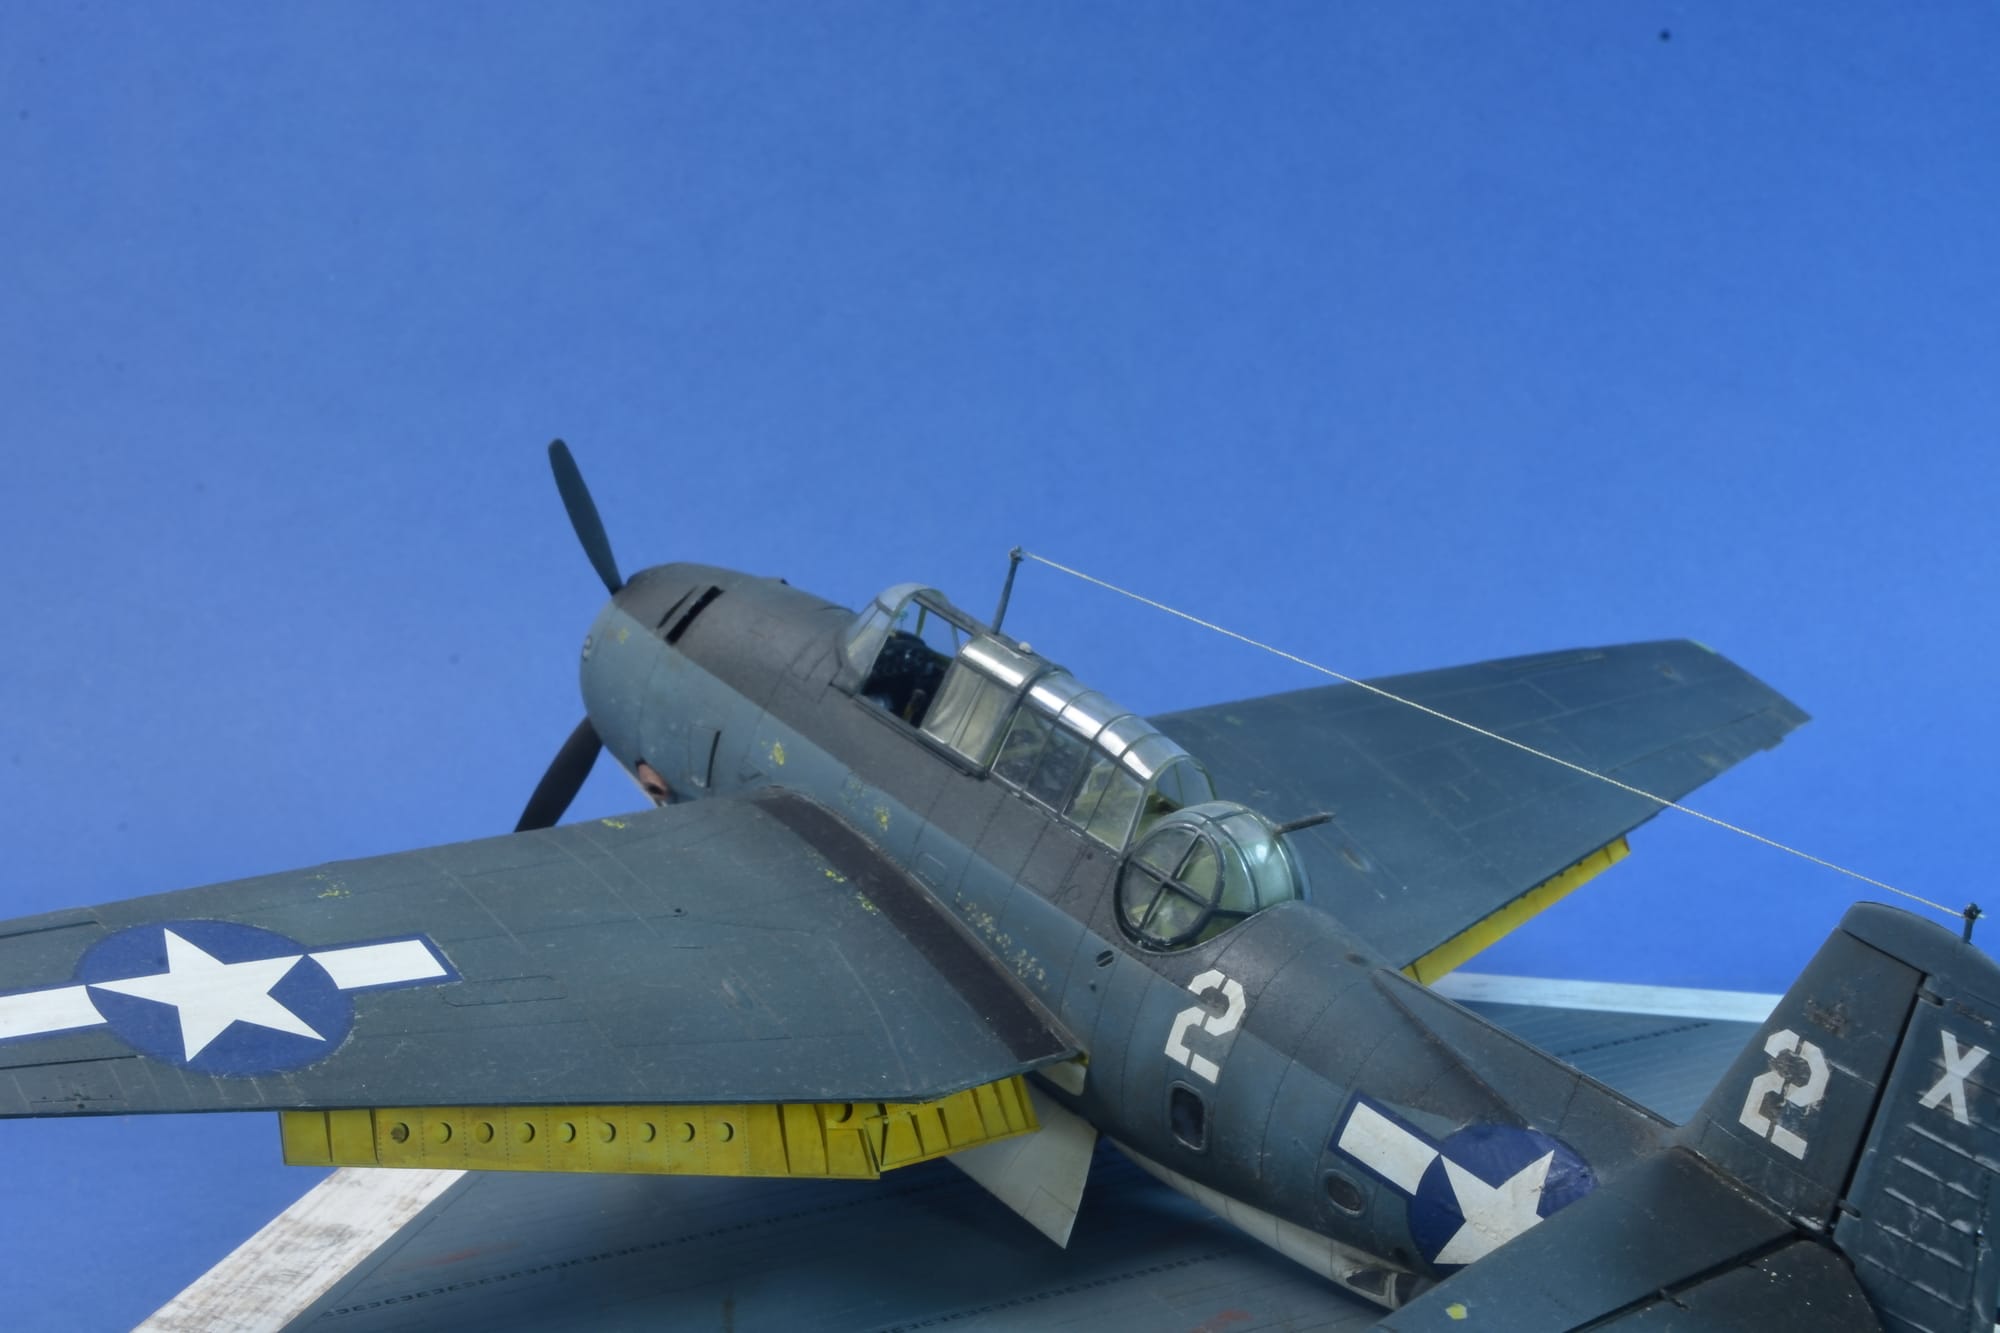
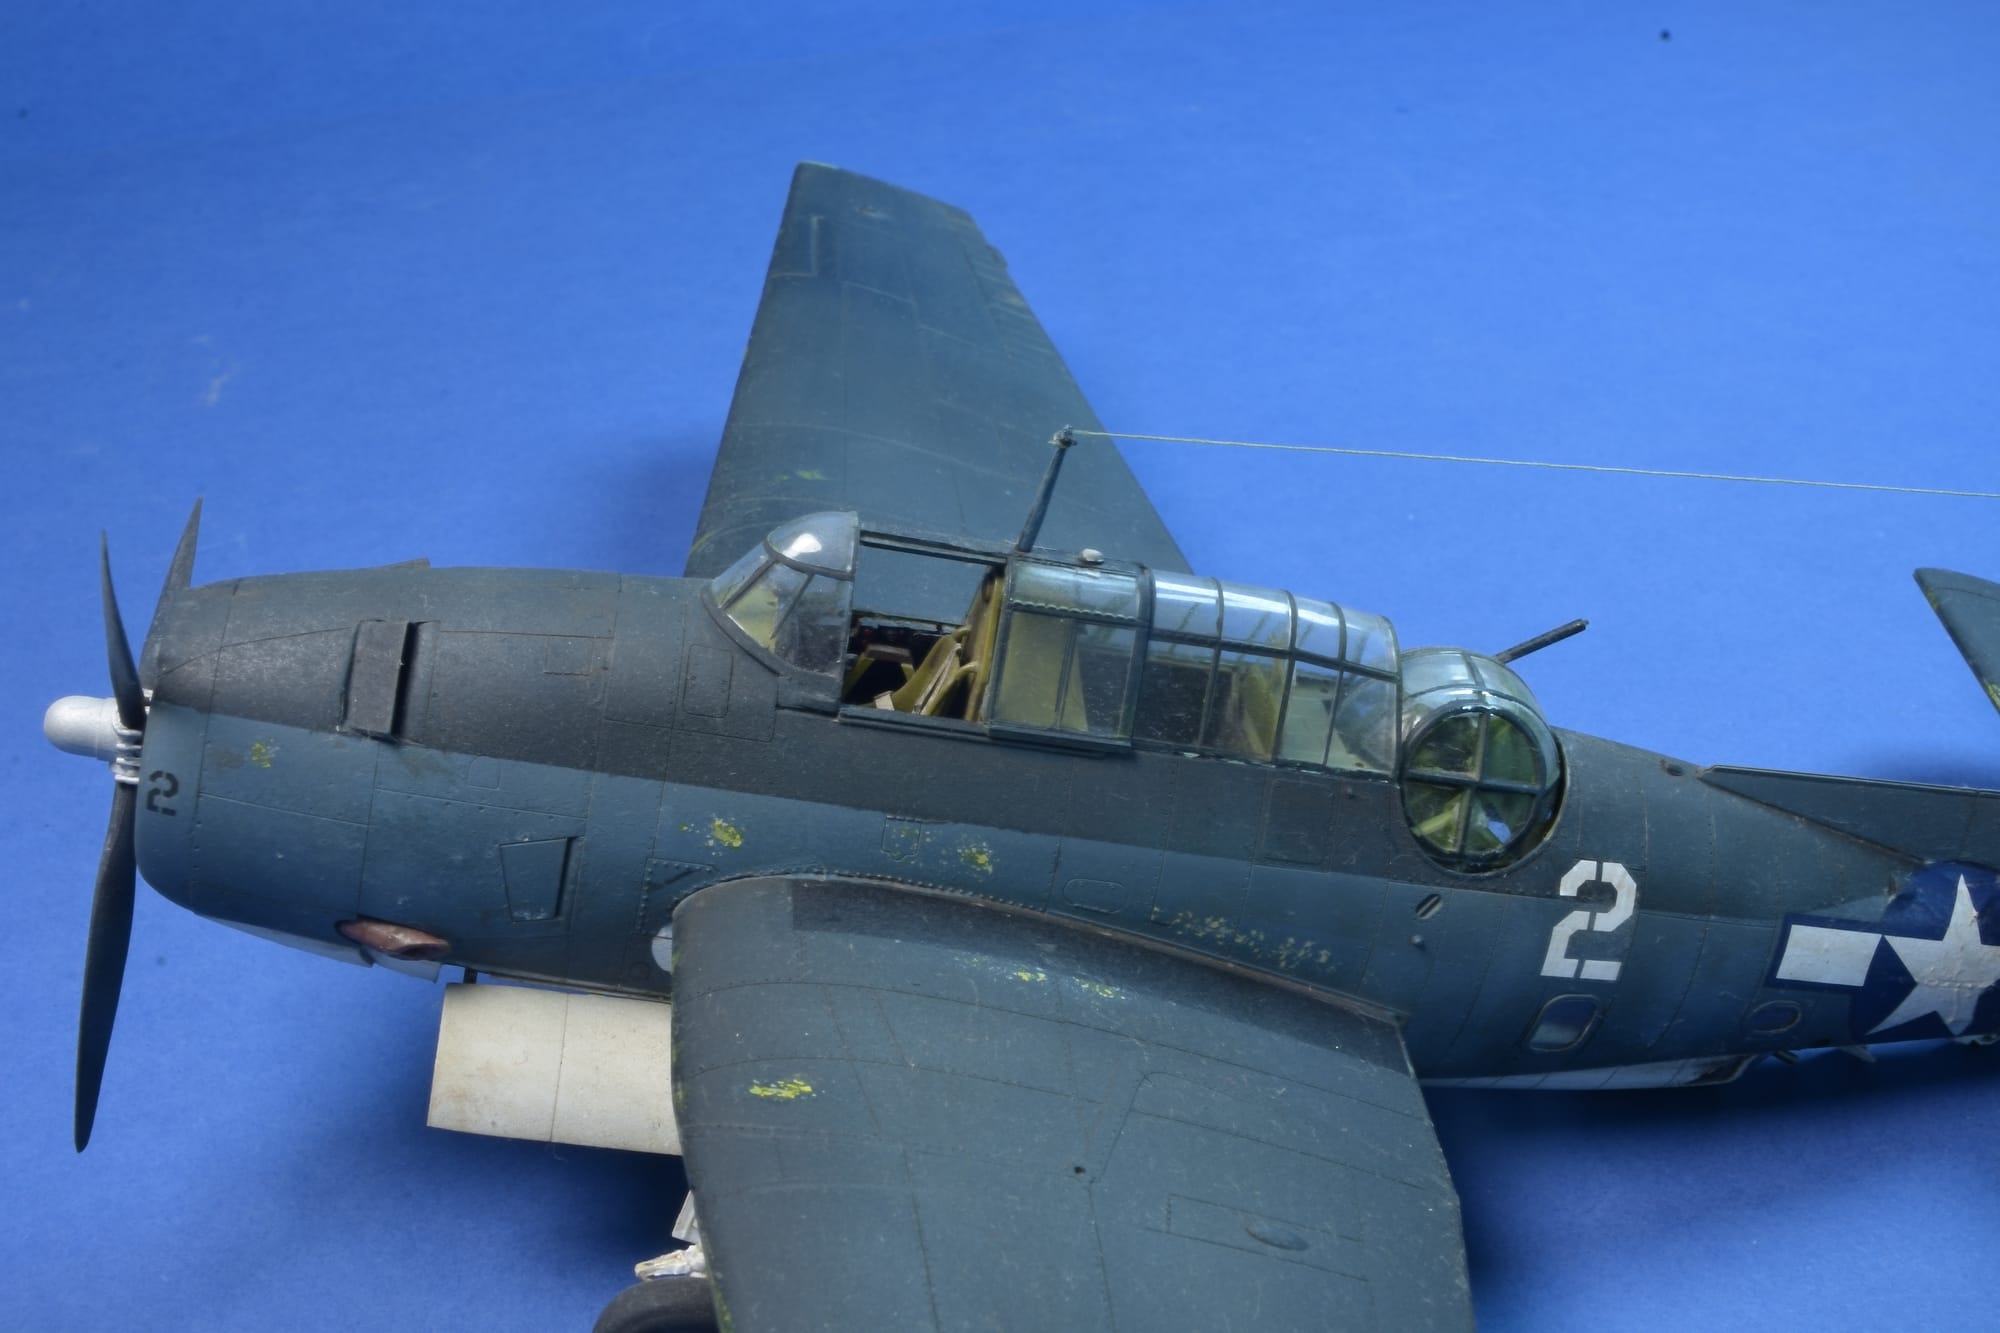
The Grumman TBF Avenger (designated TBM for aircraft manufactured by General Motors) was a Navy and Marine Corps World War II torpedo bomber. The Avenger entered U.S. service in 1942, and first saw limited action during the Battle of Midway. With 9,839 being built, it became the most effective and widely used torpedo bomber of World War II, sharing credit for sinking the super battleships Yamato and Musashi and being credited for sinking 30 submarines.
The Avenger was the heaviest single-engined aircraft of World War II. To ease carrier storage concerns, Grumman designed the Avenger to use a wing-folding mechanism, intended to maximize storage space on an aircraft carrier. There were three crew members: pilot, turret gunner and radioman/bombardier/ventral gunner.
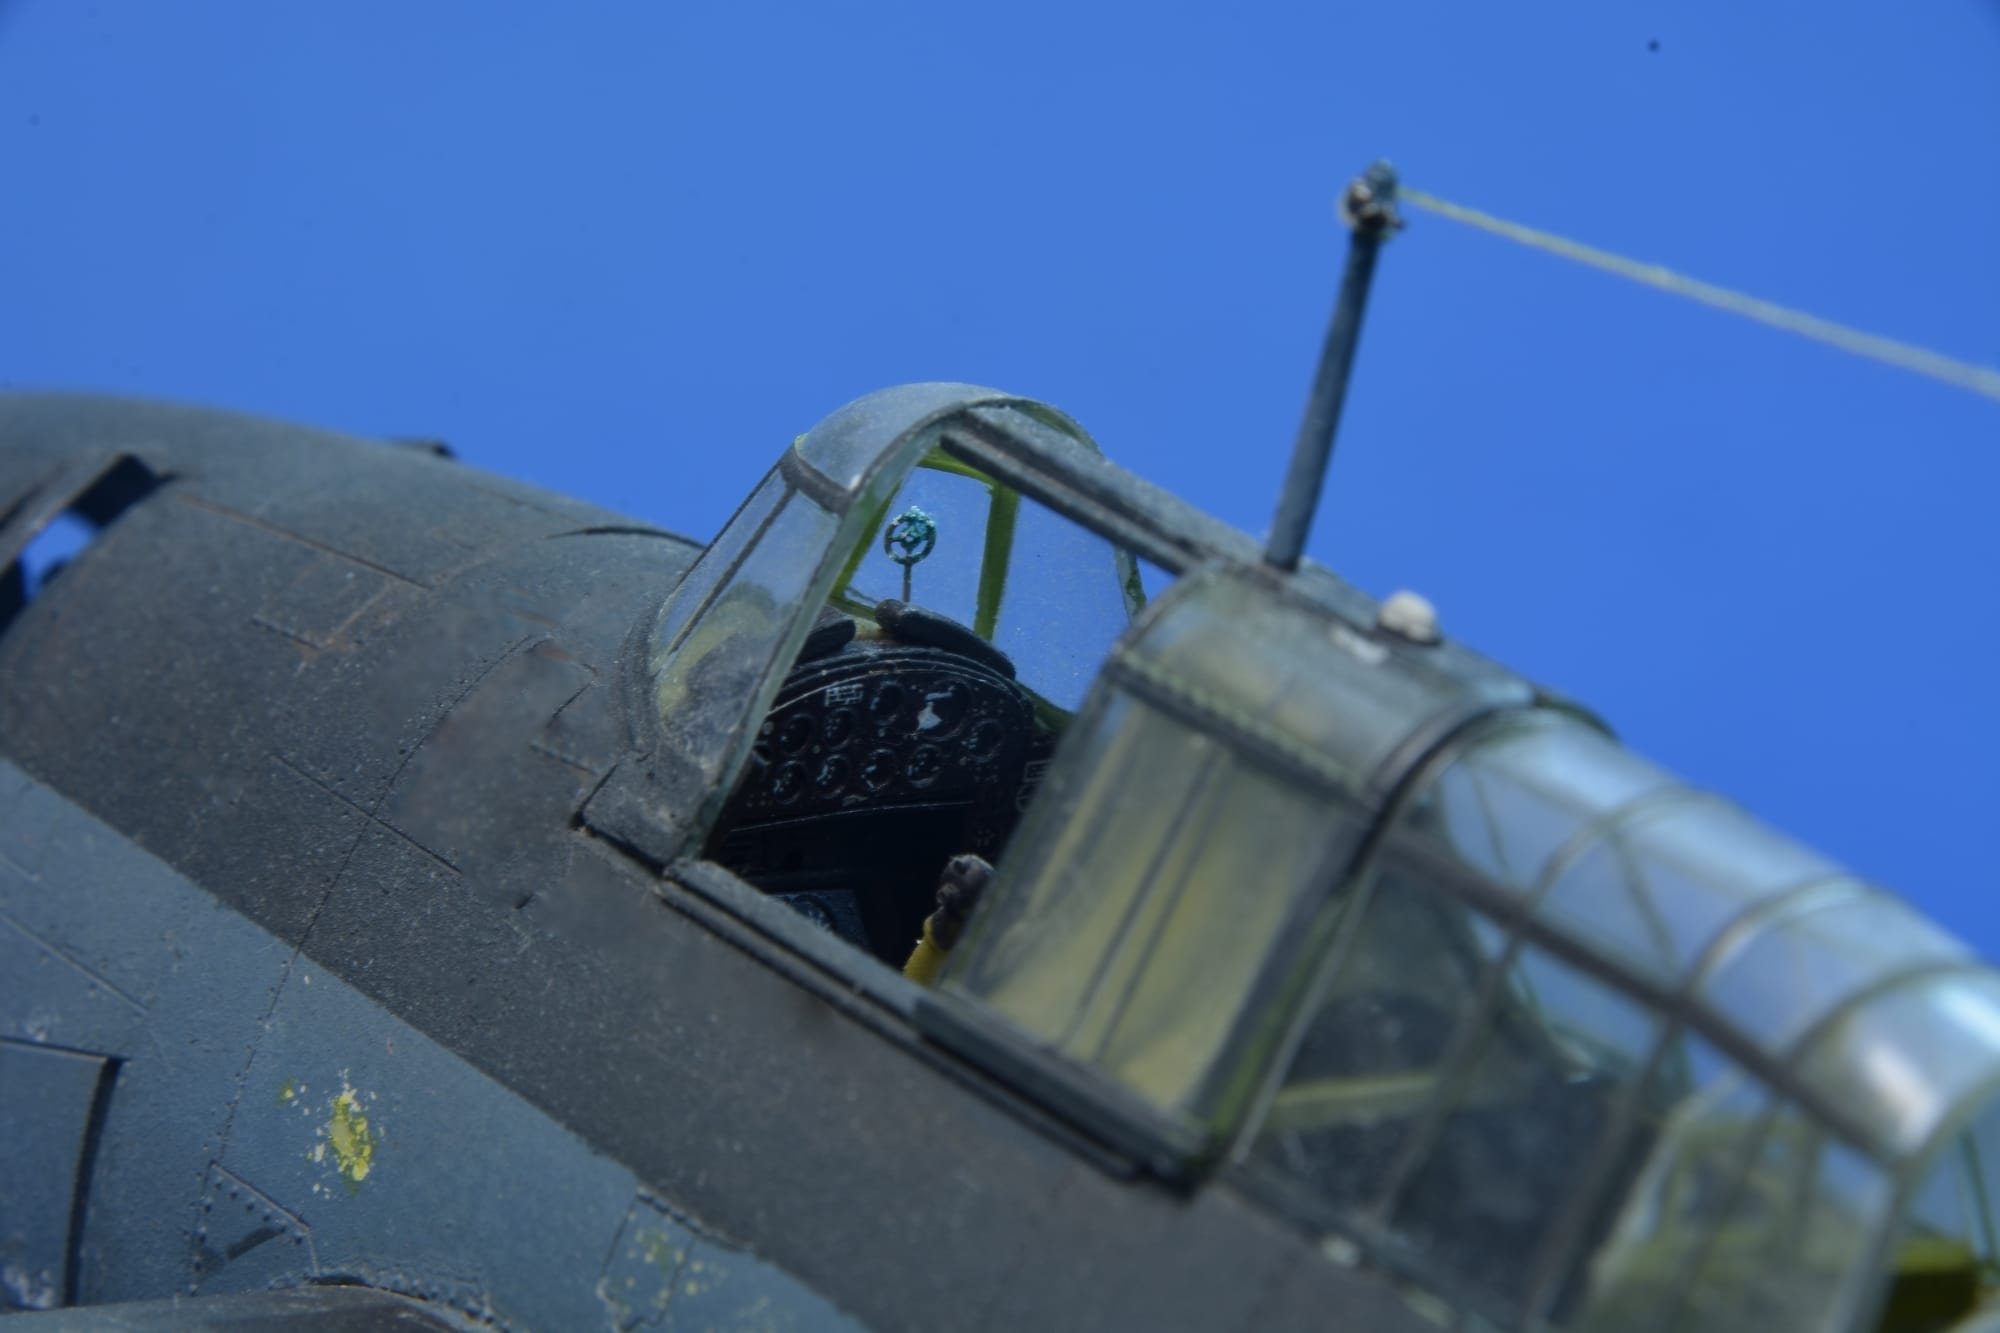
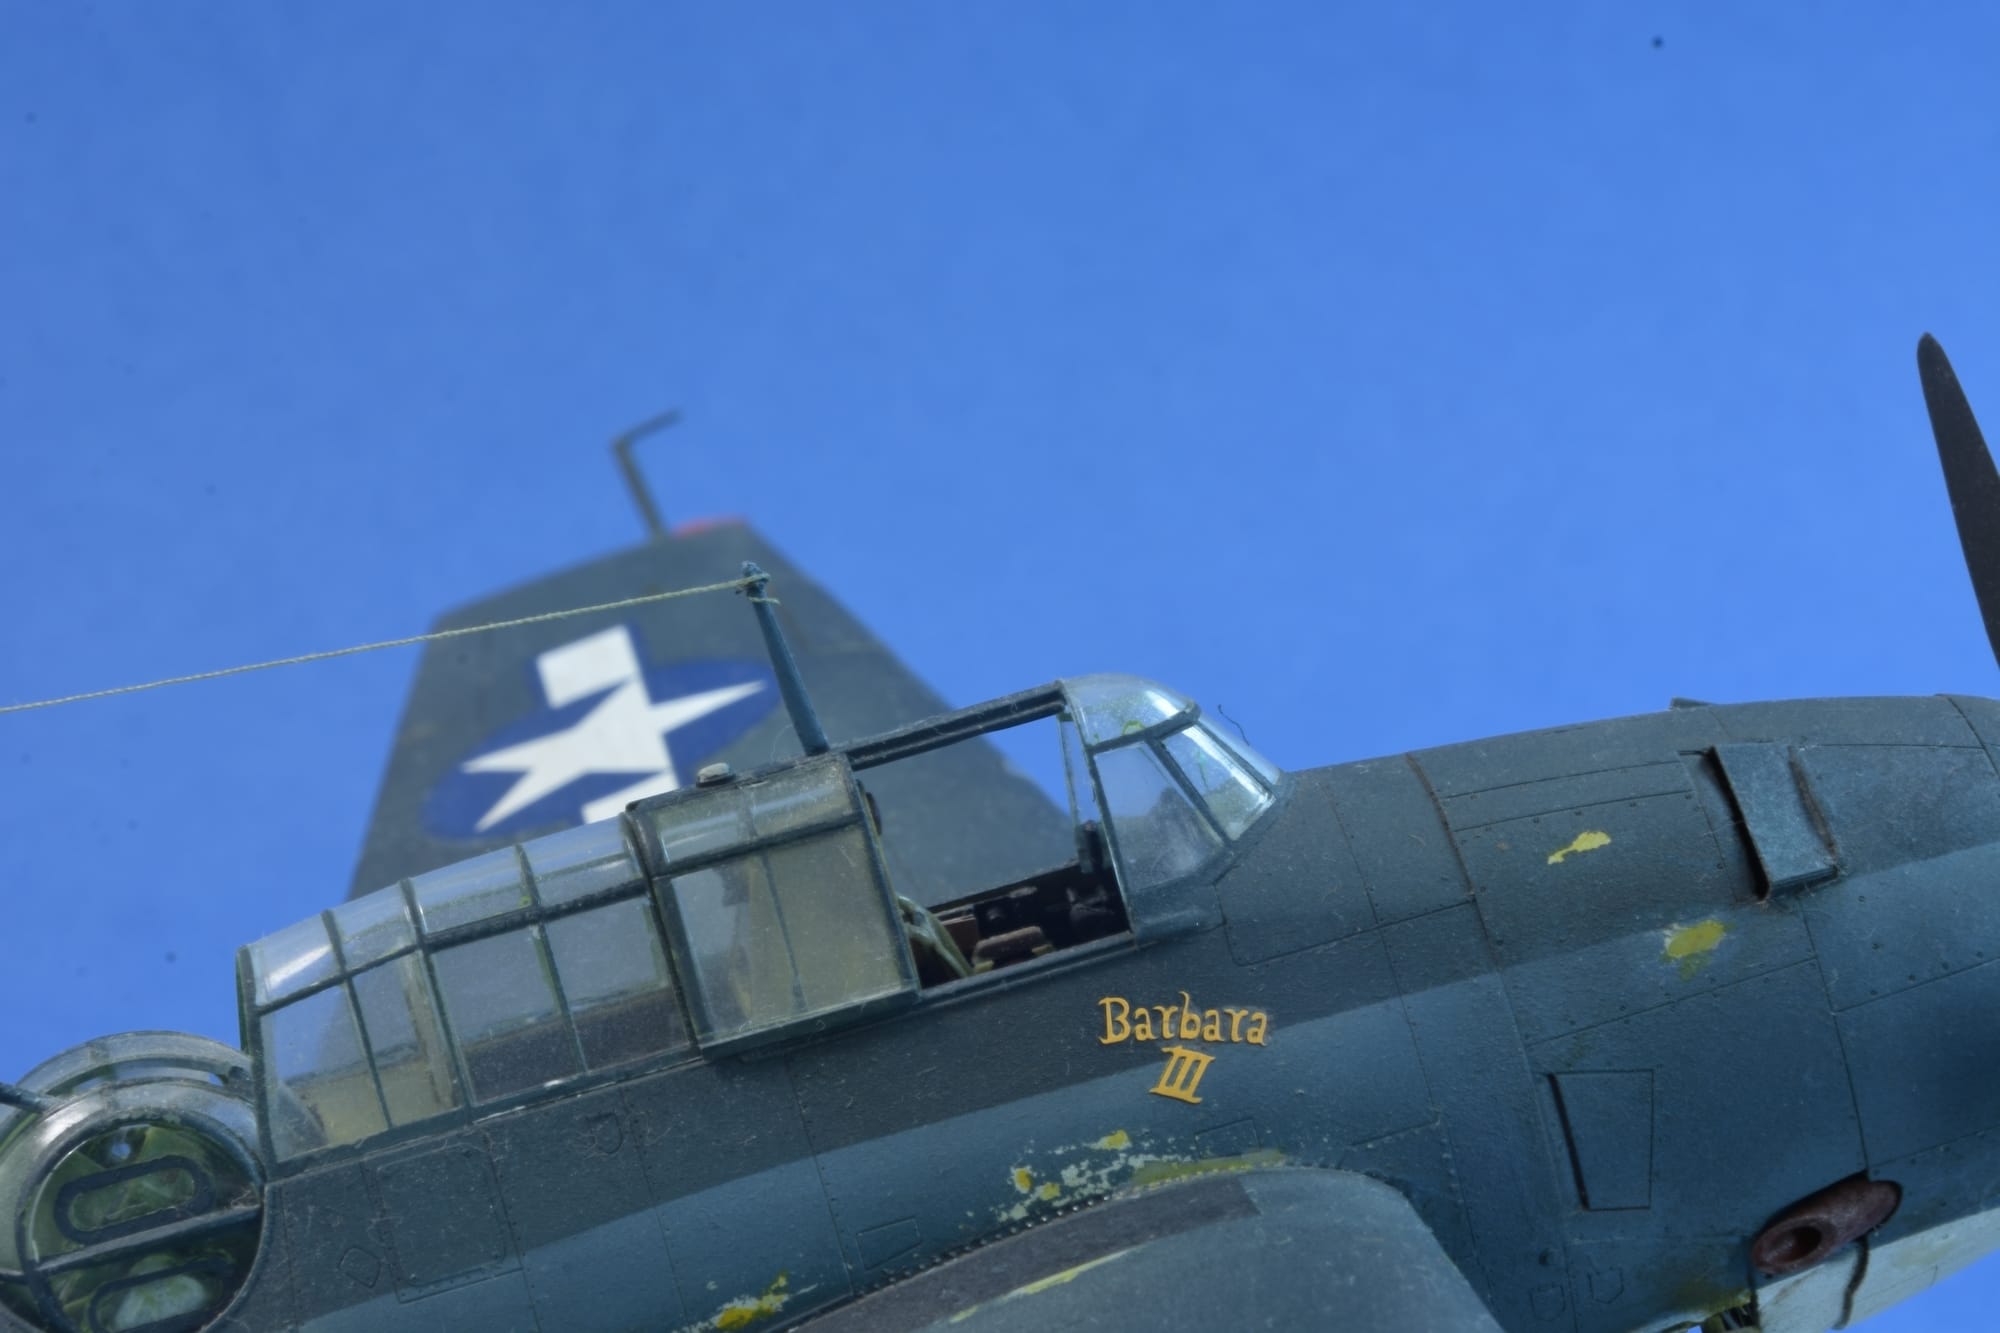
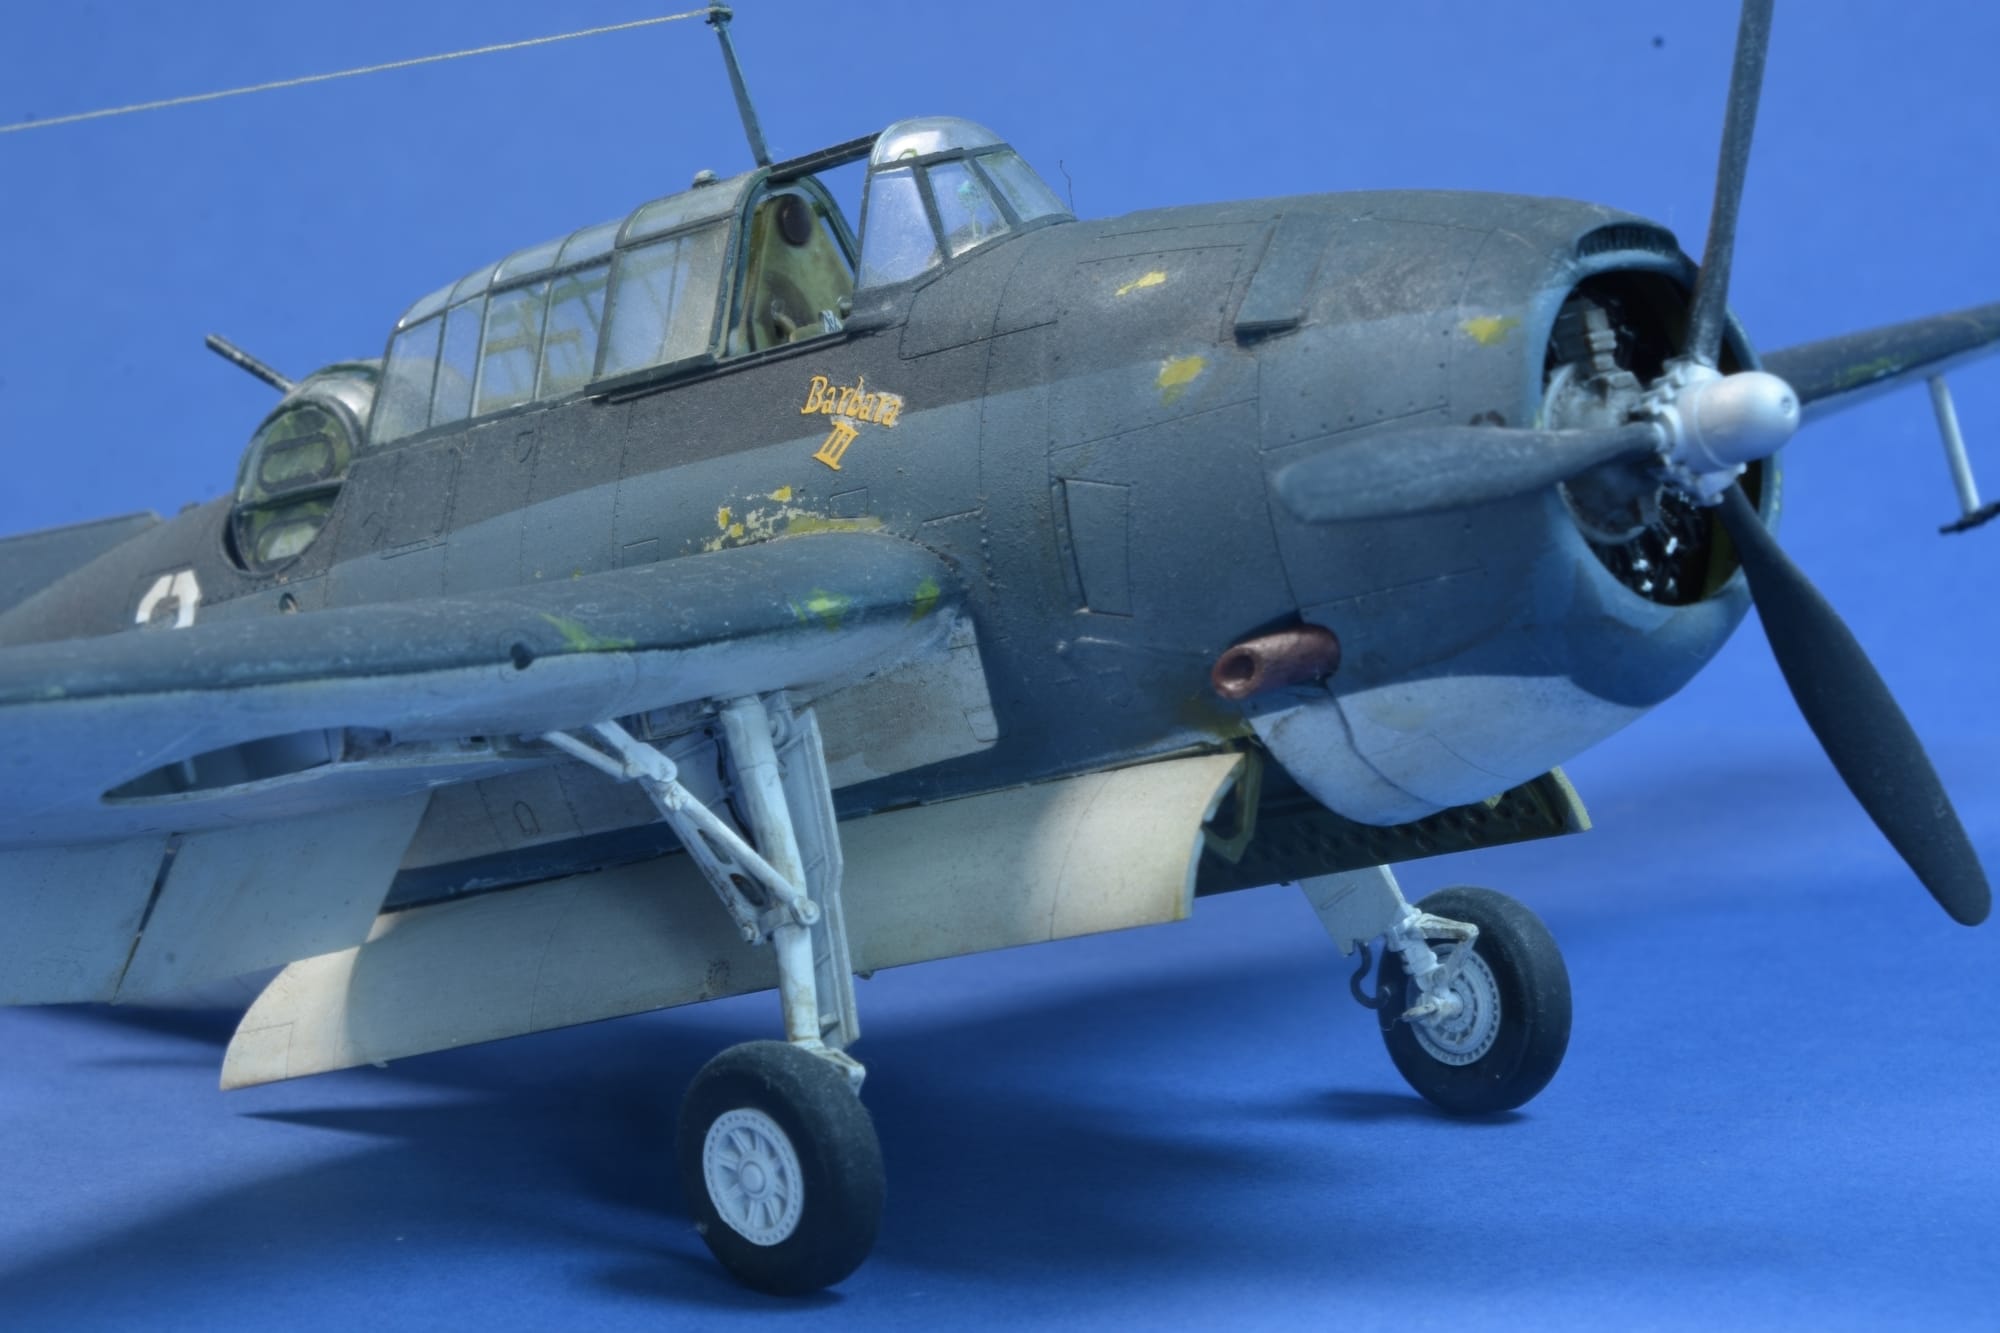
The model is from the Accurate Minatures 1:48 scale kit. I added Eduard cockpit and flaps Photo Etch (PE) details and the Eureka WW II aircraft carrier deck to display the model. The build took some patience as the instructions were more sketches than accurate drawings. I found some helpful YouTube videos to find the correct placements.
The model represents the TBM flown by LT (jg) George Bush in 1944 ("Barbara III") with VT51 off of the USS San Jacinto.
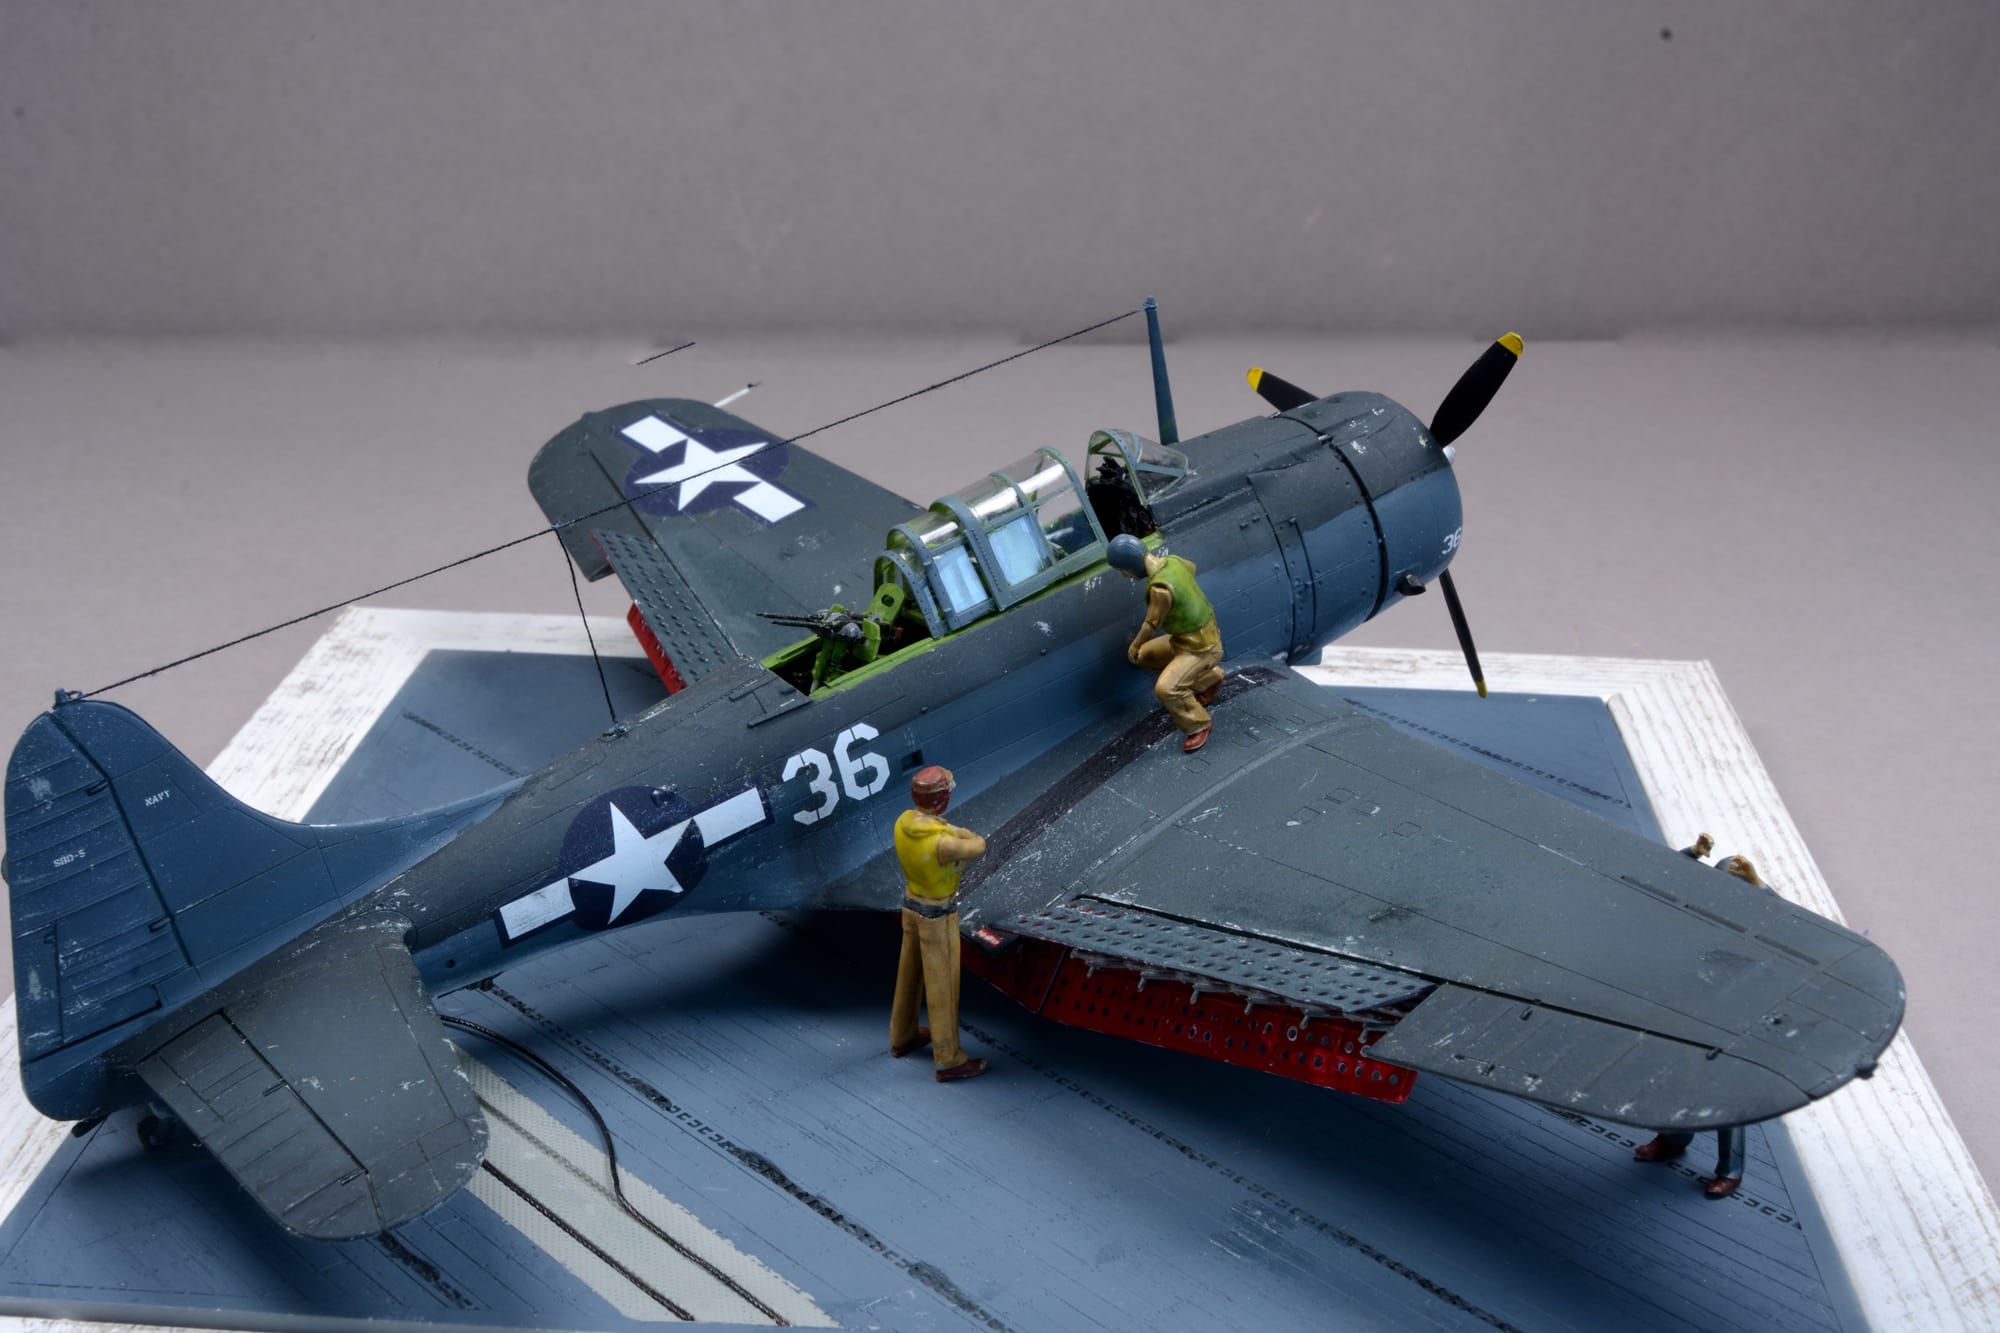
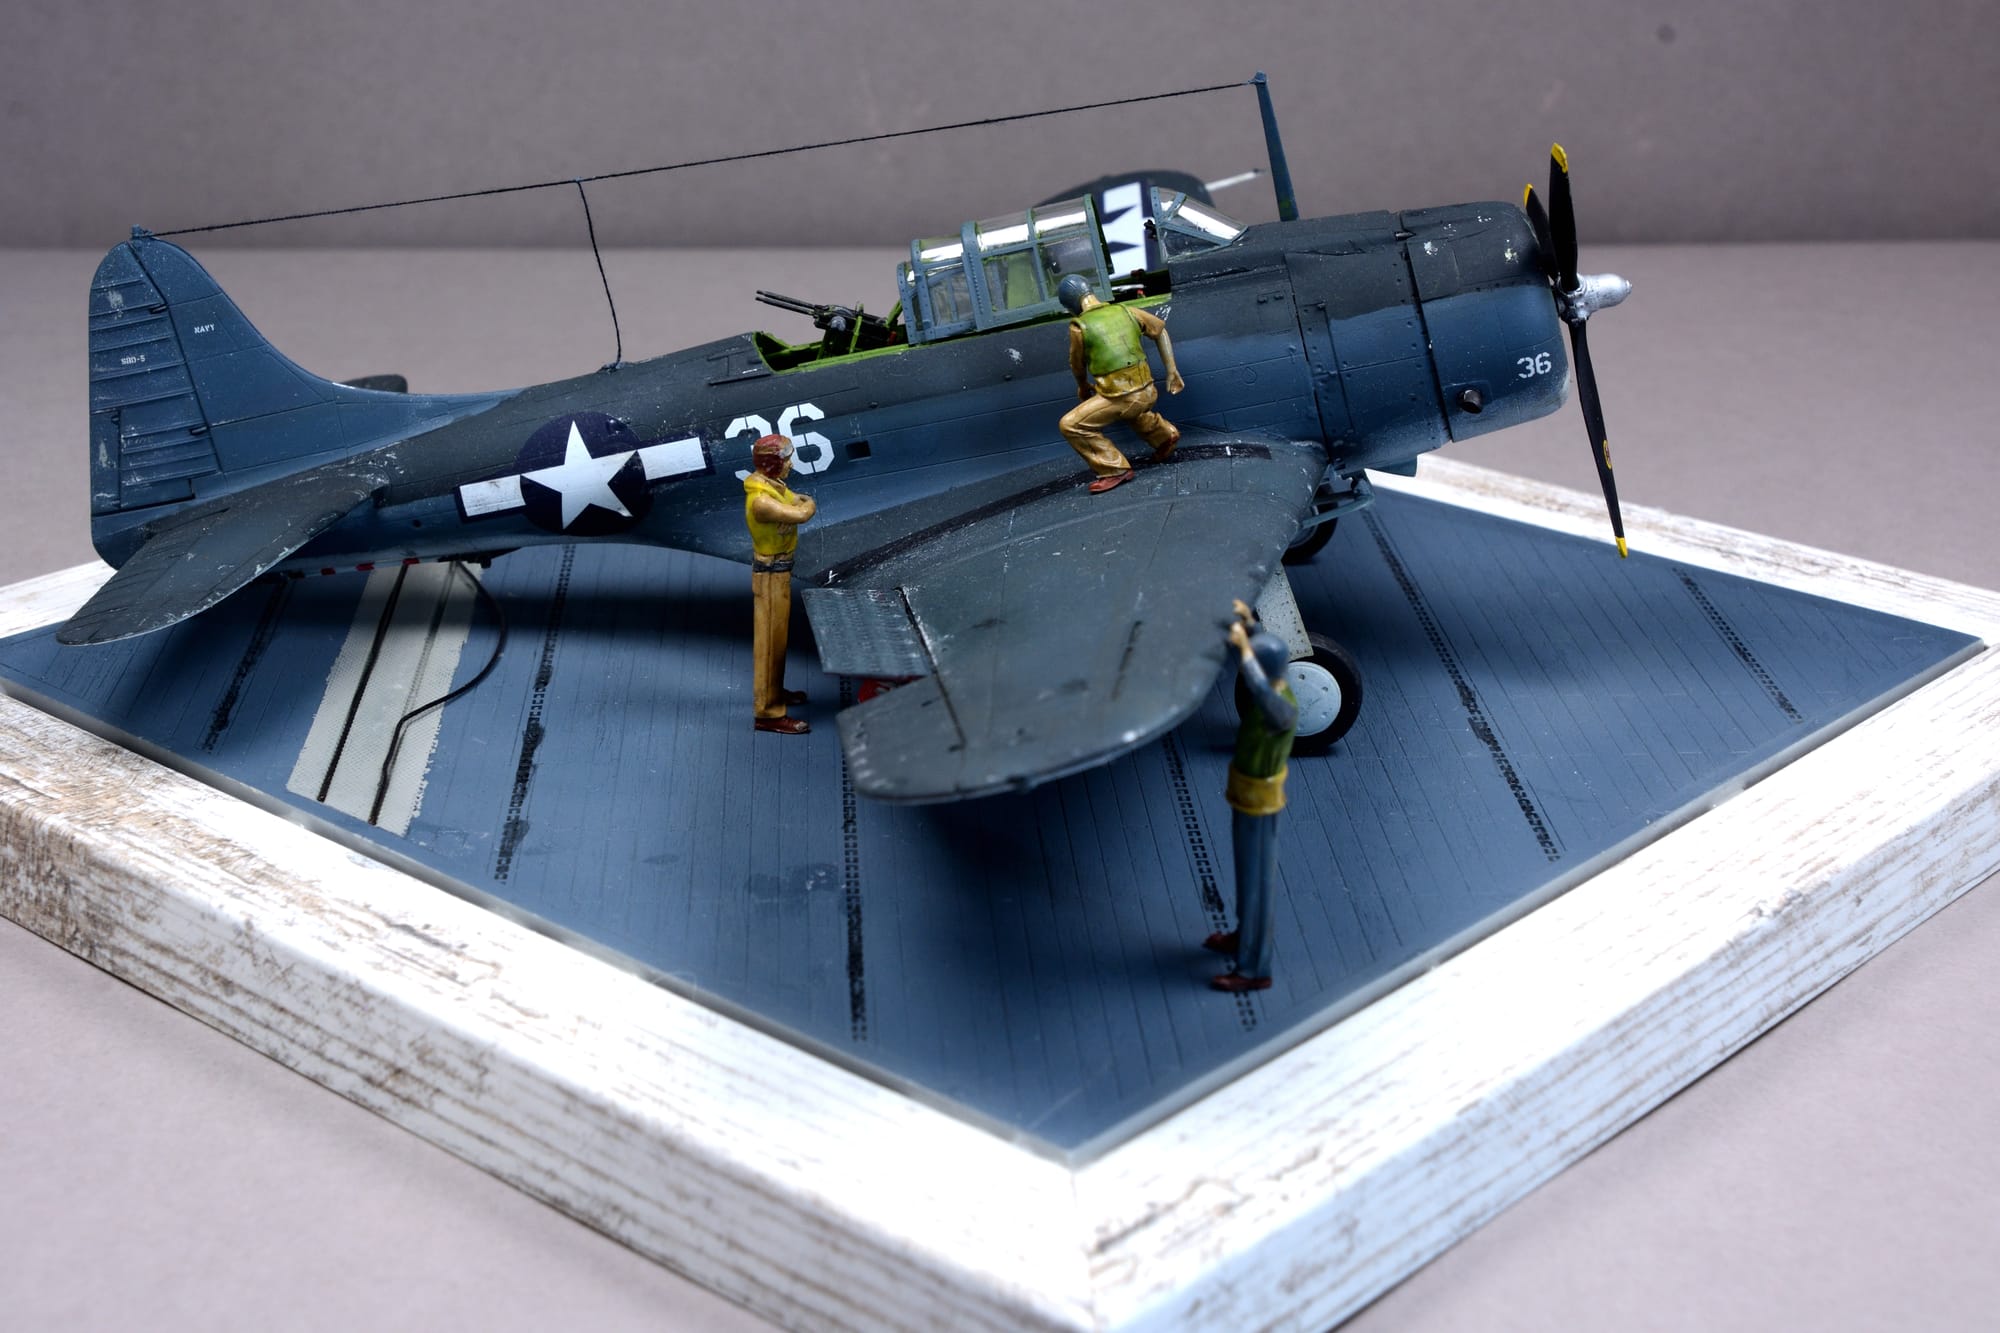
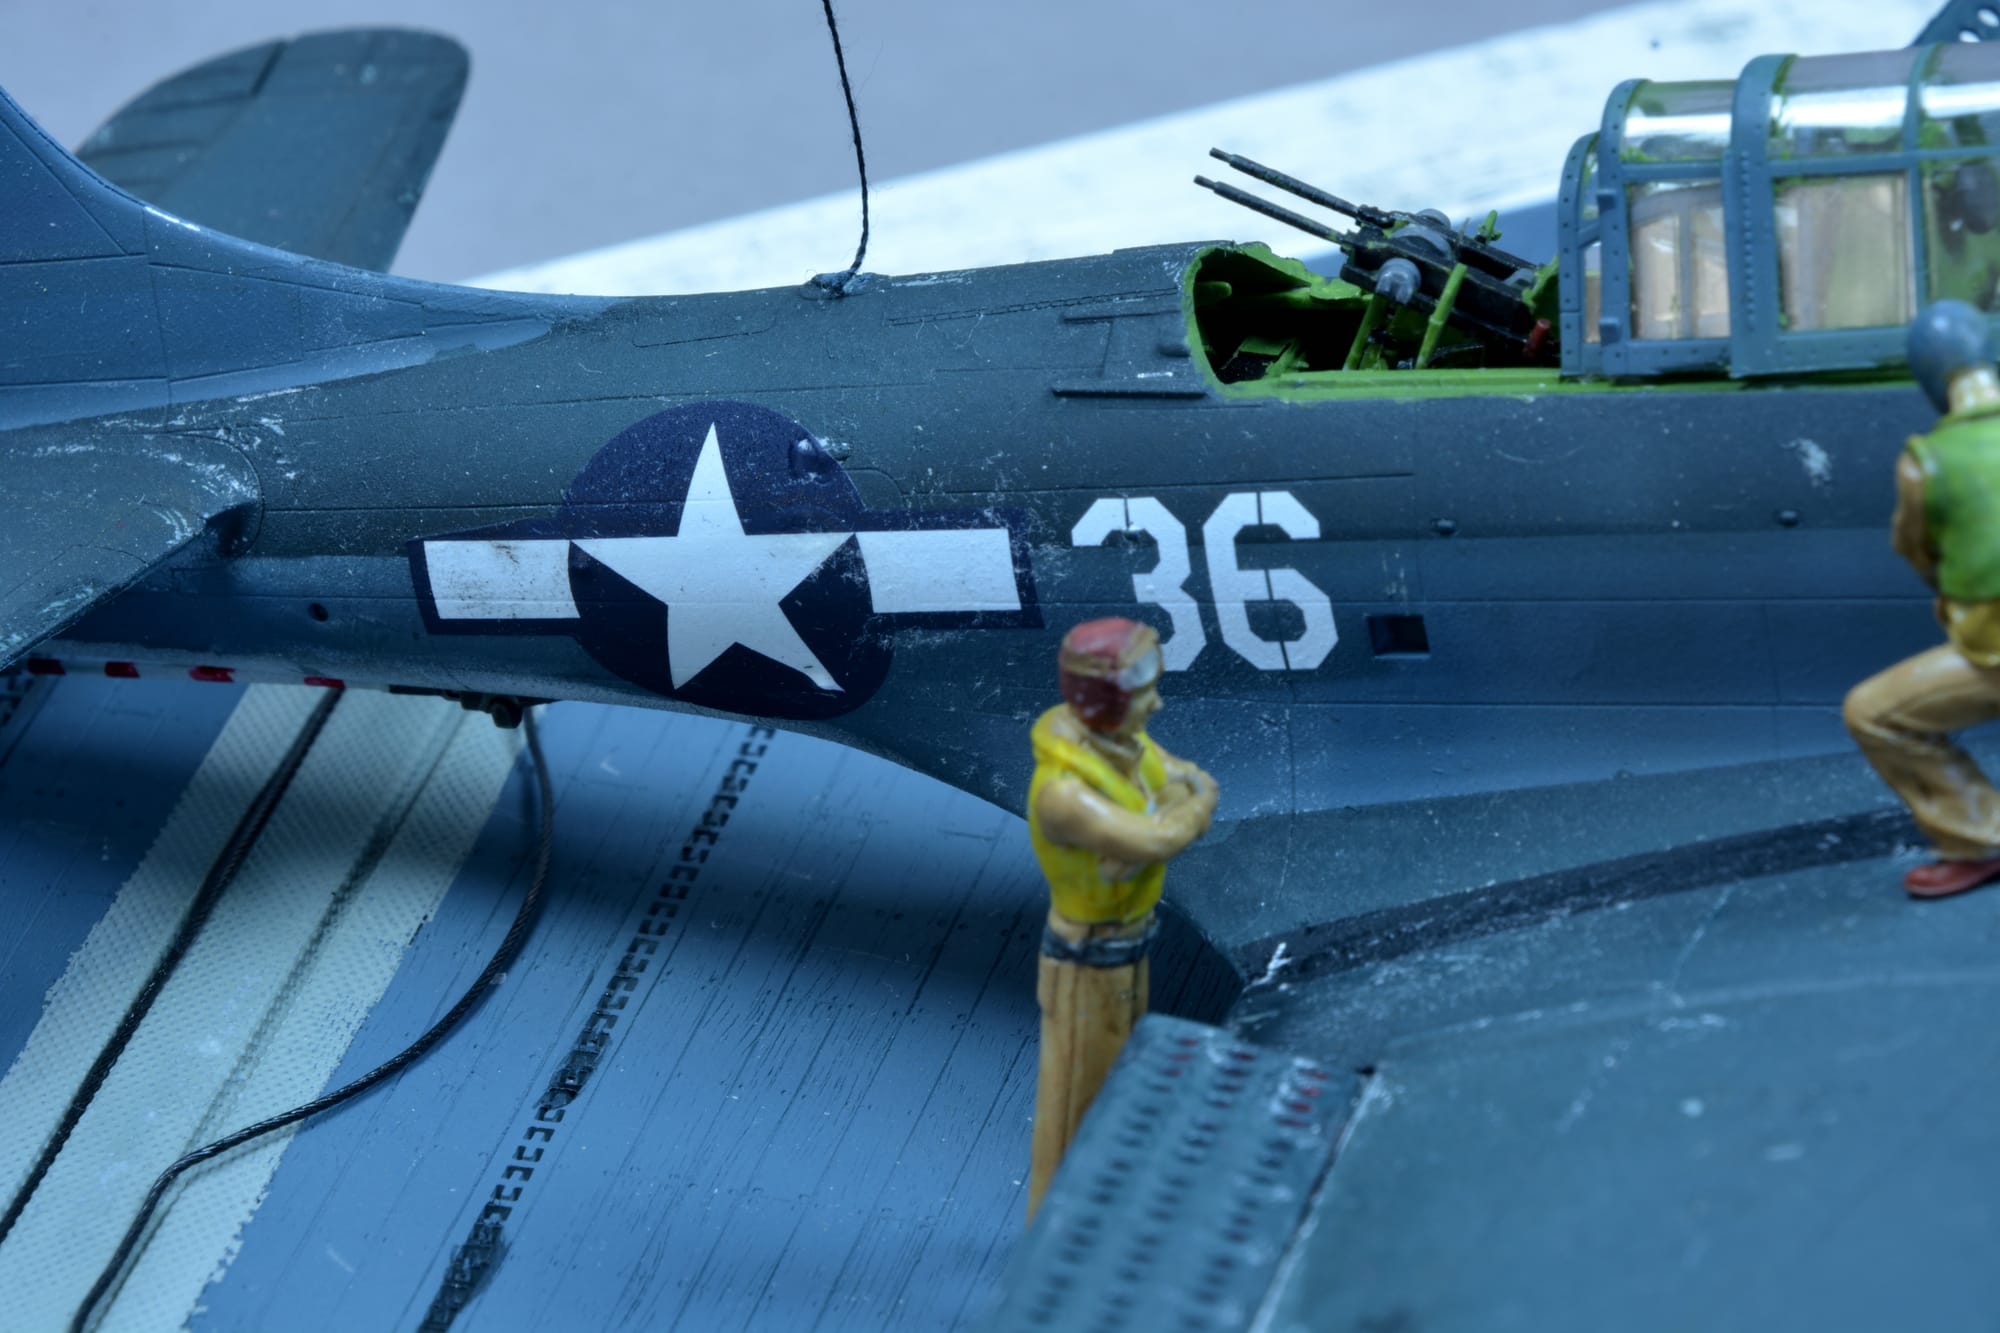
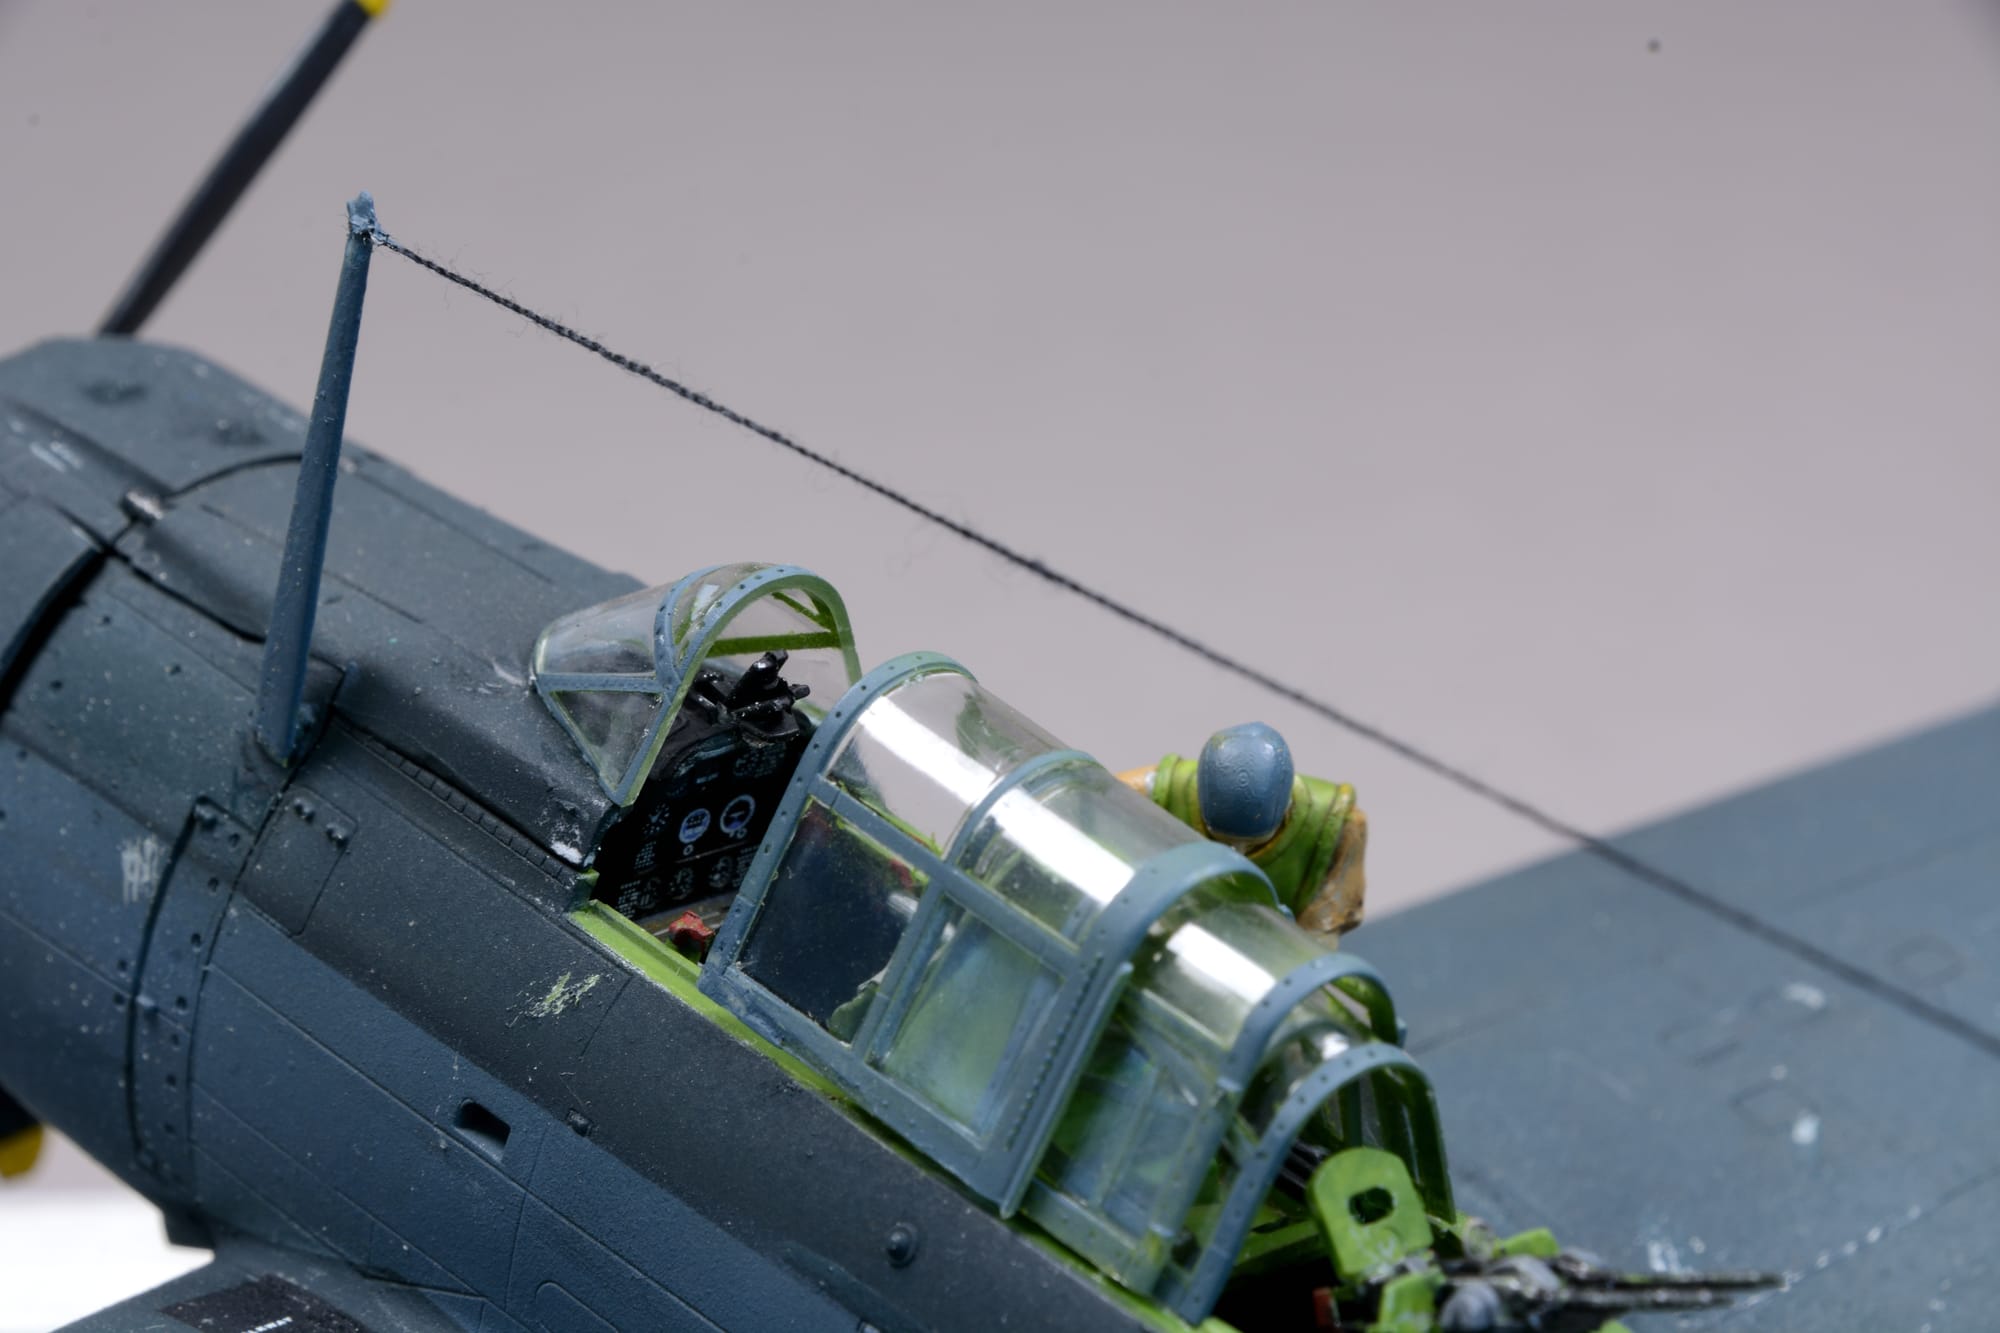
SBD Dauntless
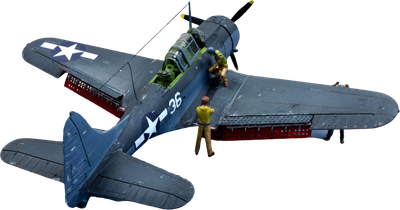
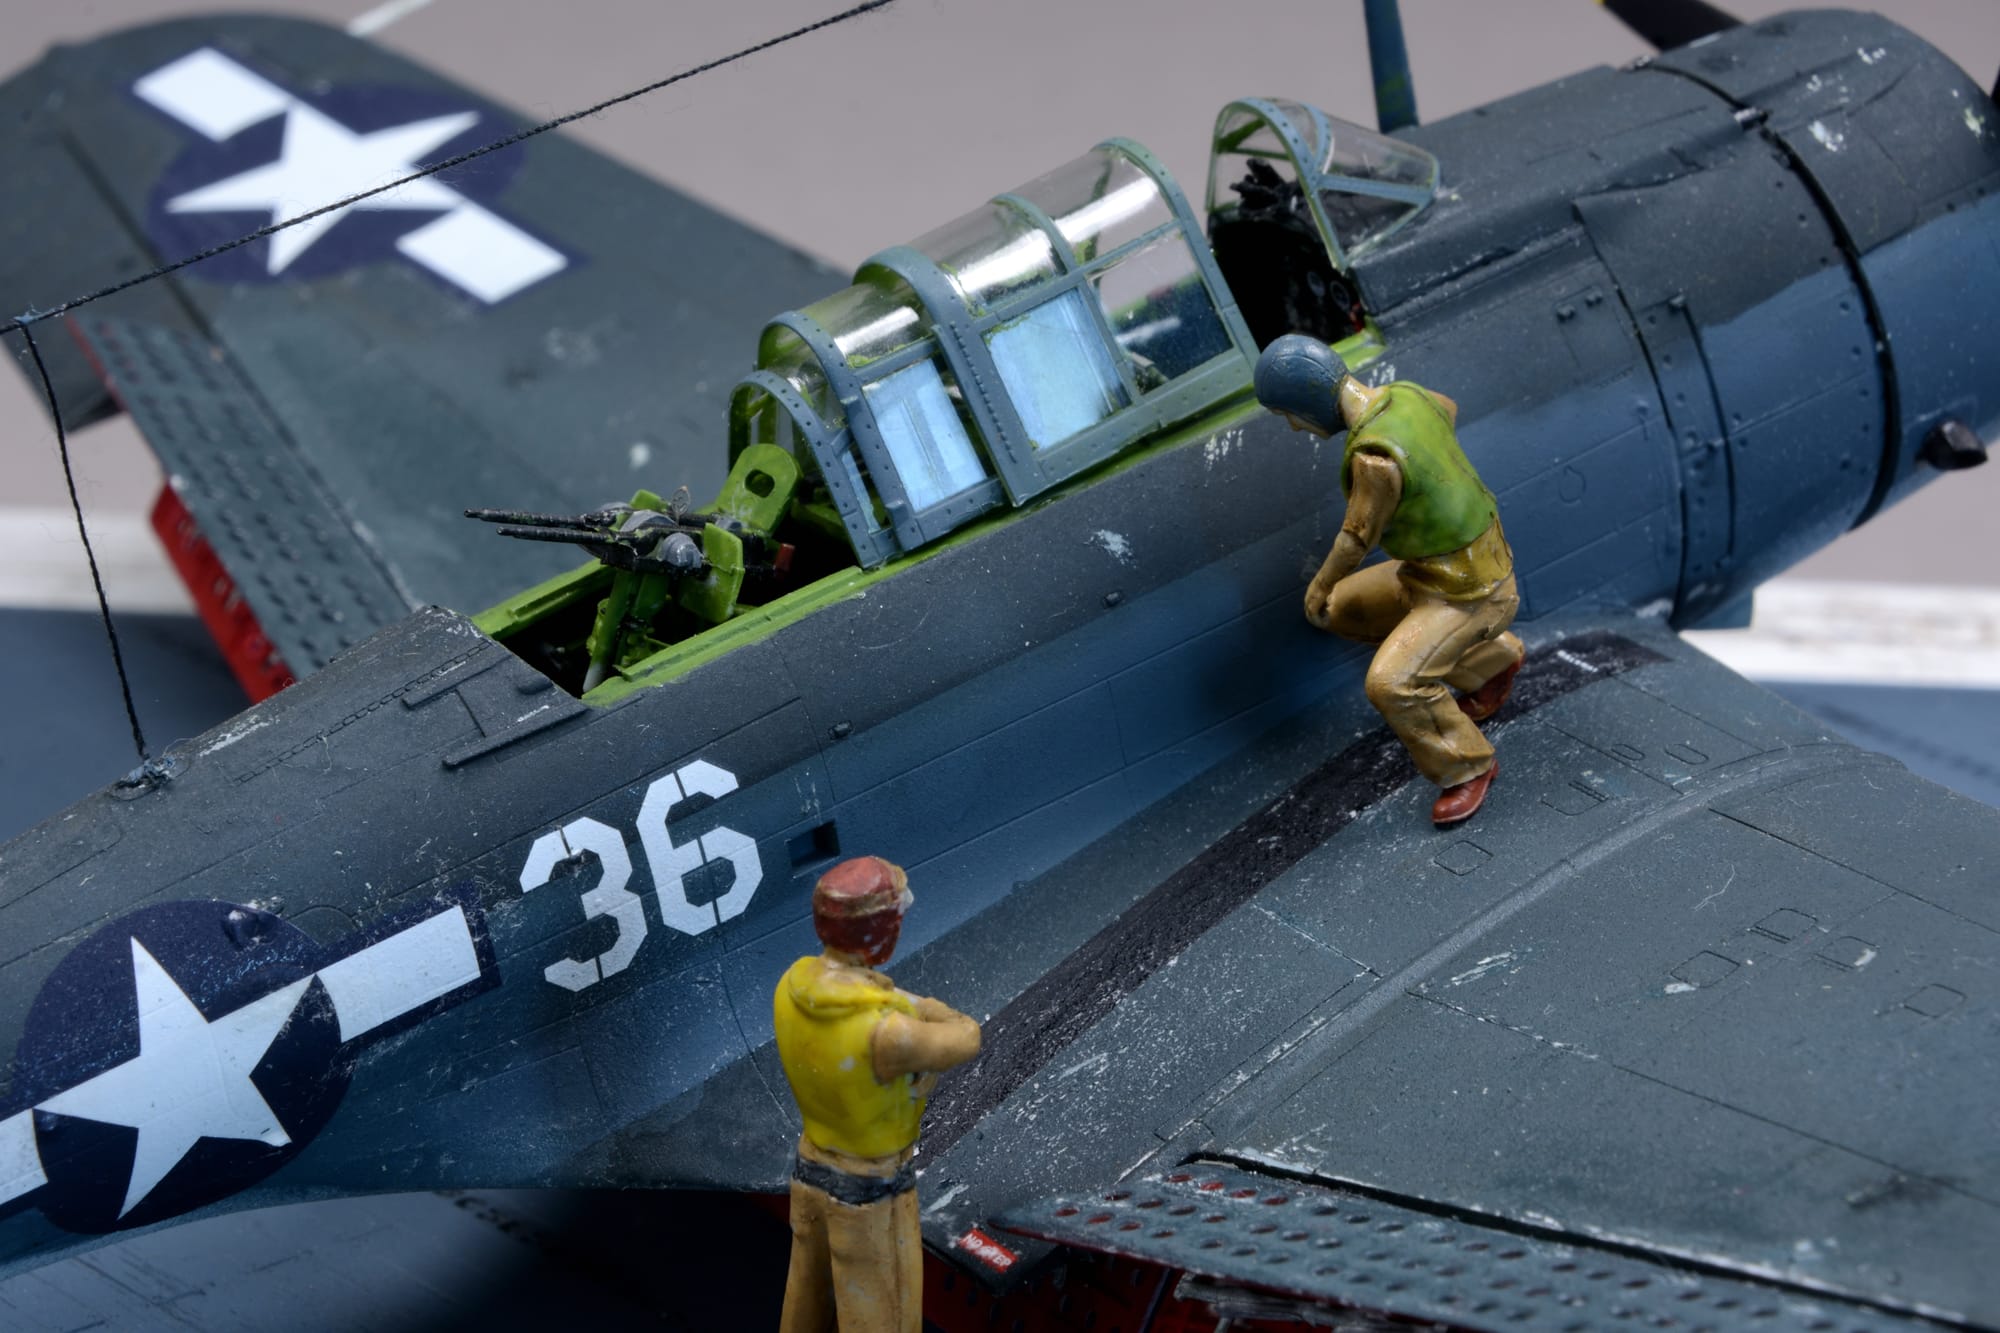
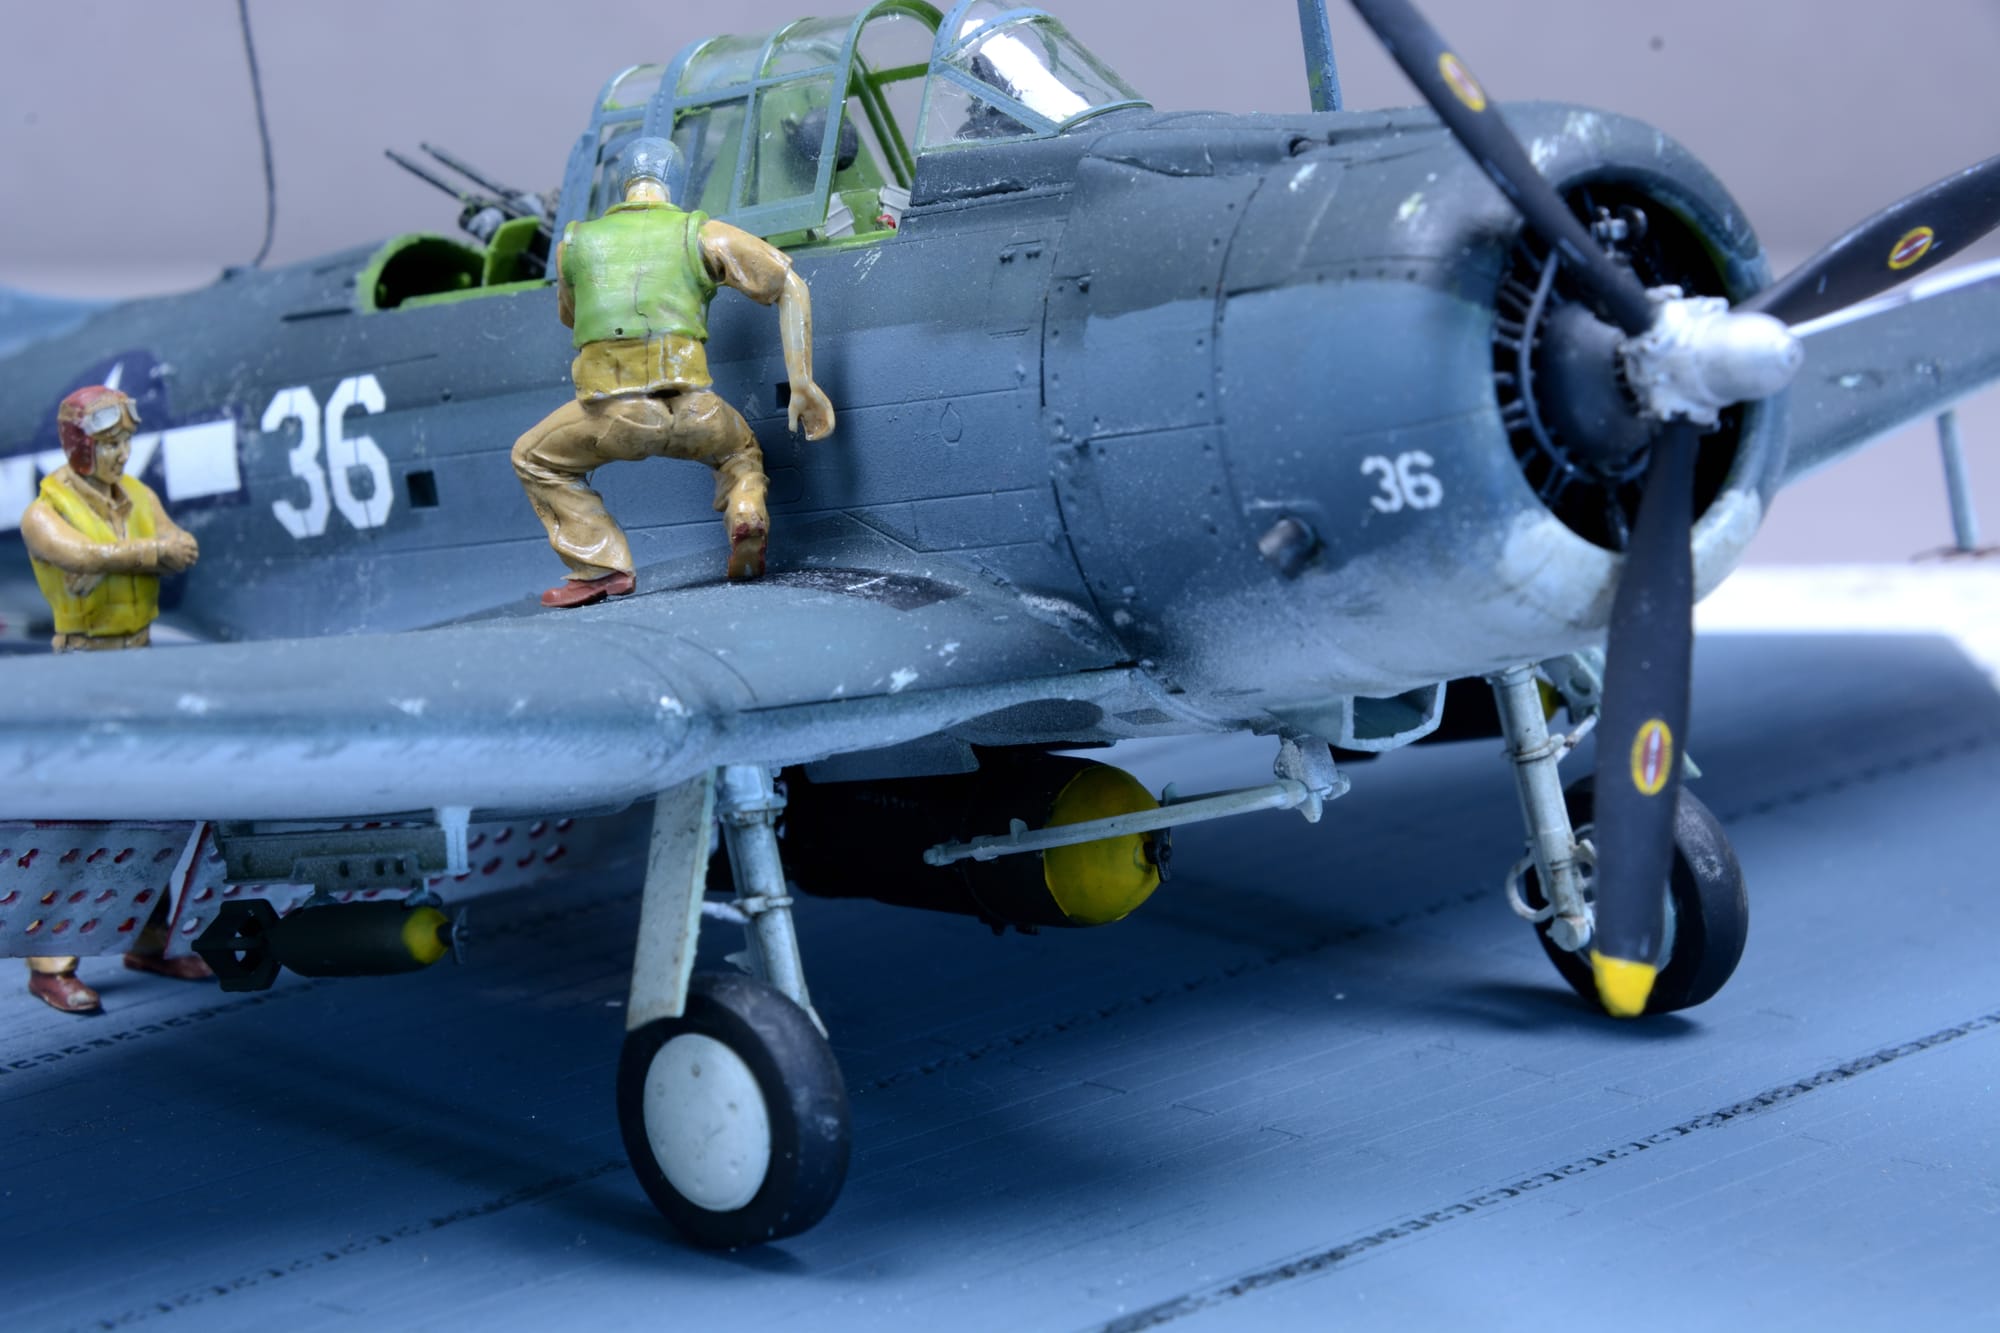
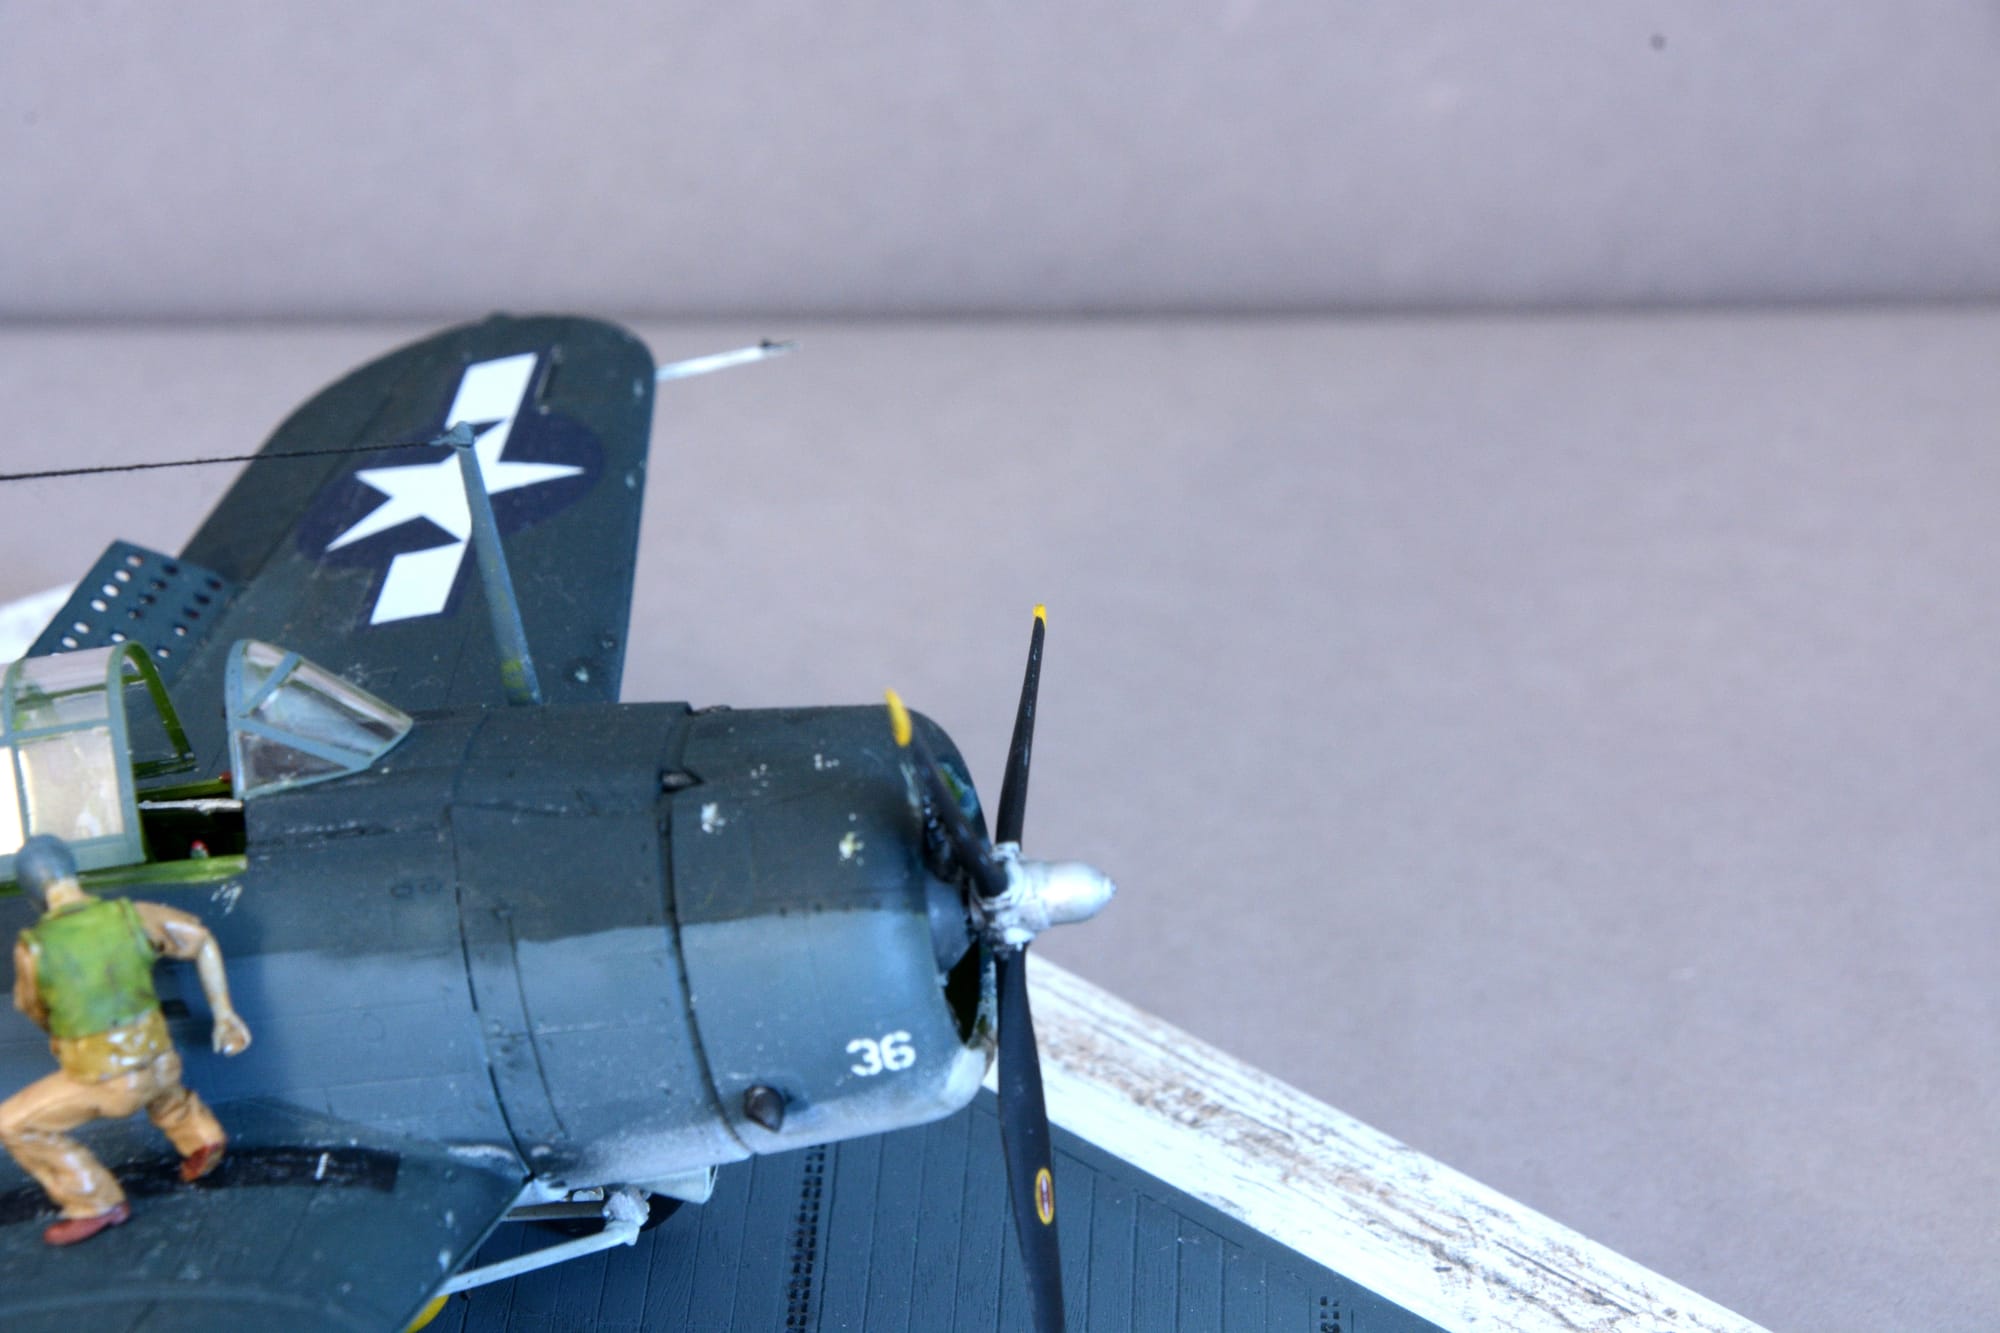
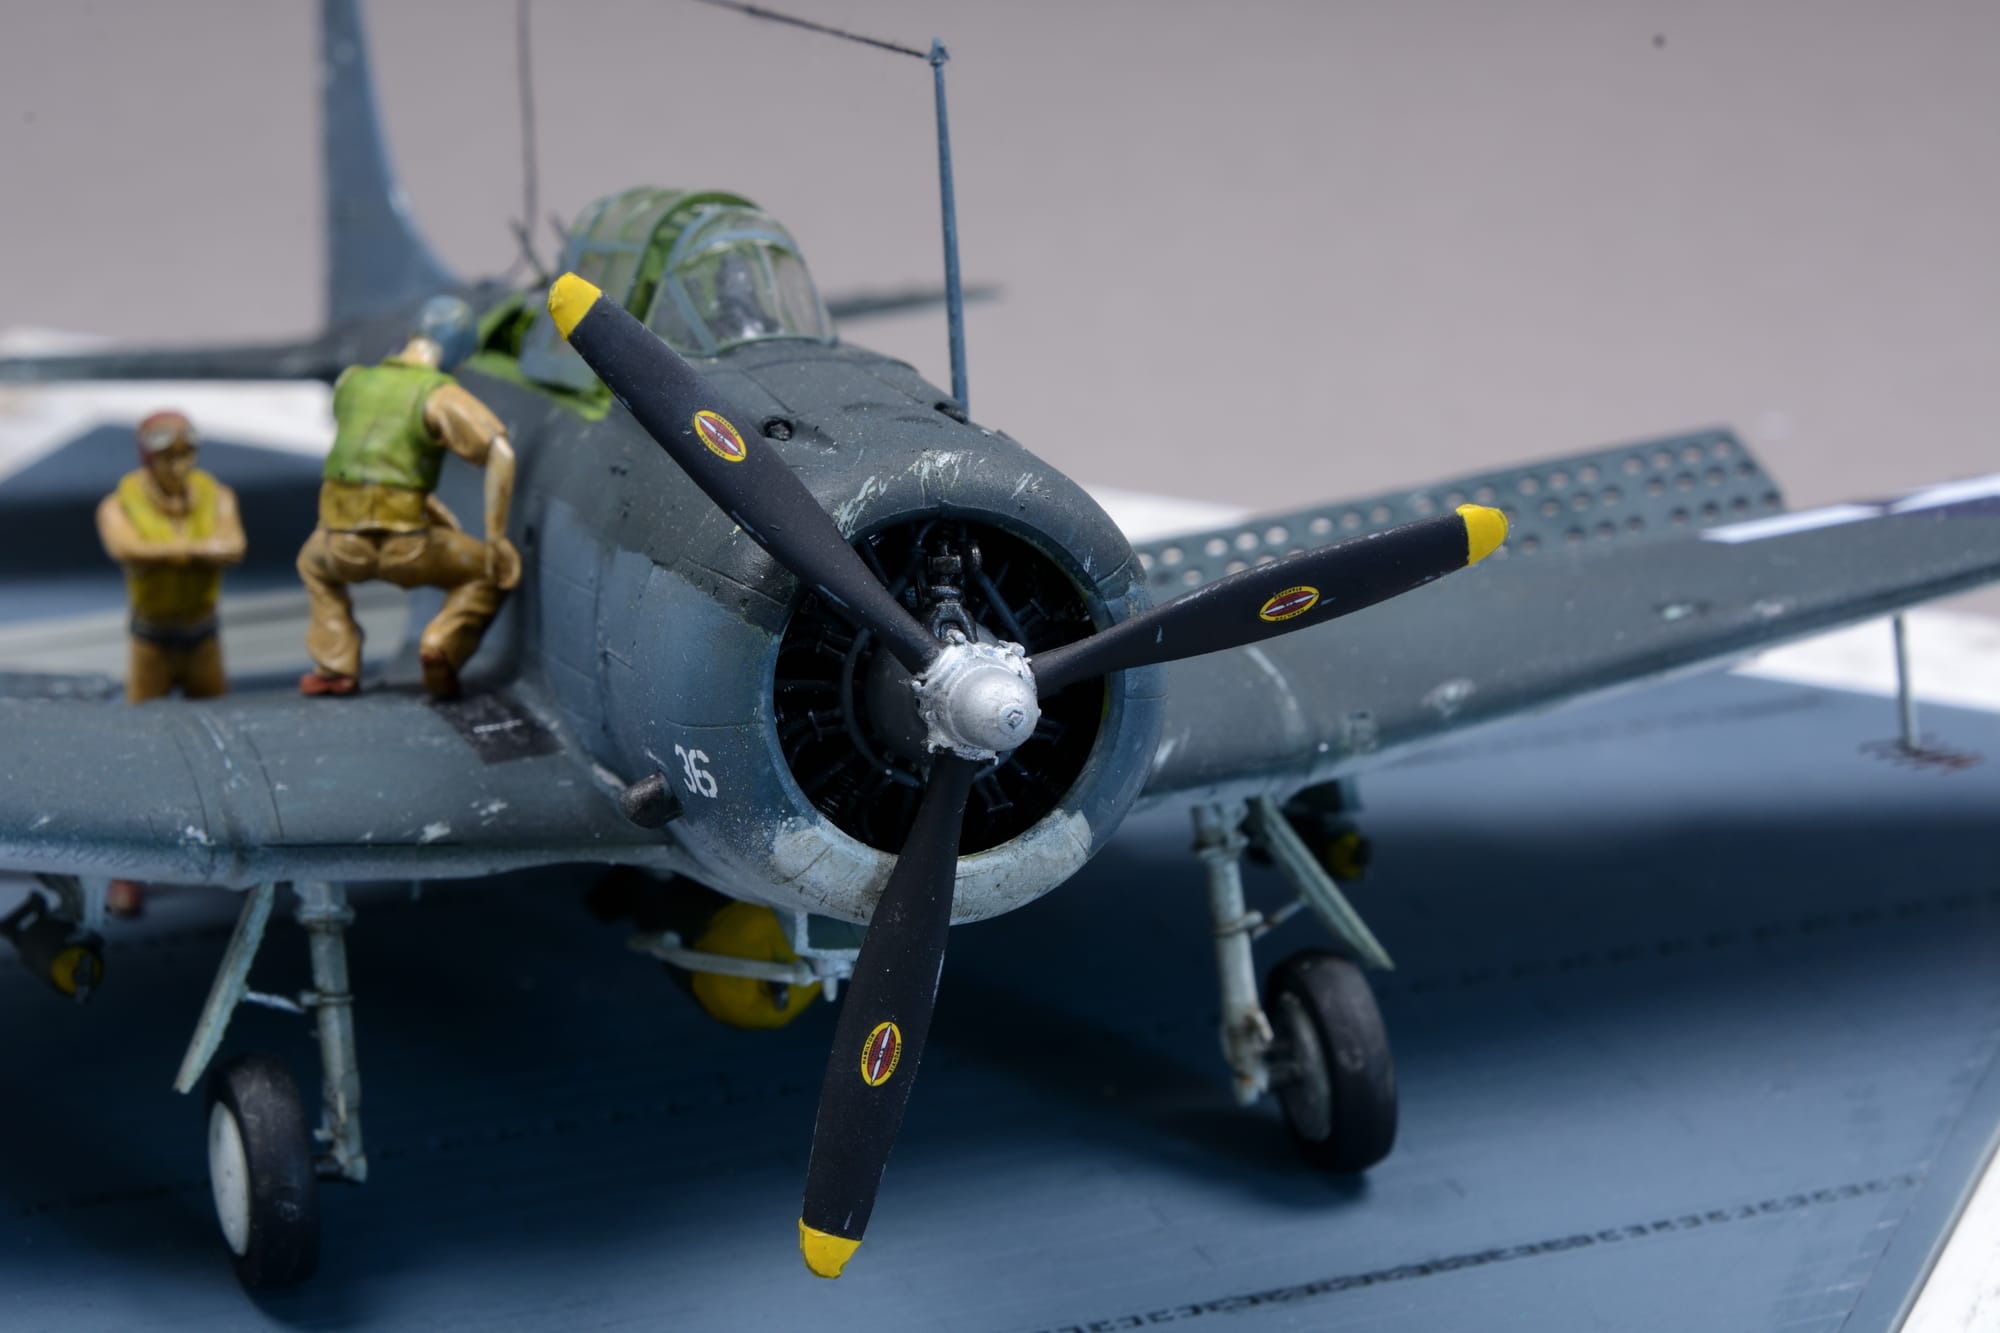
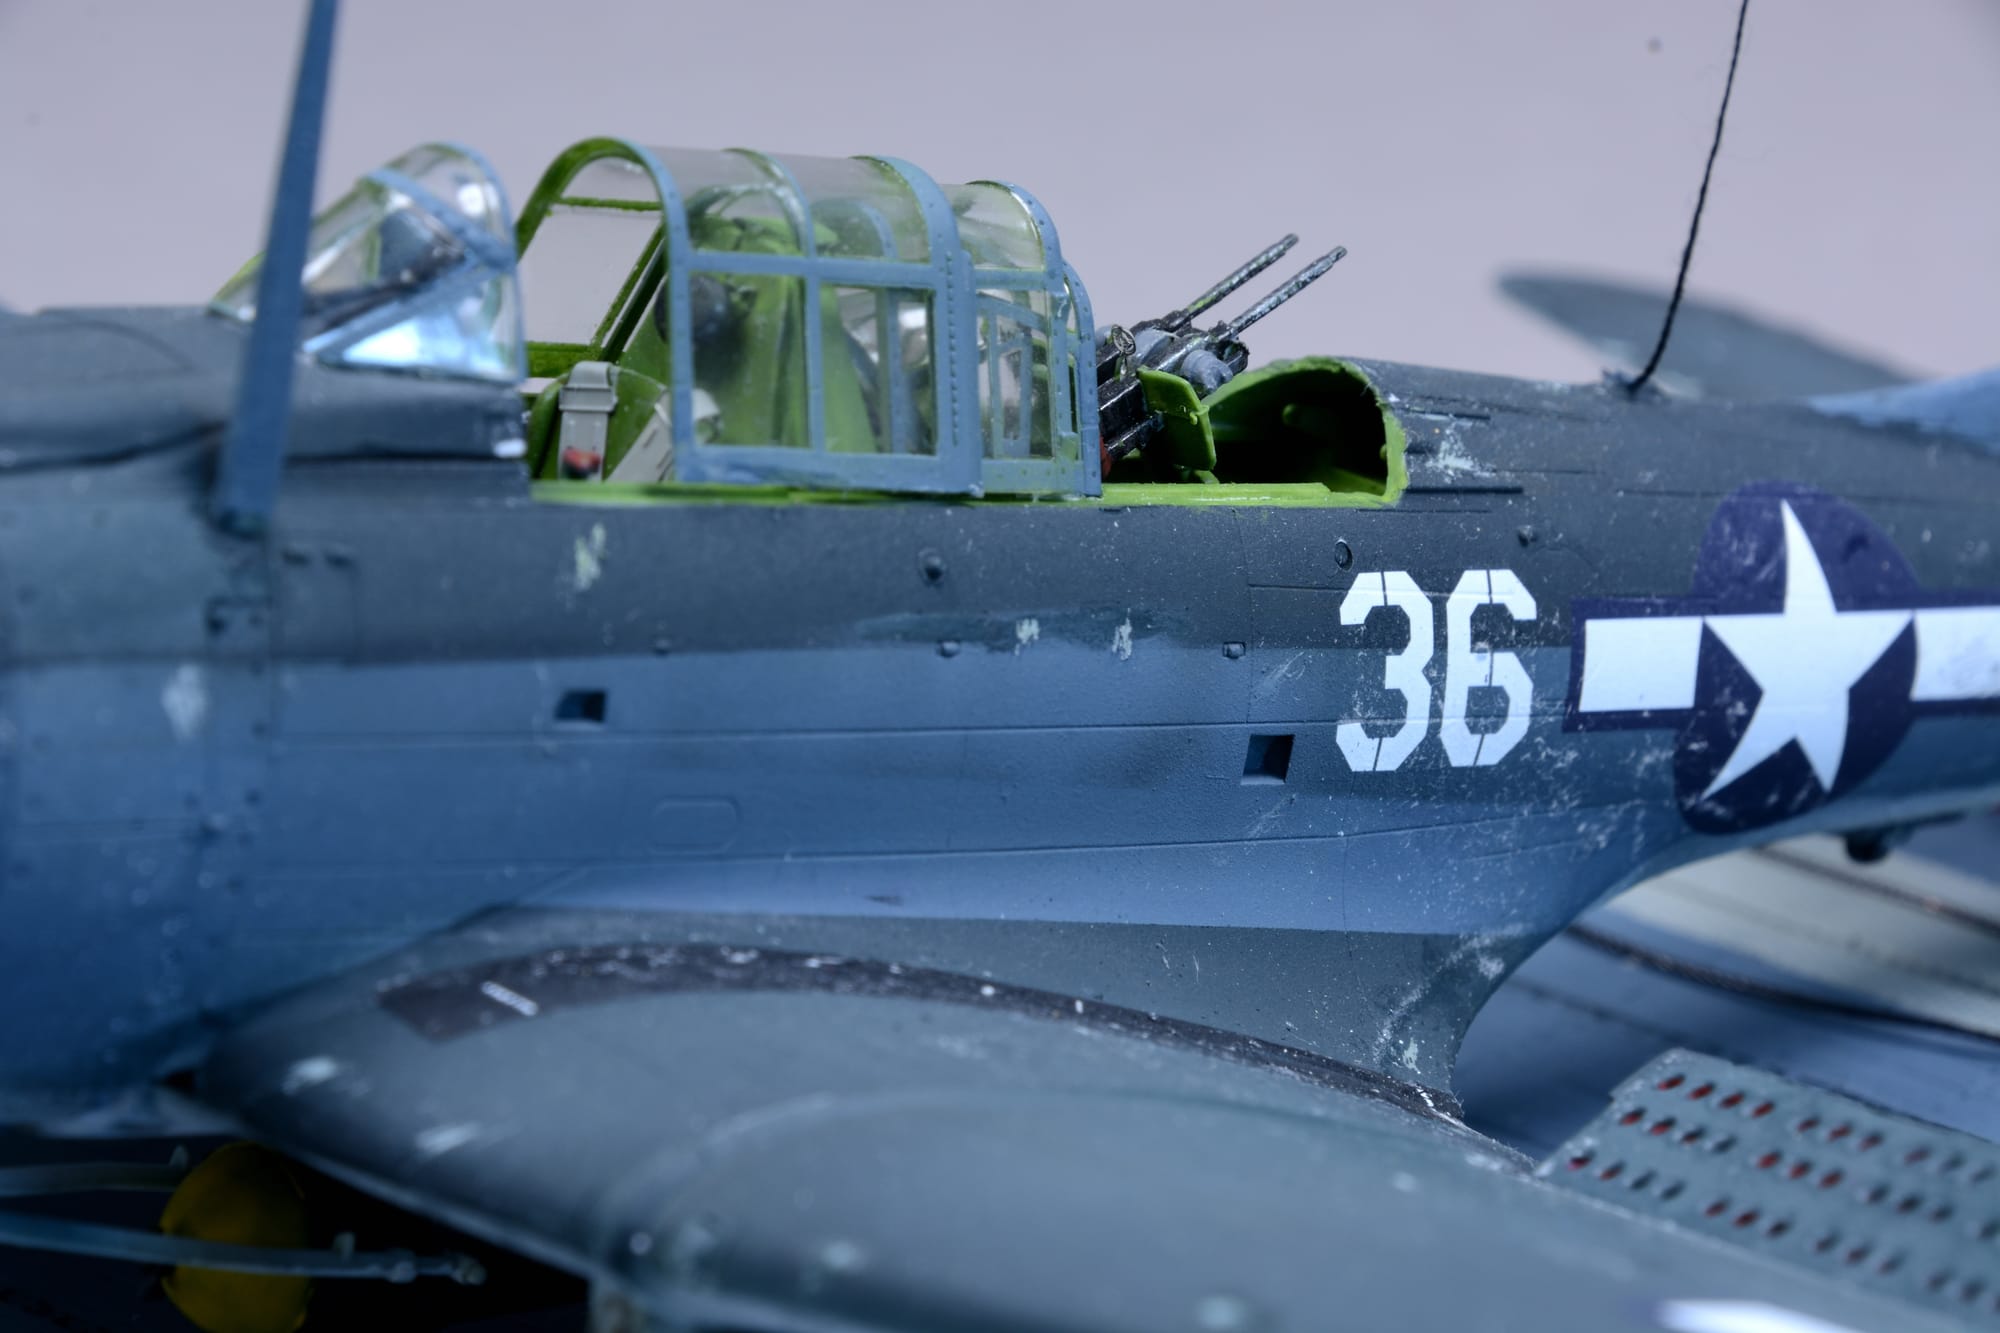
The SBD Dauntless was a famous US Navy WW II dive bomber manufactured by Douglas Aircraft from 1940 through 1944. The SBD ("Scout Bomber Douglas") was the main carrier-based scout/dive bomber for almost all the war. The SBD is best remembered as the bomber that delivered the fatal blows to the Japanese carriers at the Battle of Midway in June 1942. The type earned its nickname "Slow But Deadly" (from its SBD initials) during combat service, it possessed long range, good handling characteristics, maneuverability, potent bomb load, great diving characteristics from the perforated dive brakes, good defensive armament, and ruggedness.
The most produced version, the SBD-5, was produced mostly in the Douglas plant in Tulsa, Oklahoma. This version was equipped with a 1,200 hp engine and an increased ammunition supply. Over 2,400 of the 5,396 SBDs that were built were SBD-5’s.
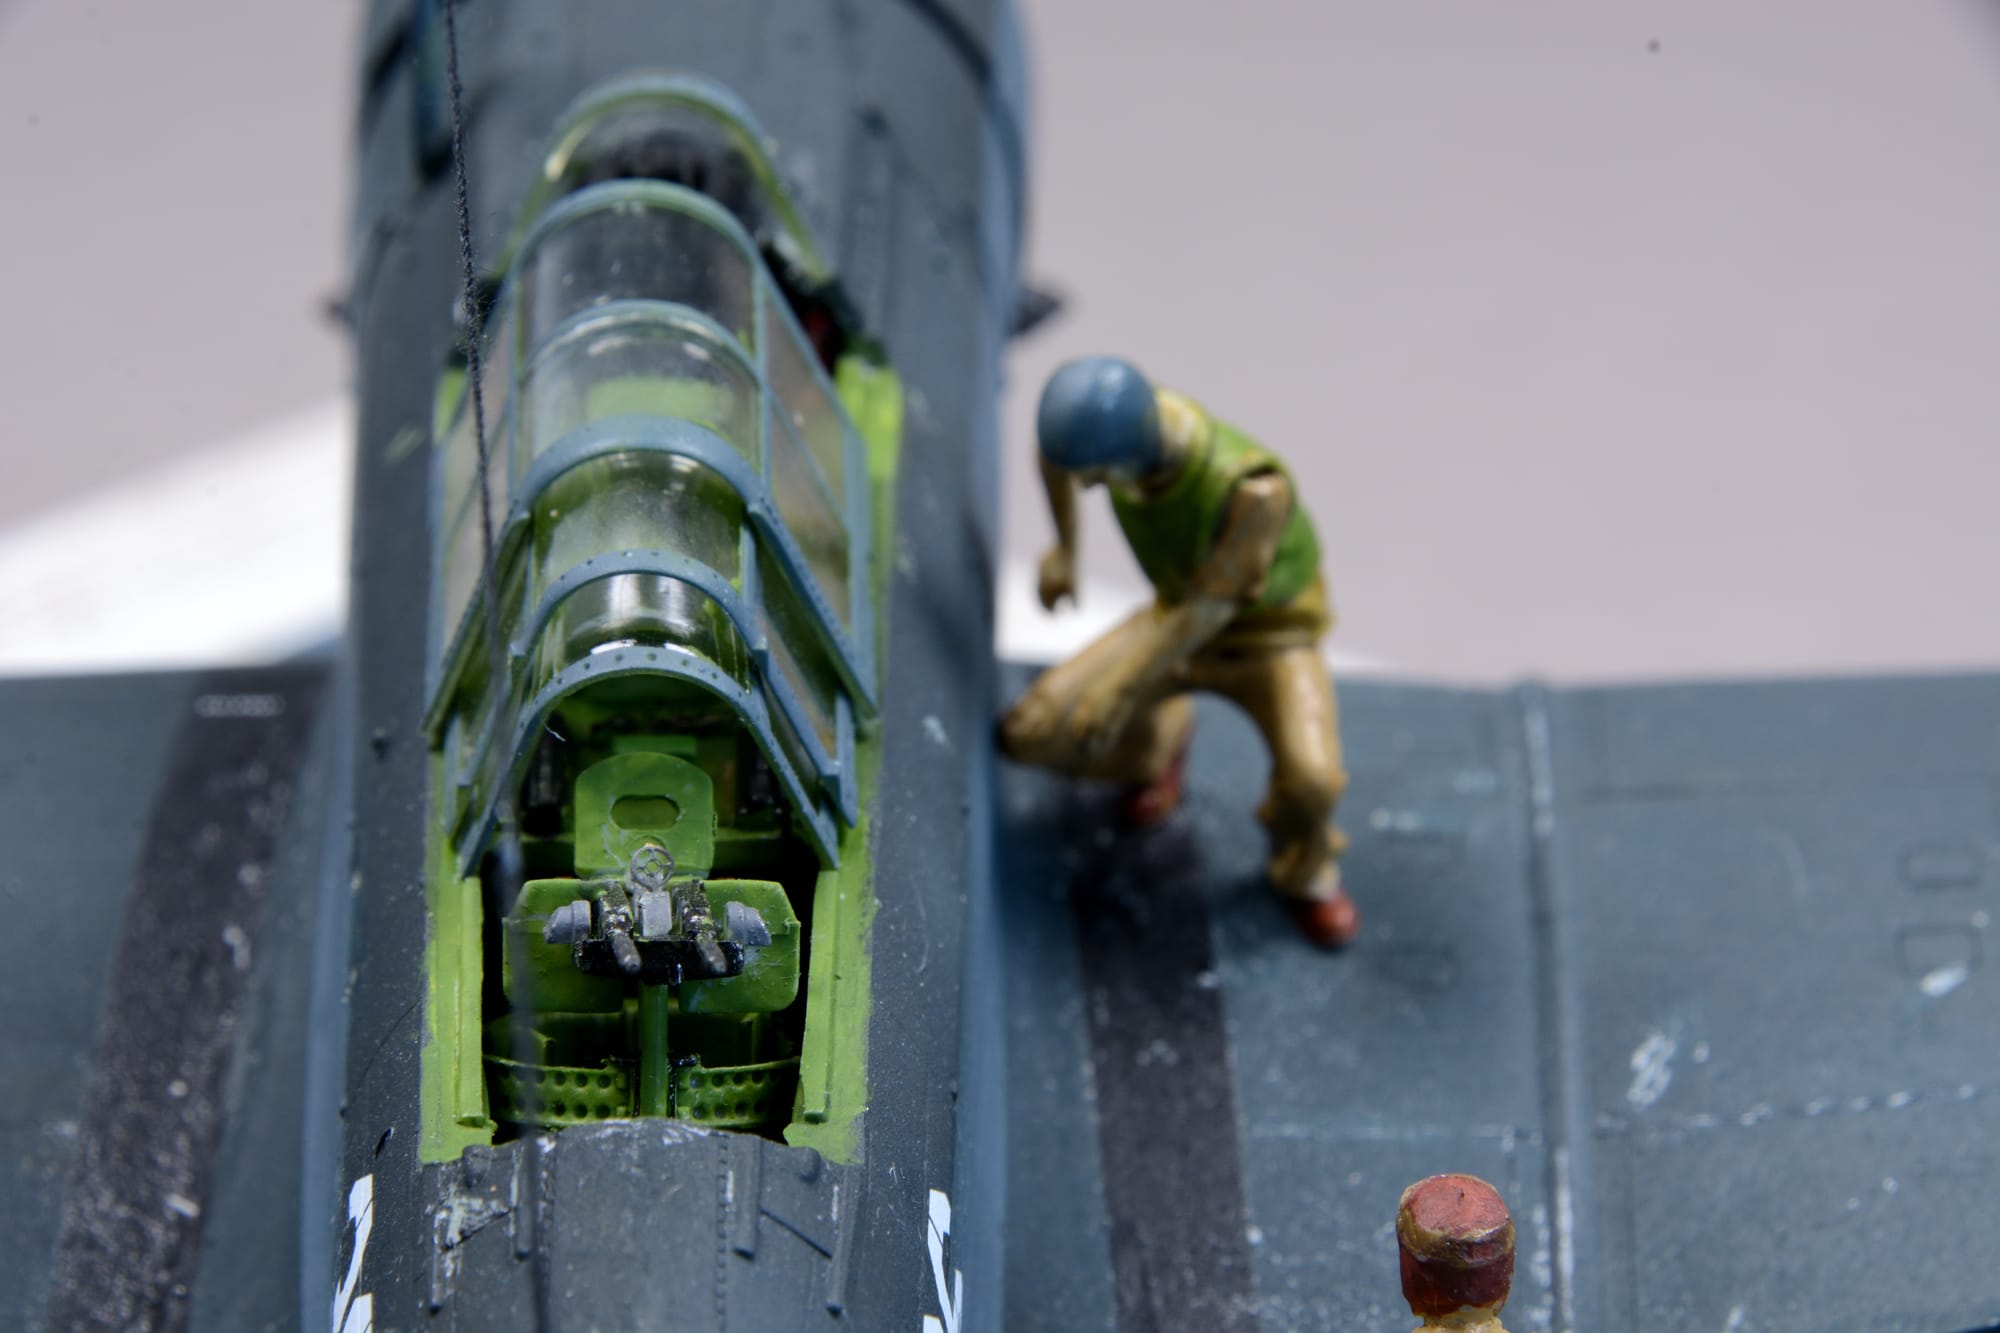
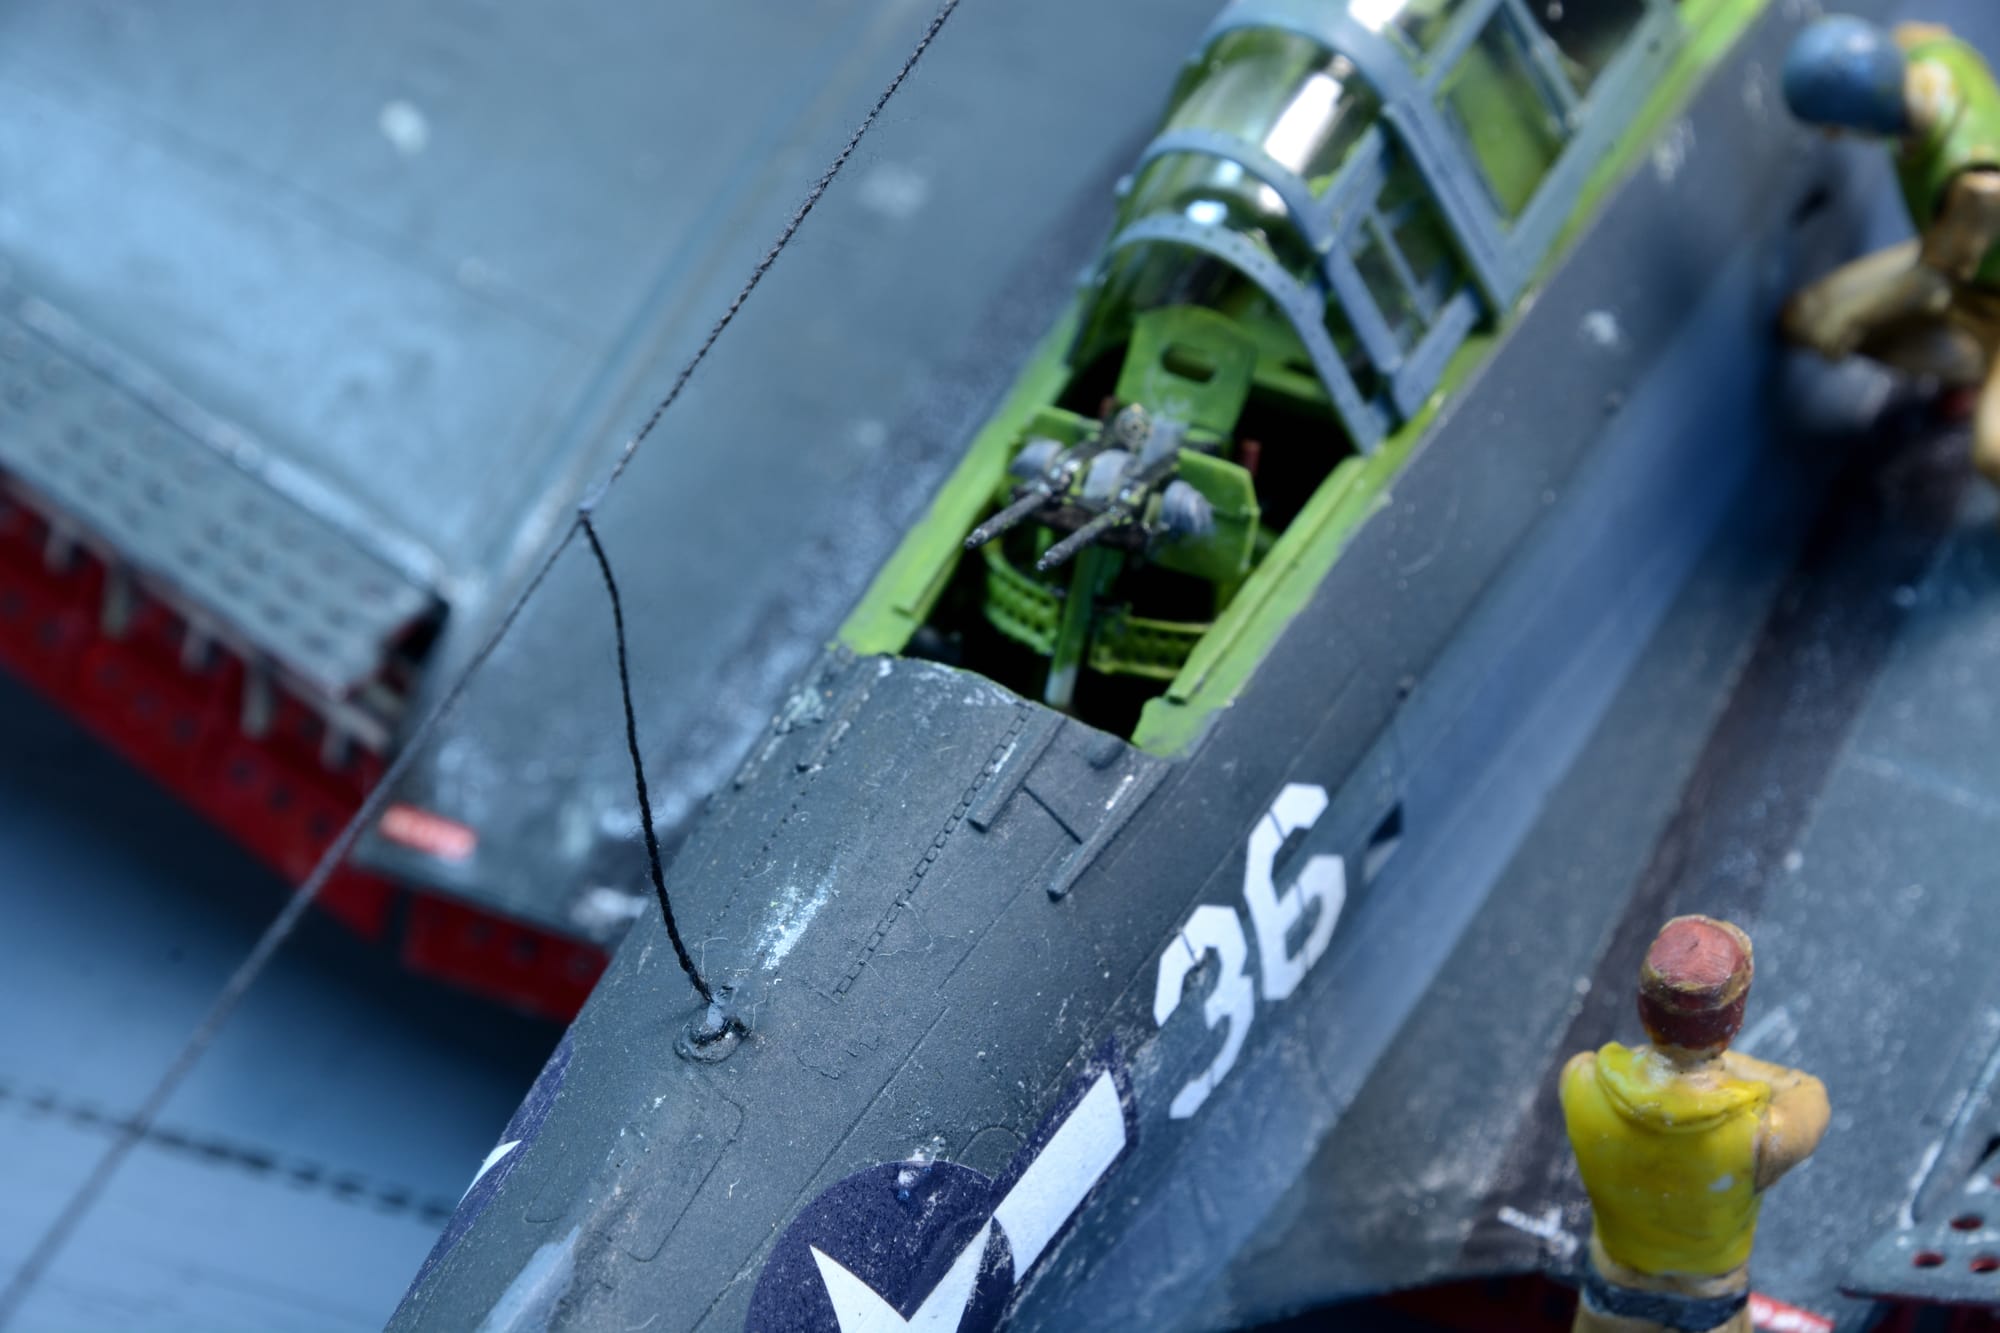
The model is from the Academy Models SBD-5 1:48 scale kit. I added Eduard cockpit Photo Etch (PE) details, the Eureka WW II aircraft carrier deck to display the model and some figures from the Tori MF-03A WW II Carrier Deck Set. Like the Accurate Miniatures TBD Avenger, the build took some patience as the instructions were more sketches than accurate drawings. I also found some helpful YouTube videos to find the correct placements.
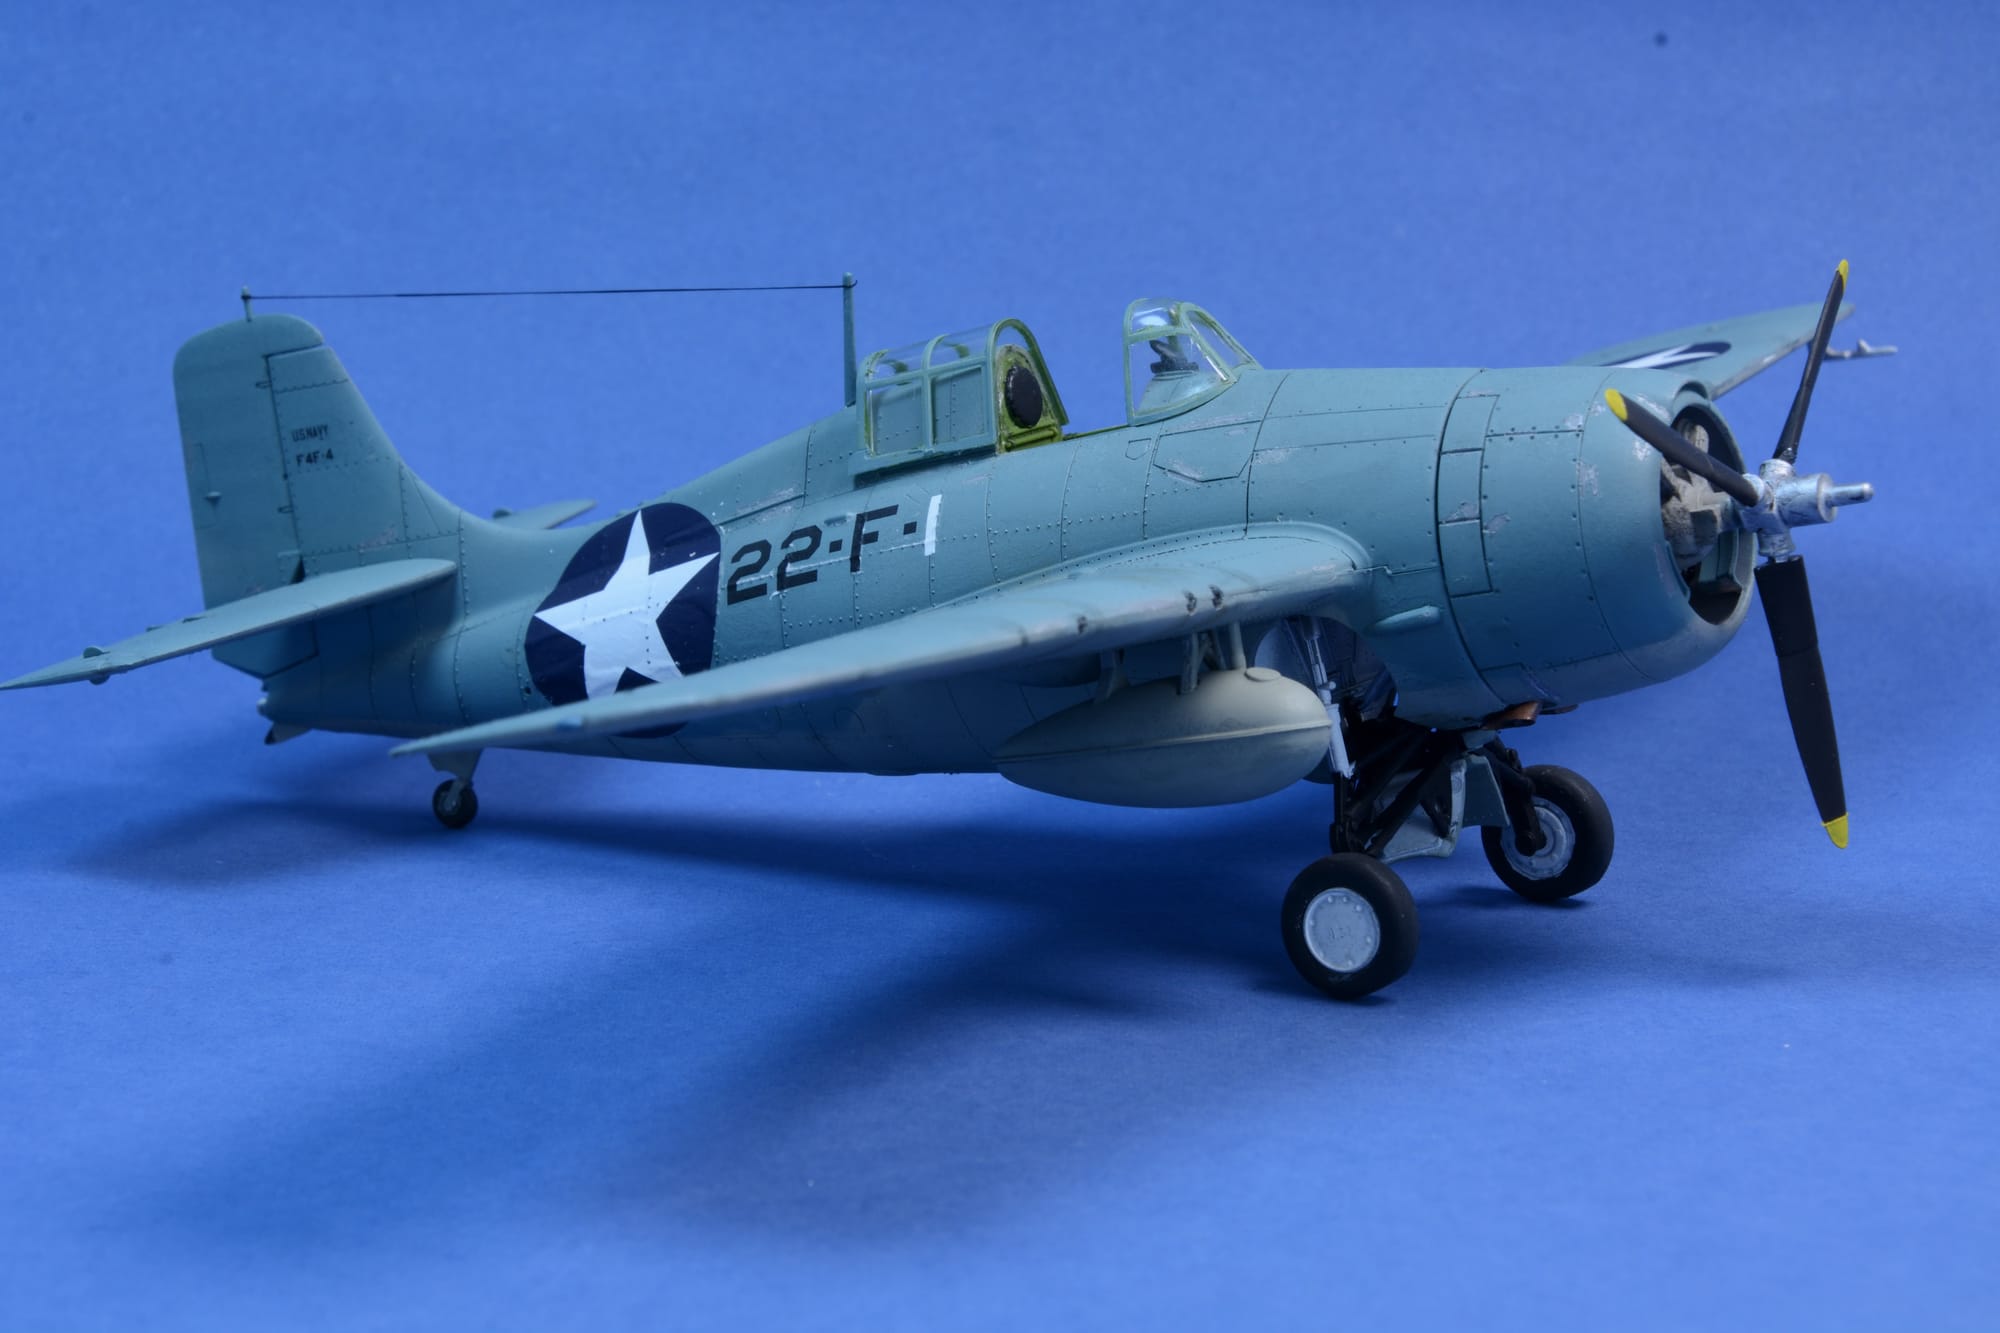
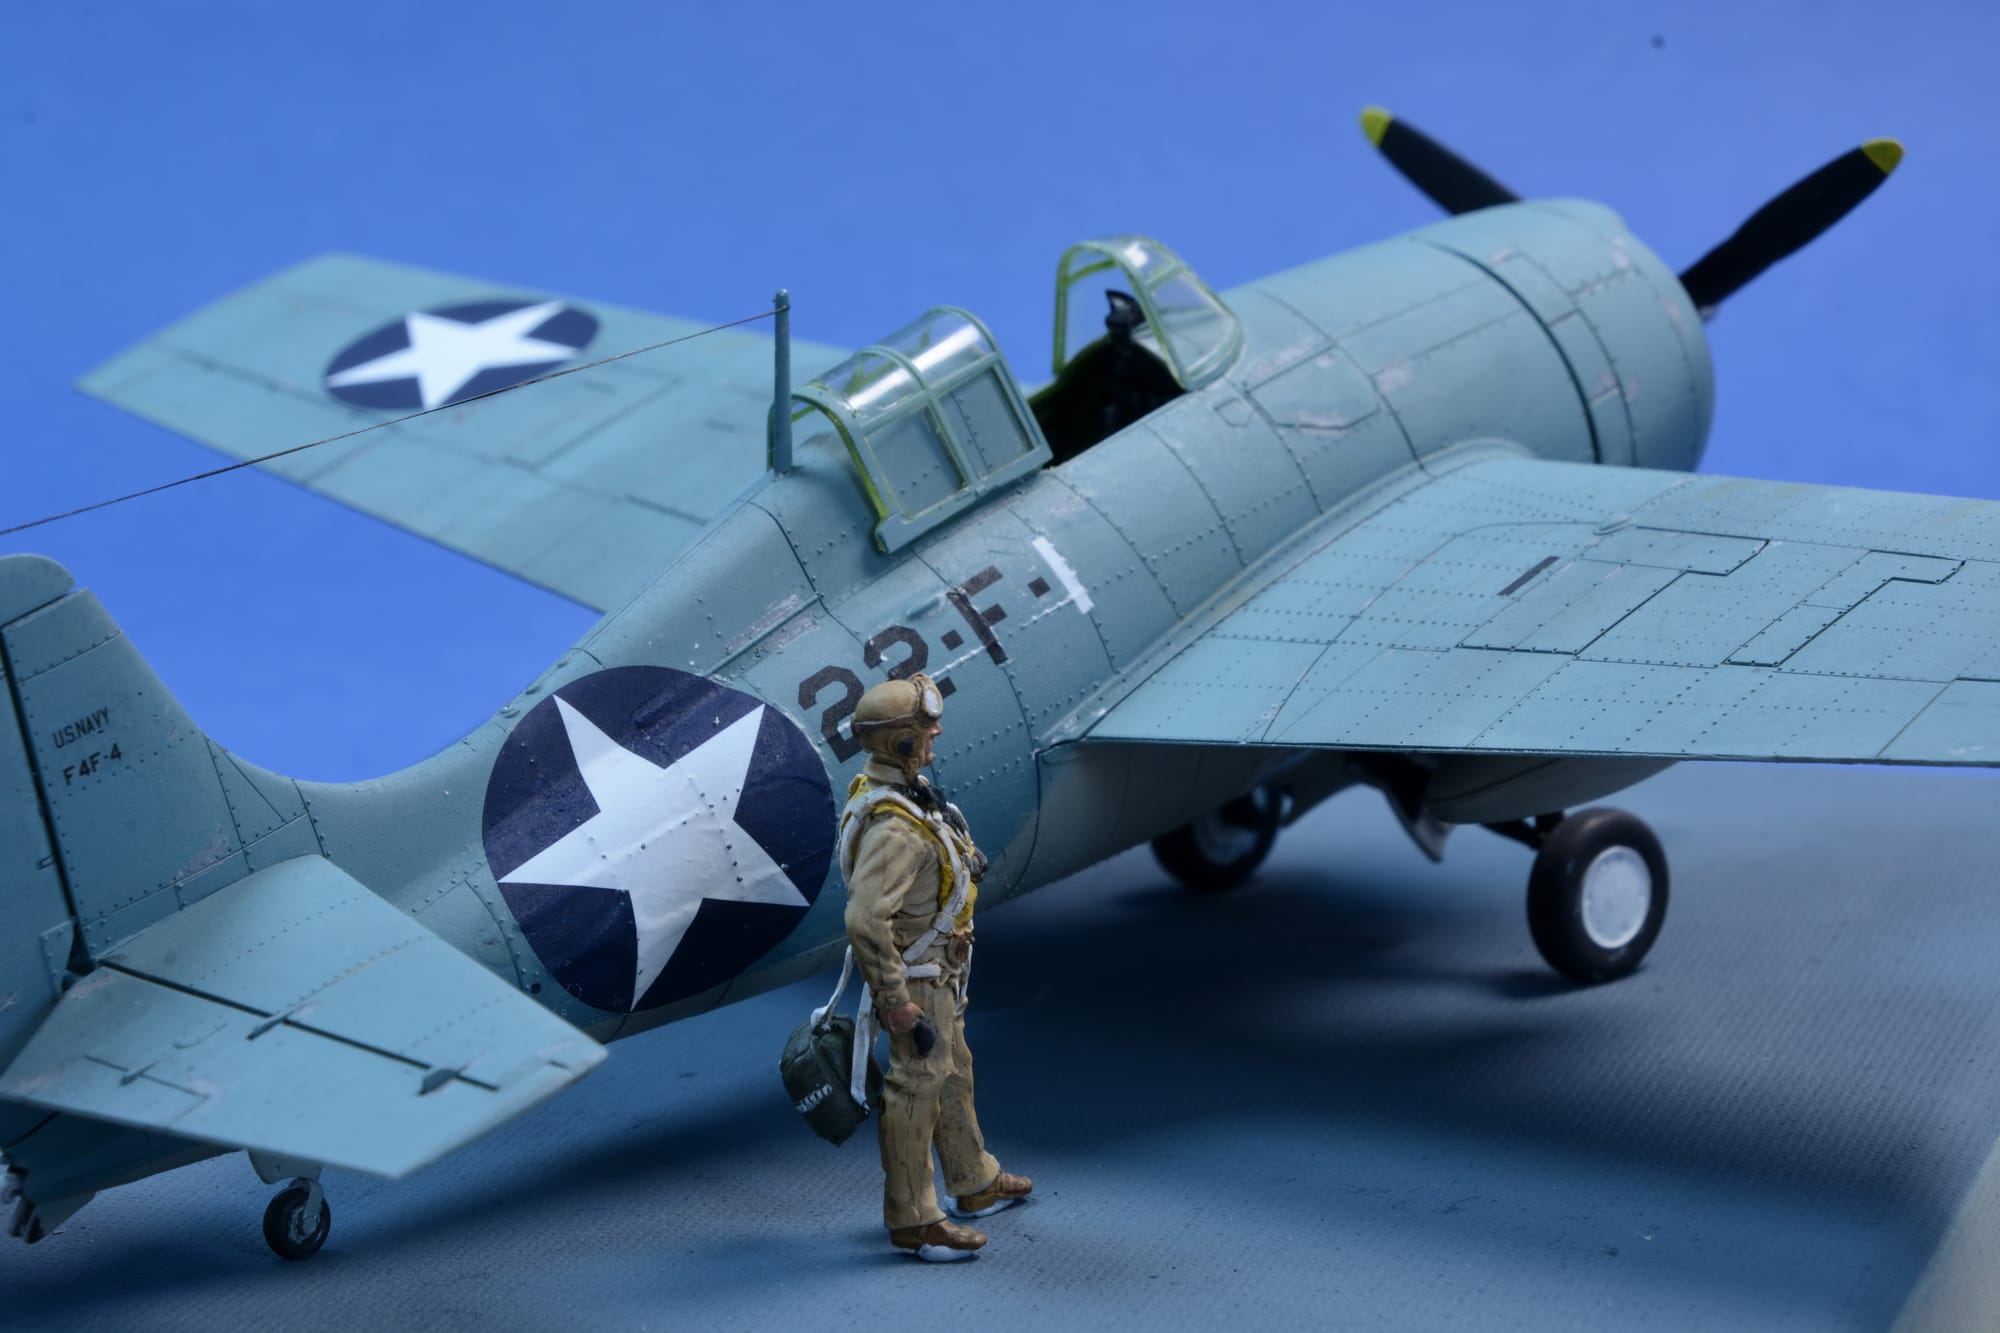
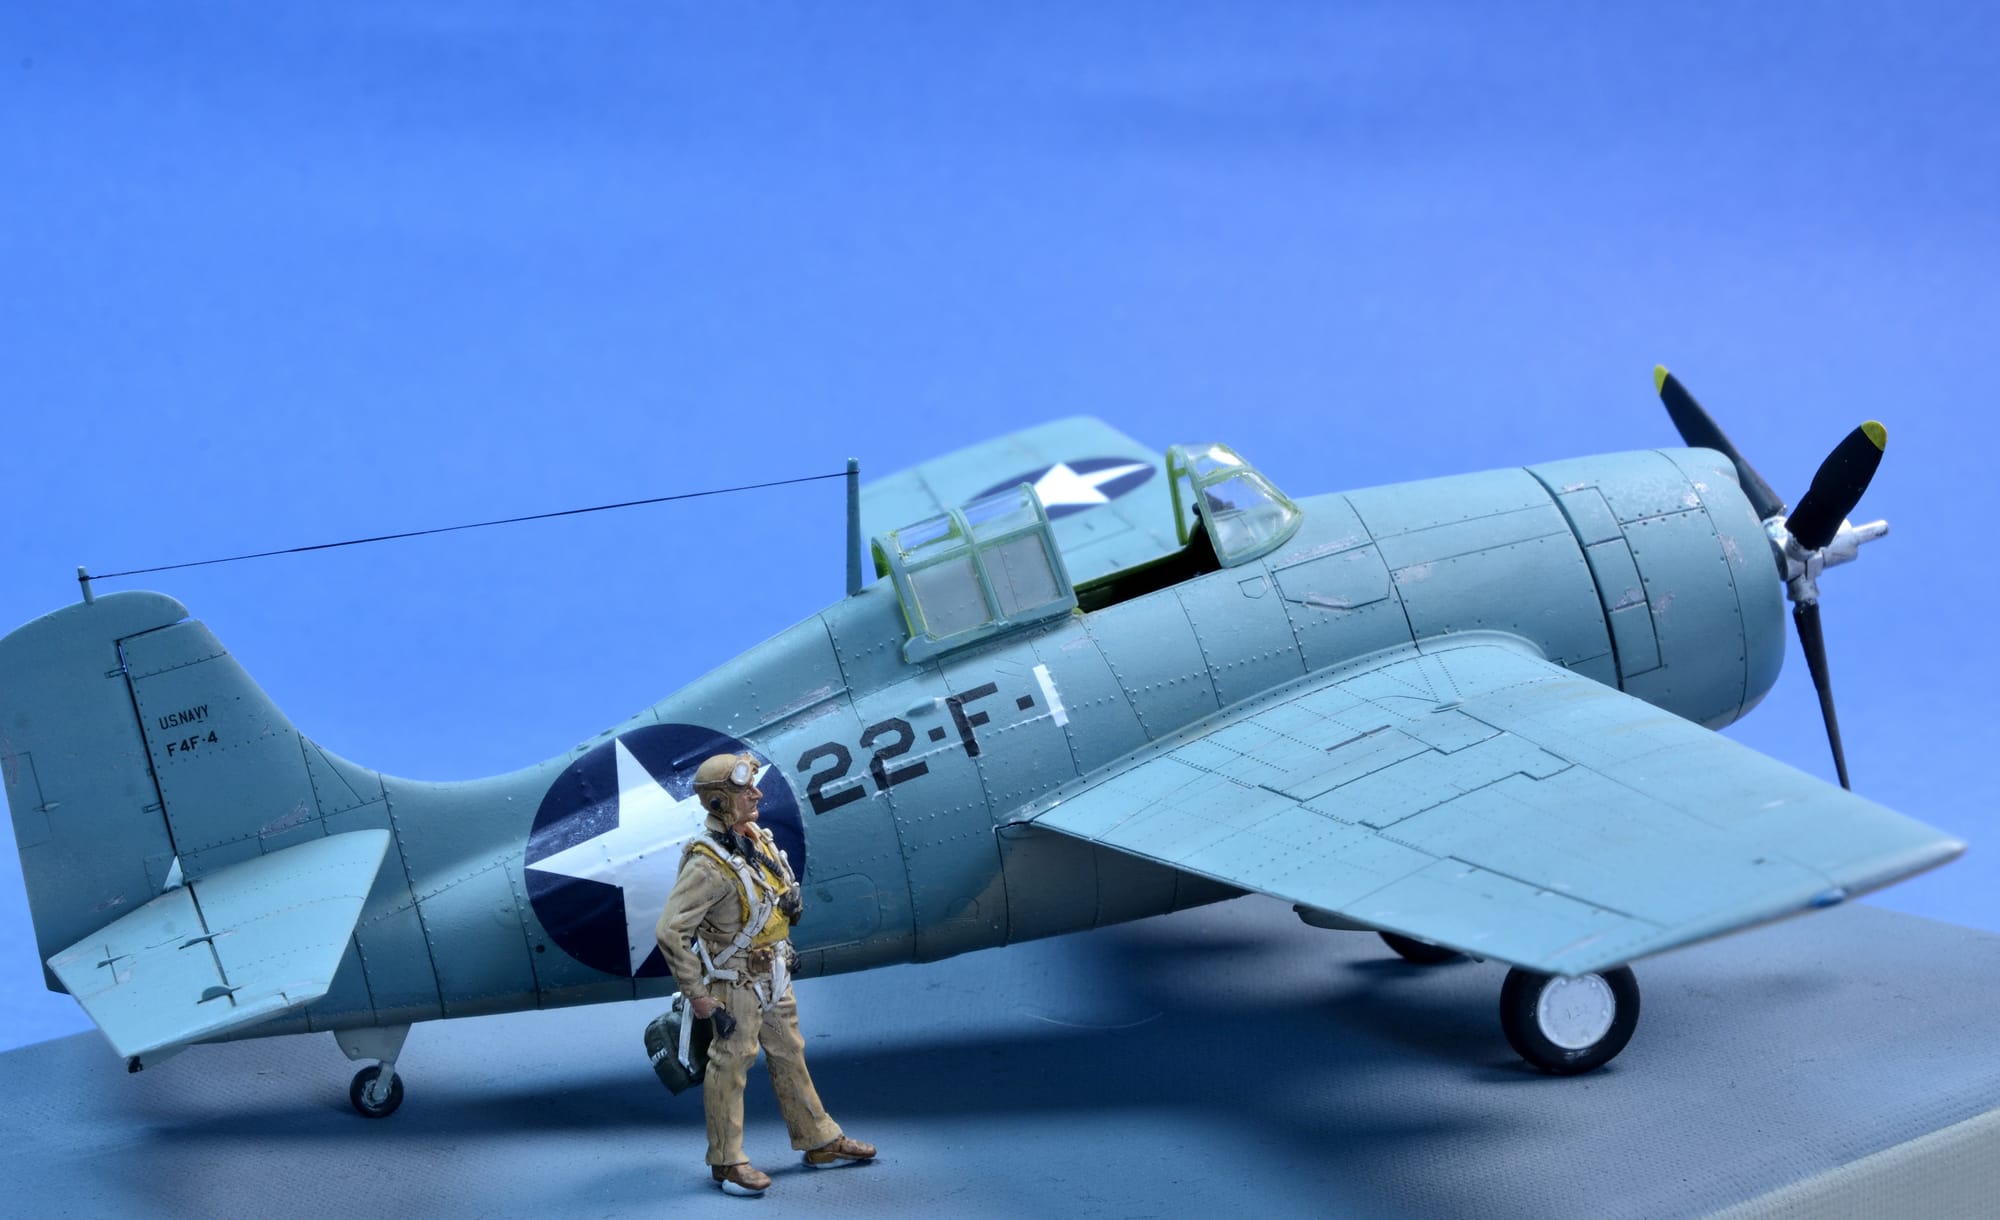
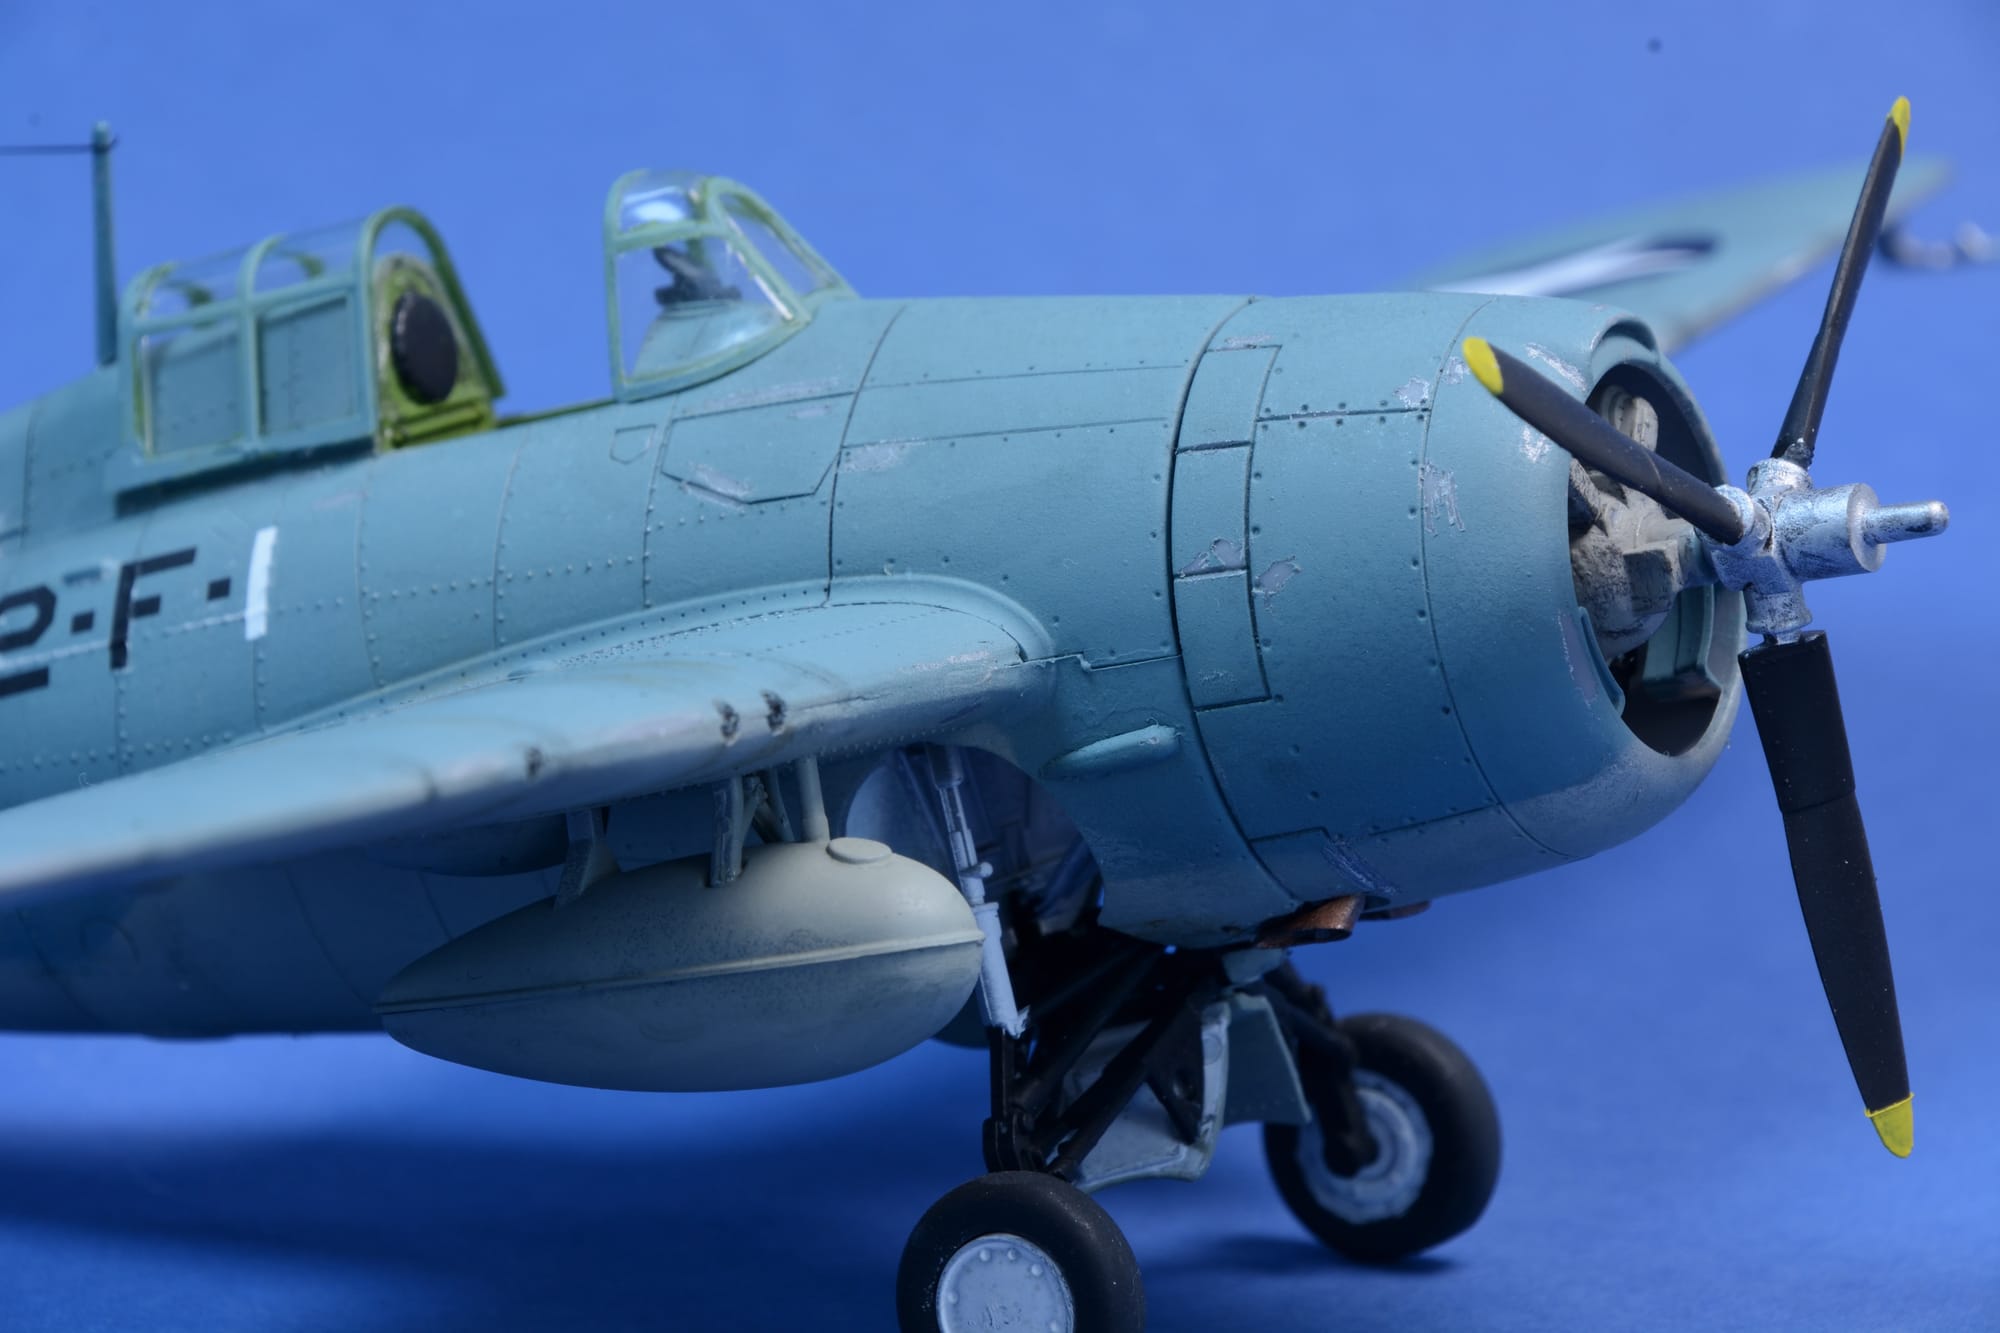
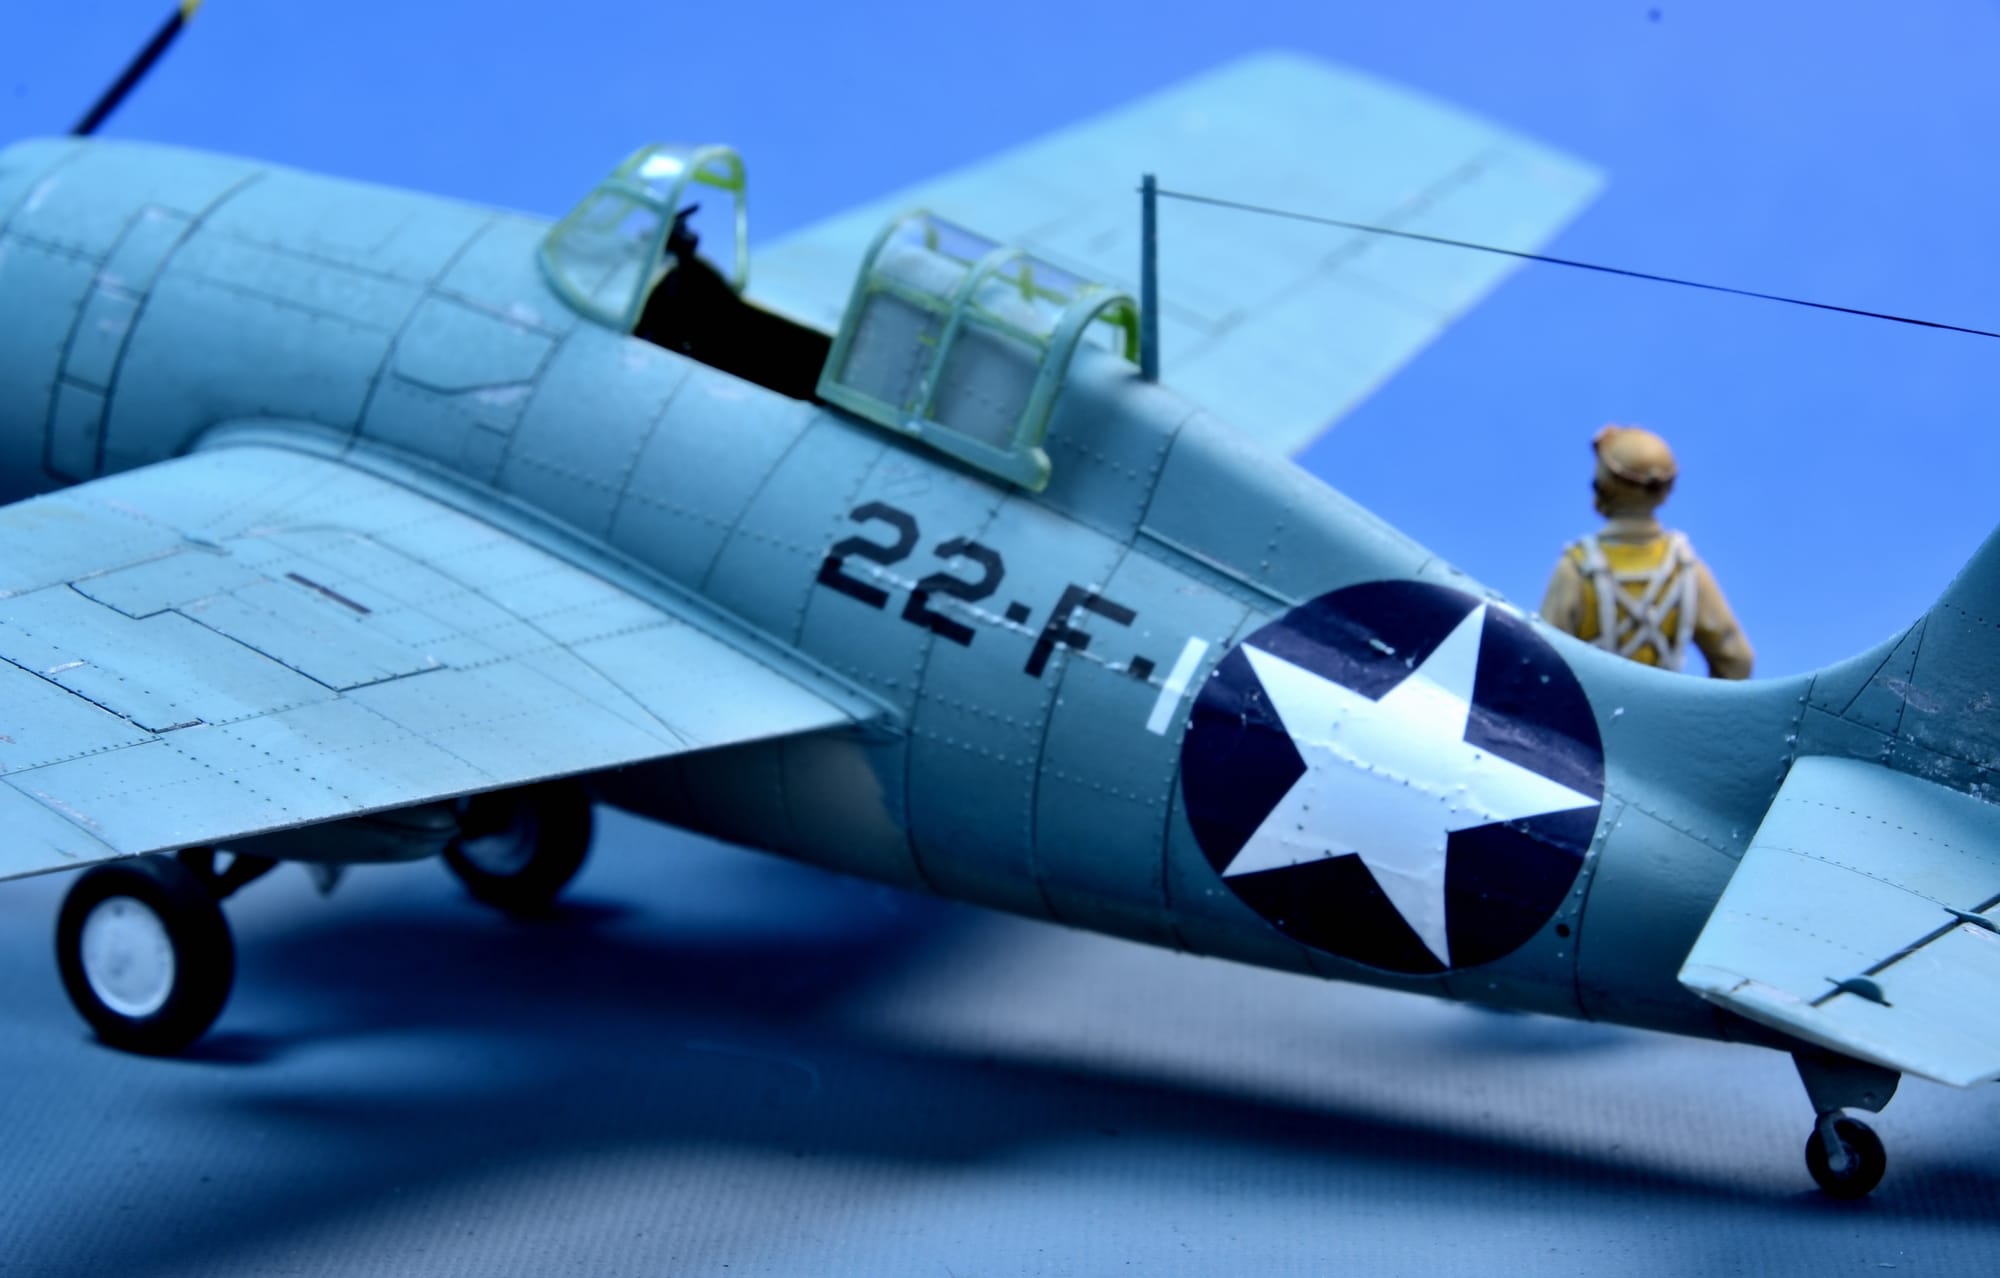
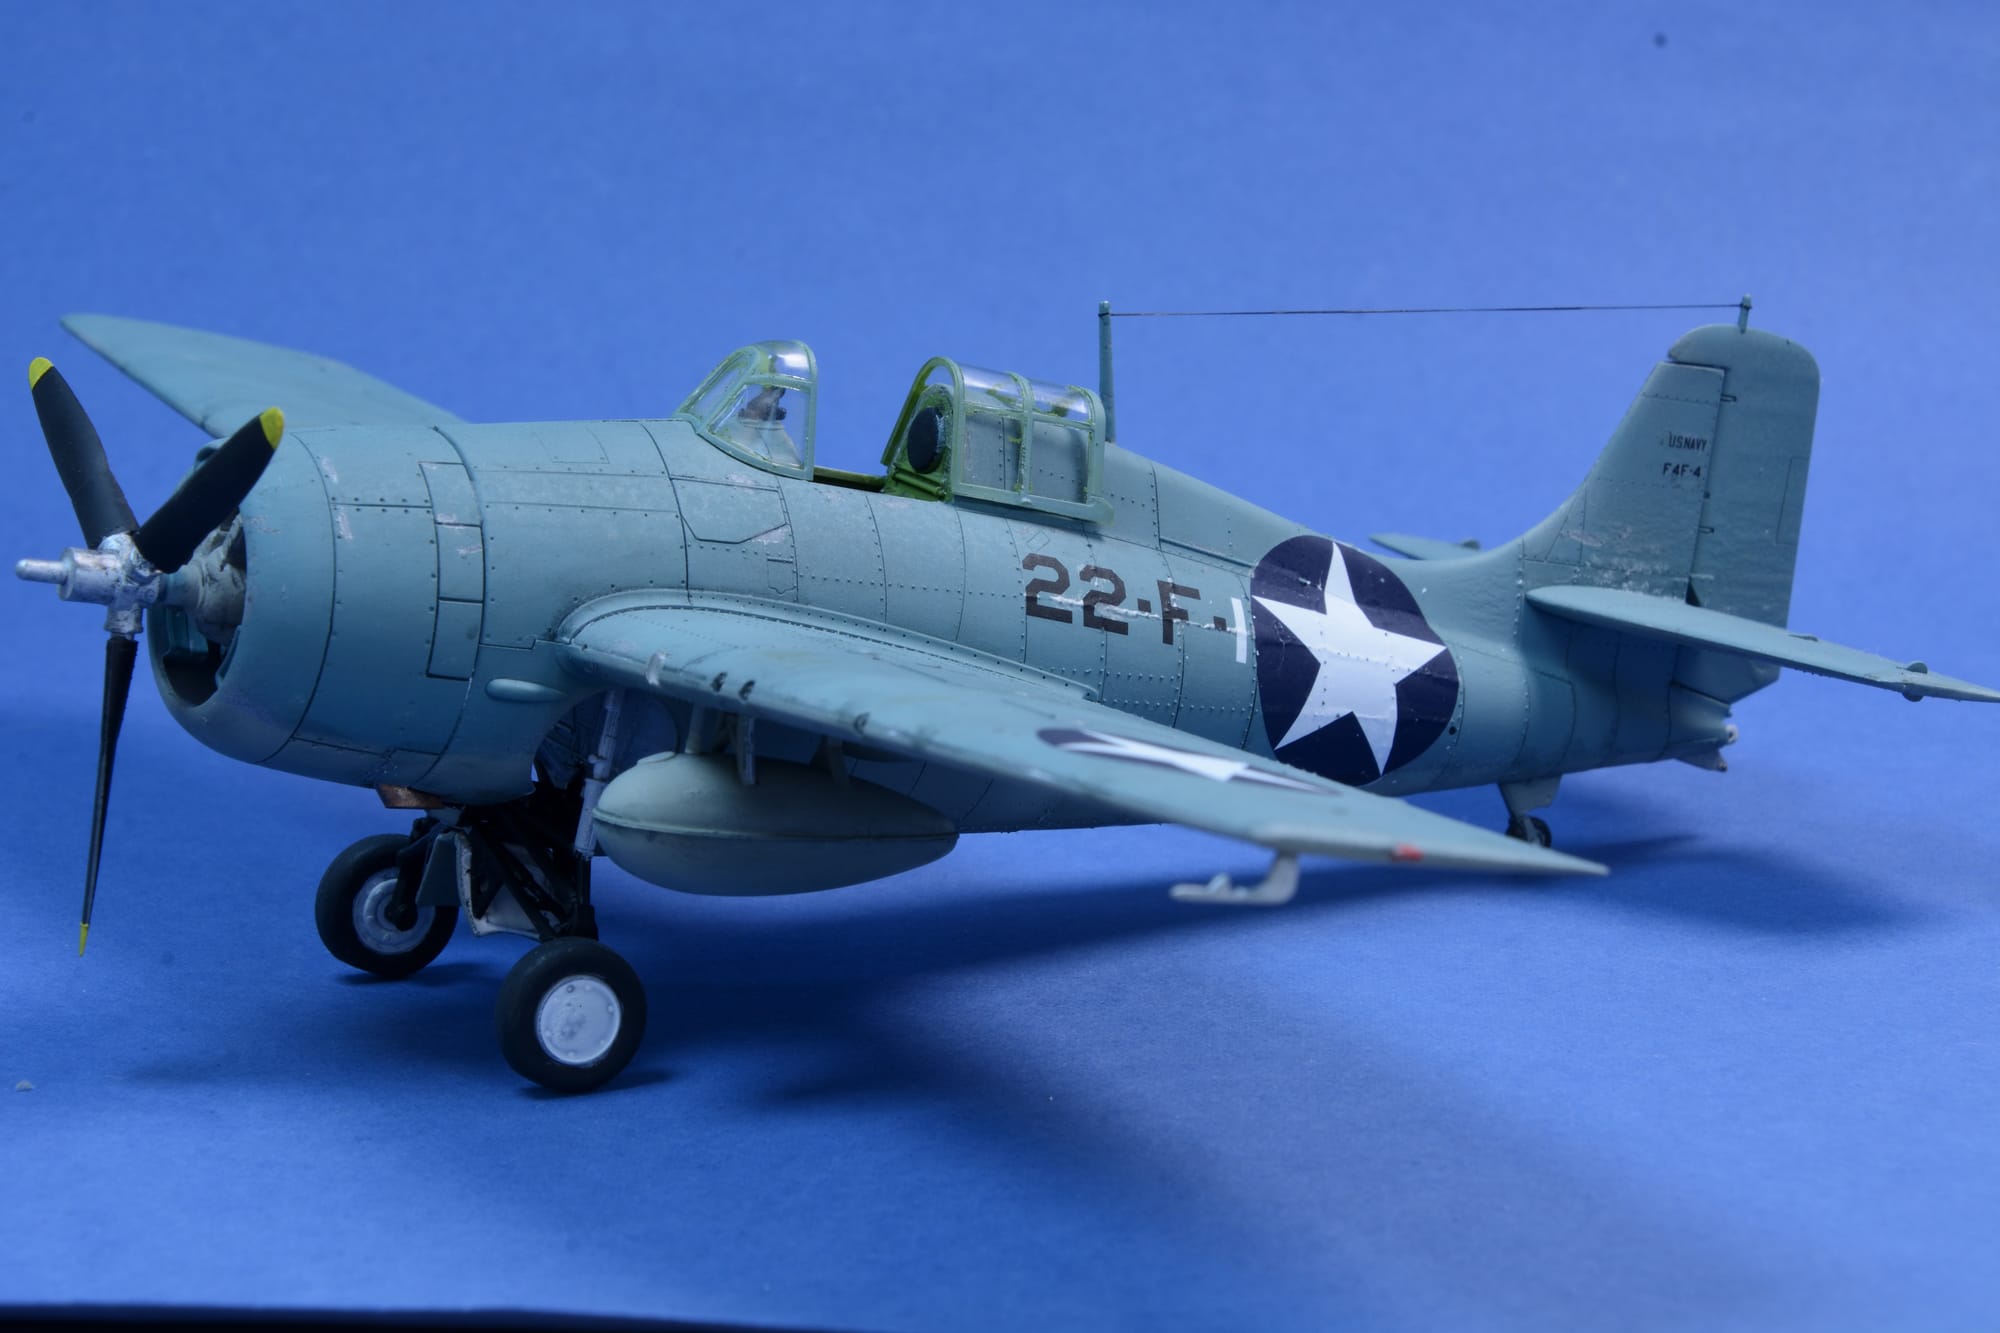
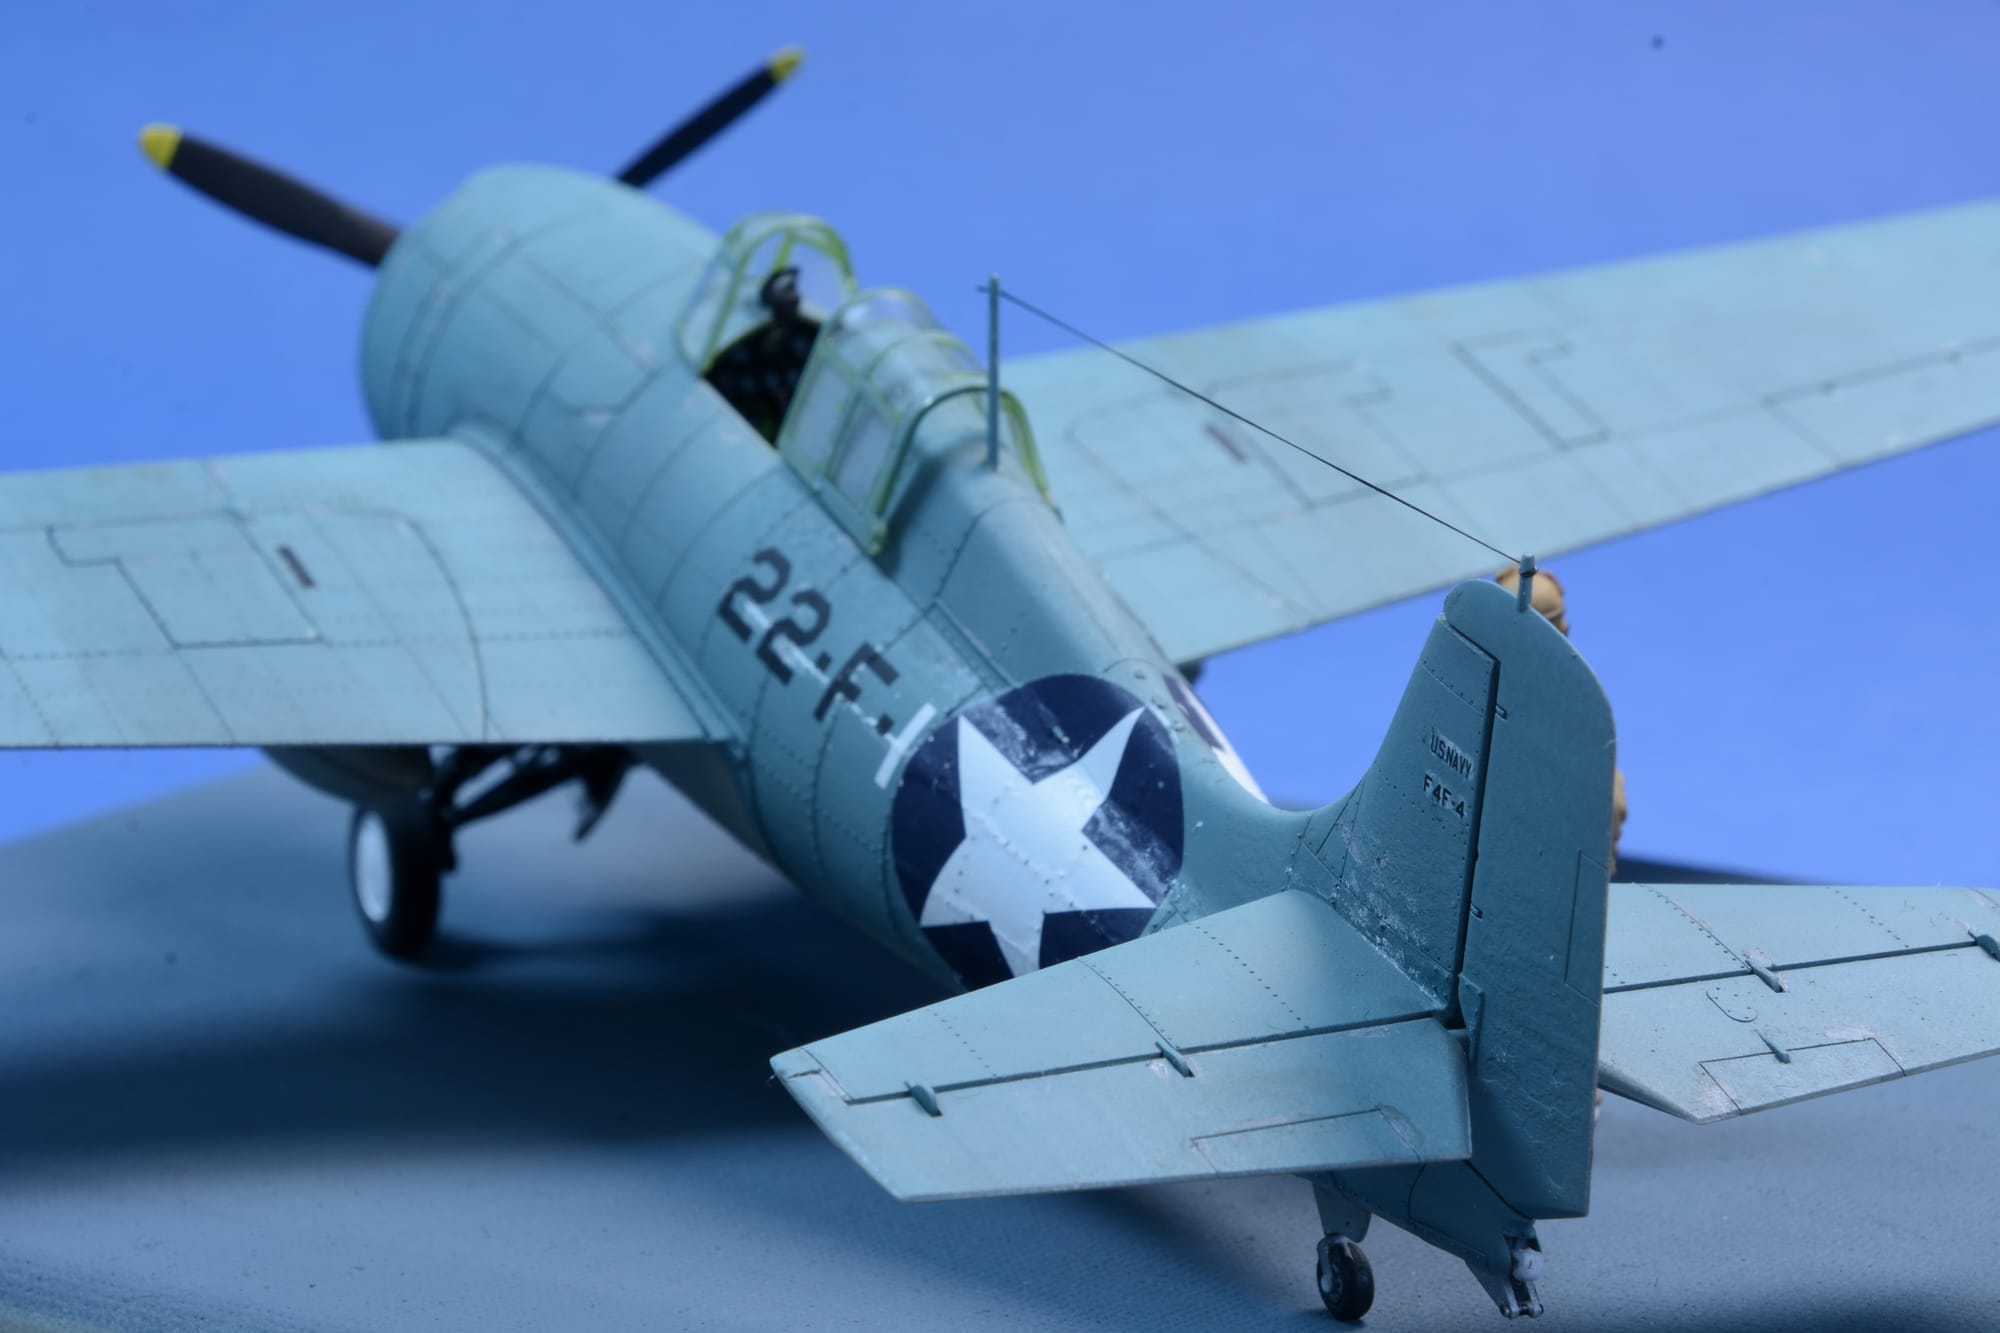
F4-F Wildcat
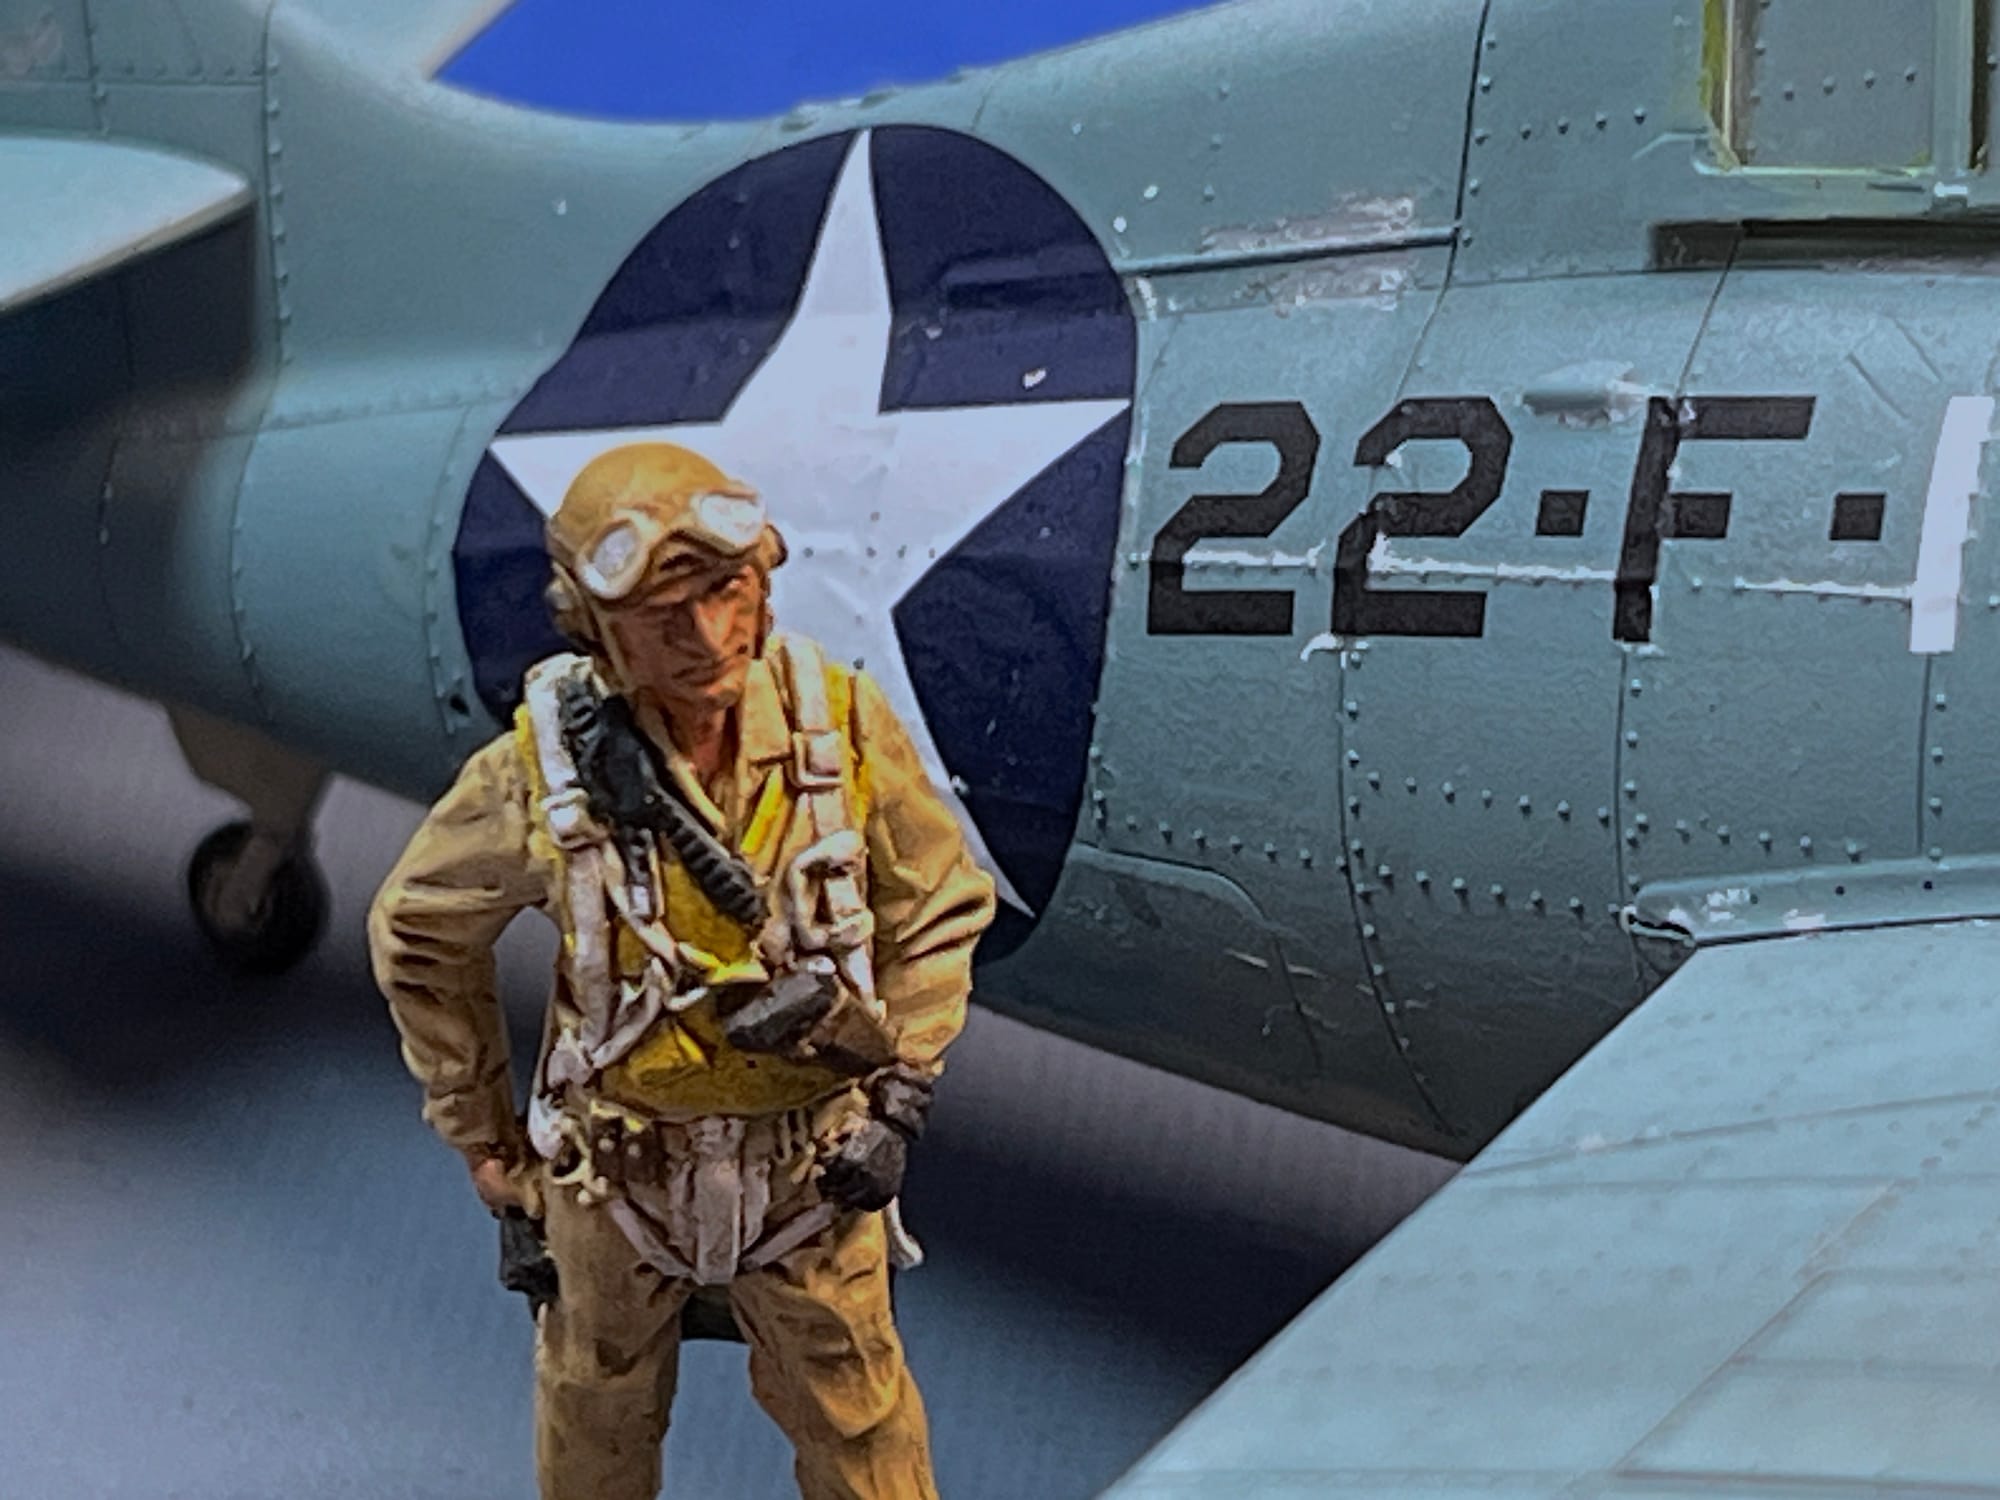
Grumman F4F Wildcat was an American Navy carrier-based fighter aircraft that entered service in 1940. The Wildcat was the only effective fighter available to the Navy and Marine Corps in the Pacific Theater during the early part of the Second World War.
The Wildcat was outperformed by the faster , more maneuverable, and longer-ranged Mitsubishi A6M Zero,
but with an experienced pilot it could hold its own because, with relatively heavy armor and self-sealing fuel tanks, the Grumman airframe could survive far more damage than its lightweight, unarmored Japanese rival. Lessons learned from the Wildcat were later applied to the faster F6F Hellcat. While the Wildcat had better range and maneuverability at low speed, the Hellcat could rely on superior power and high speed performance to outperform the Zero. Wildcat production continued throughout the remainder of the war, with Wildcats serving on escort carriers, where the larger and much heavier Hellcat could not be used. 7,885 Wildcats were built during the war.
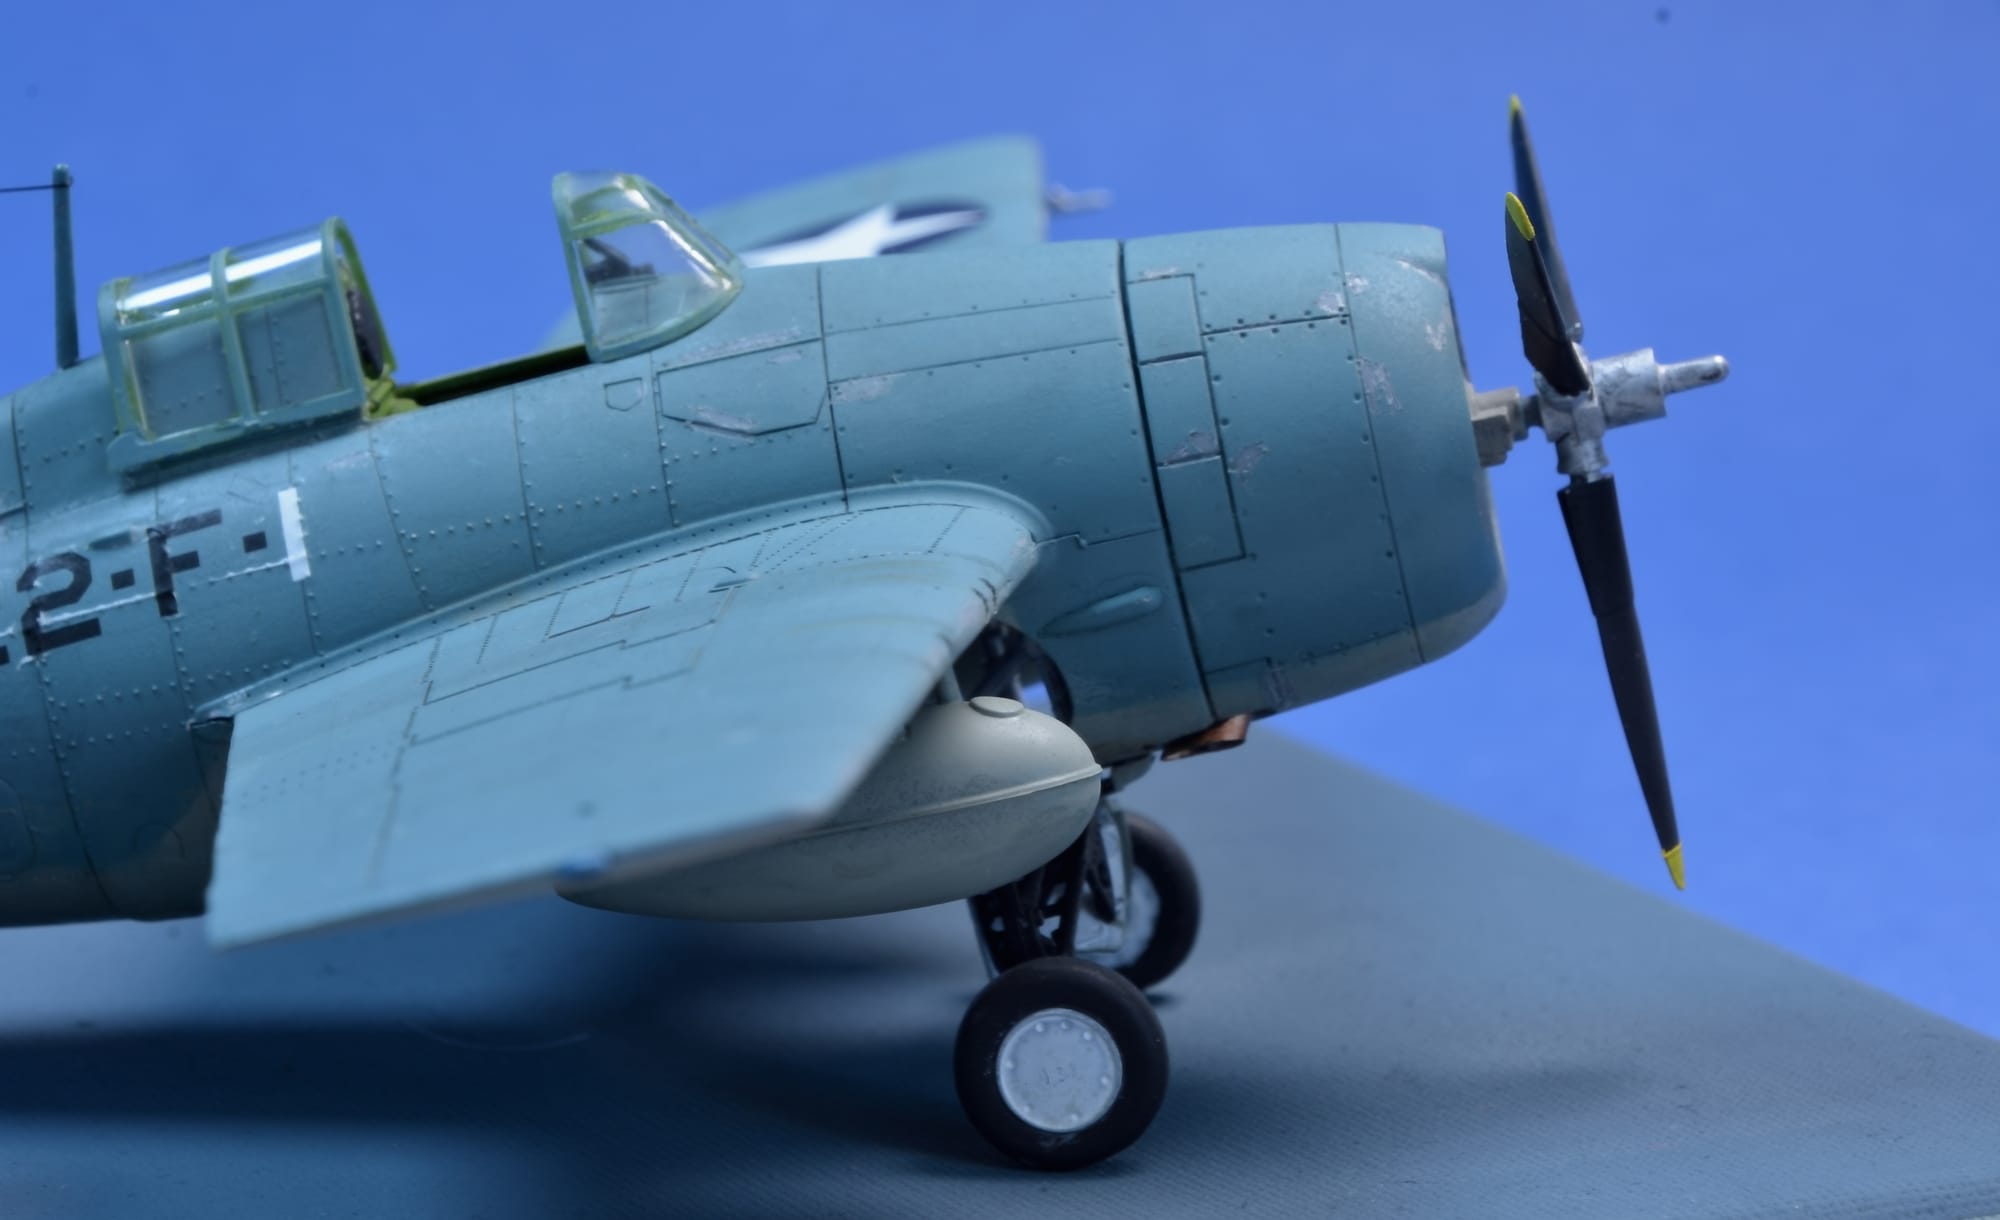
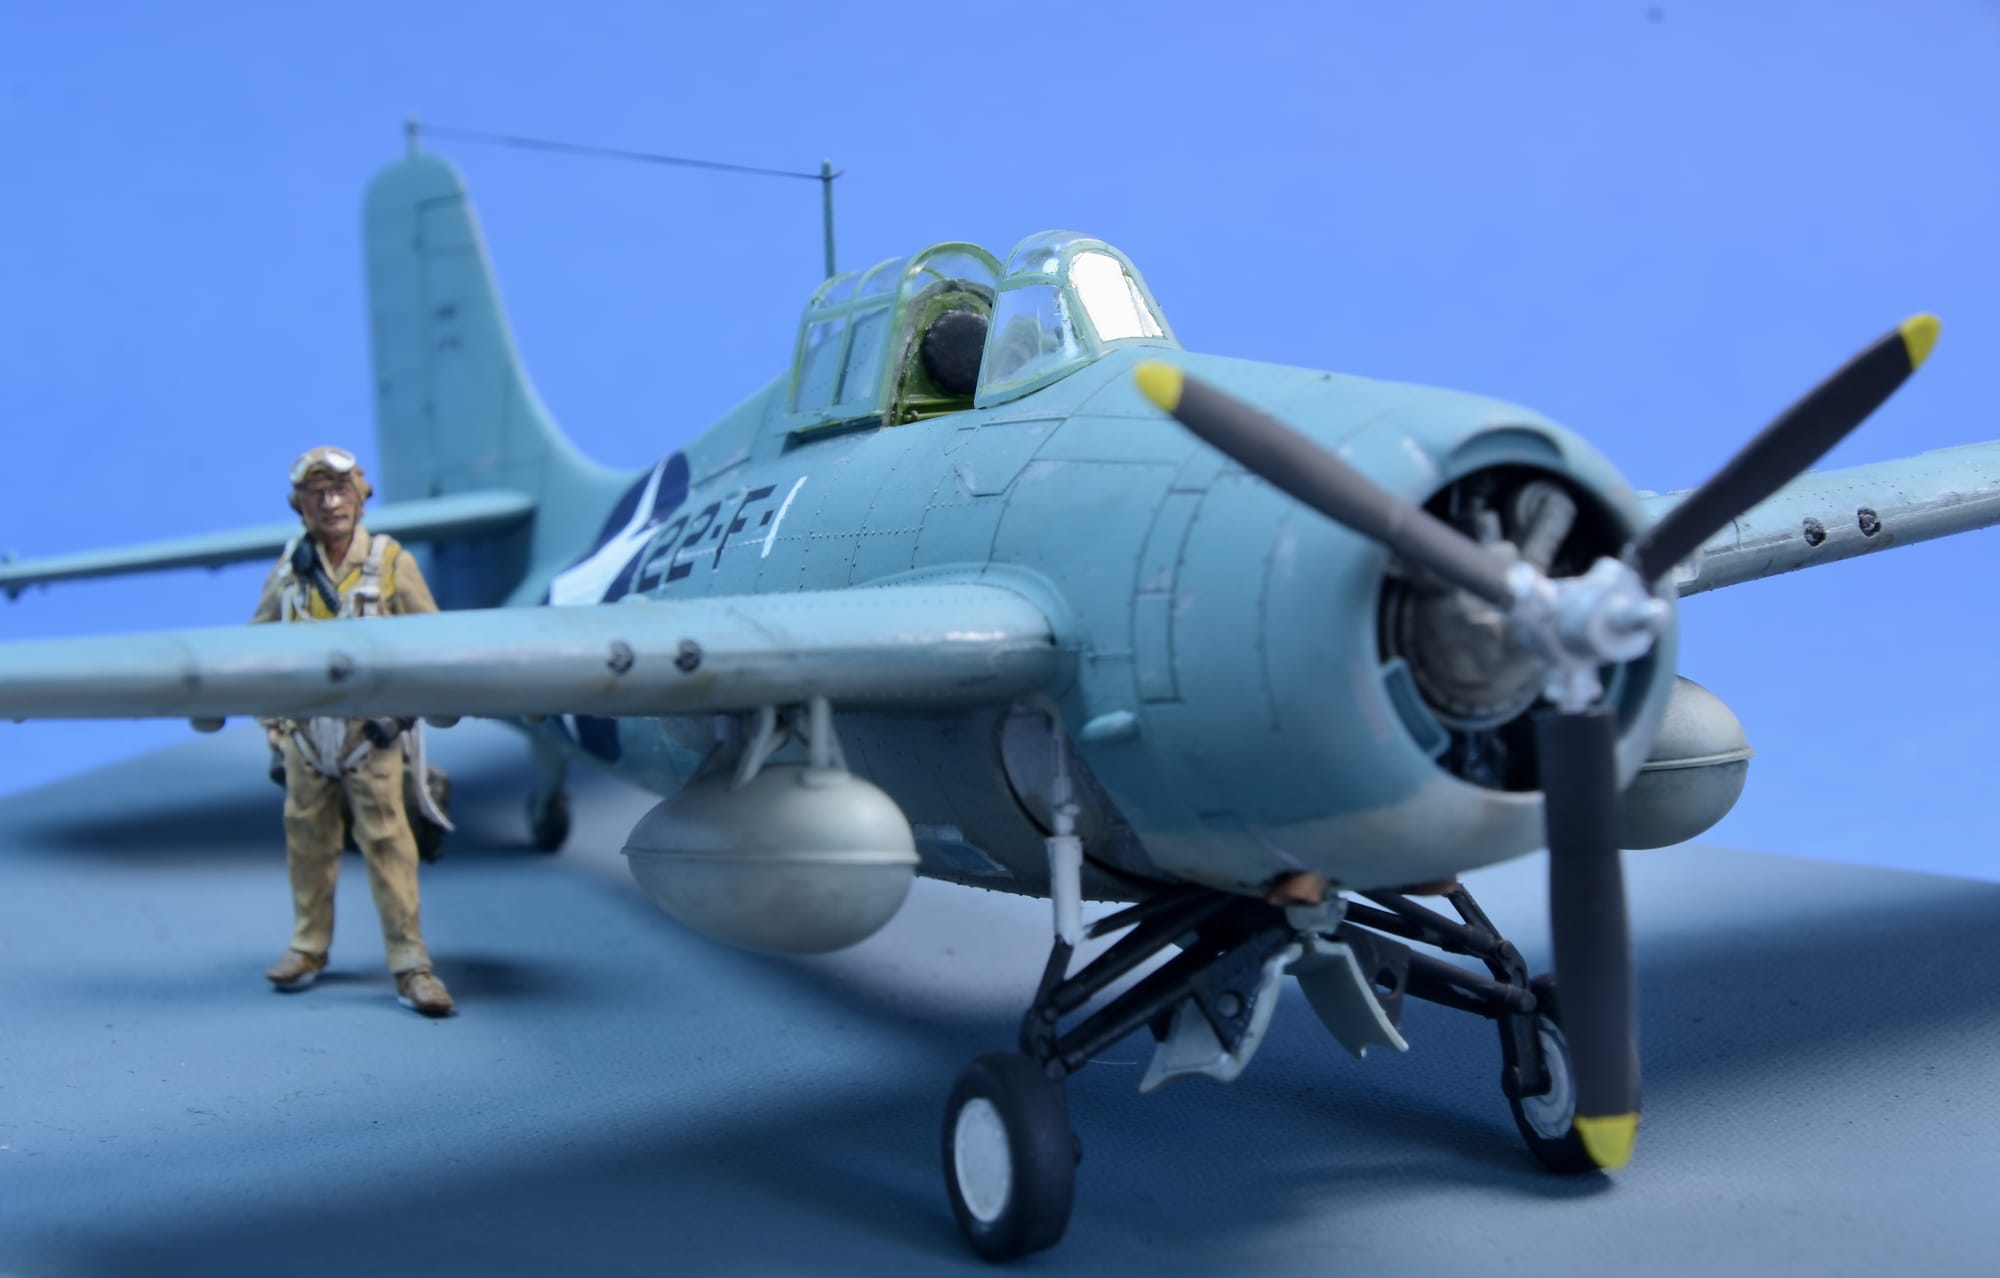
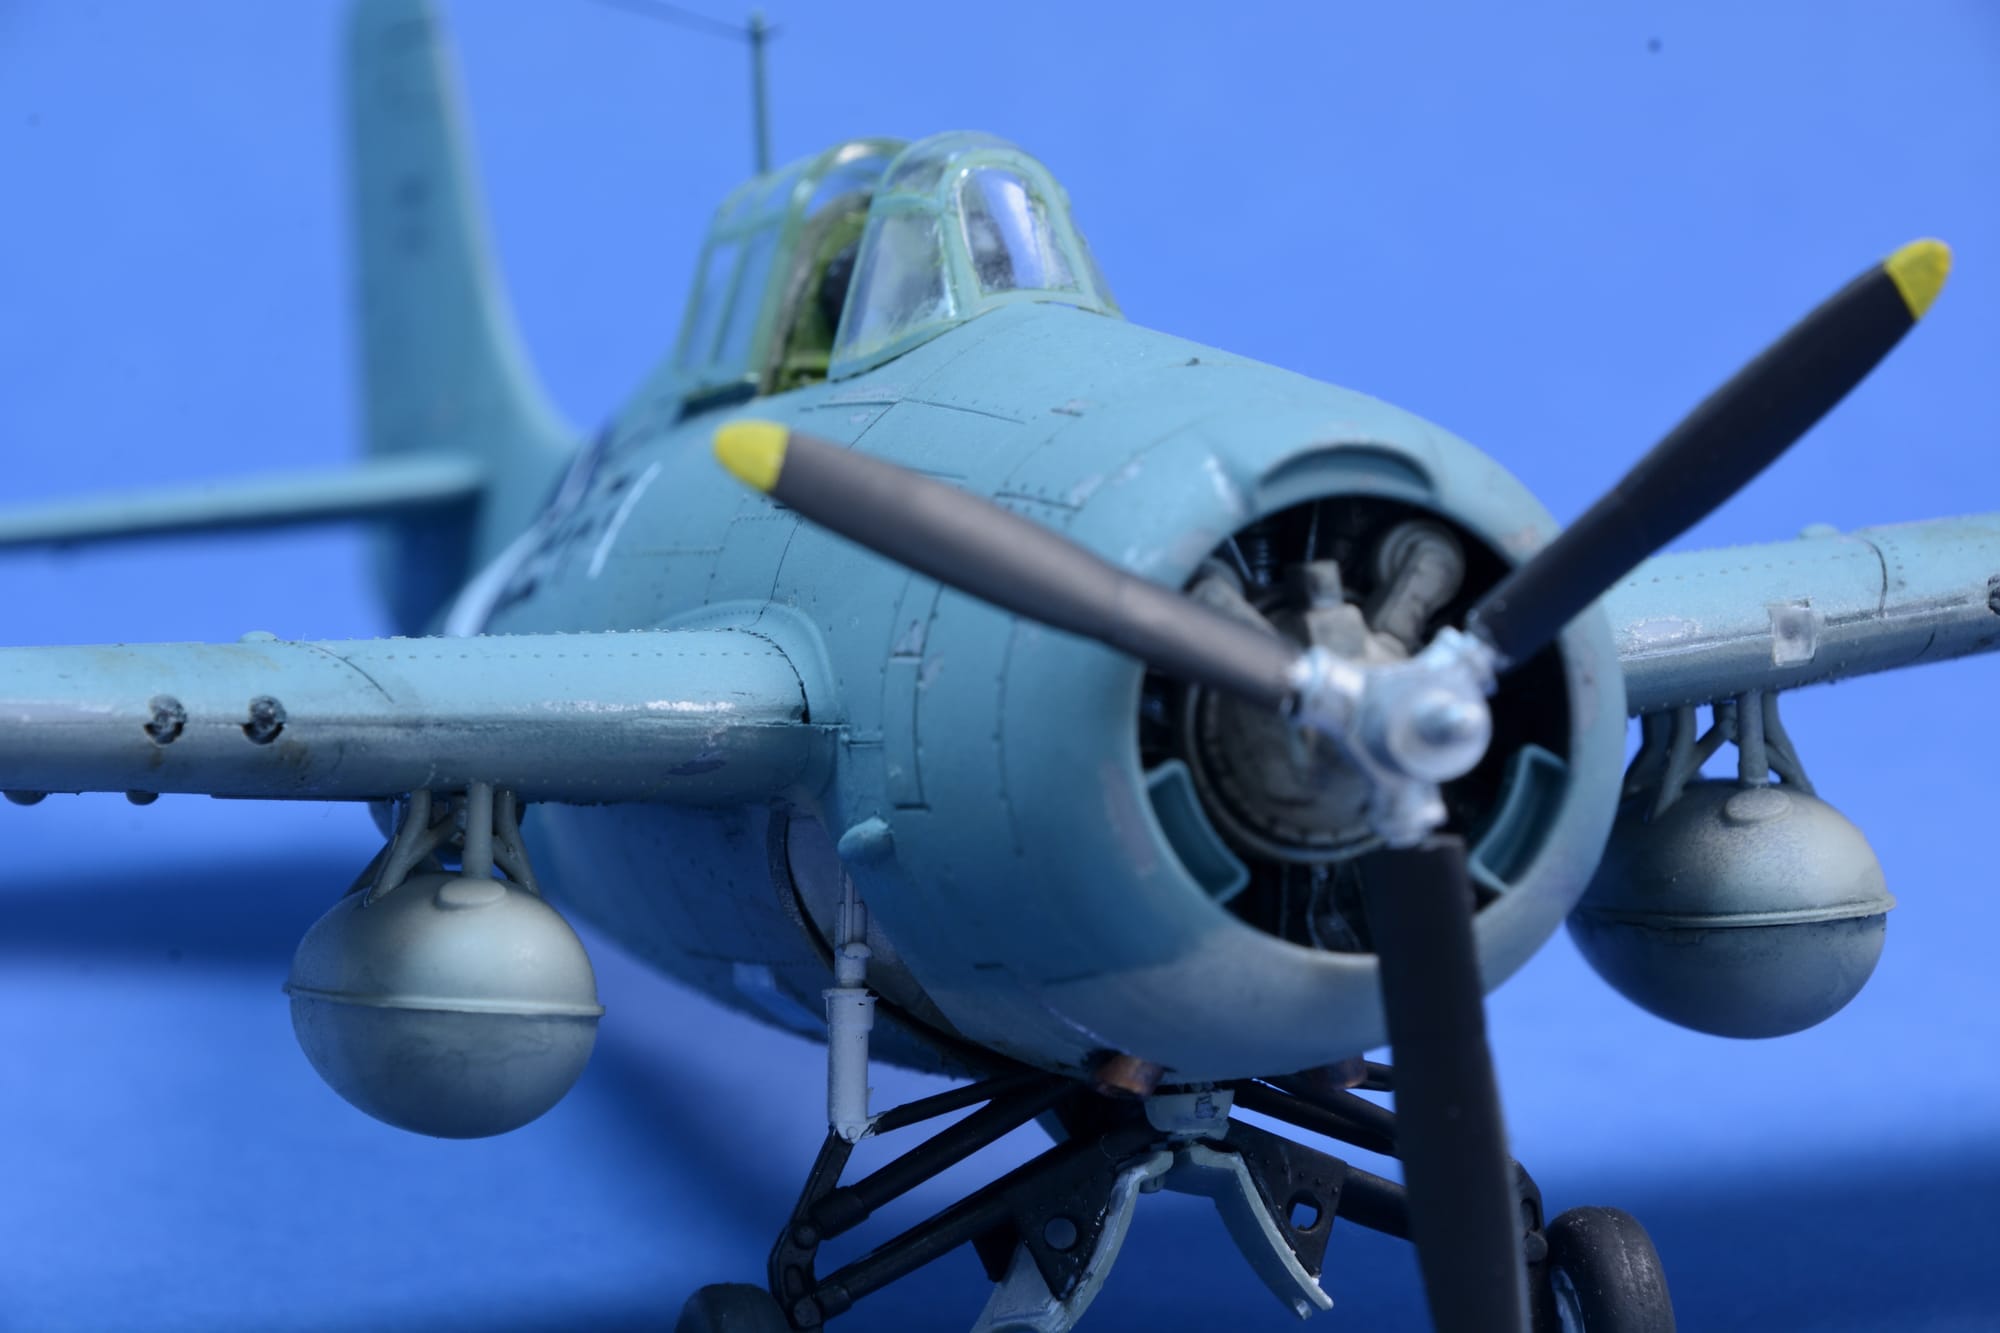
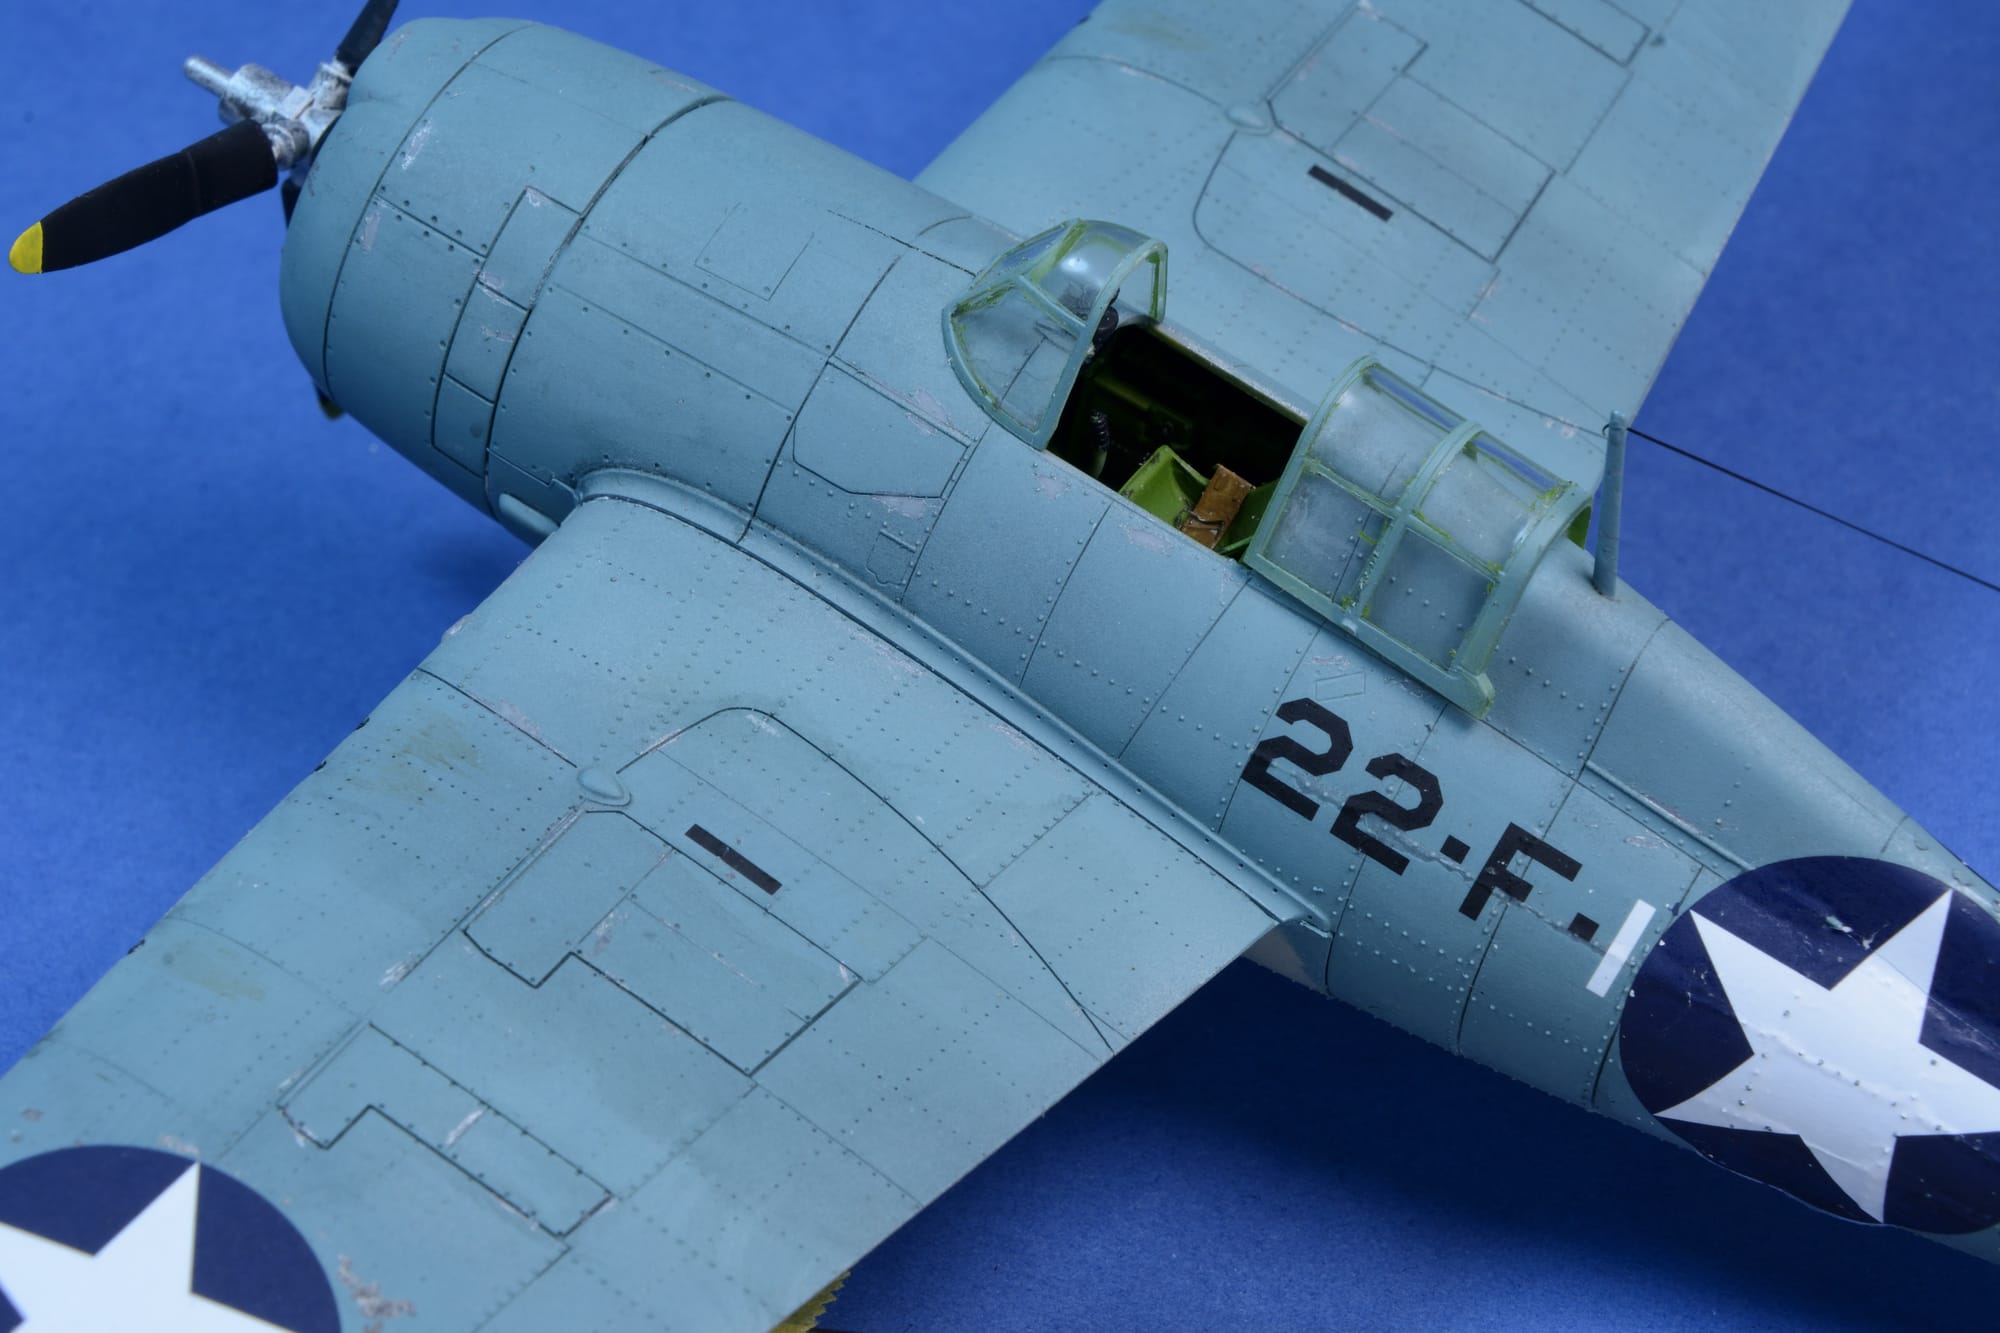
The model is from the Tamiya F4-F 1:48 scale kit. I built the model directly out of the box with no additional Photo Etch (PE). I spent some time with the painting details, using black and white patches over the first coat of flat aluminum. This resulted in subtle fading with the final blue/grey final coat. I did a moderate amount of chipping and weathering to finish the model. I used a small paint canvas frame to display the model and a pilot figure from www.plusmodels.cz. Tamiya instructions were very good and, as expected, the part fits were excellent. This would be a good starter build.
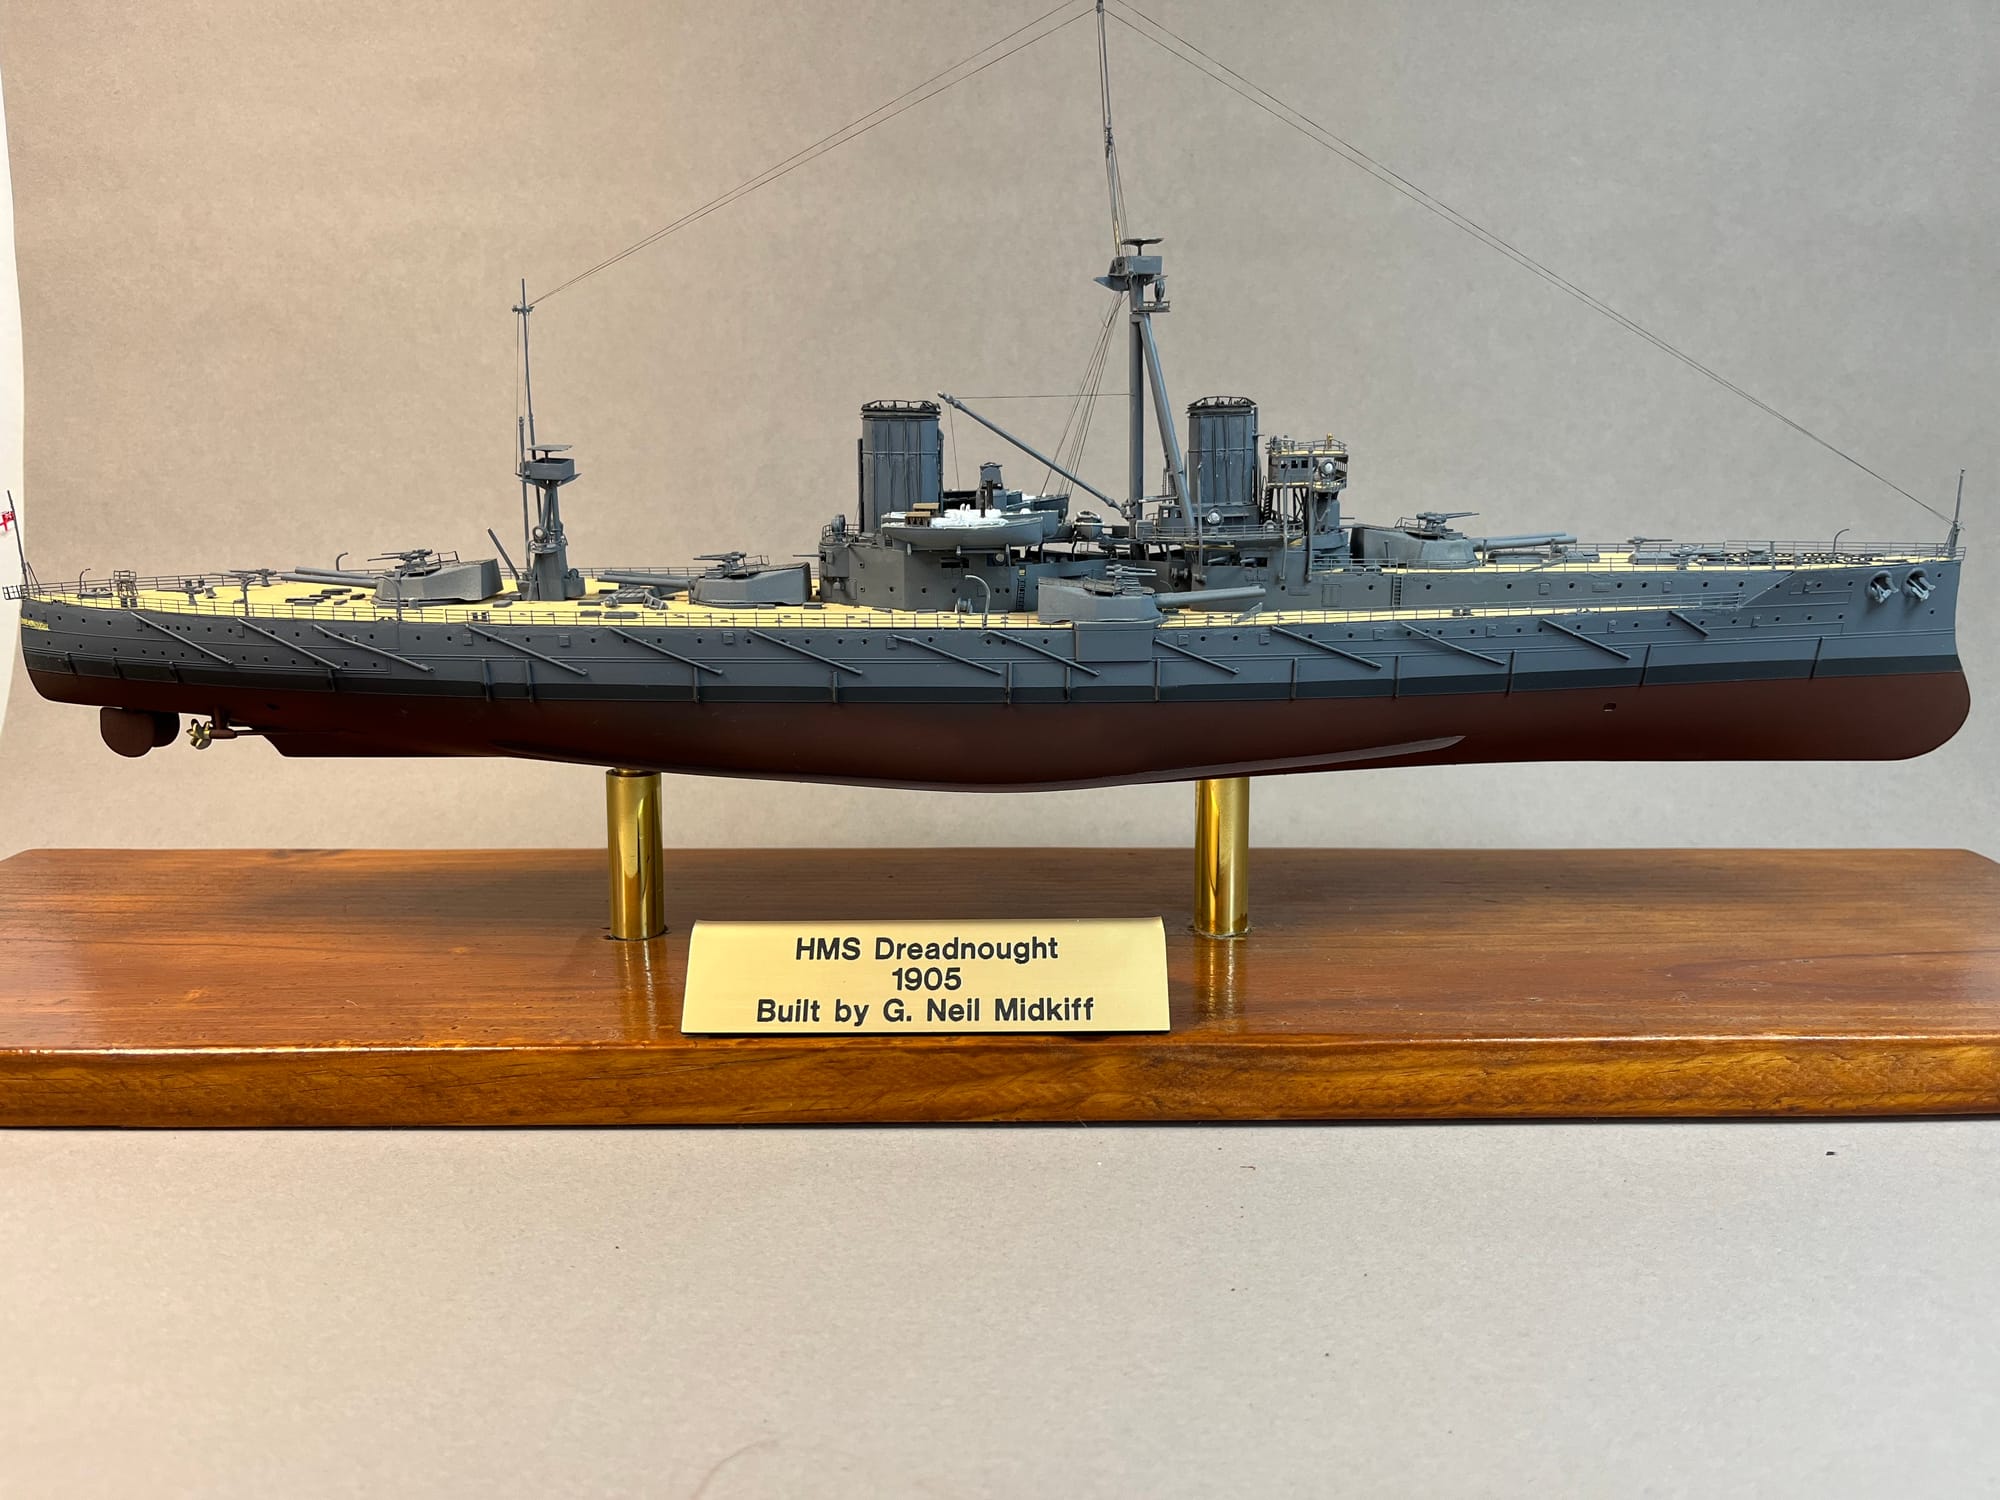
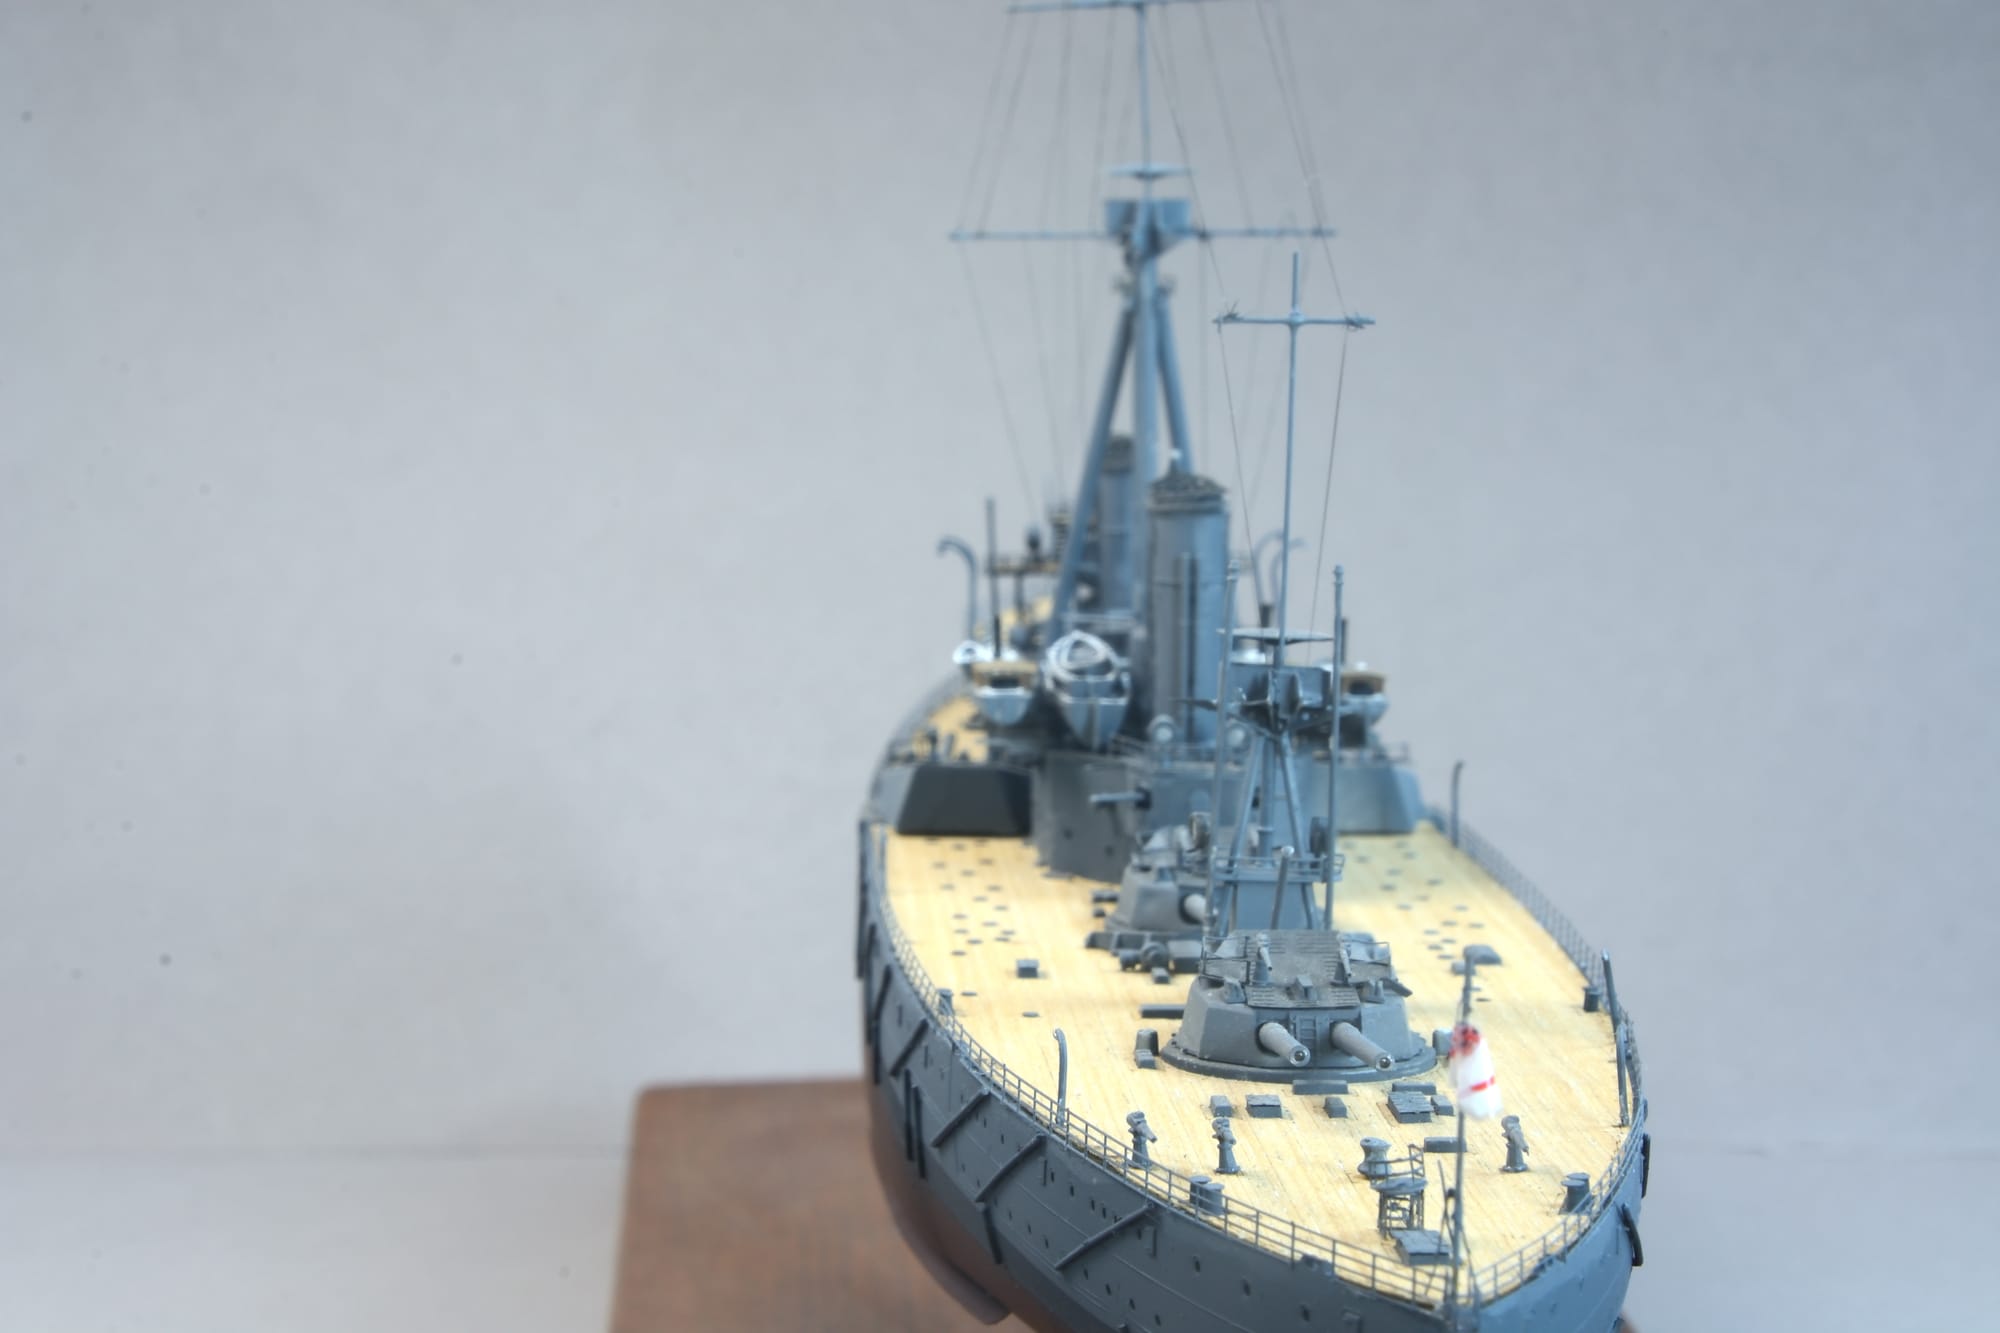
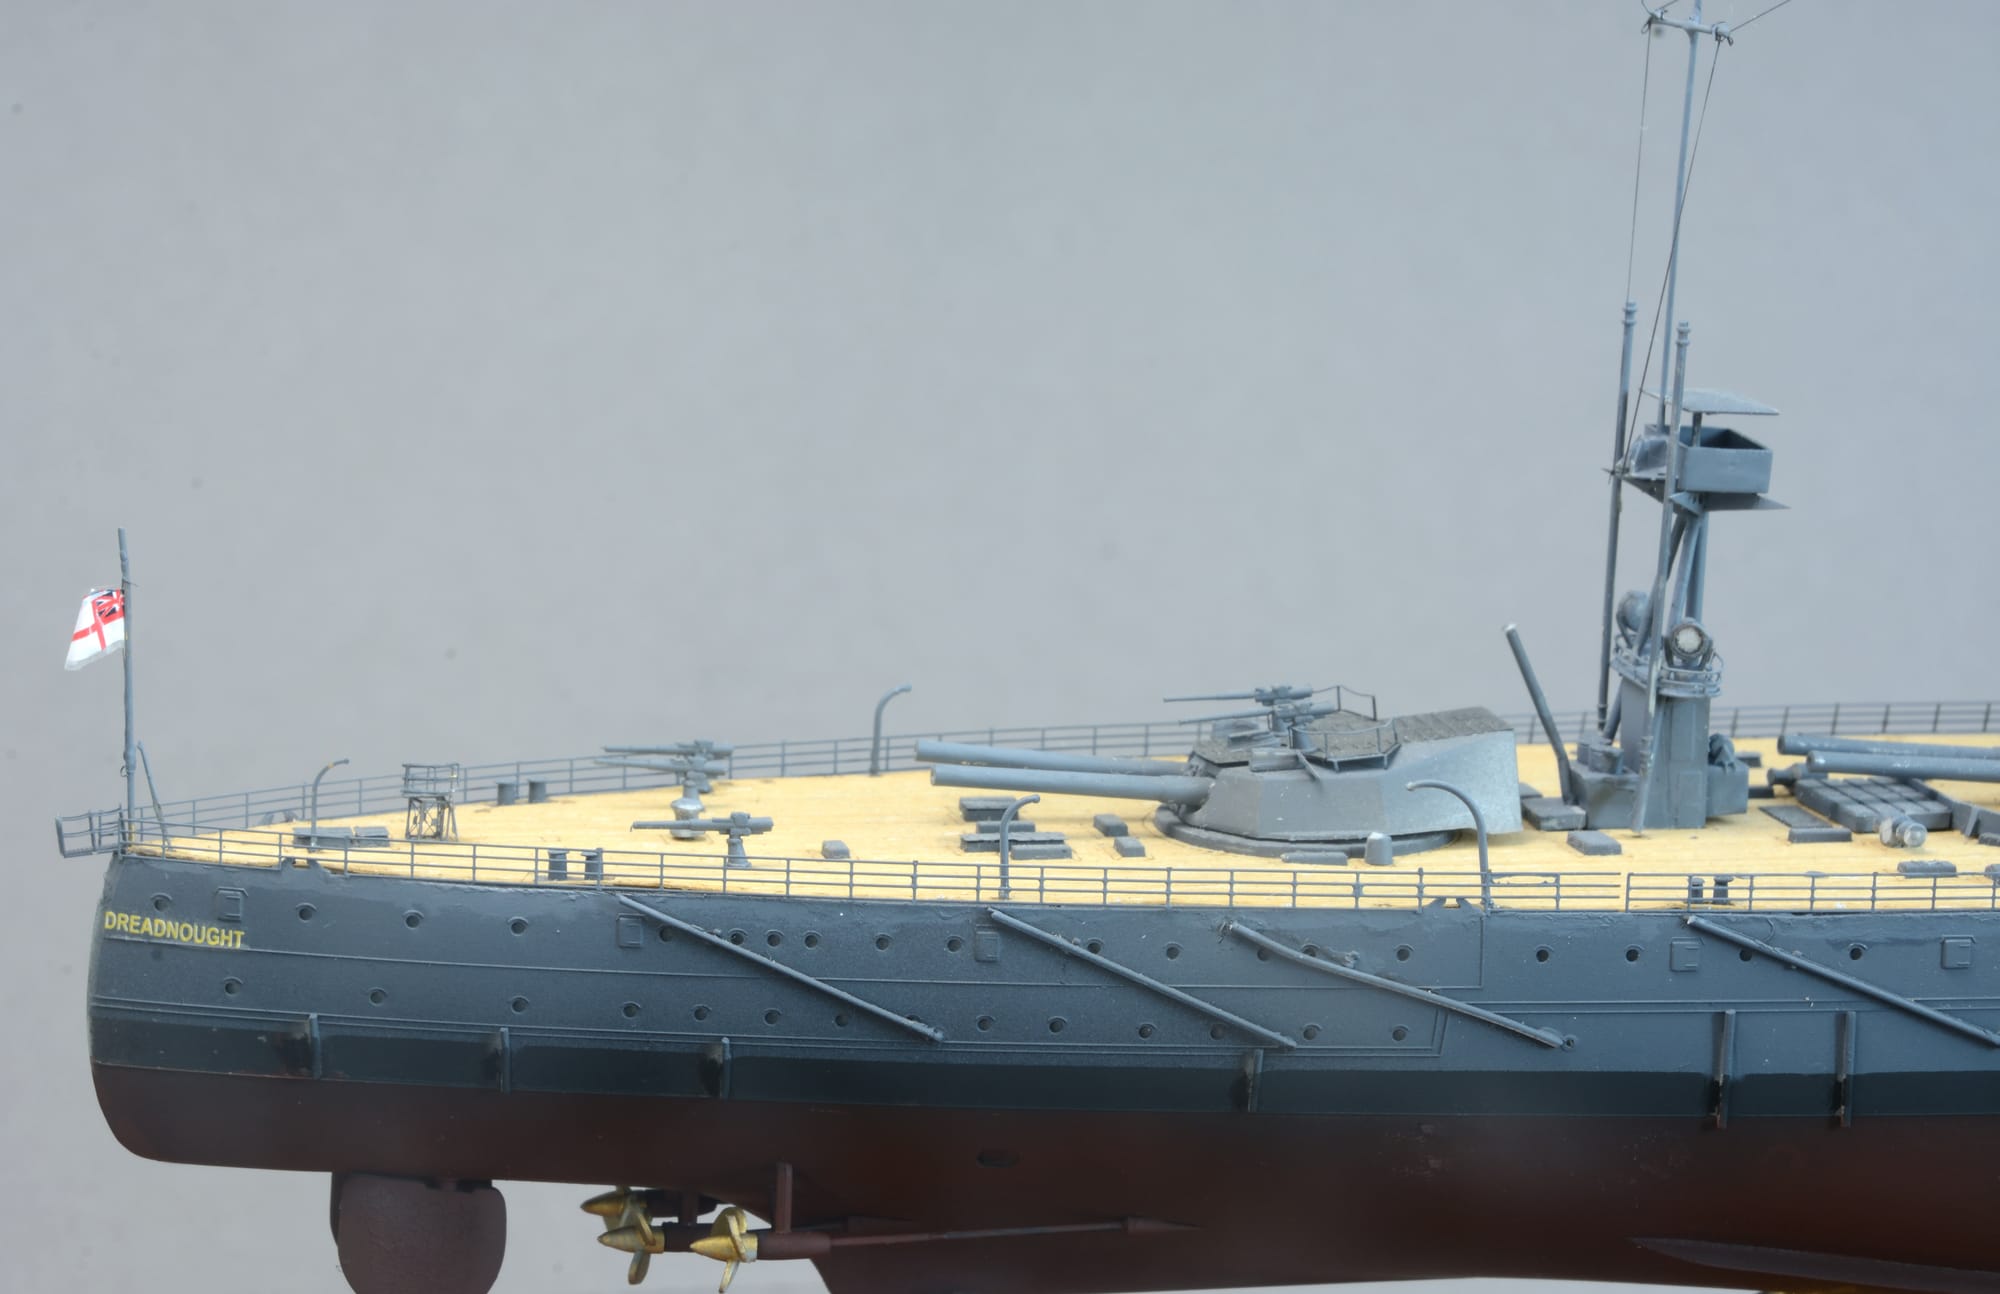
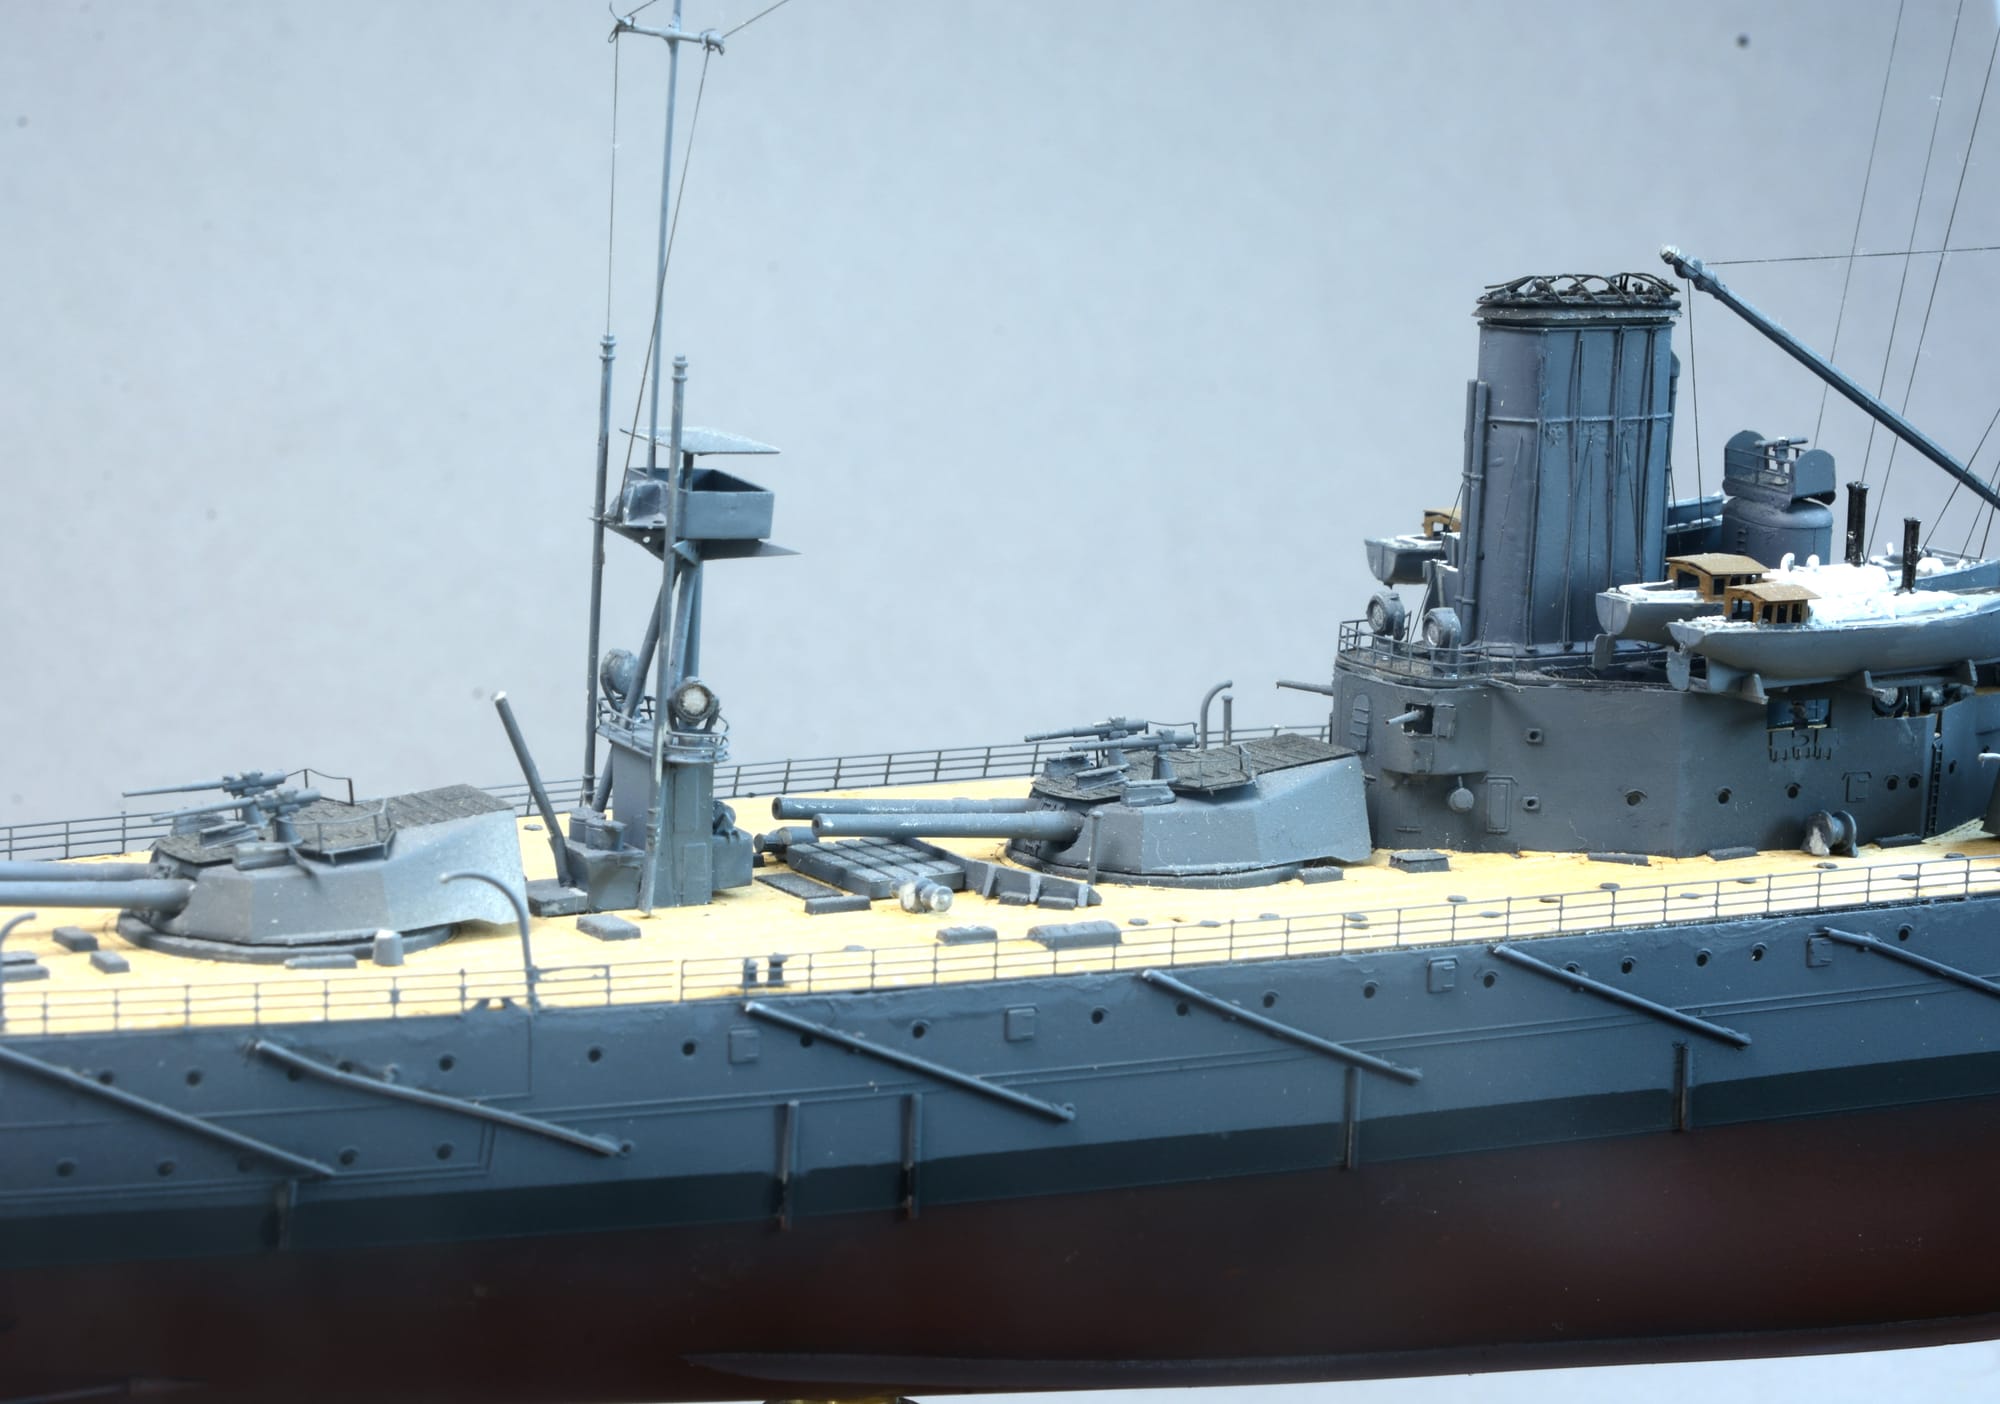
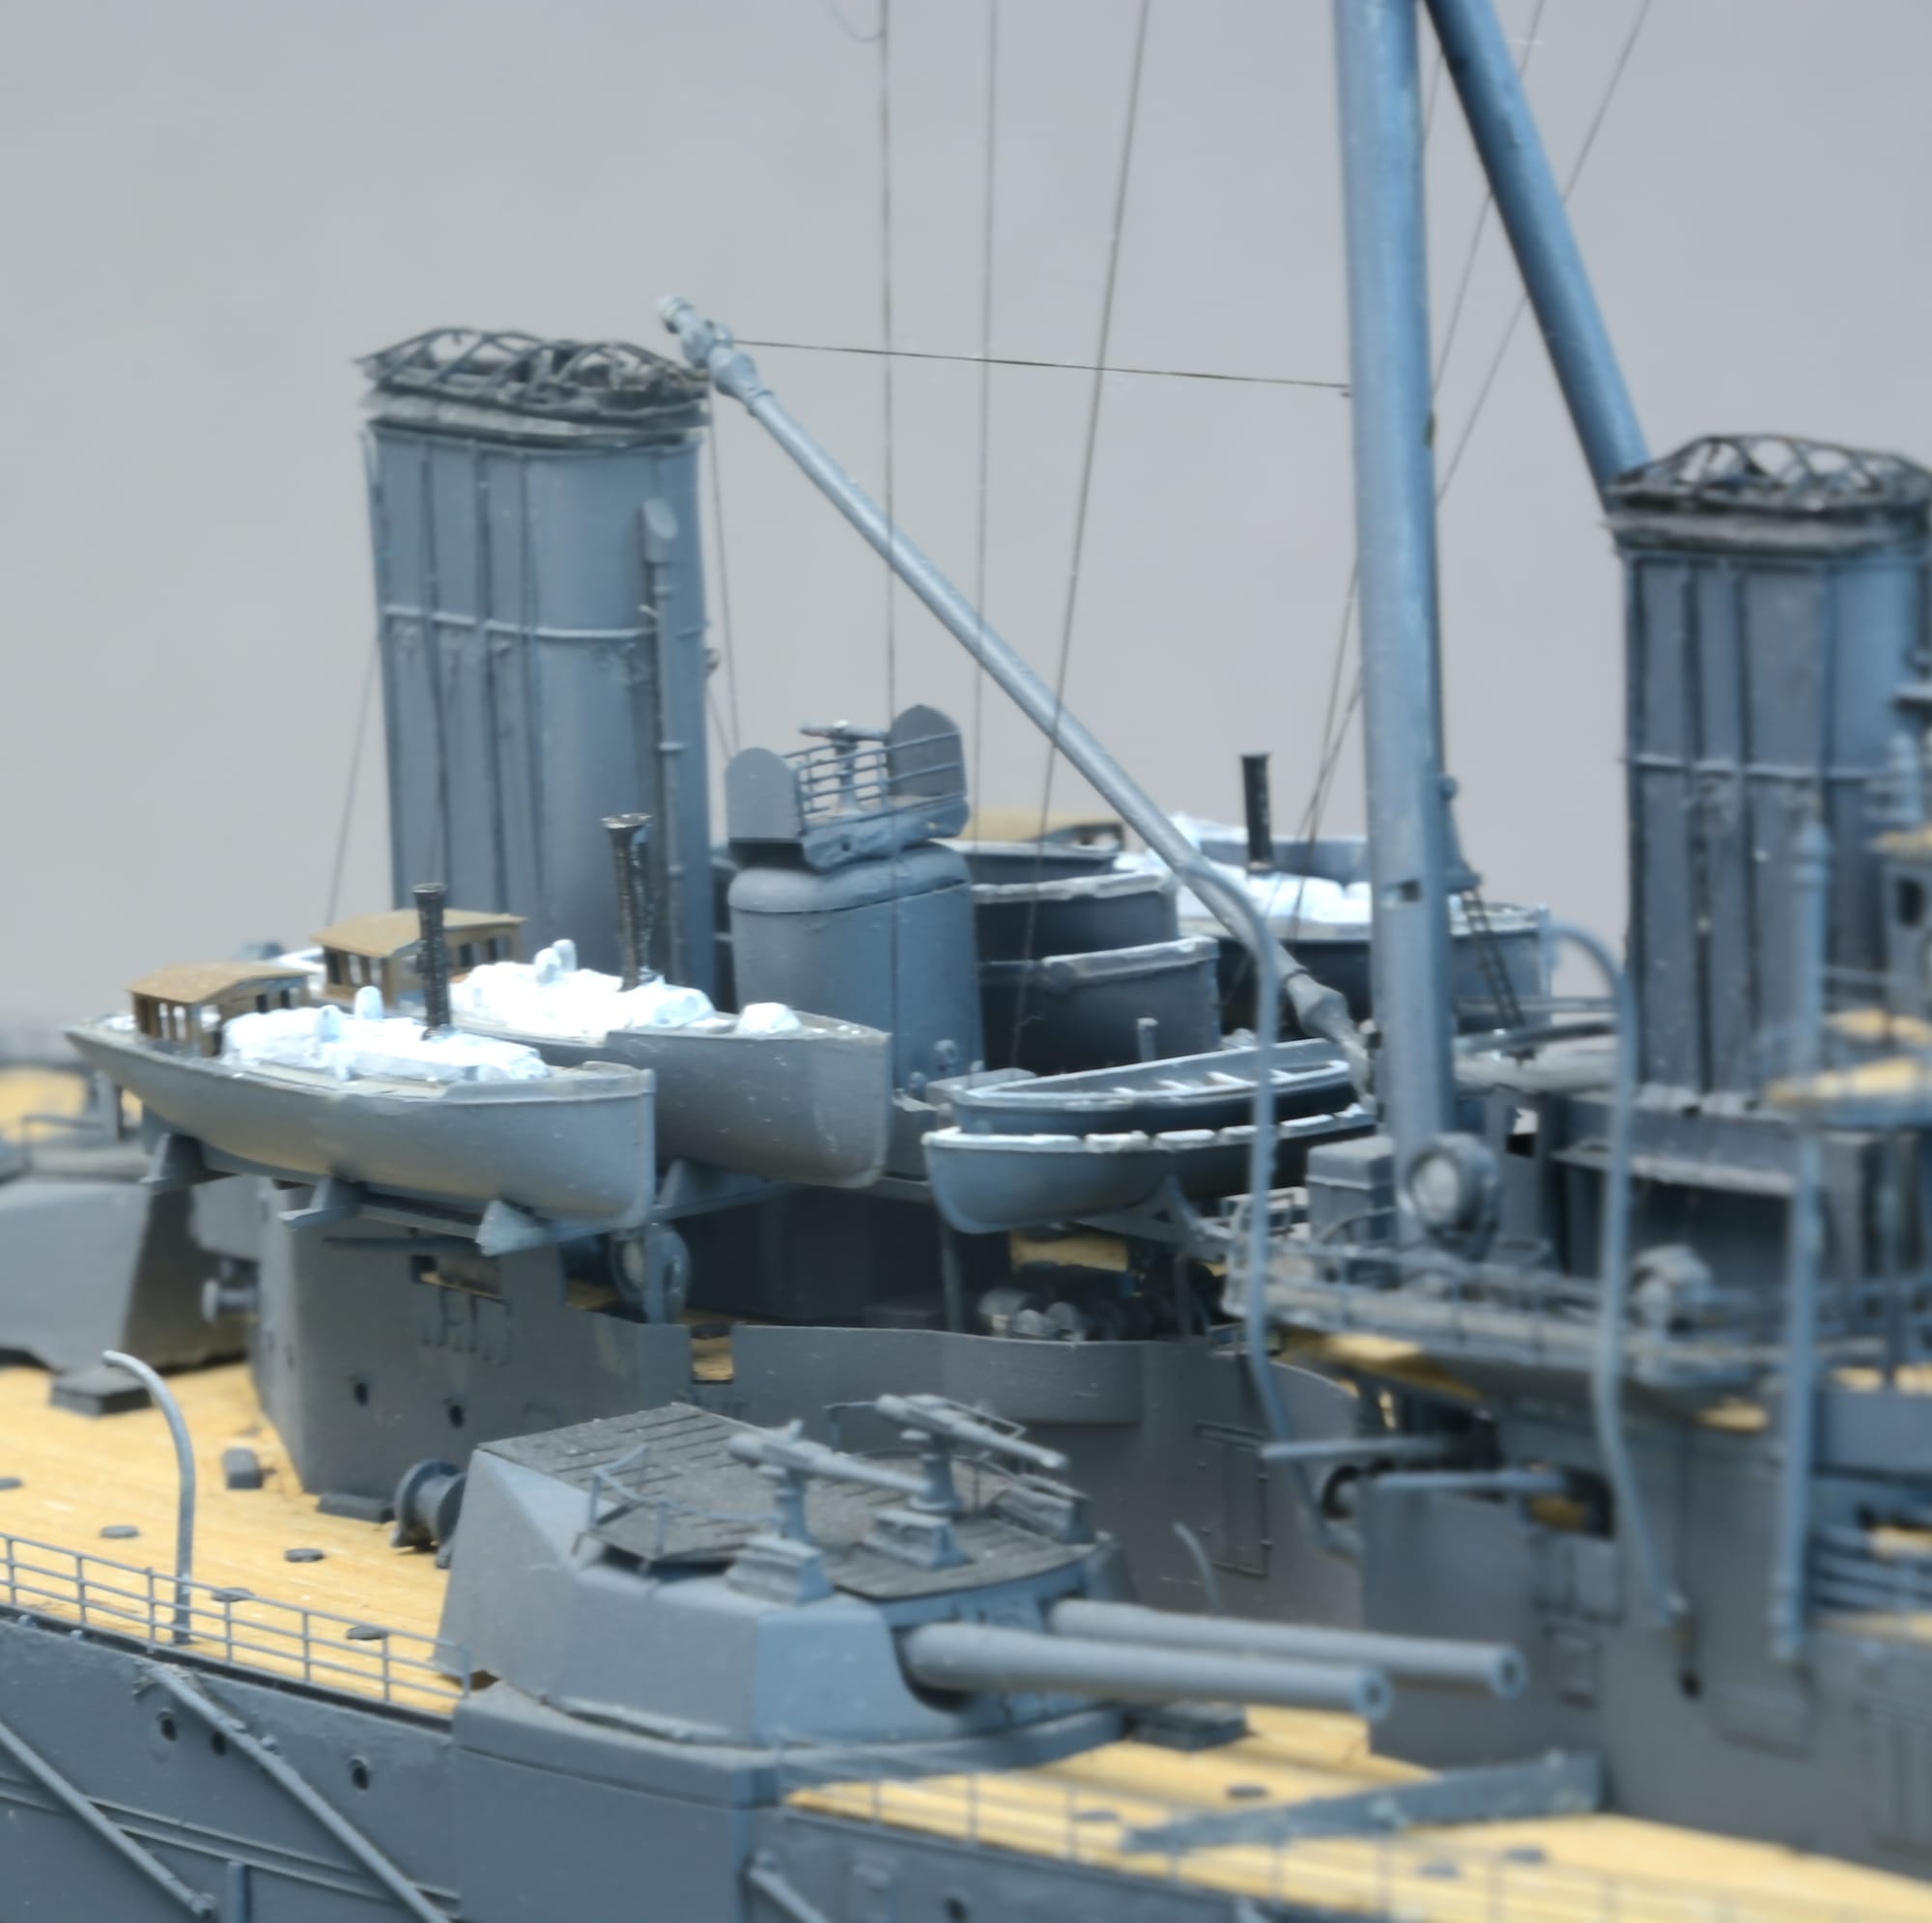
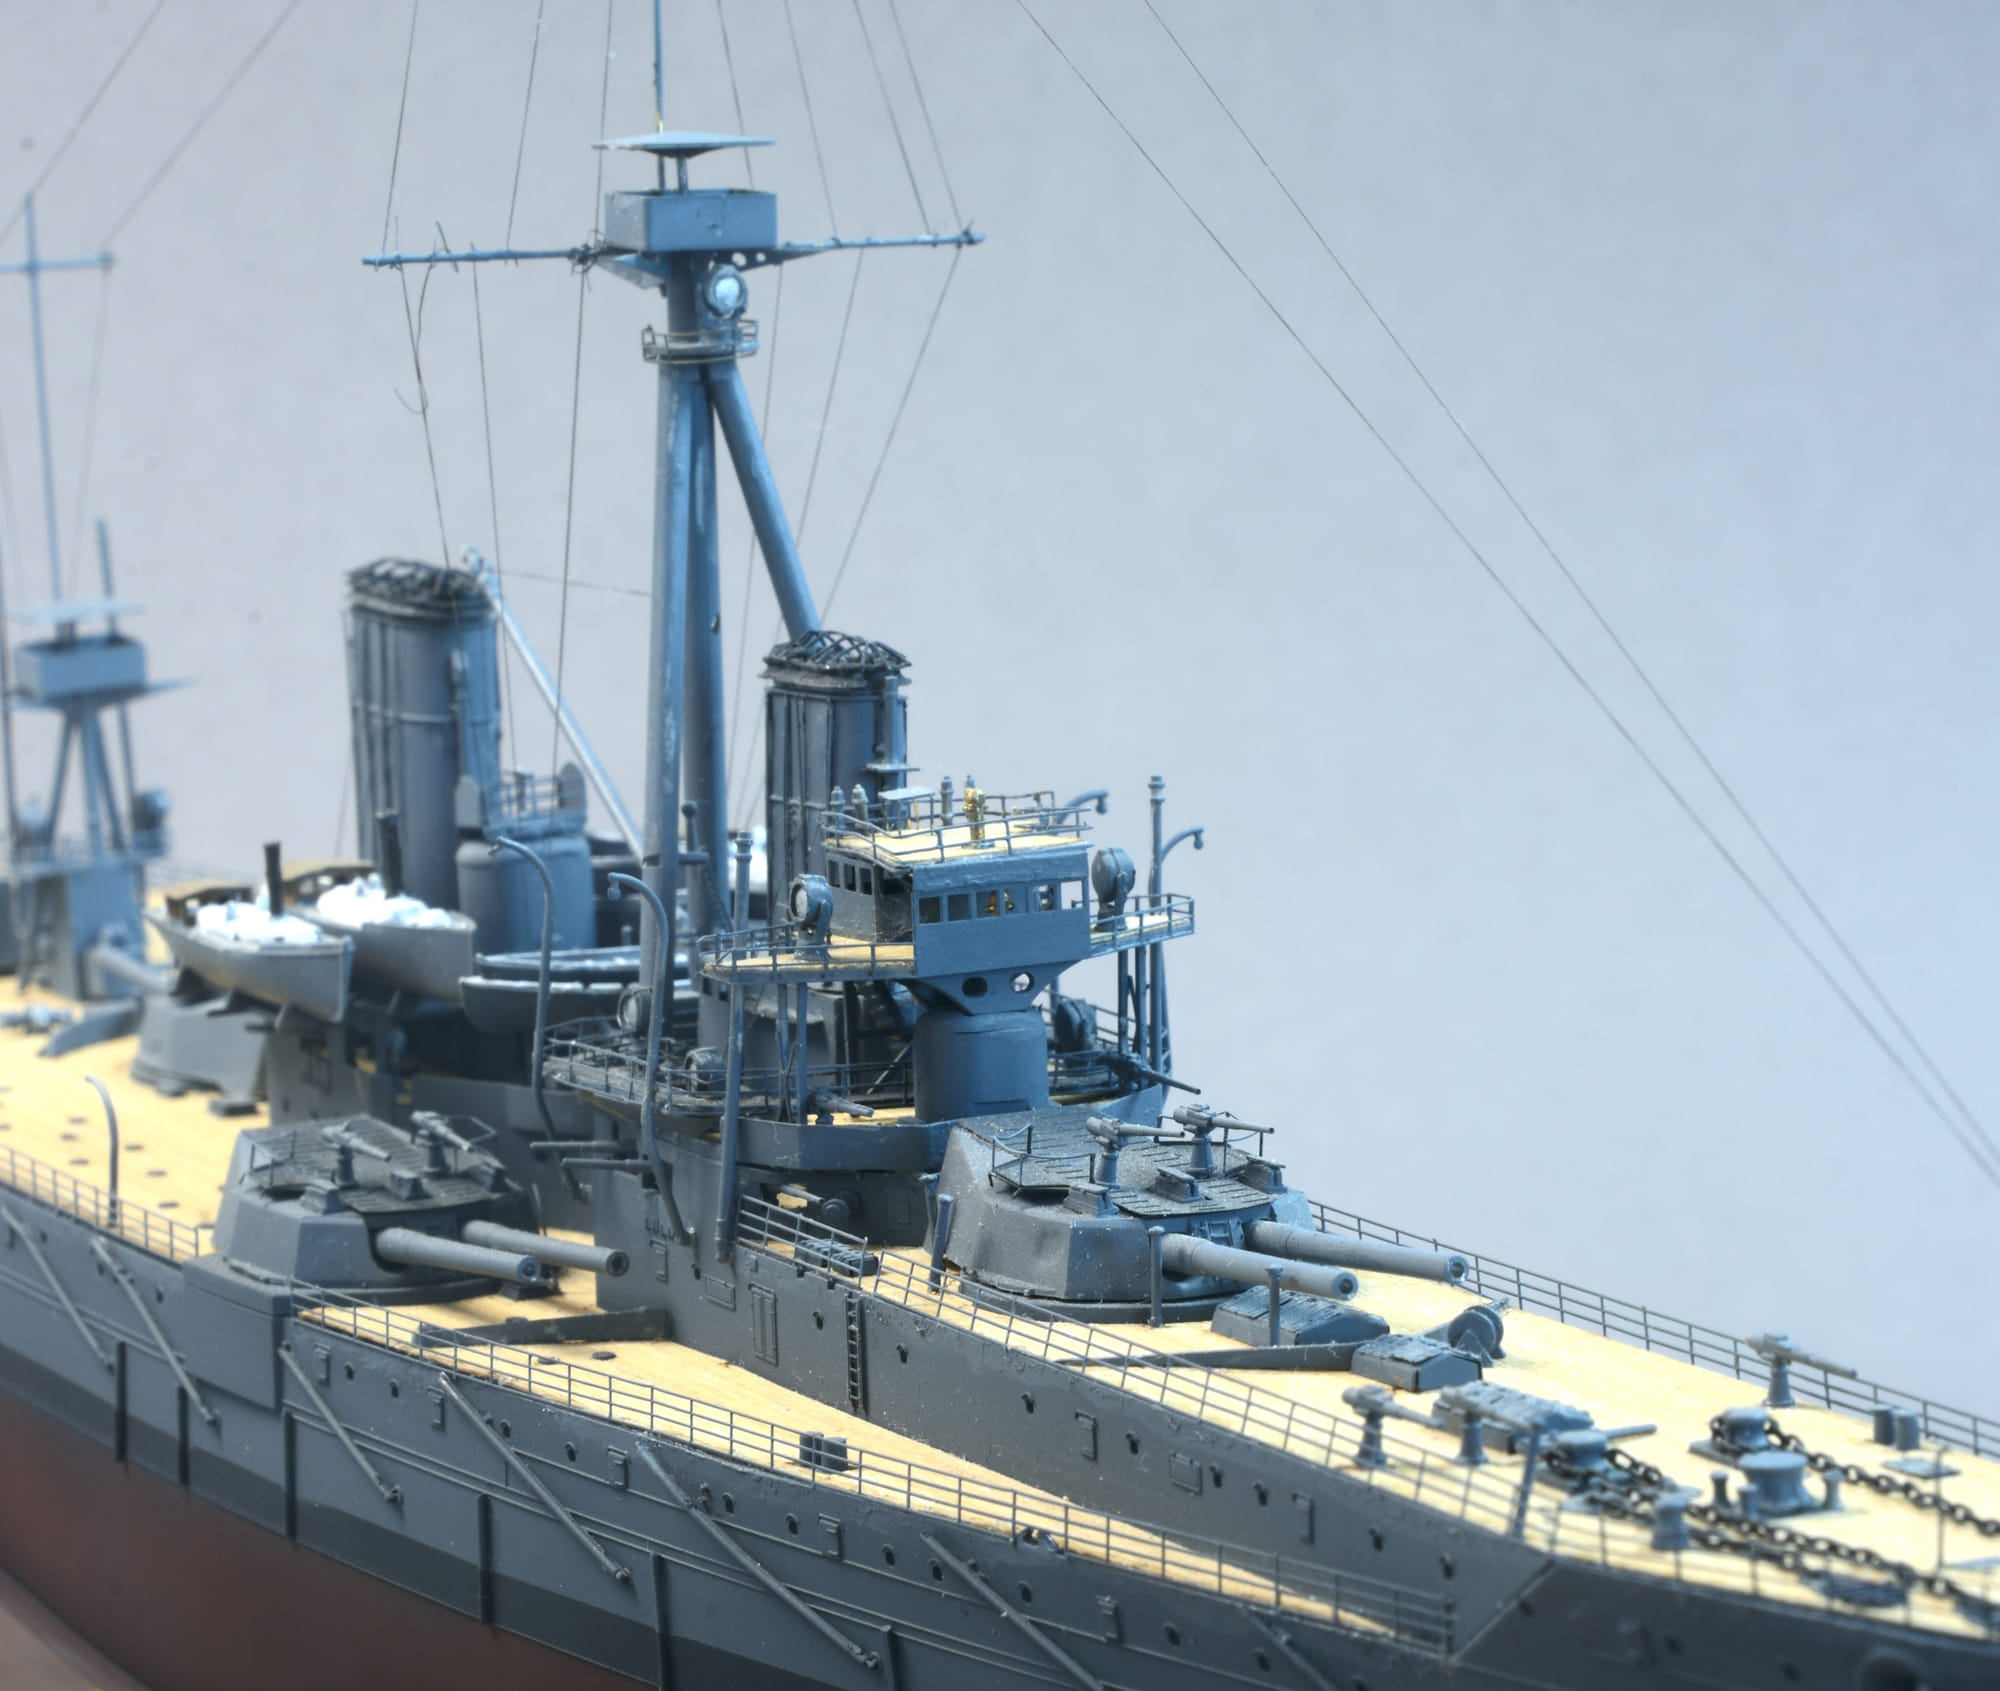
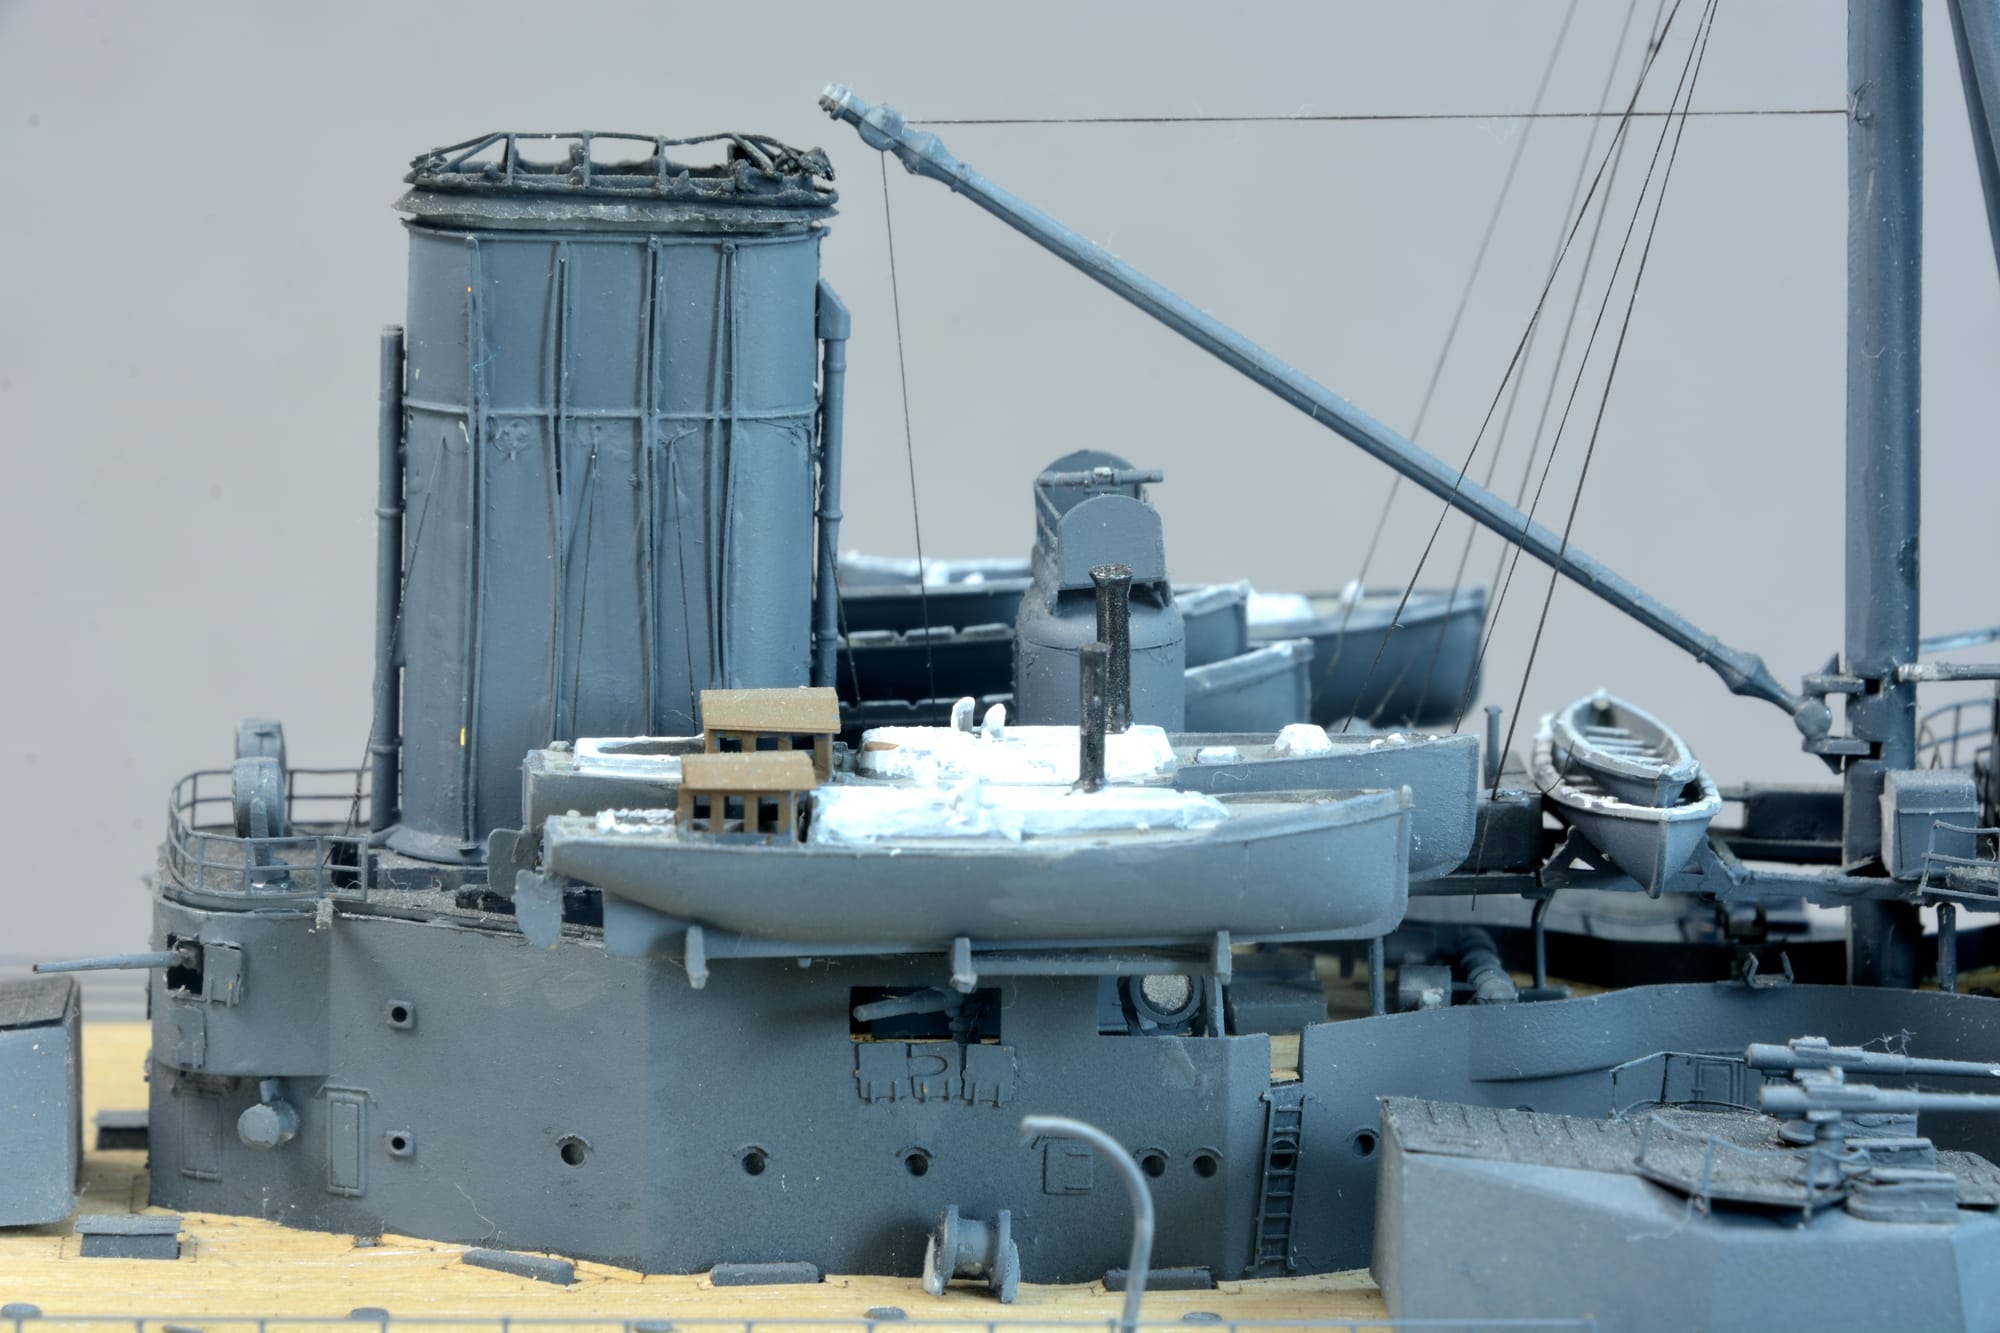
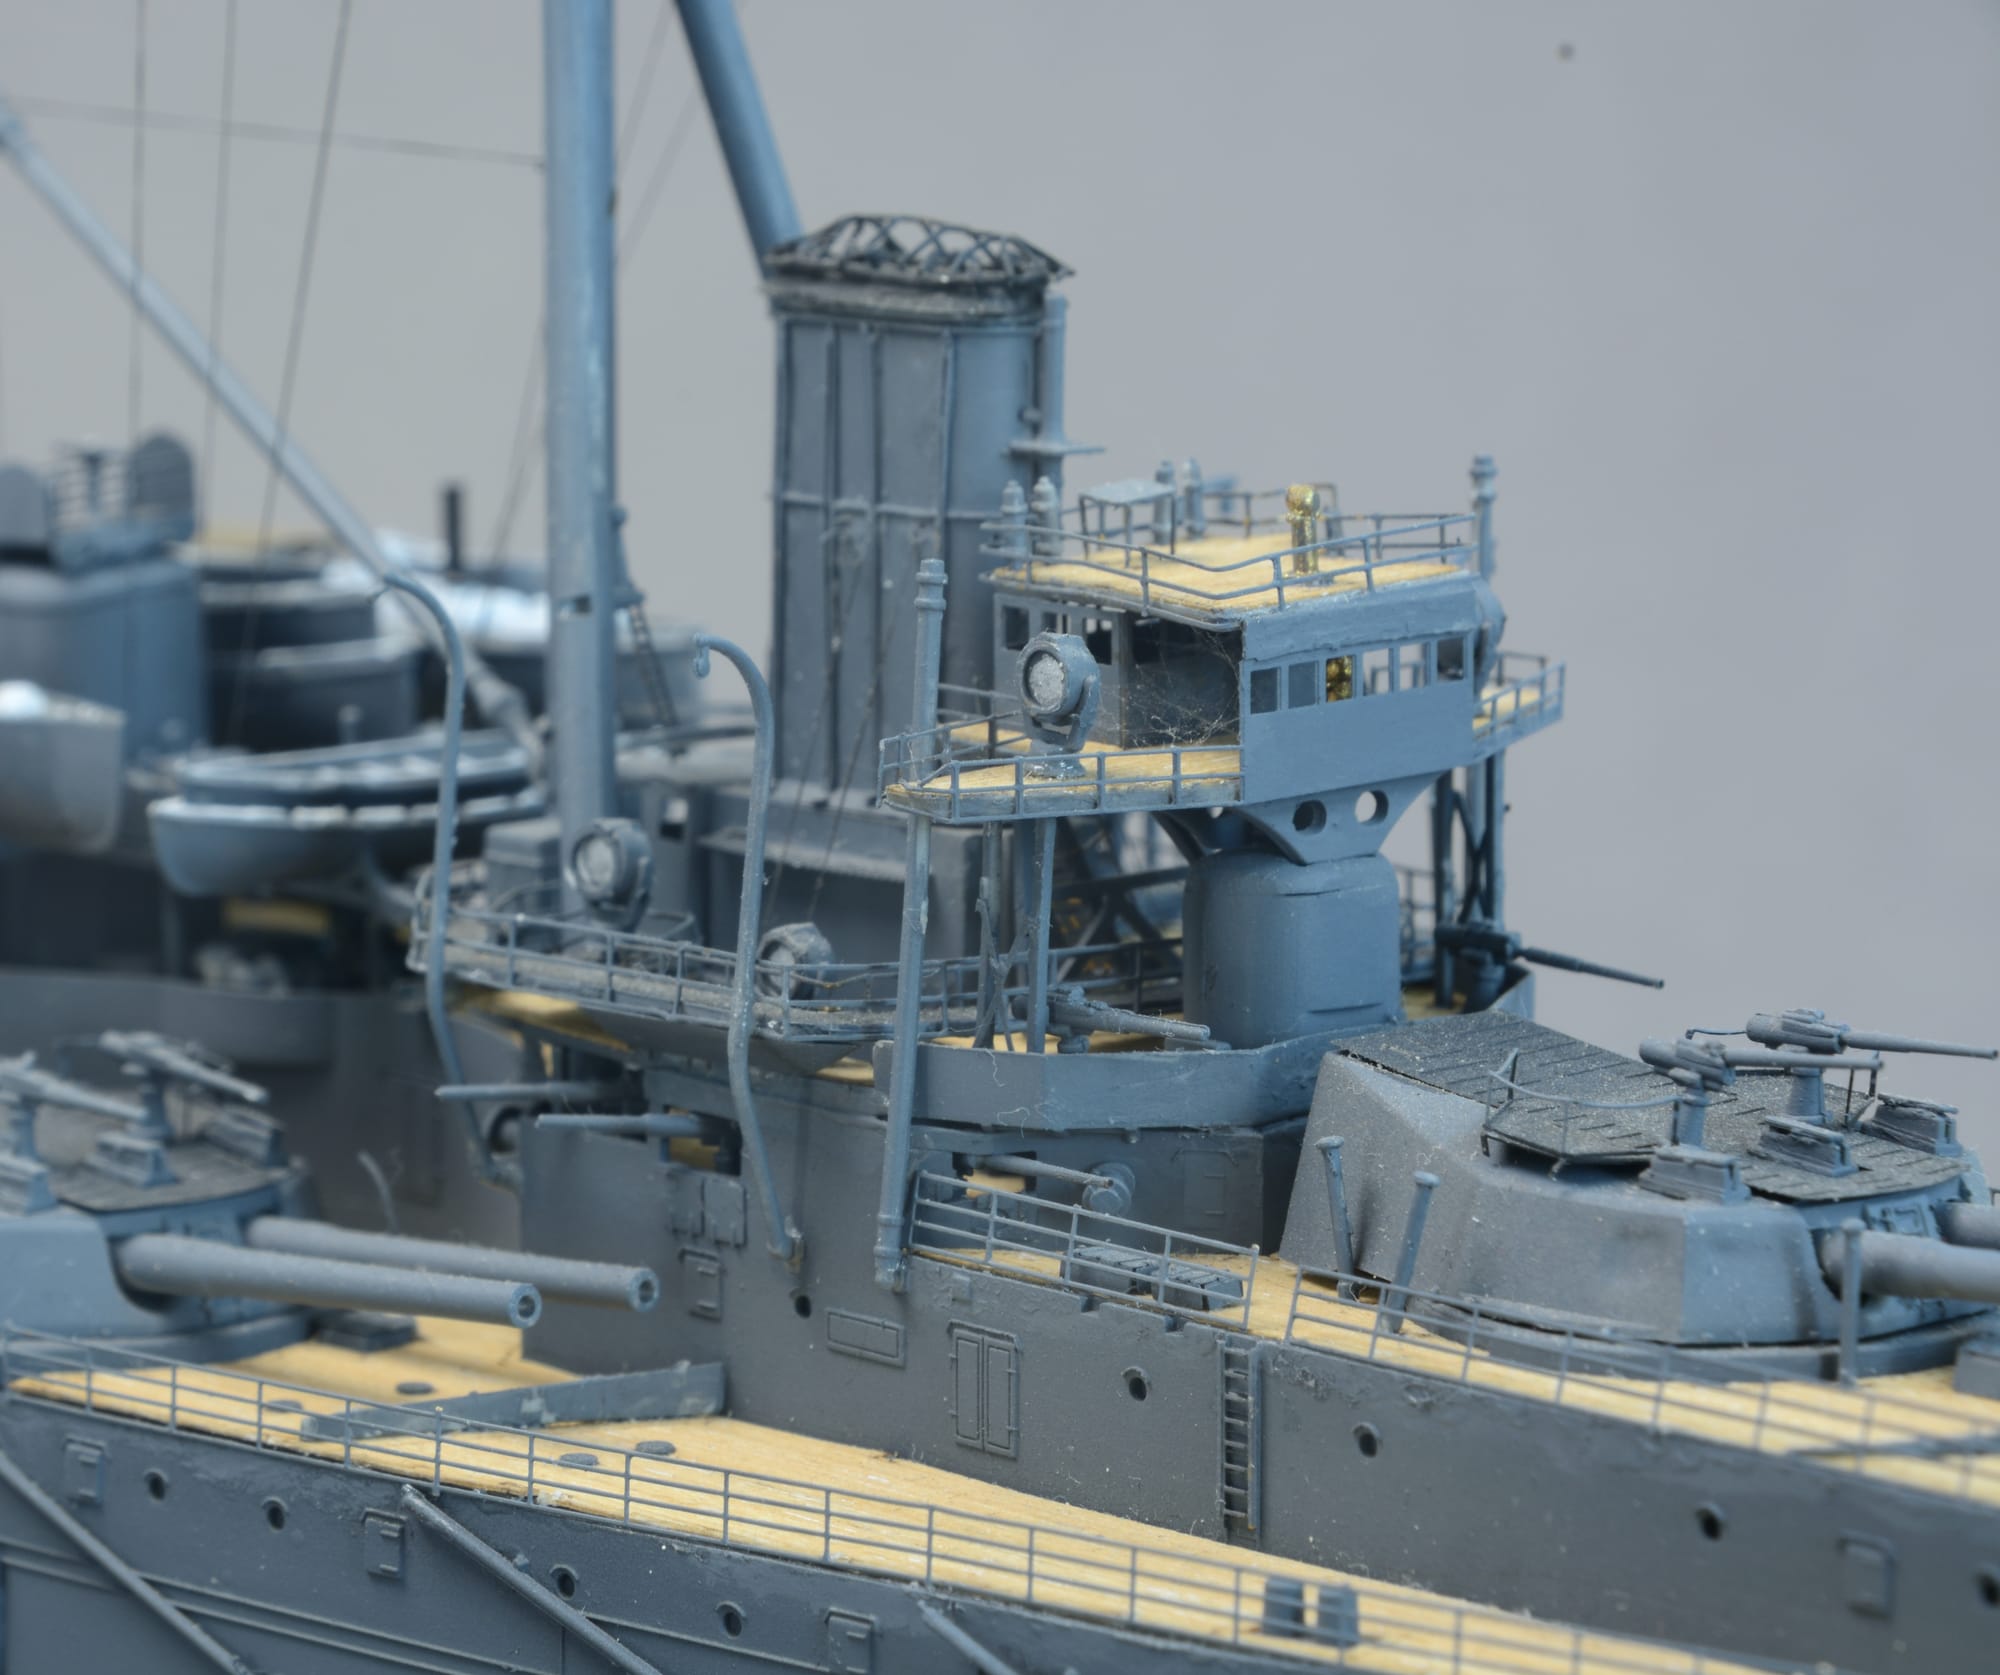
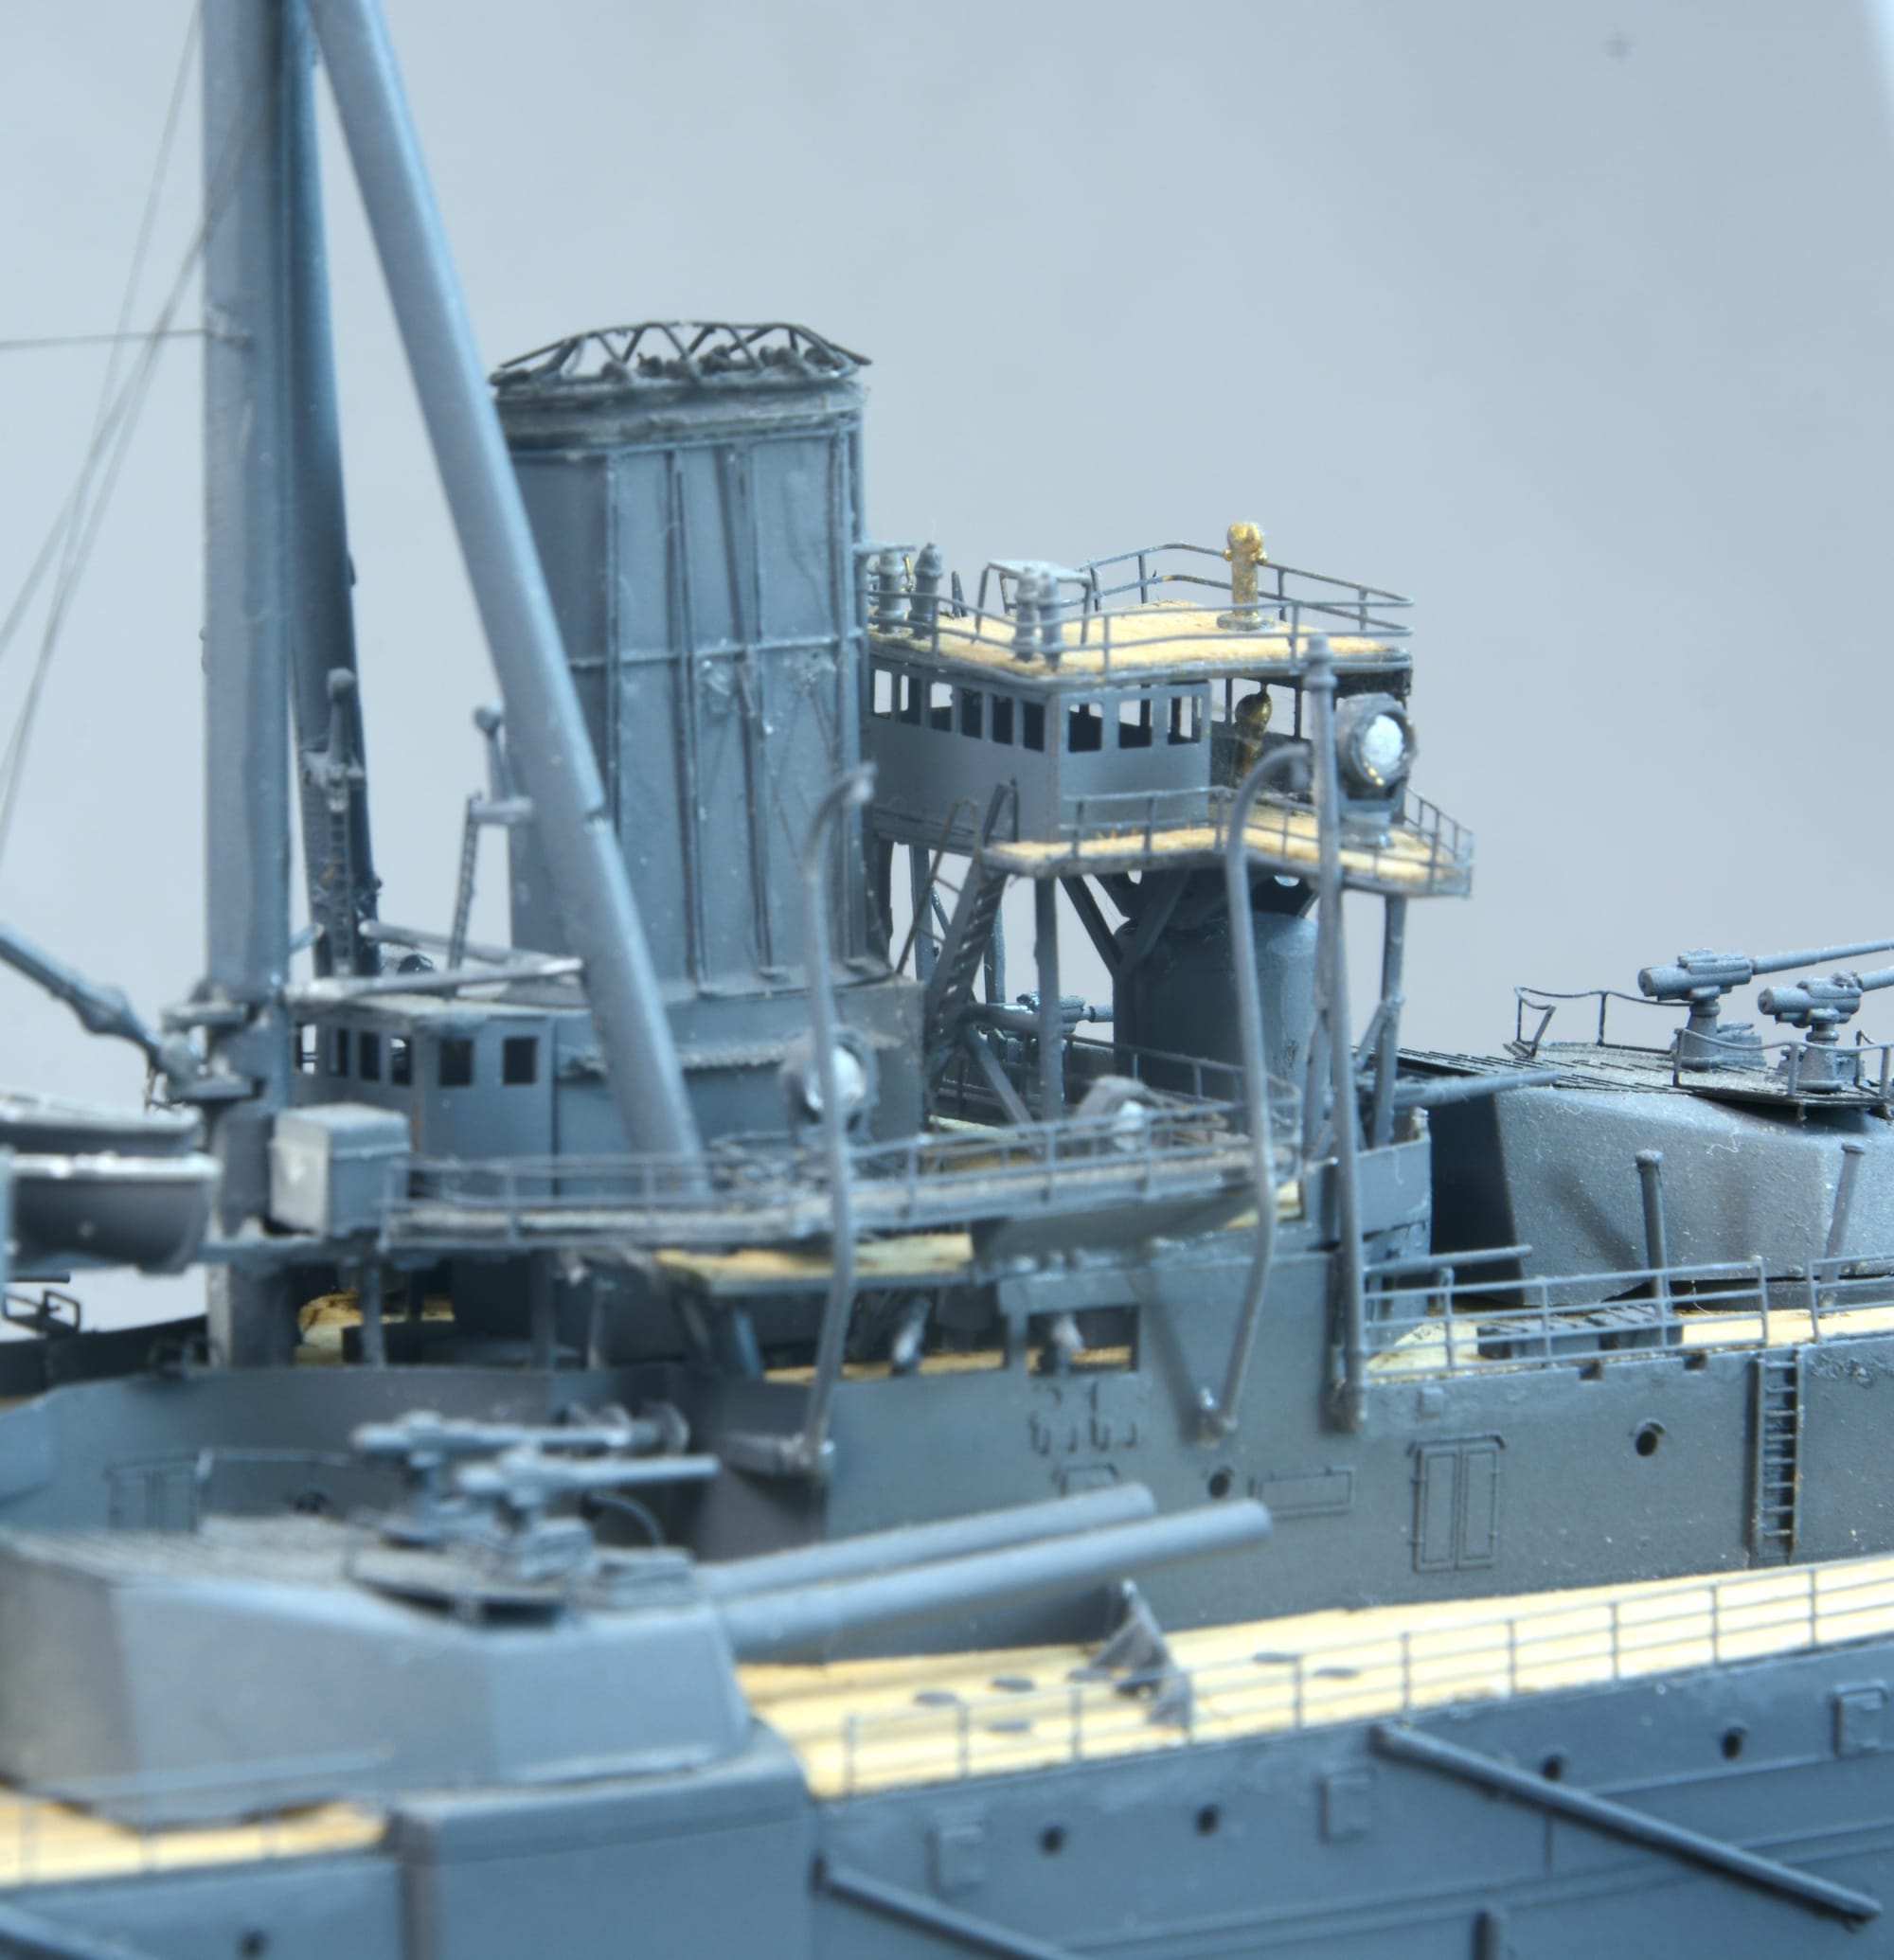
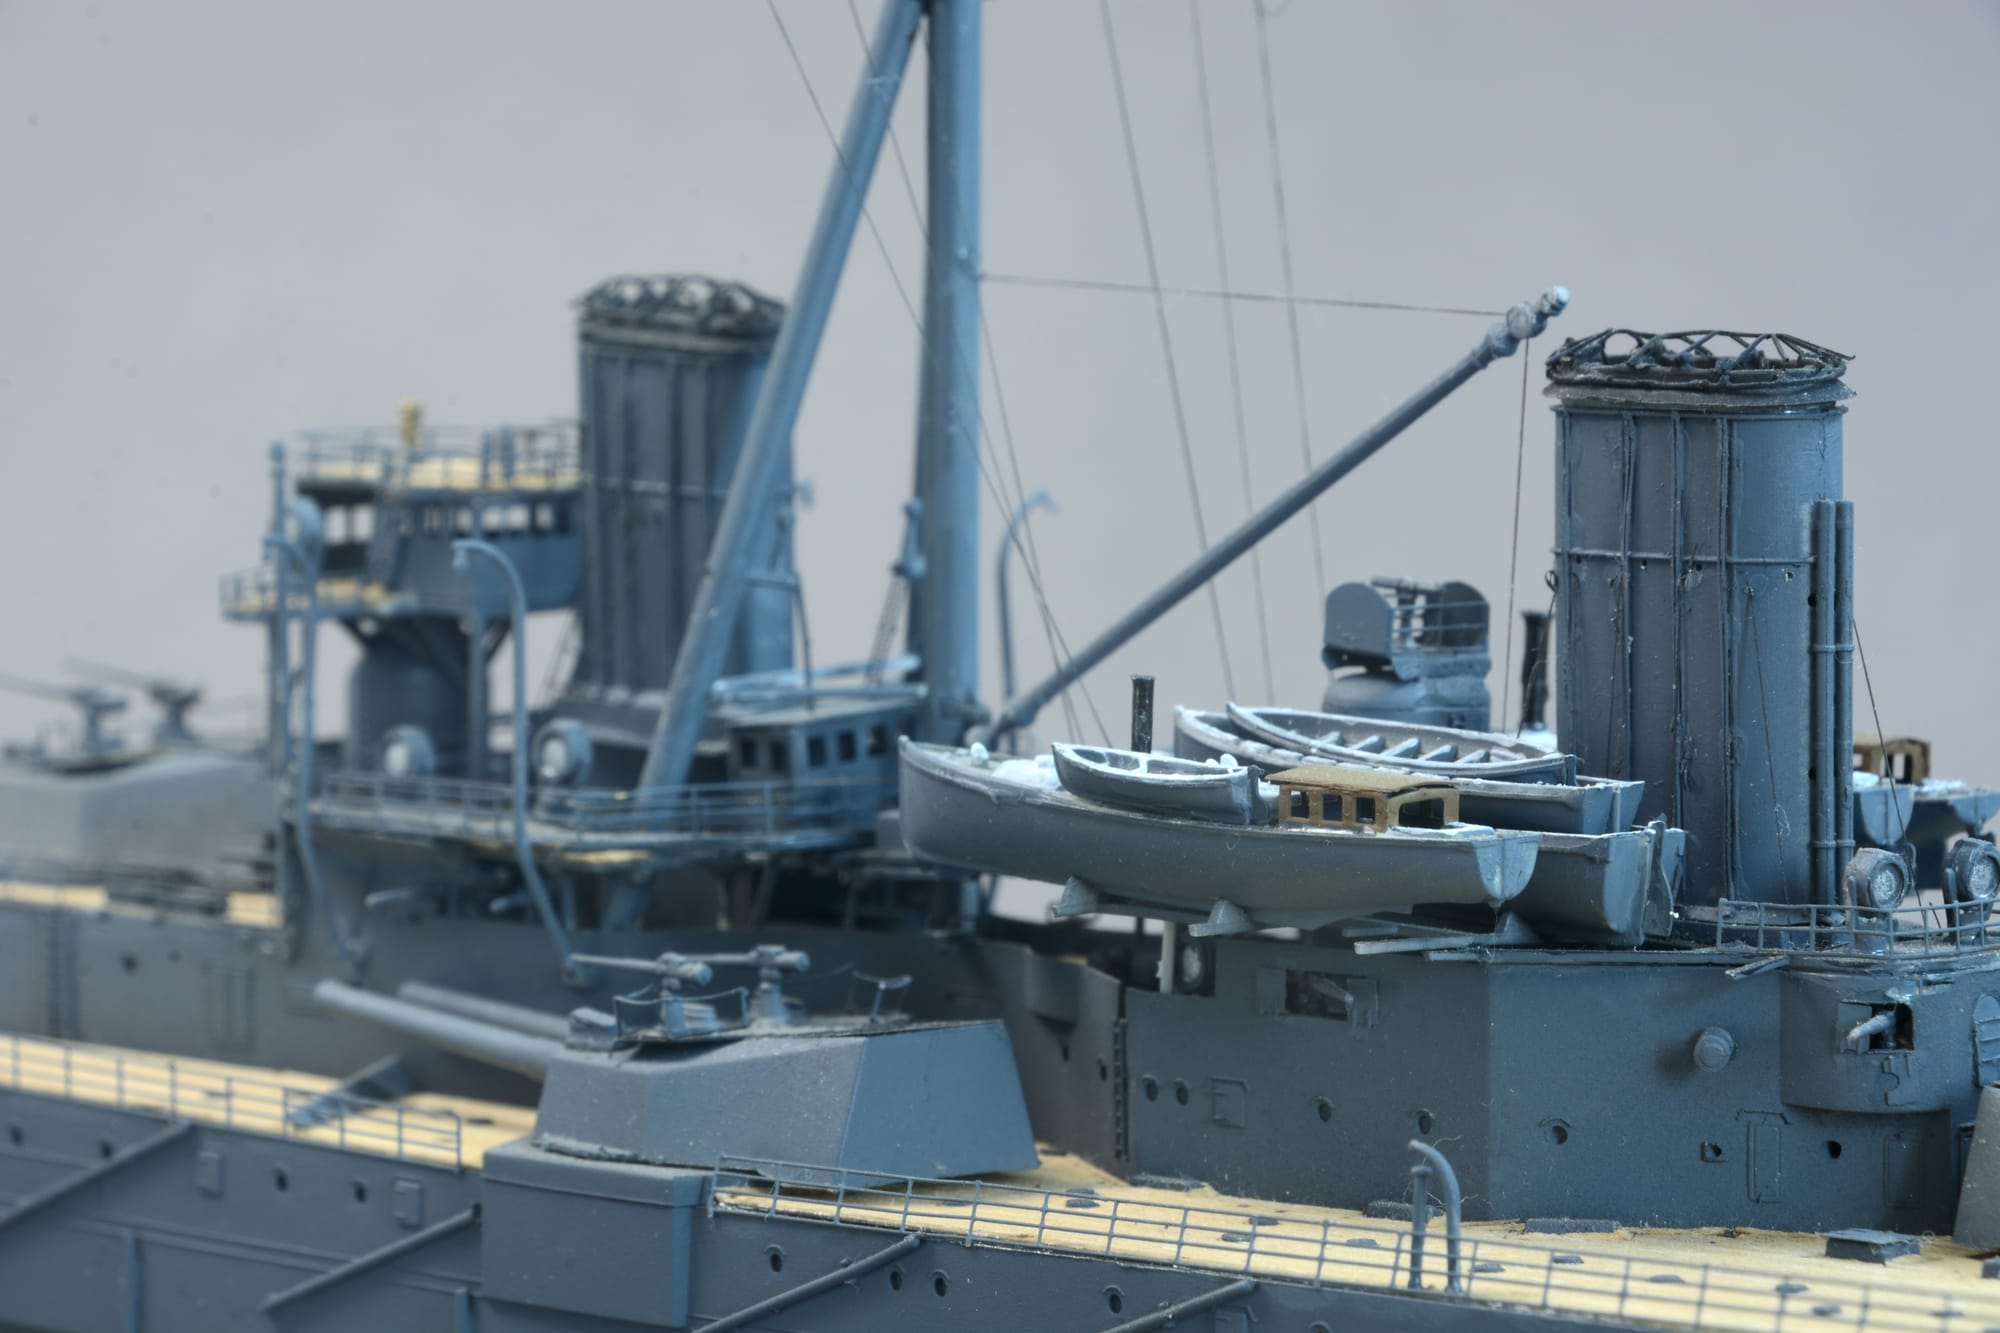
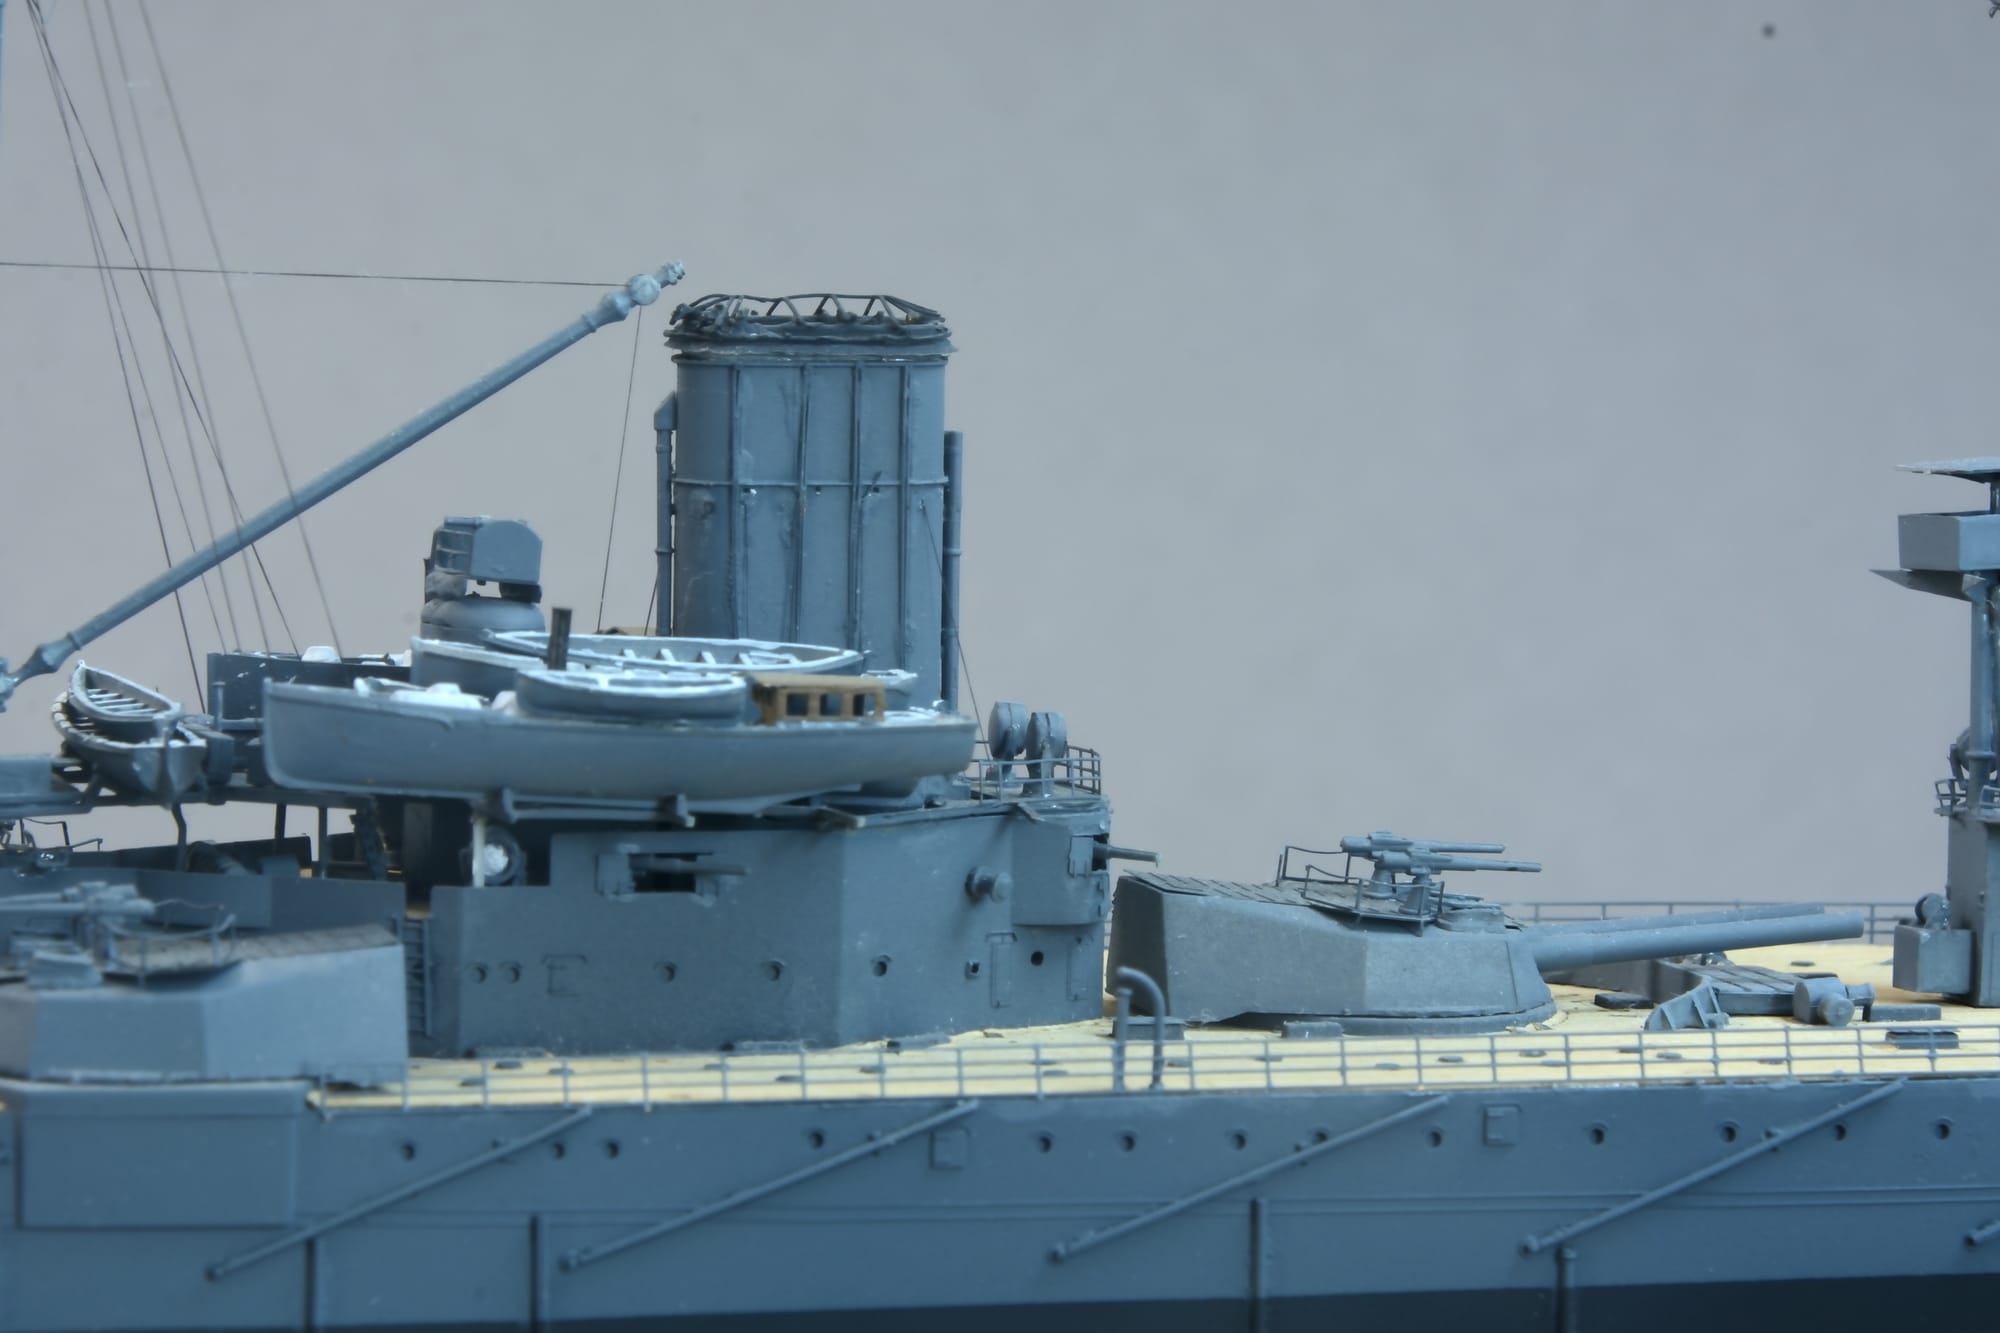
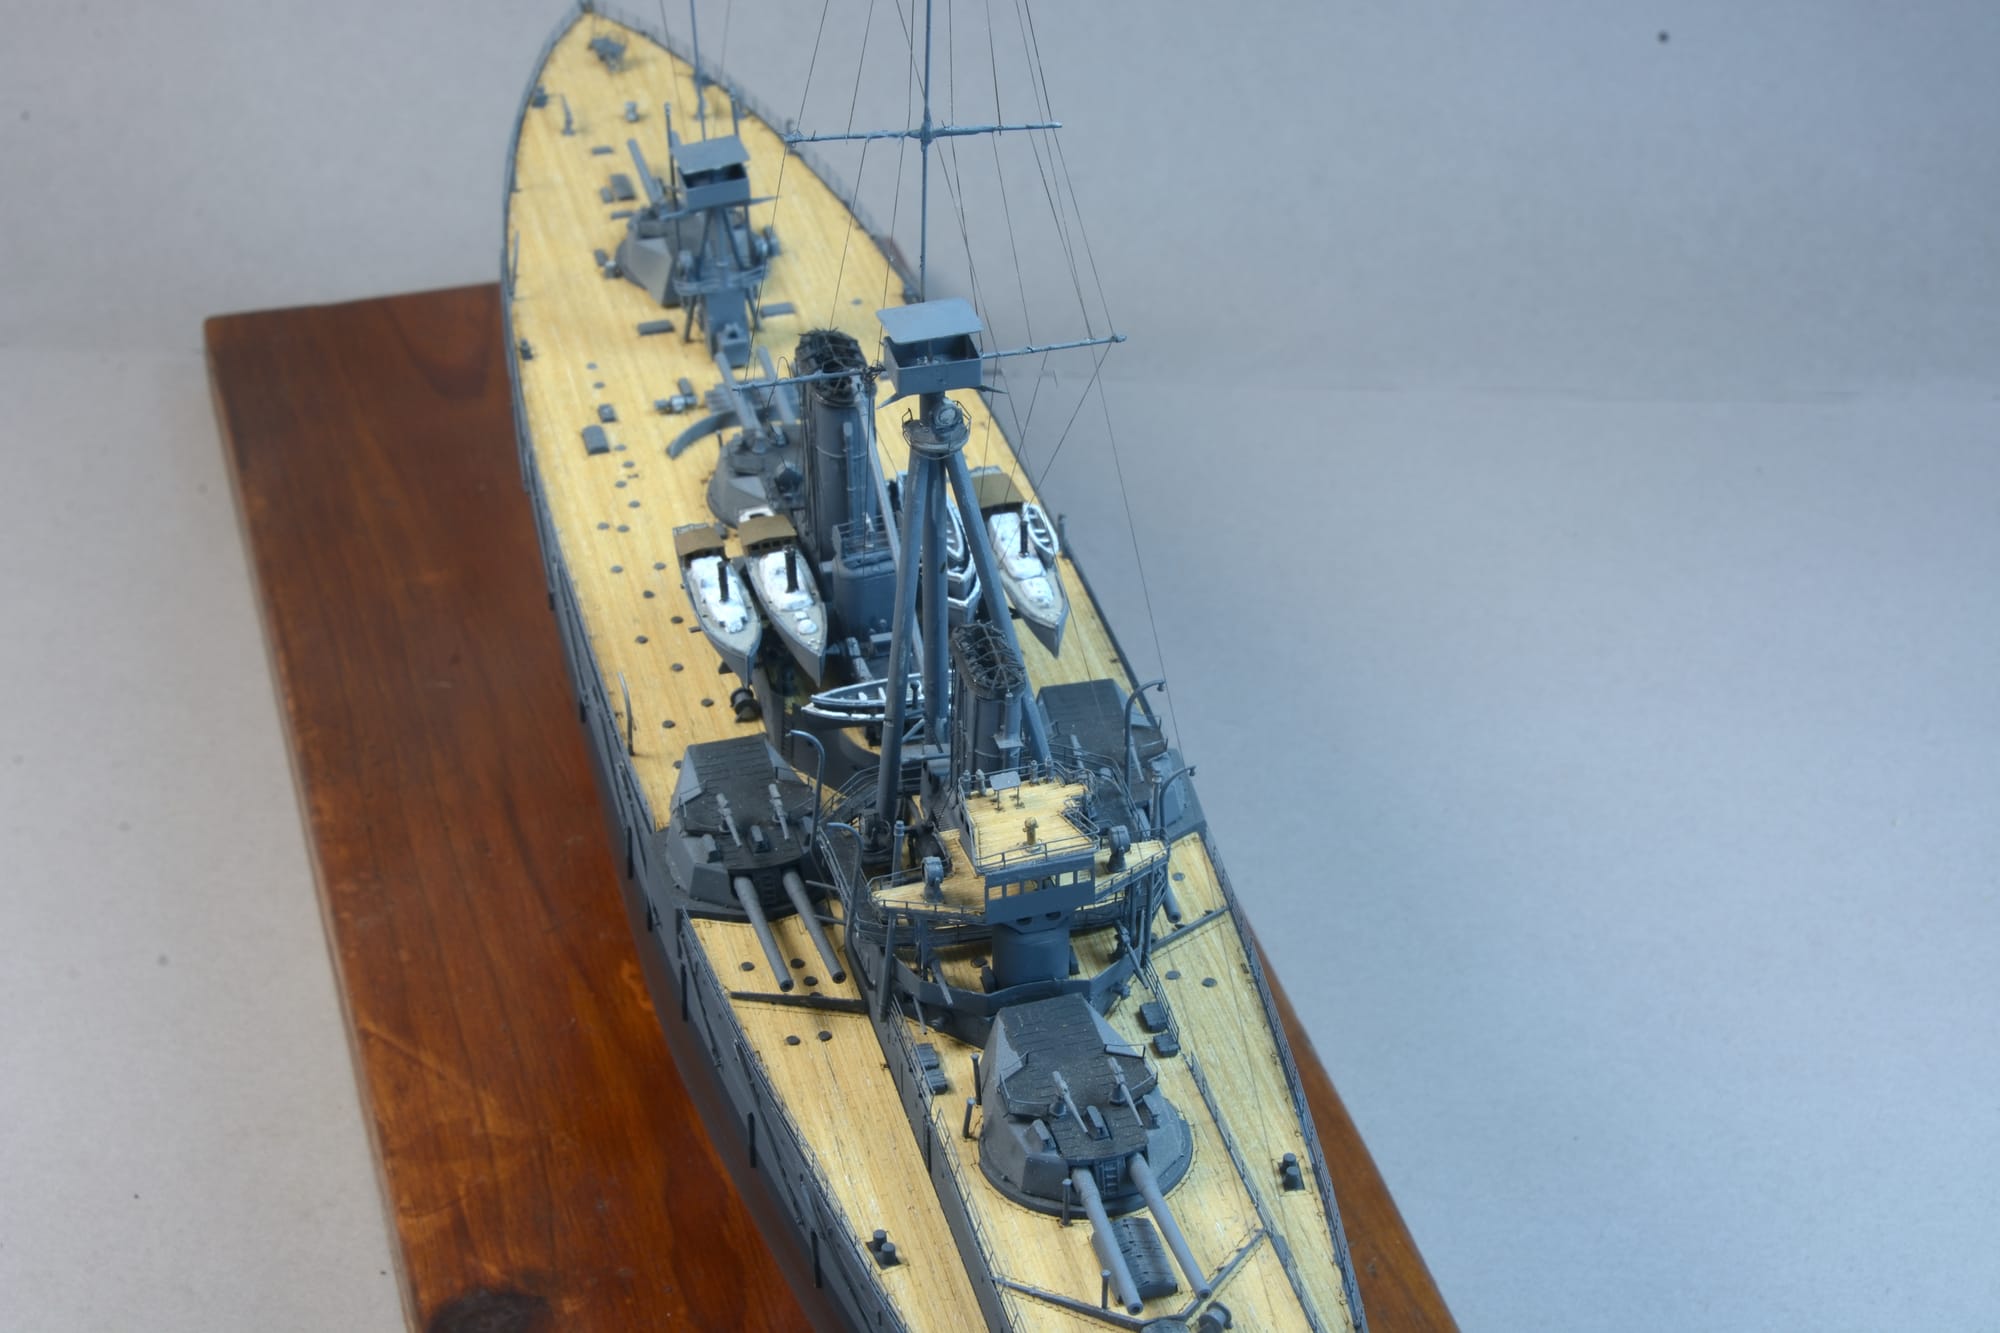
HMS Dreadnought
HMS Dreadnought was a Royal Navy battleship whose design revolutionized naval power. The ship's entry into service in 1906 represented such an advance in naval technology that her name came to be associated with an entire generation of battleships.
Admiral Sir John "Jacky" Fisher is credited as the father of Dreadnought. Shortly after he assumed office as First Sea Lord, in 1904, he ordered design studies for a battleship armed solely with 12 in (305 mm) guns and a speed of 21 knots.
Dreadnought was the first battleship of her era to have a uniform main battery, rather than having a few large guns complemented by a heavy secondary armament of smaller guns. She was also the first capital ship to be powered by steam turbines, making her the fastest battleship in the world at the time of her completion. Her launch helped spark a naval arms race as navies around the world, particularly the Imperial German Navy, rushed to match it in the build-up to the First World War.
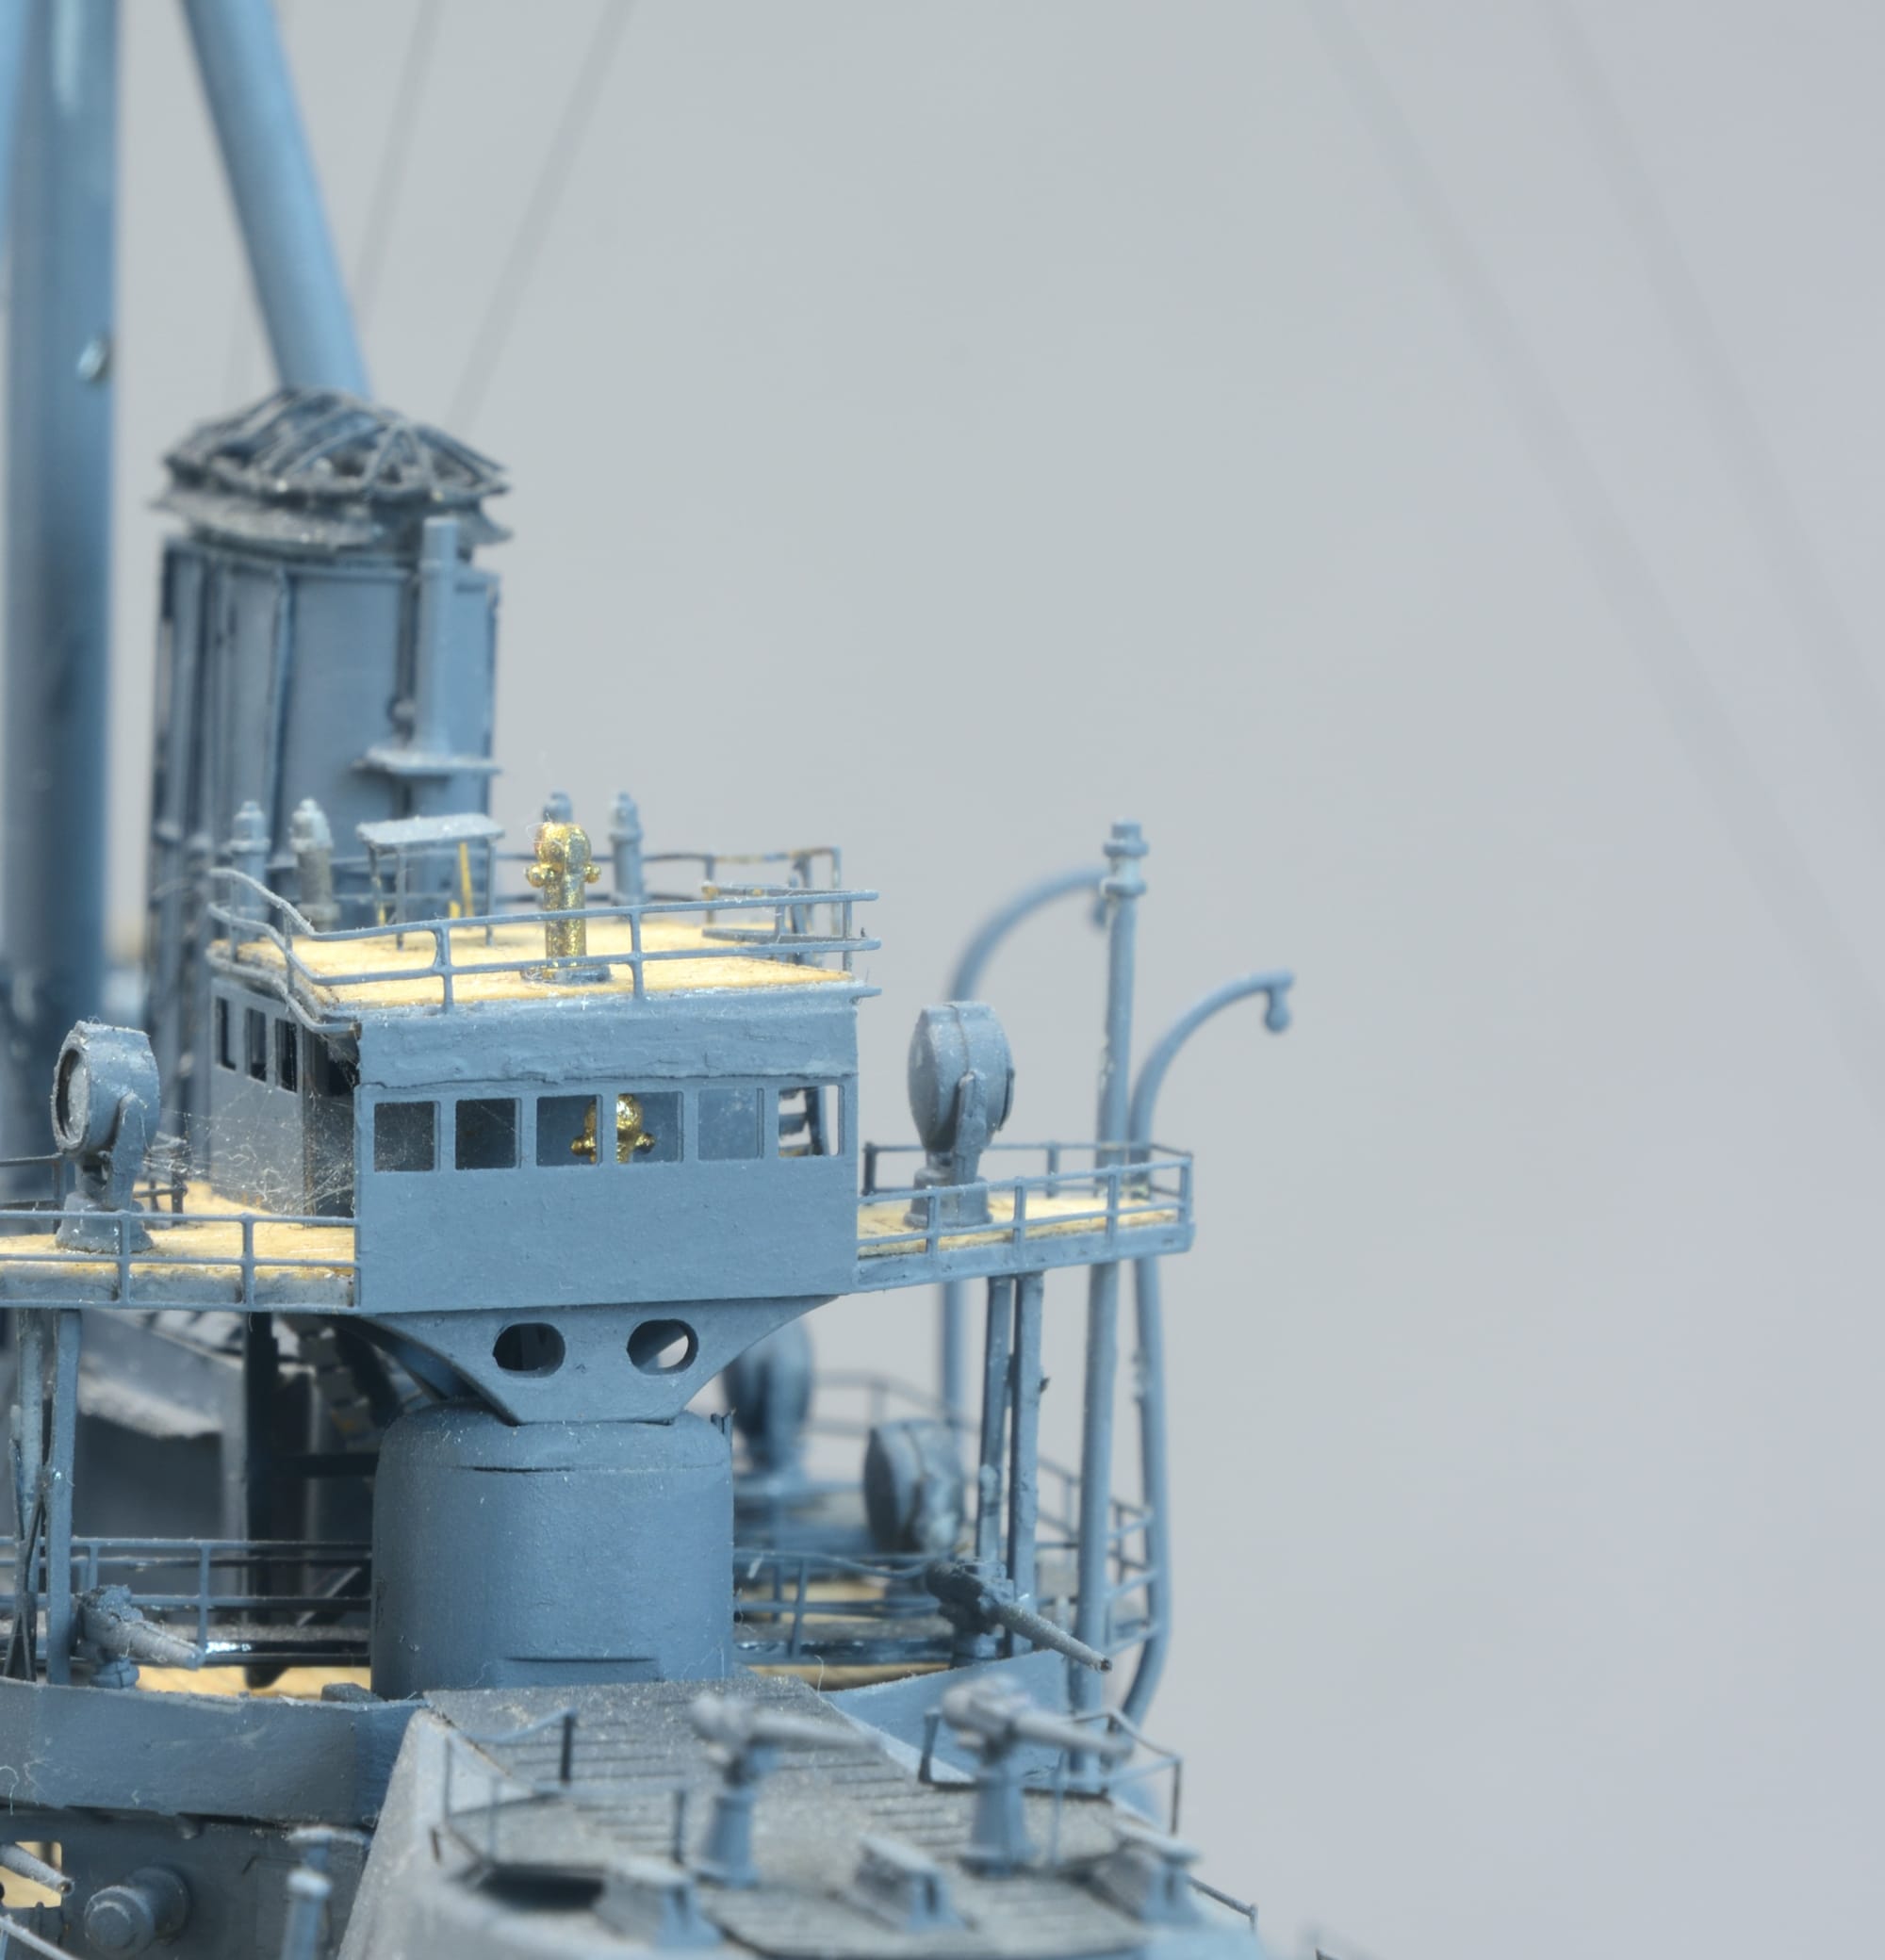
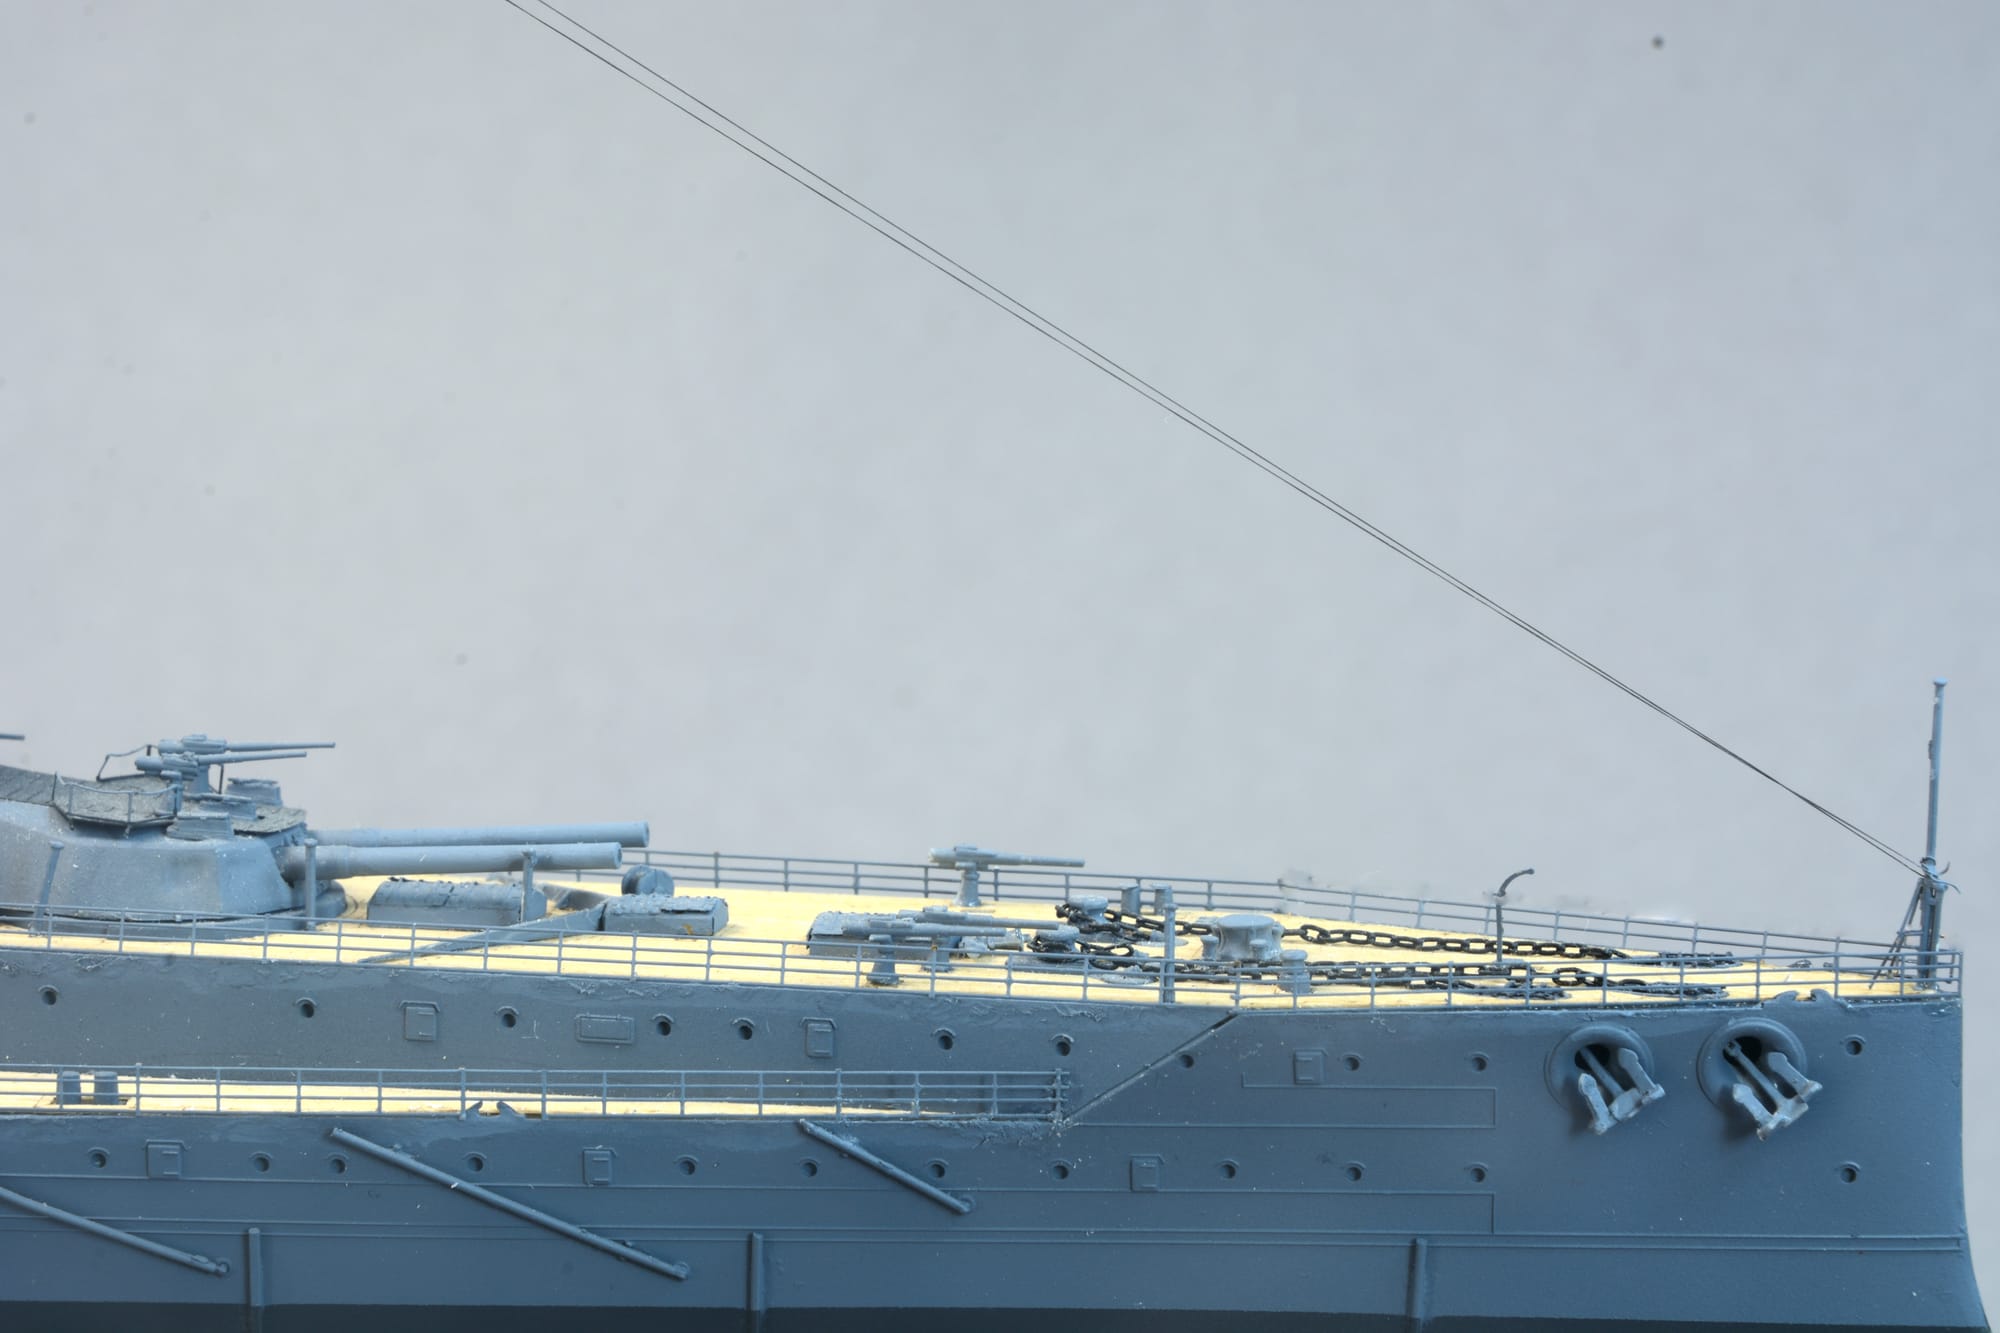
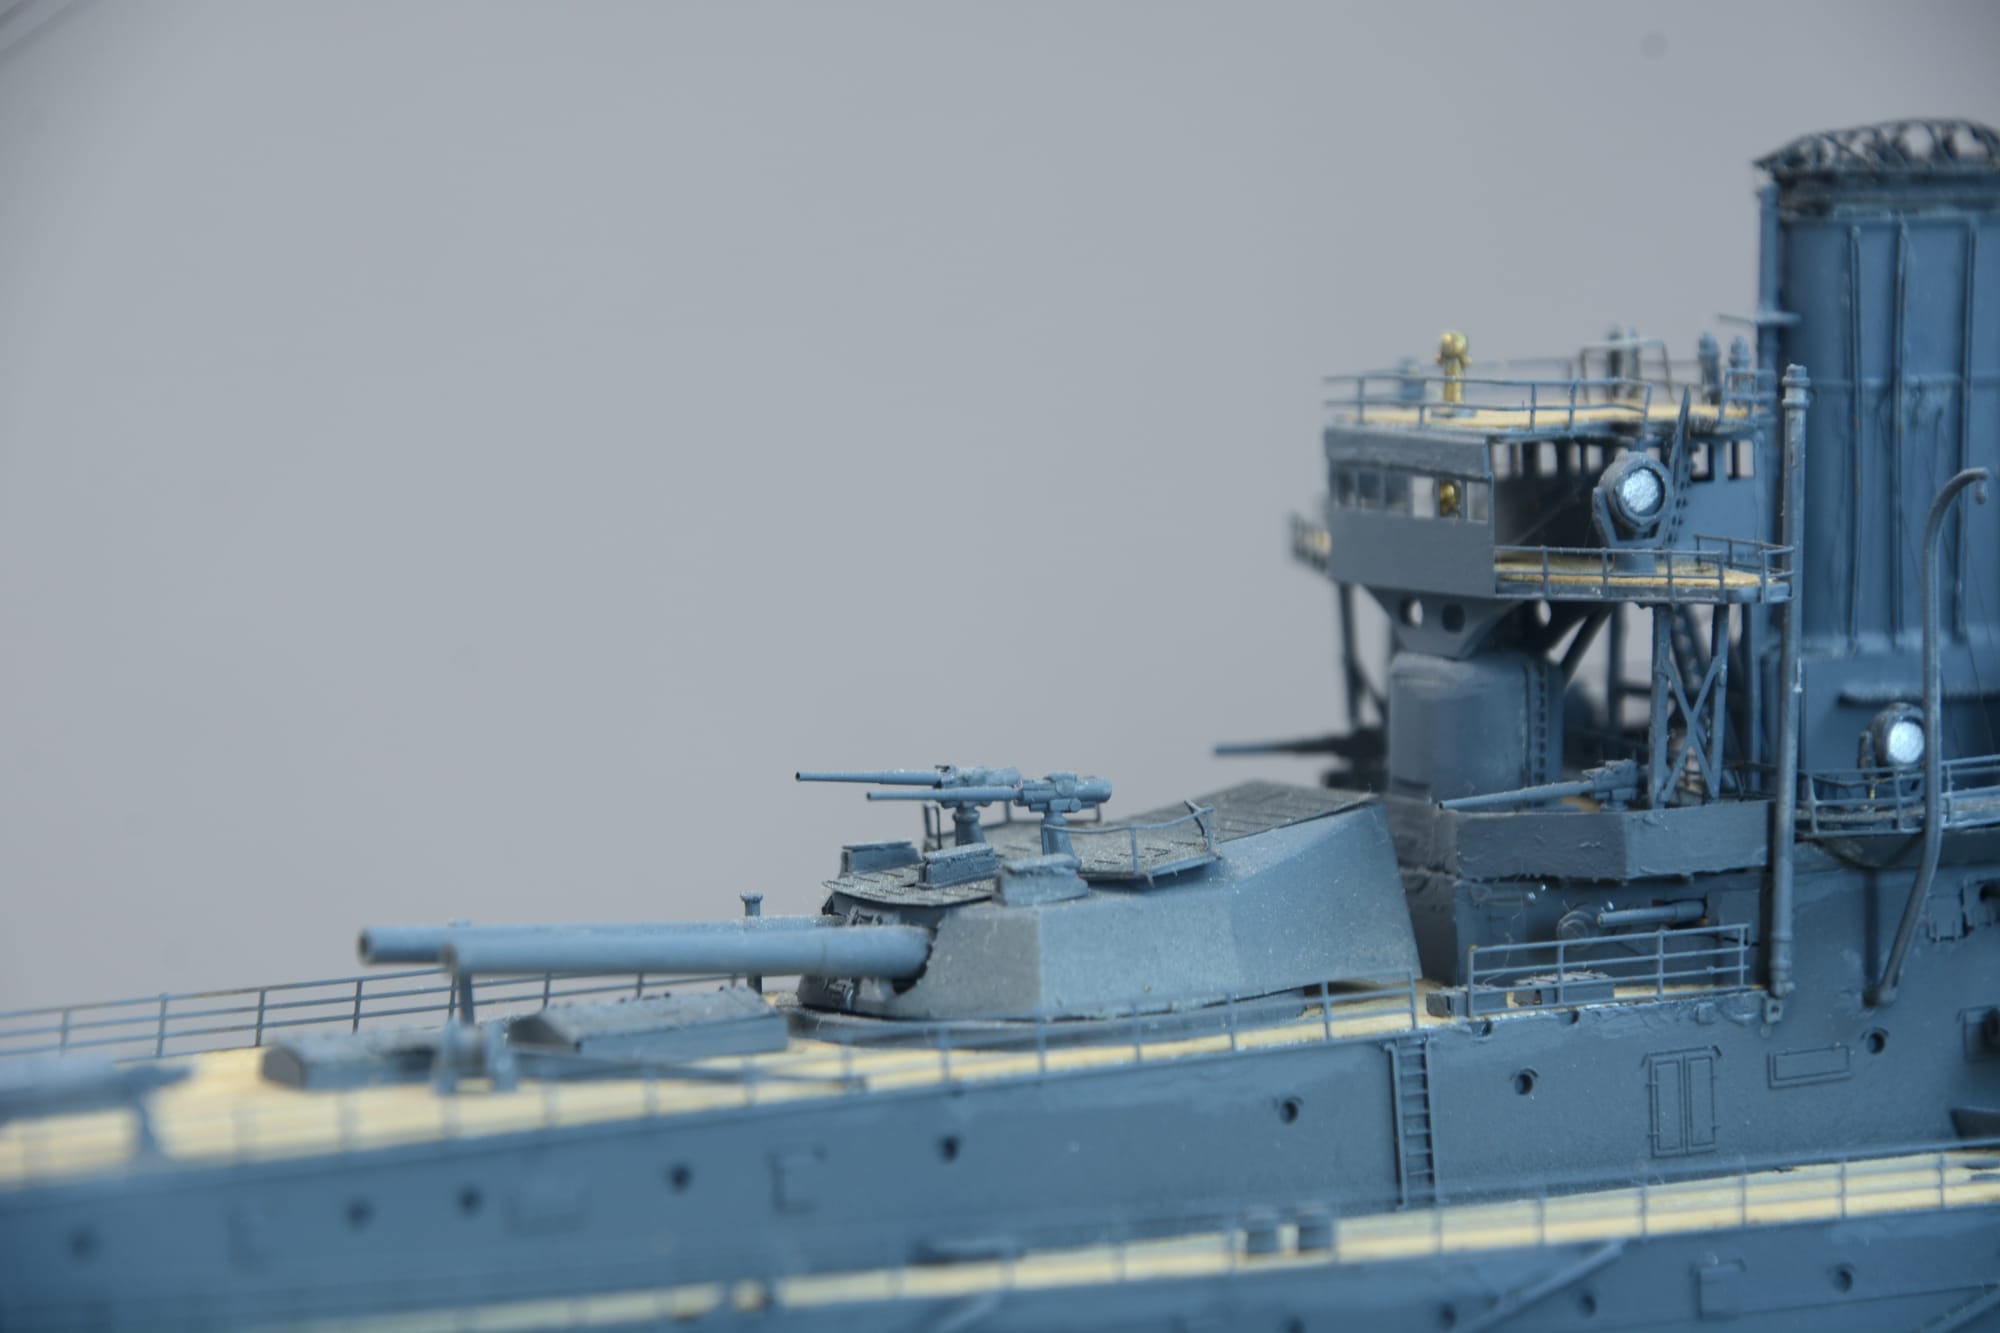
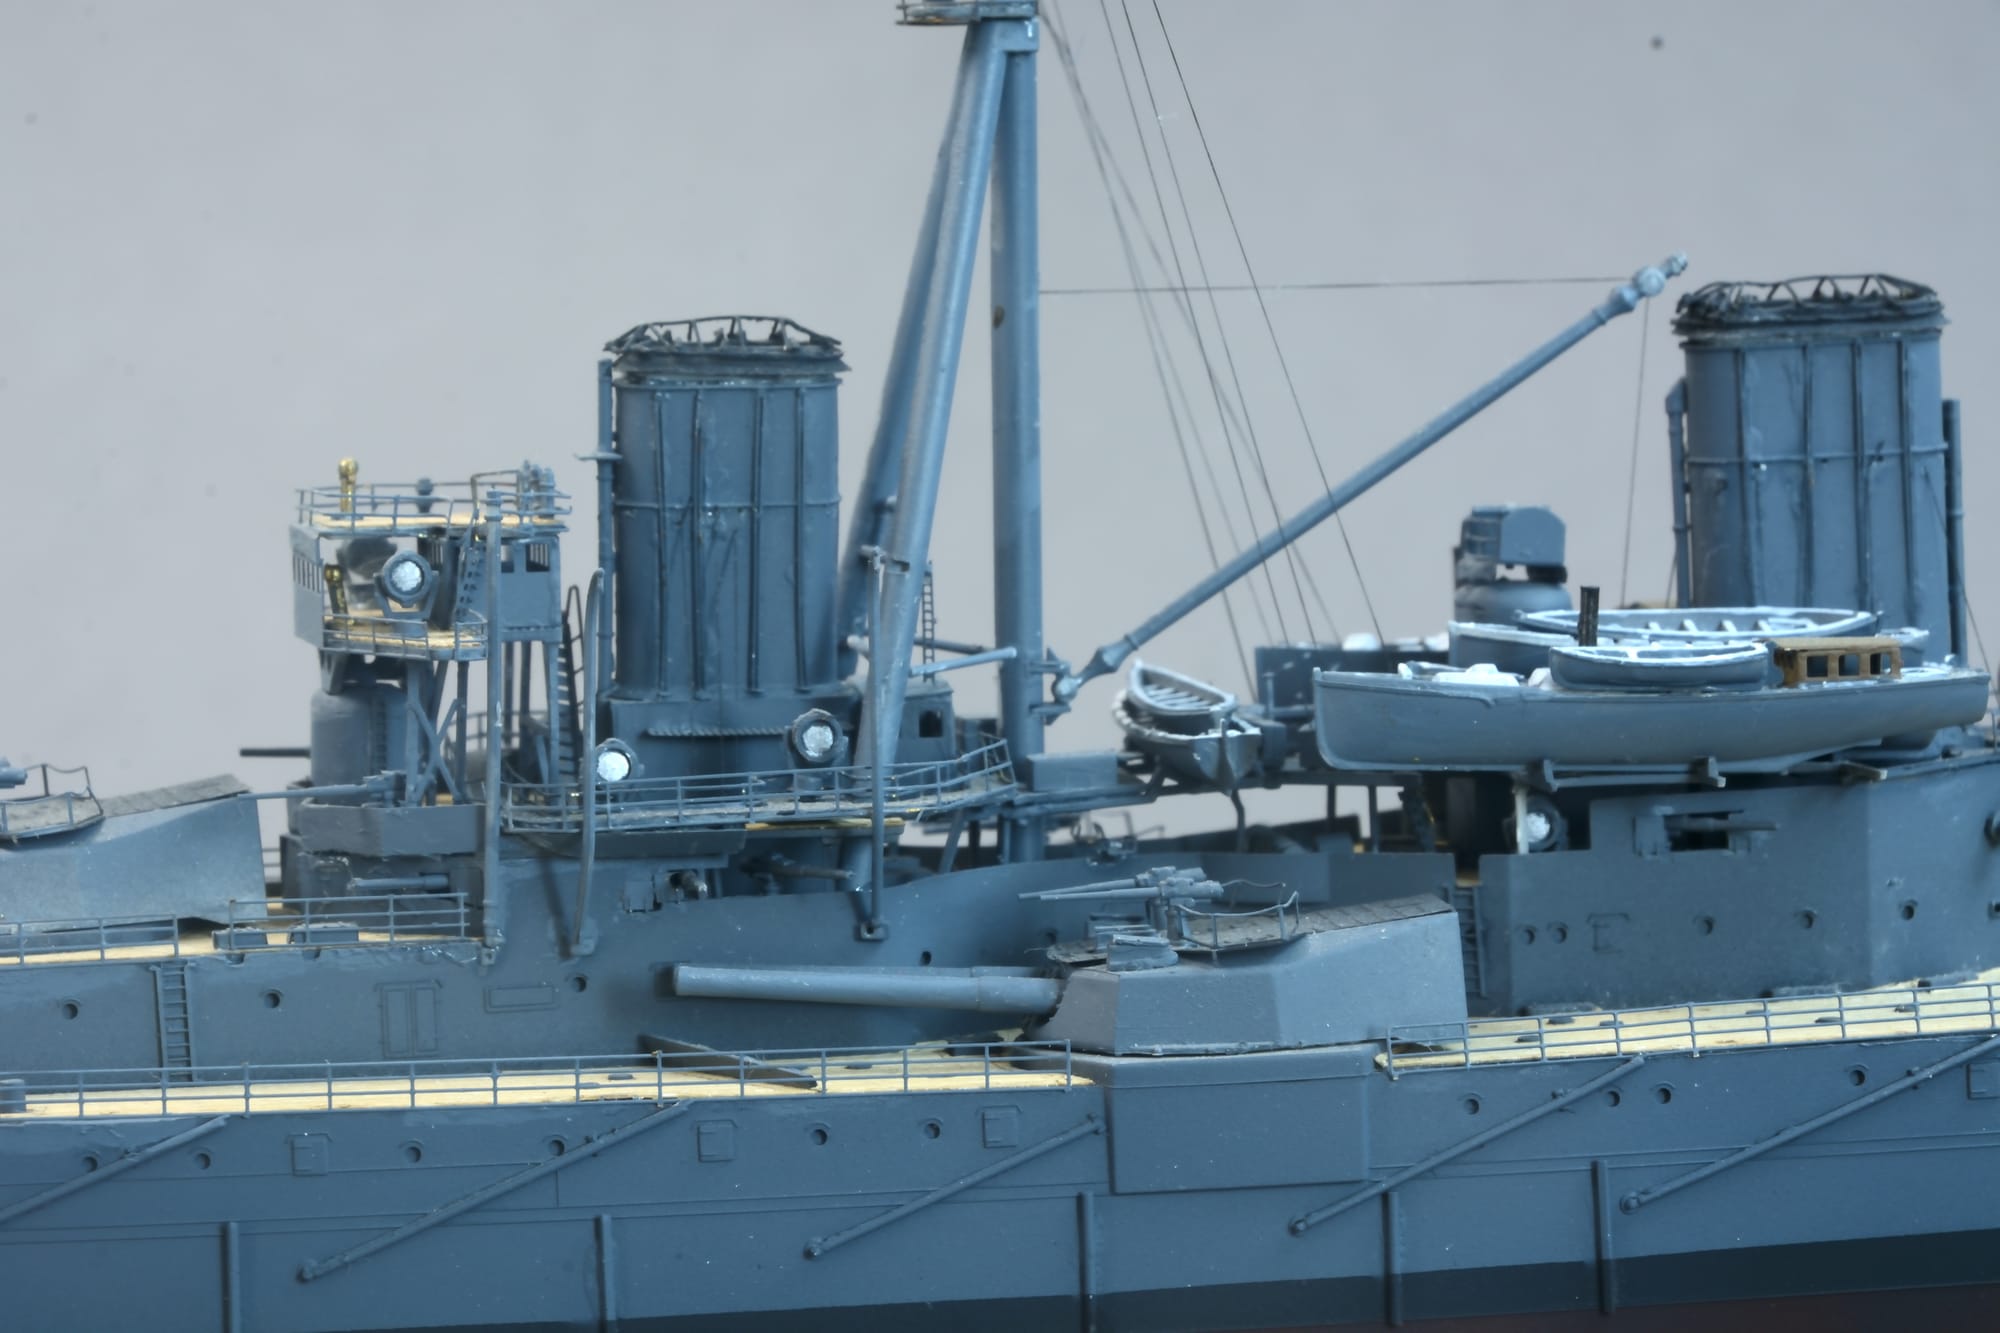
The model is from the Trumpeter 1:350 scale kit with Eduard photo etch (PE), Master Model metal gun barrels and Artwox wooden decks. The model represents the 1907 version of Dreadnought.
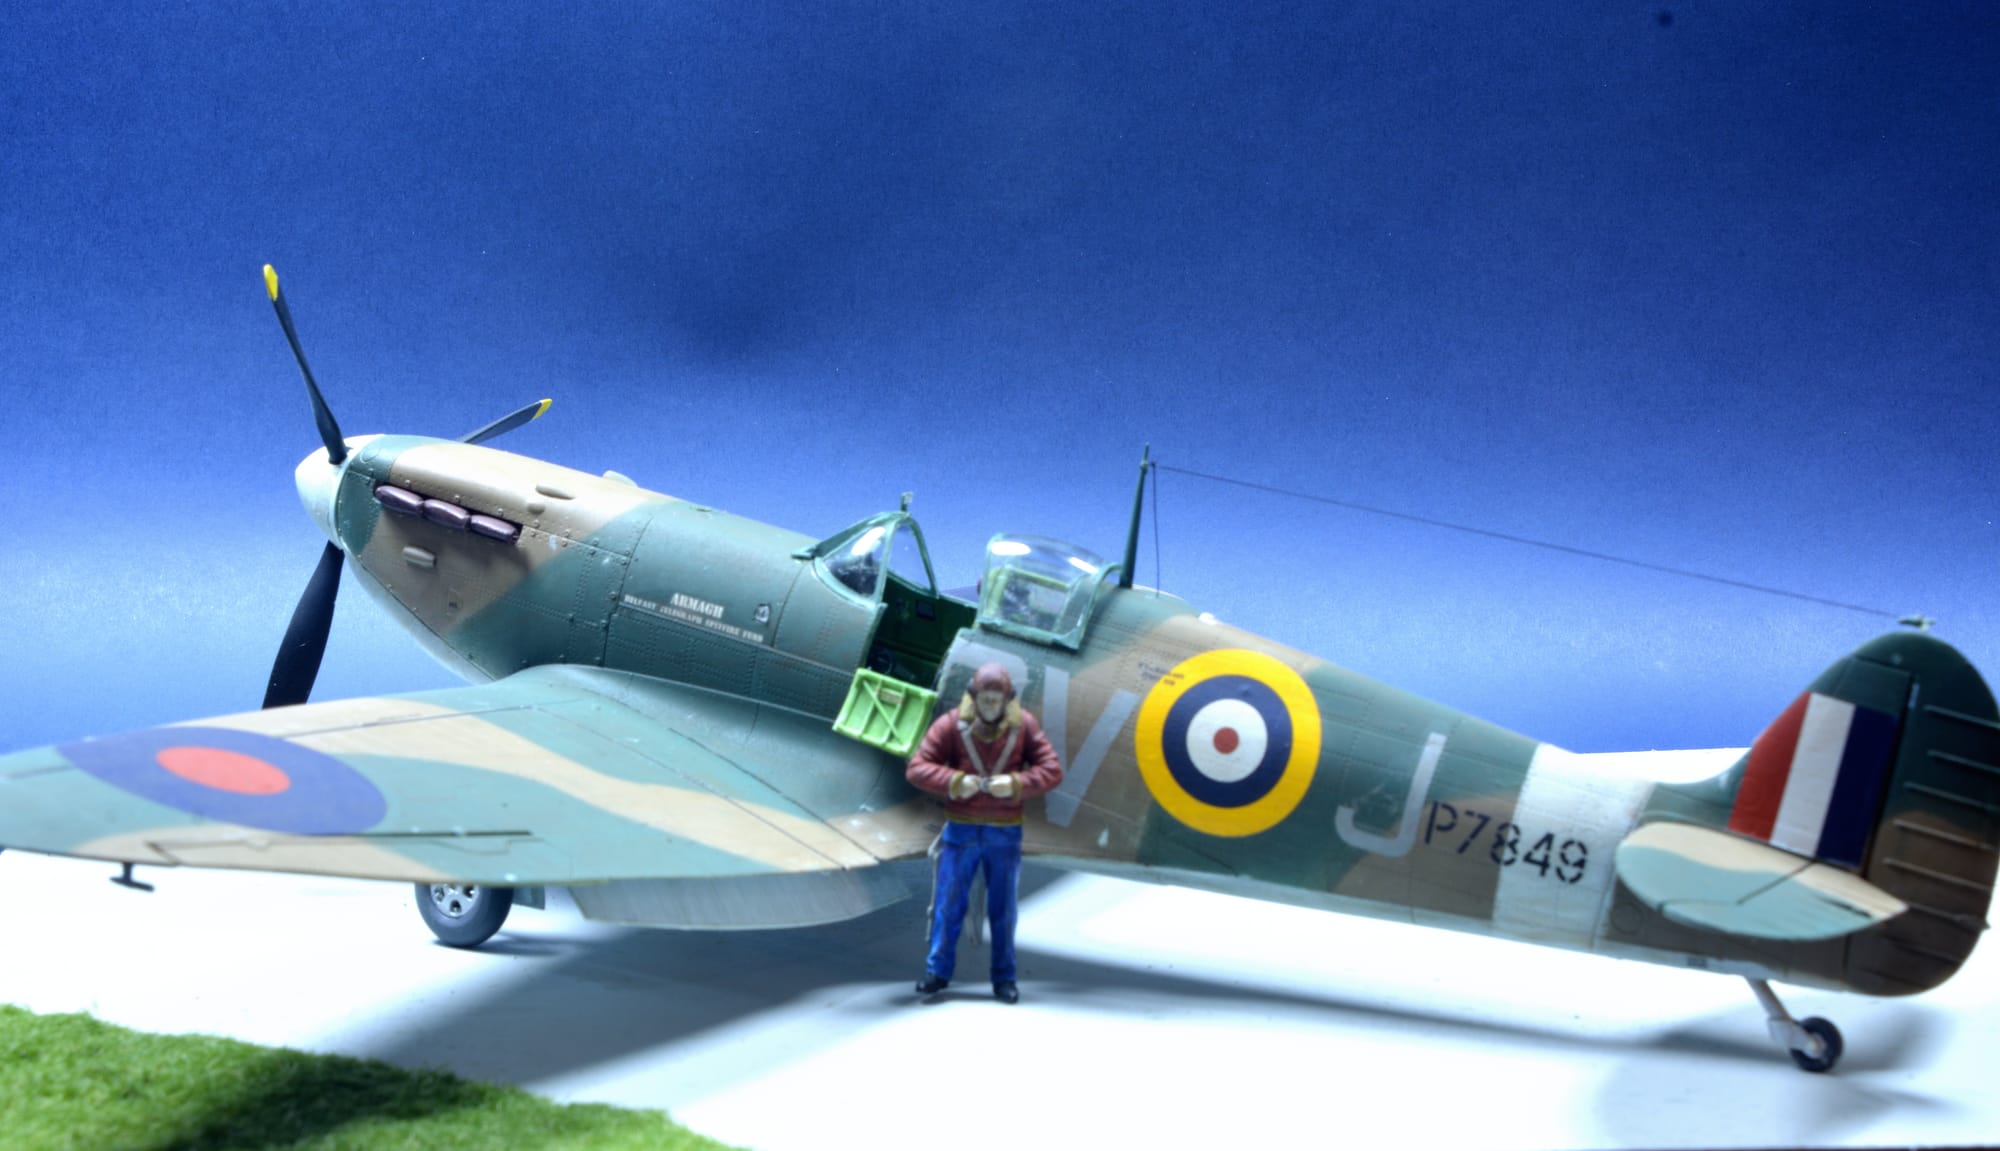
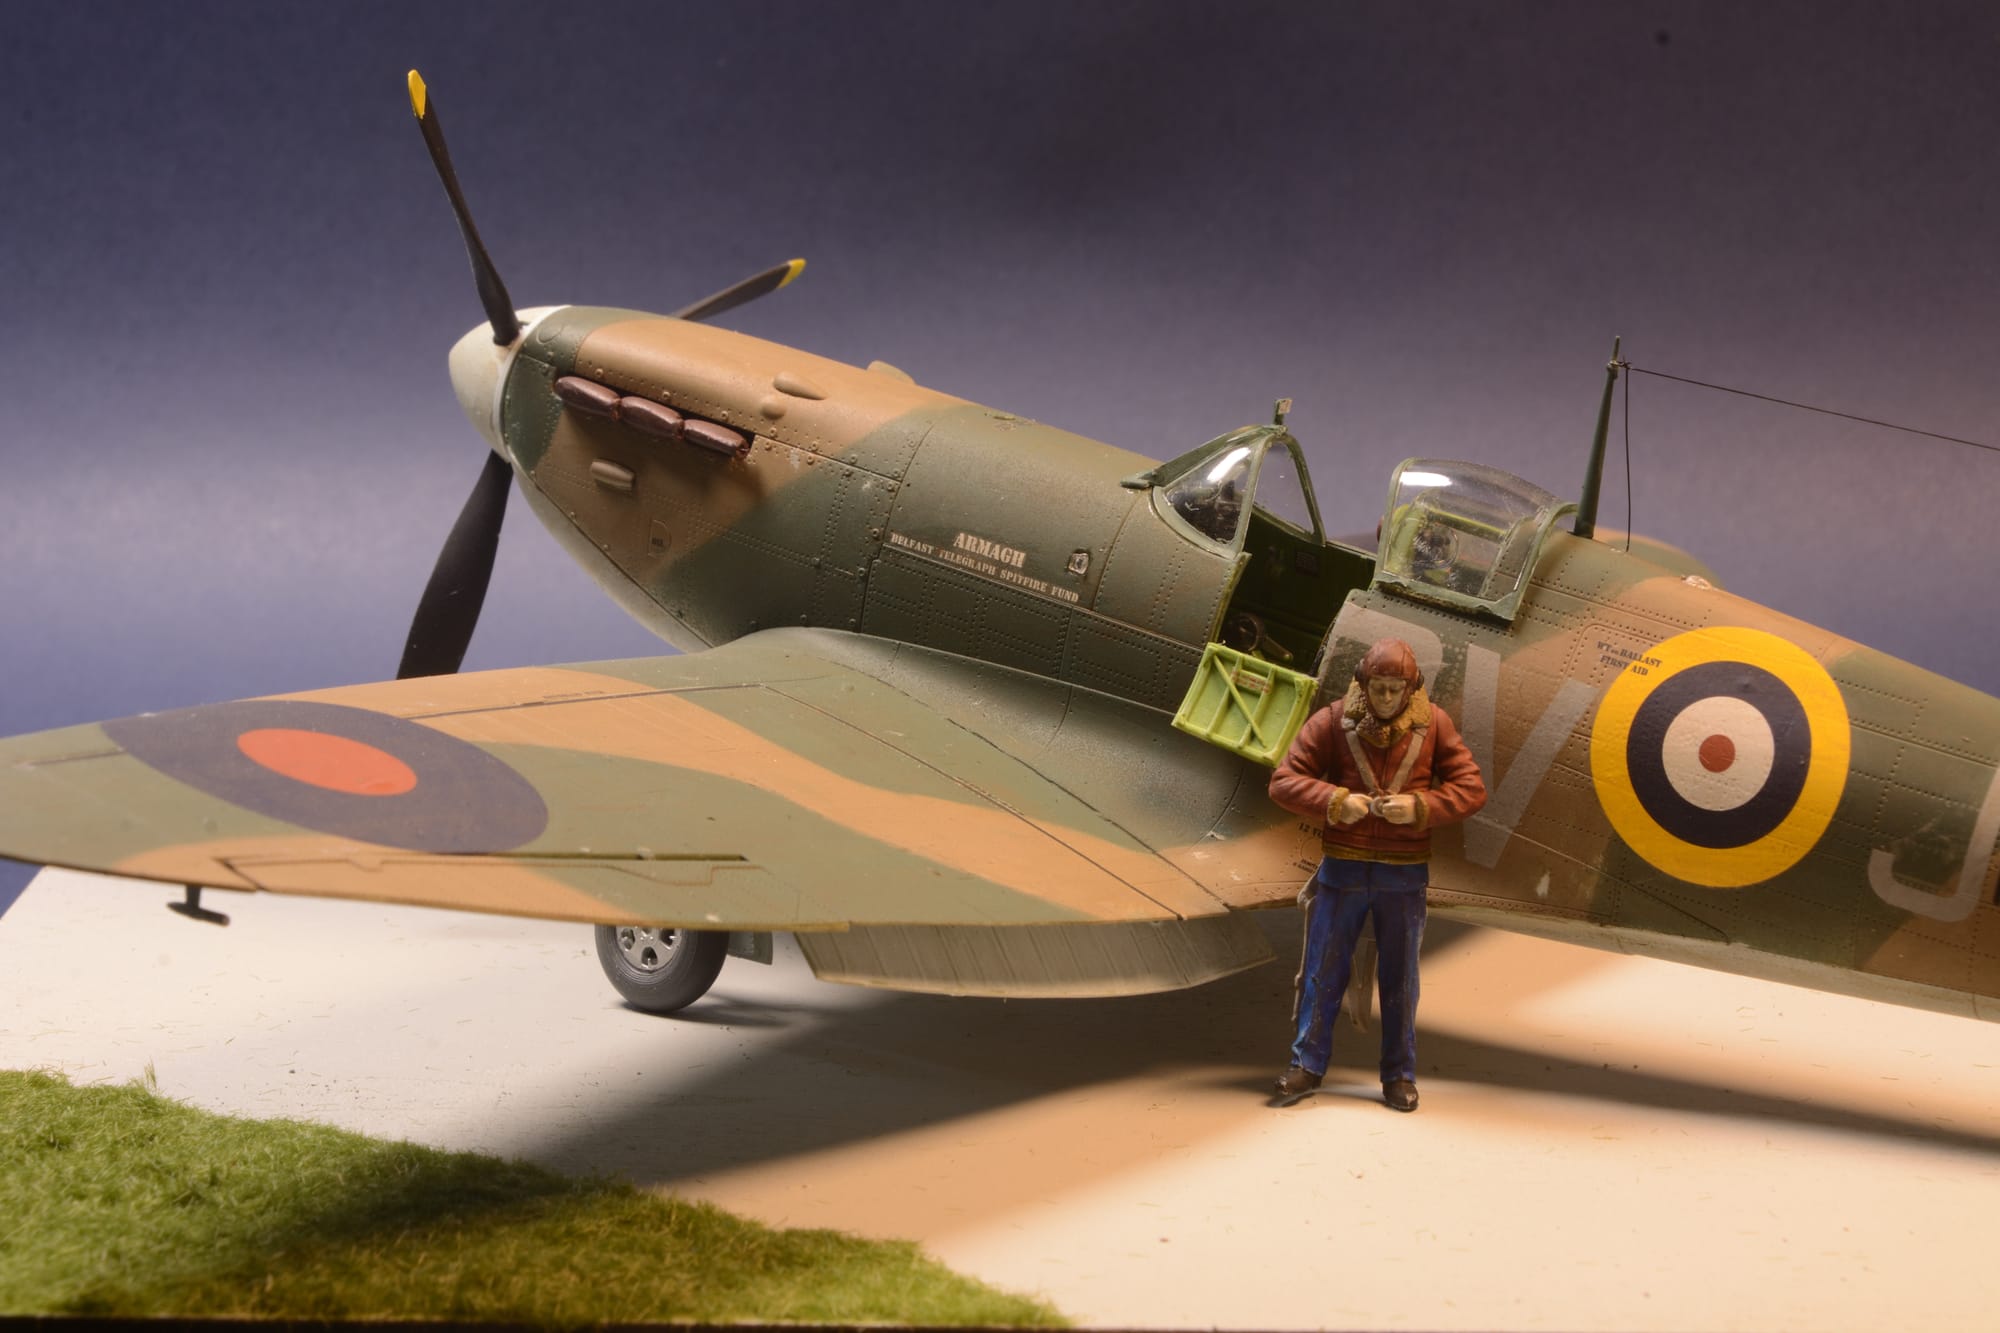
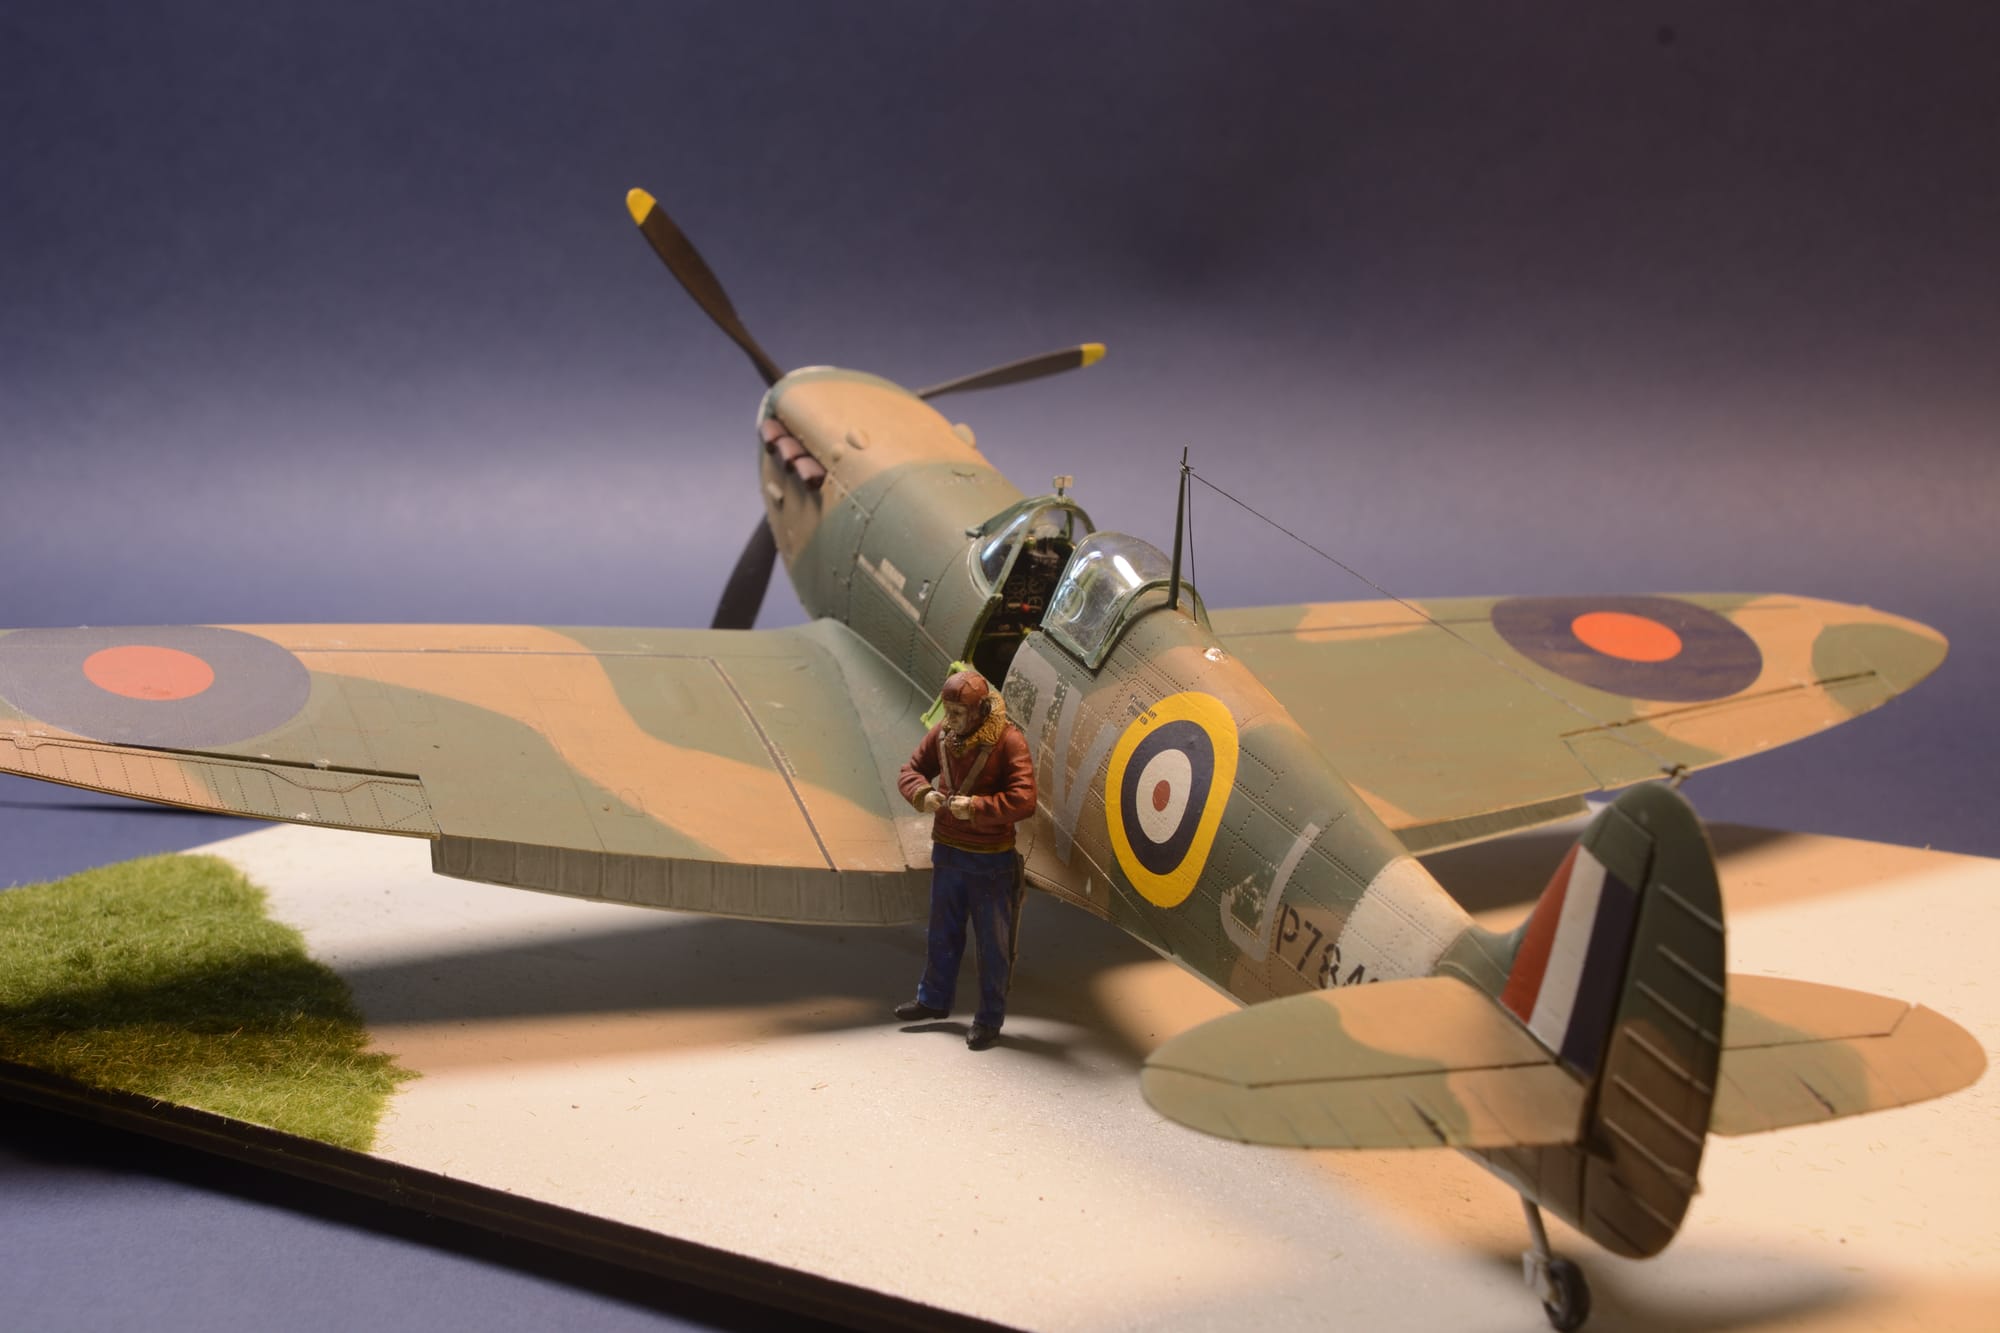
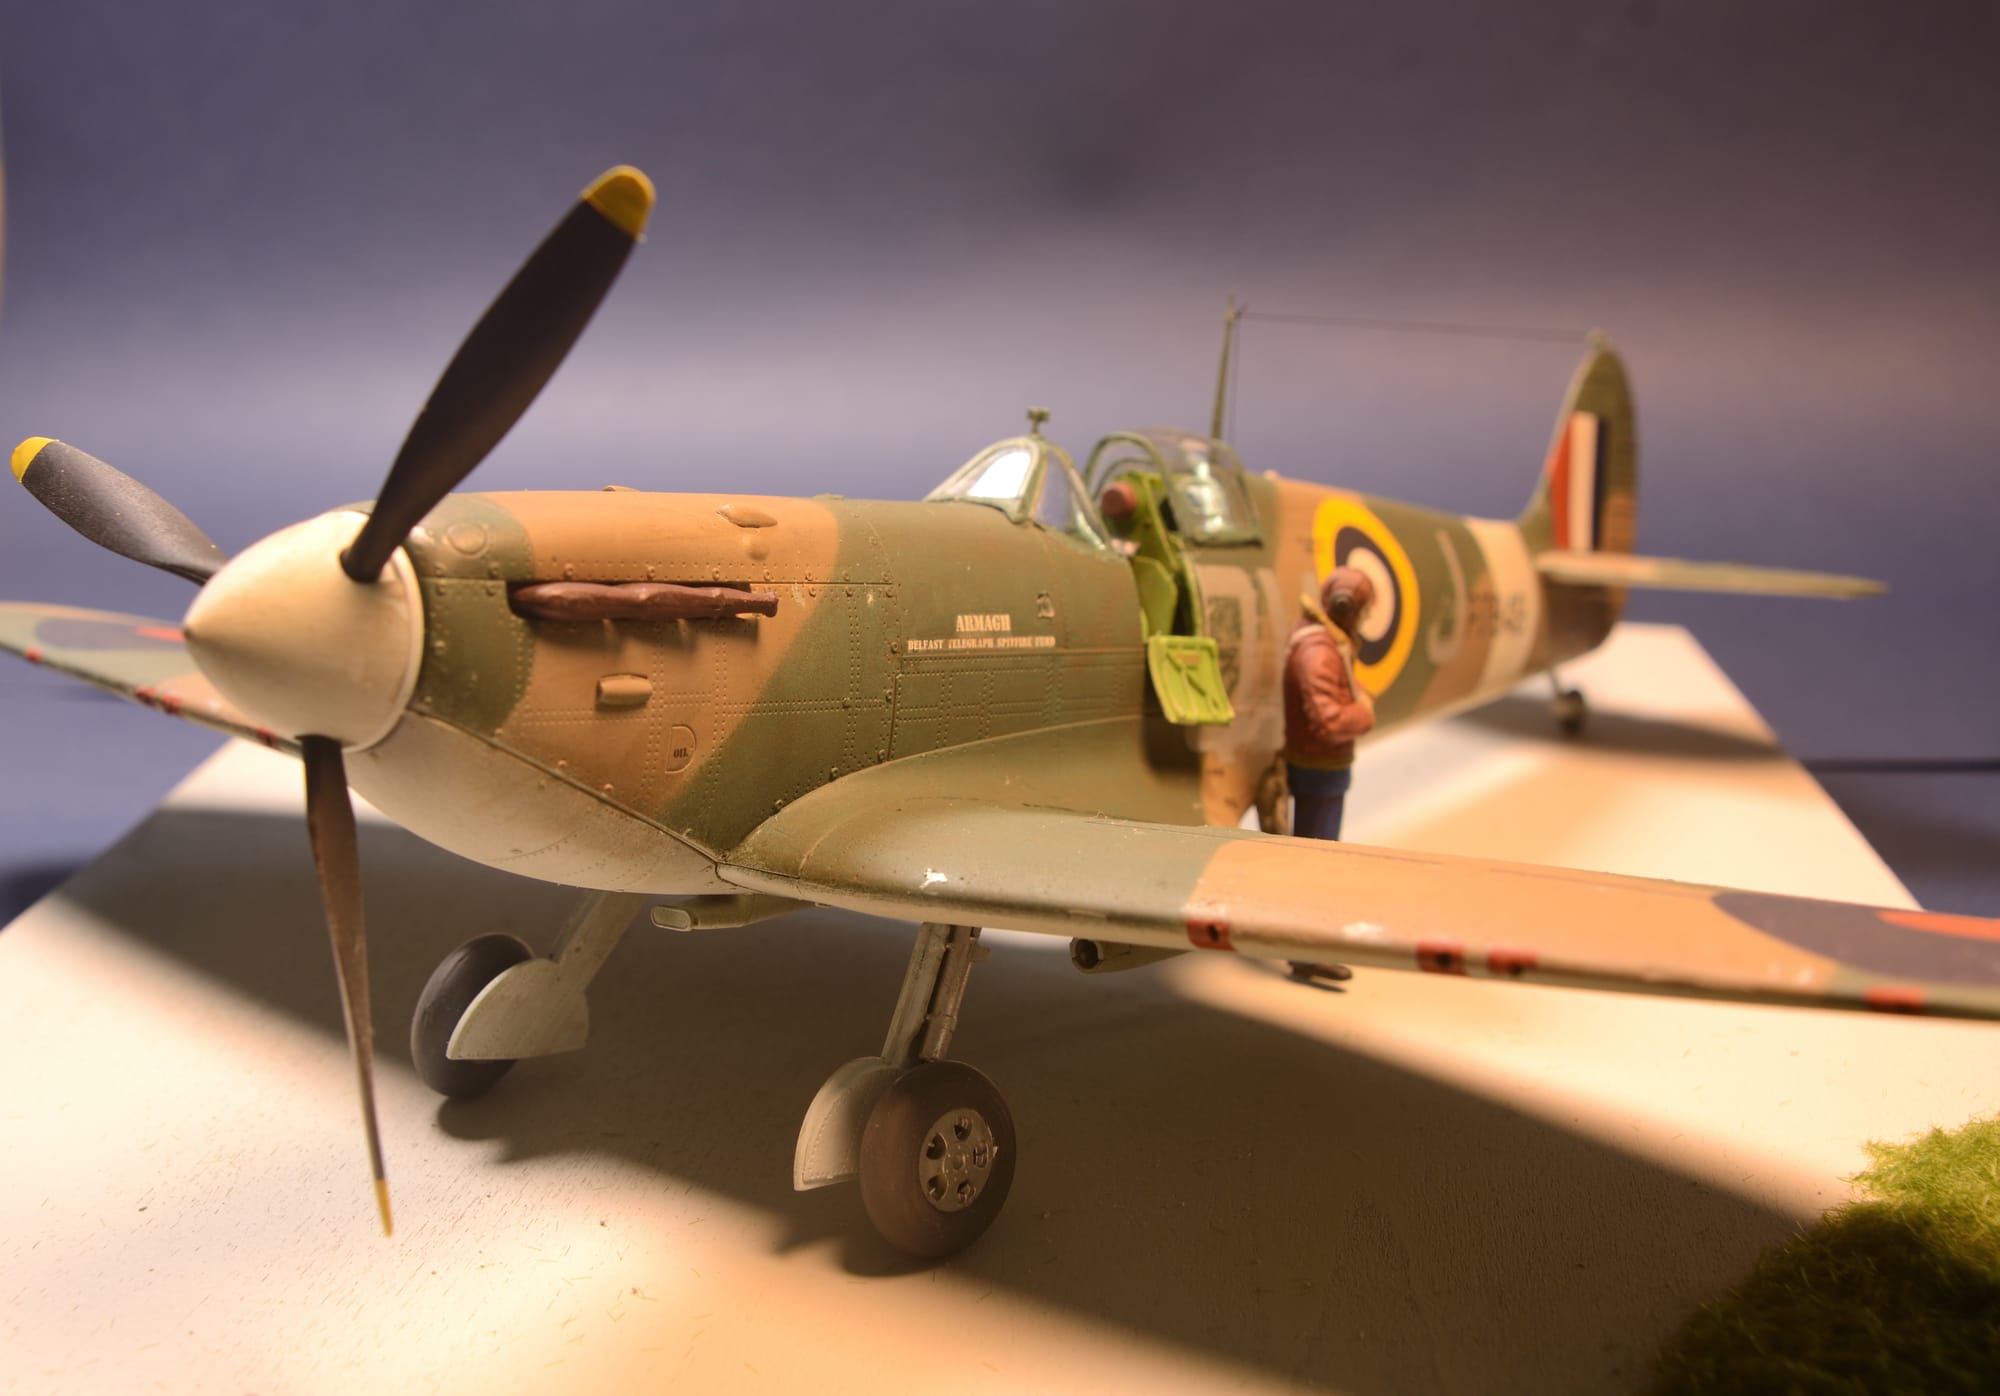
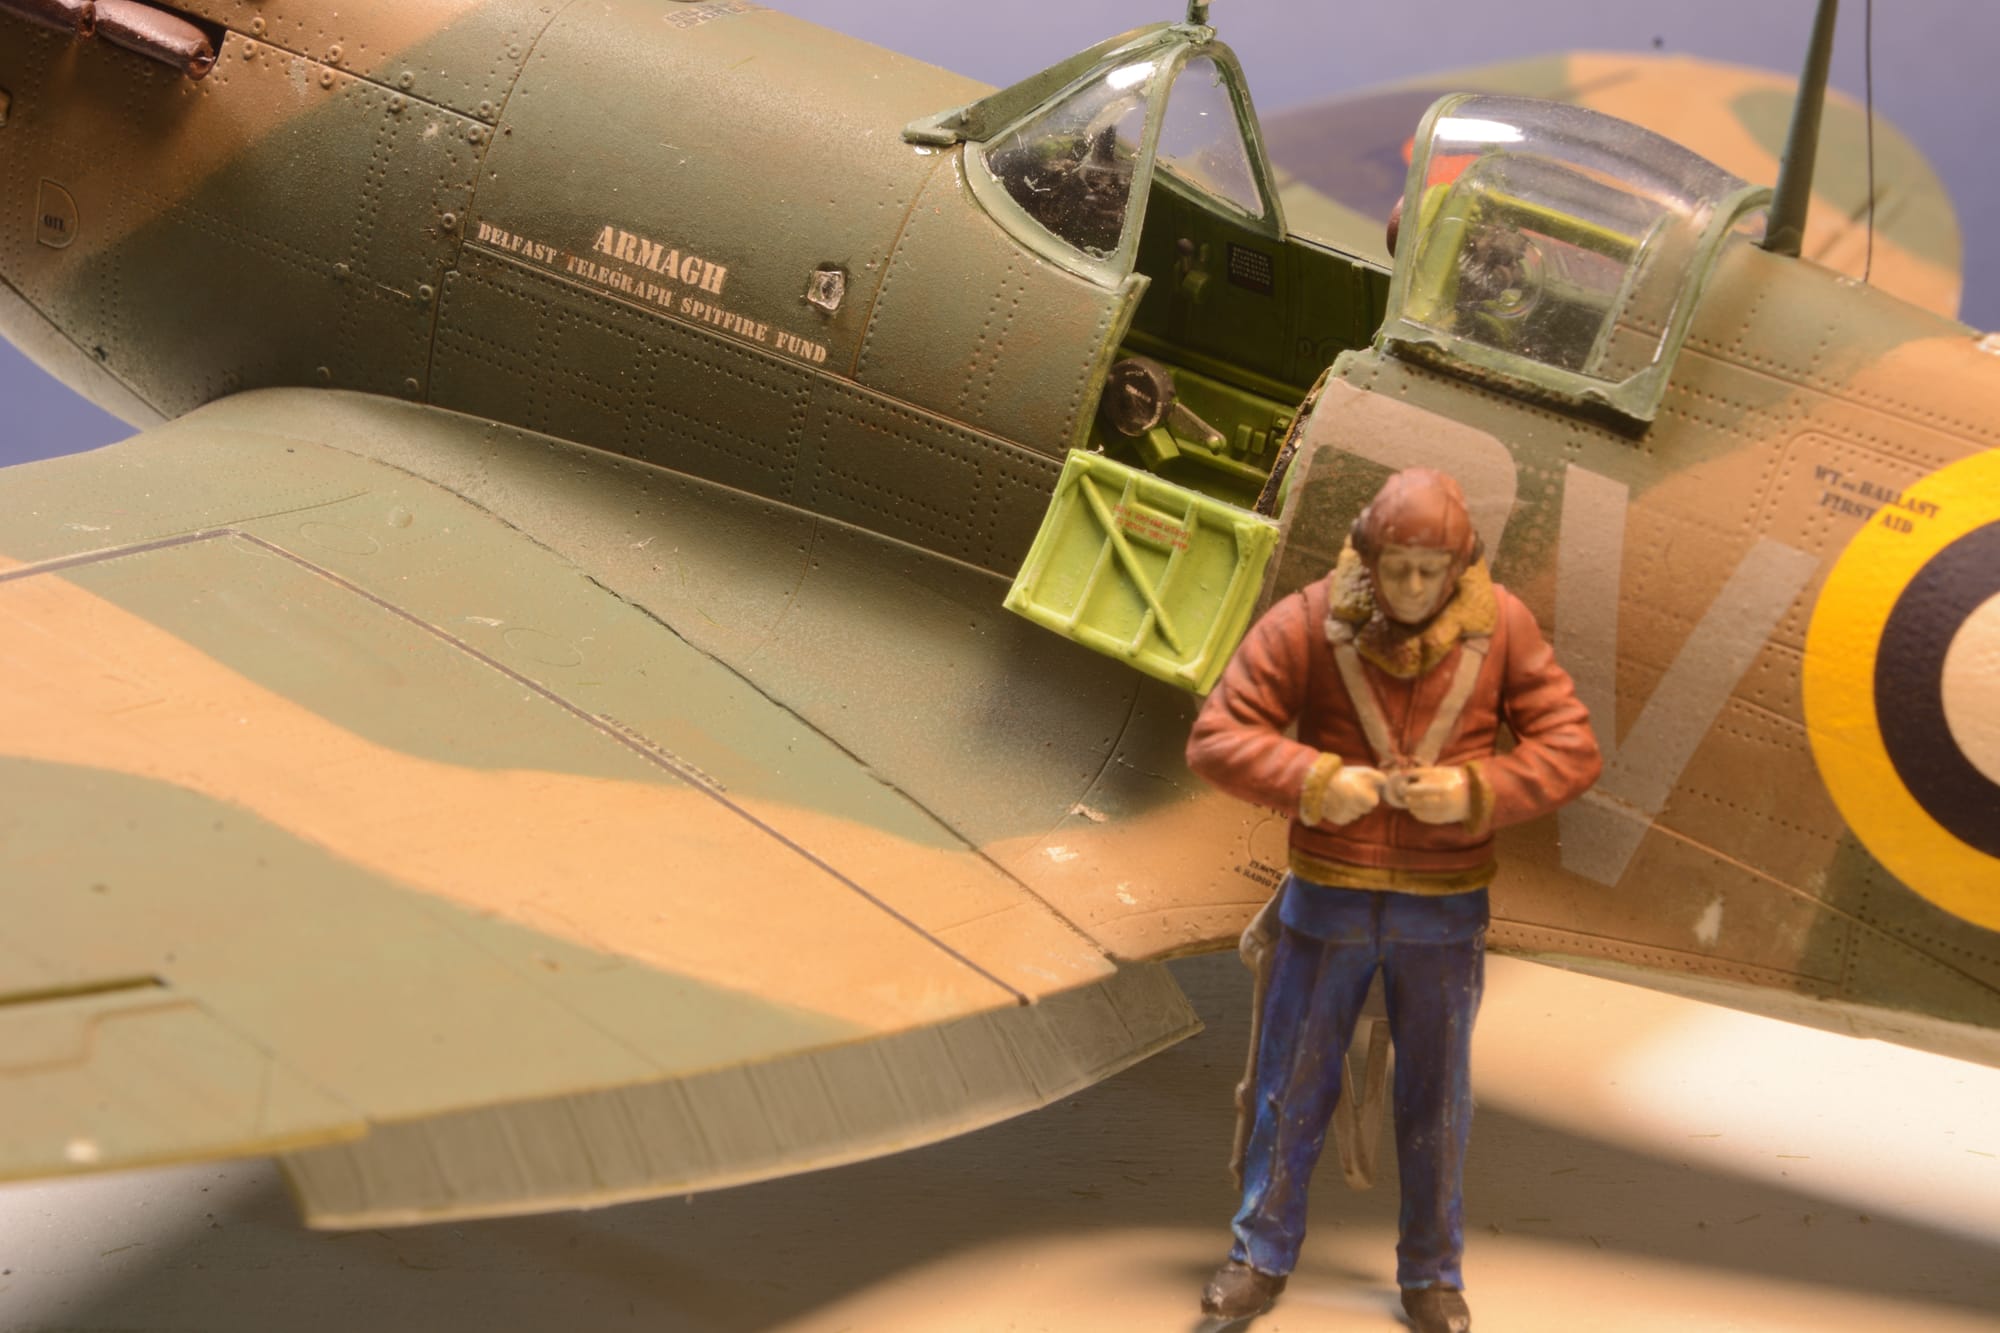
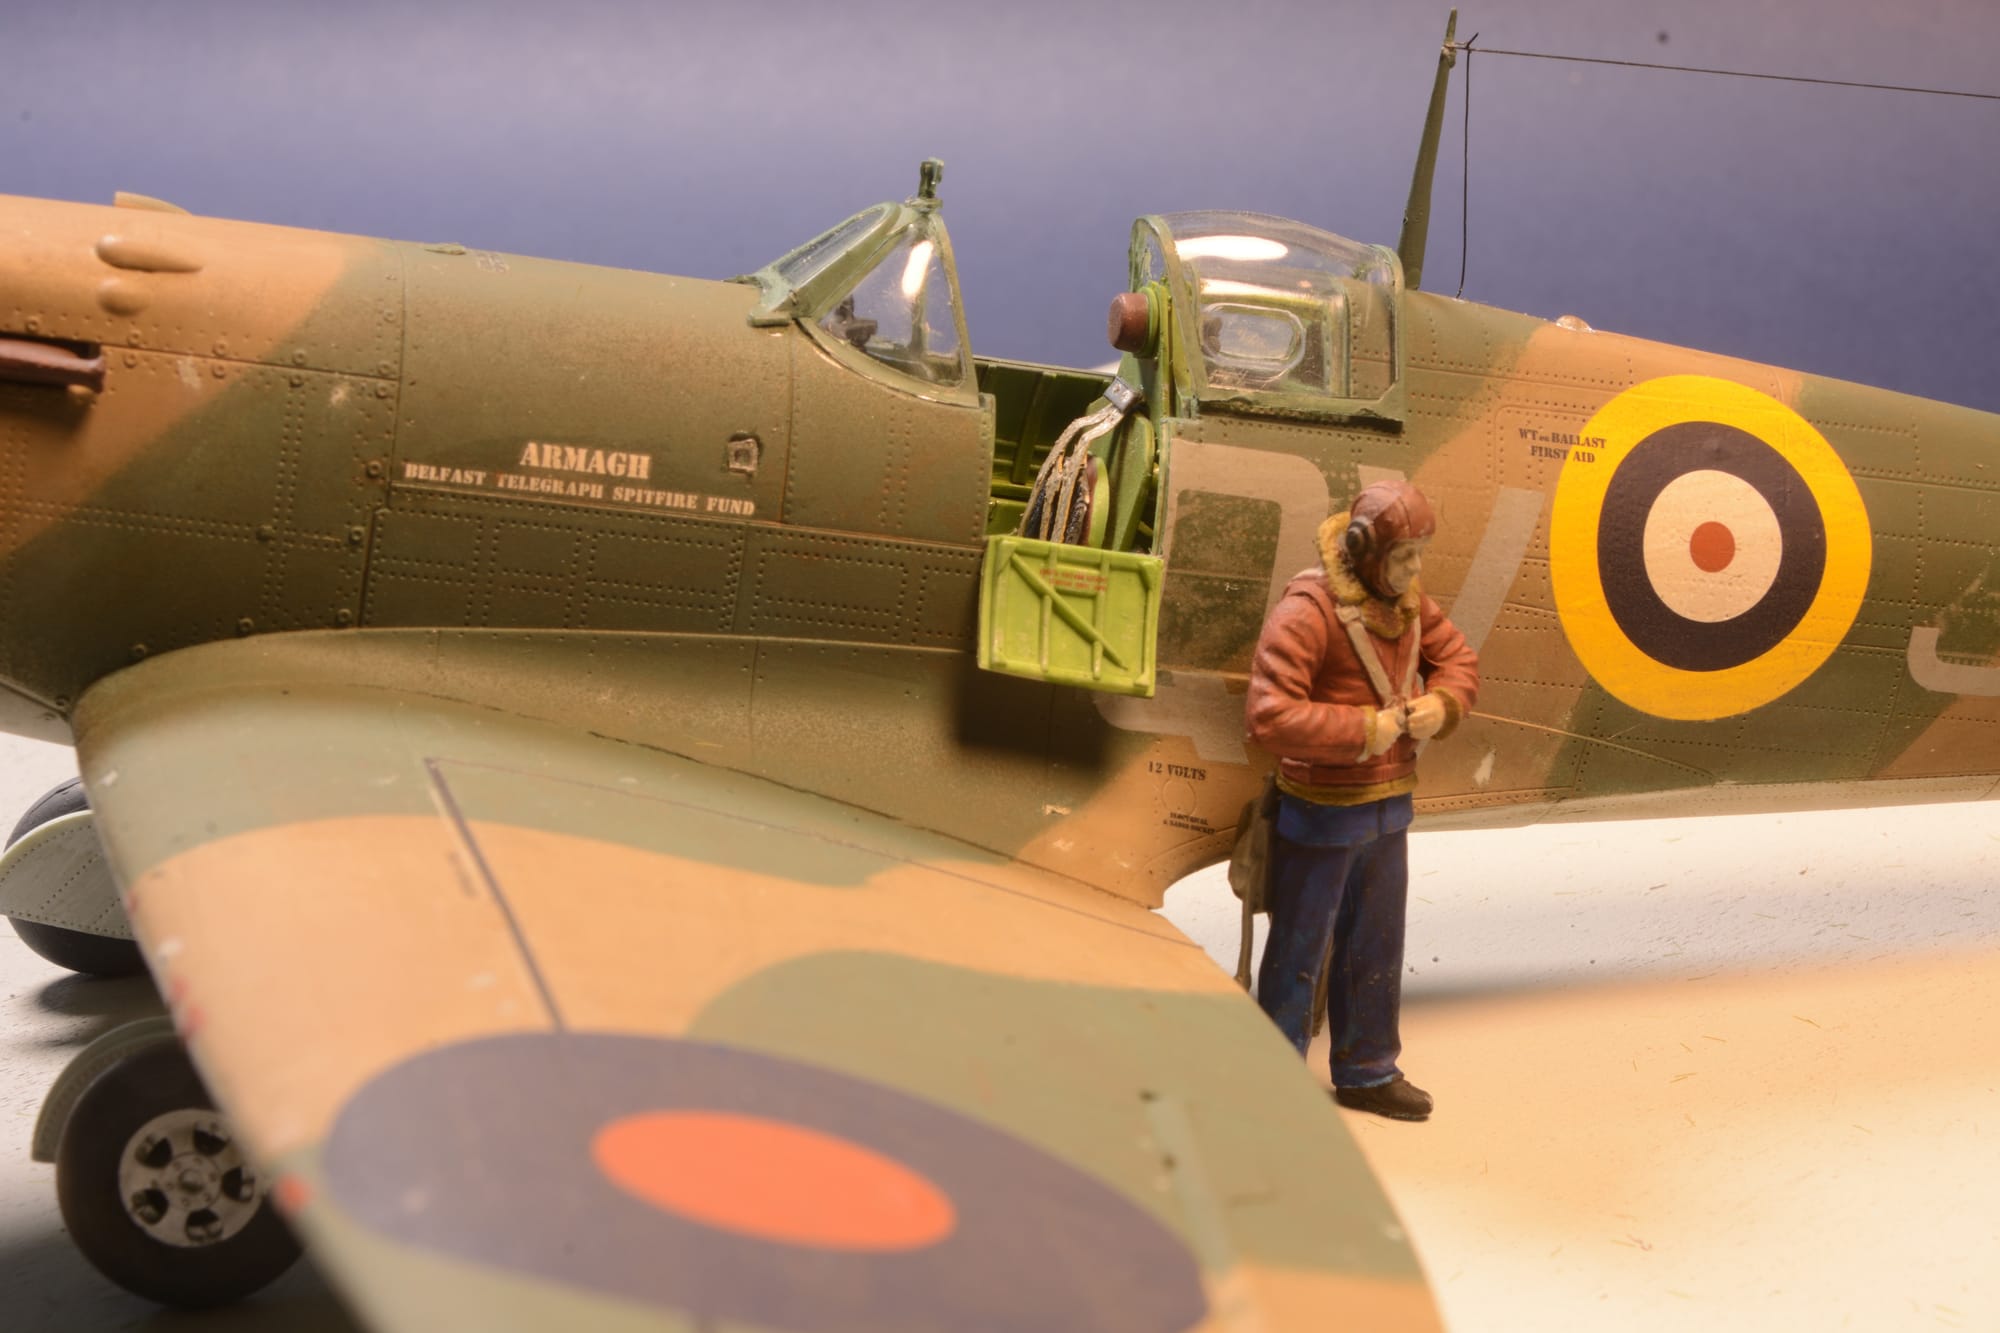
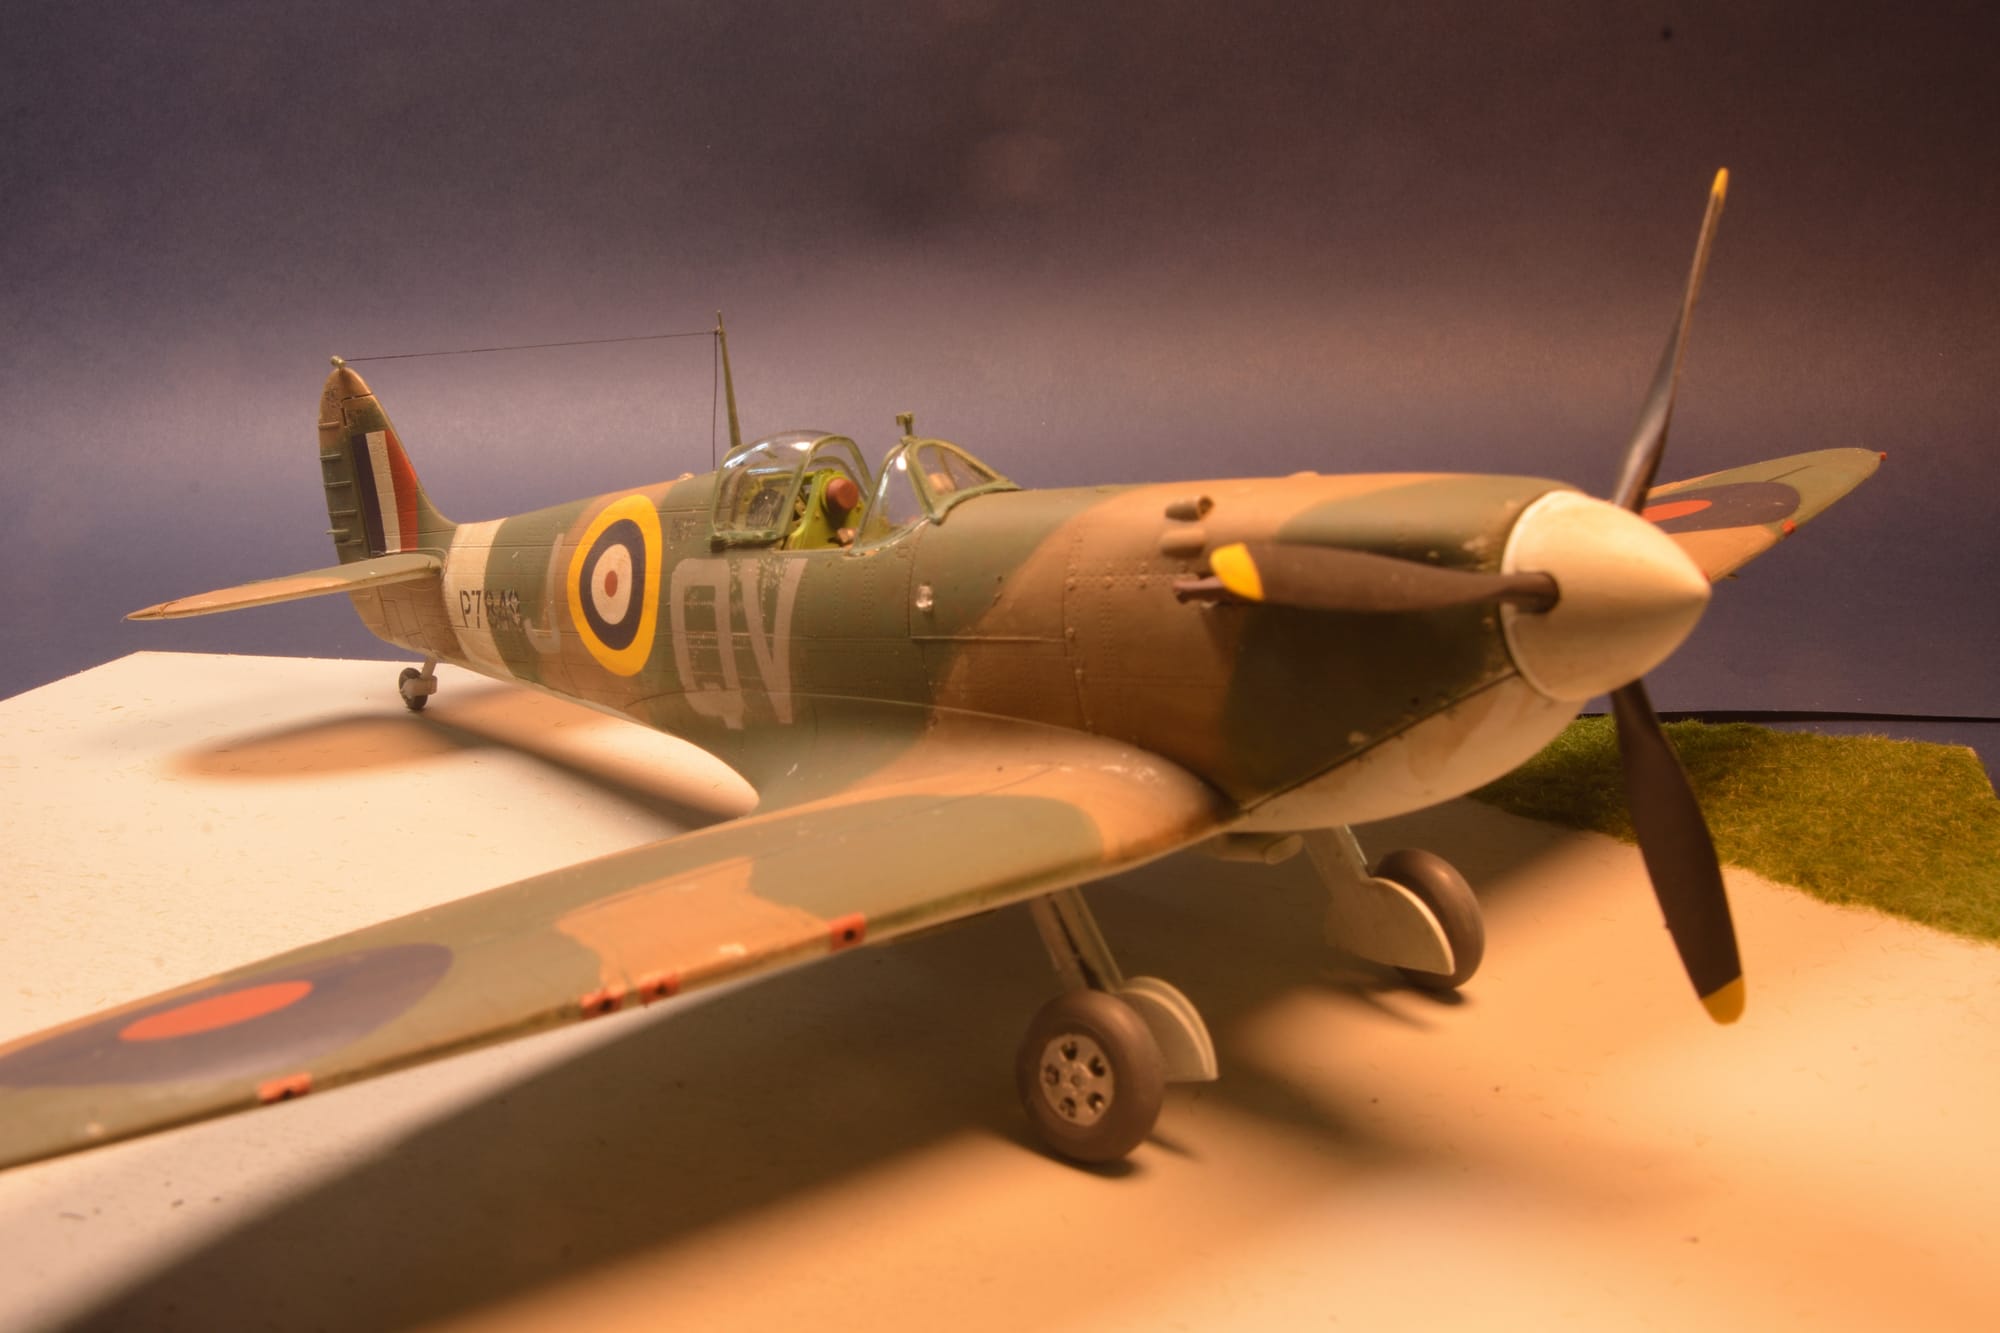
Spitfire Mk. IIa.
The Supermarine Spitfire is arguably the most famous fighter aircraft in history. The Spitfire is symbolic of the Battle of Britain in 1940. "Never in the field of human conflict was so much owed by so many to so few" - Winston Churchill
The Spitfire was a short-range, high-performance interceptor aircraft designed by R. J. Mitchell, chief designer at Supermarine Aviation Works. During the Battle of Britain (July–October 1940), the more numerous Hurricane flew more sorties resisting the Luftwaffe, but the Spitfire captured the public's imagination, in part because the Spitfire was generally a better fighter aircraft than the Hurricane. Spitfire units had a lower attrition rate and a higher victory-to-loss ratio than Hurricanes, most likely due to the Spitfire's higher performance. During the battle, Spitfires generally engaged Luftwaffe fighters—mainly Messerschmitt Bf 109E–series aircraft, which were a close match for them. Of the 20,351 Spitfires built, 920 were the early Mk.IIa's.
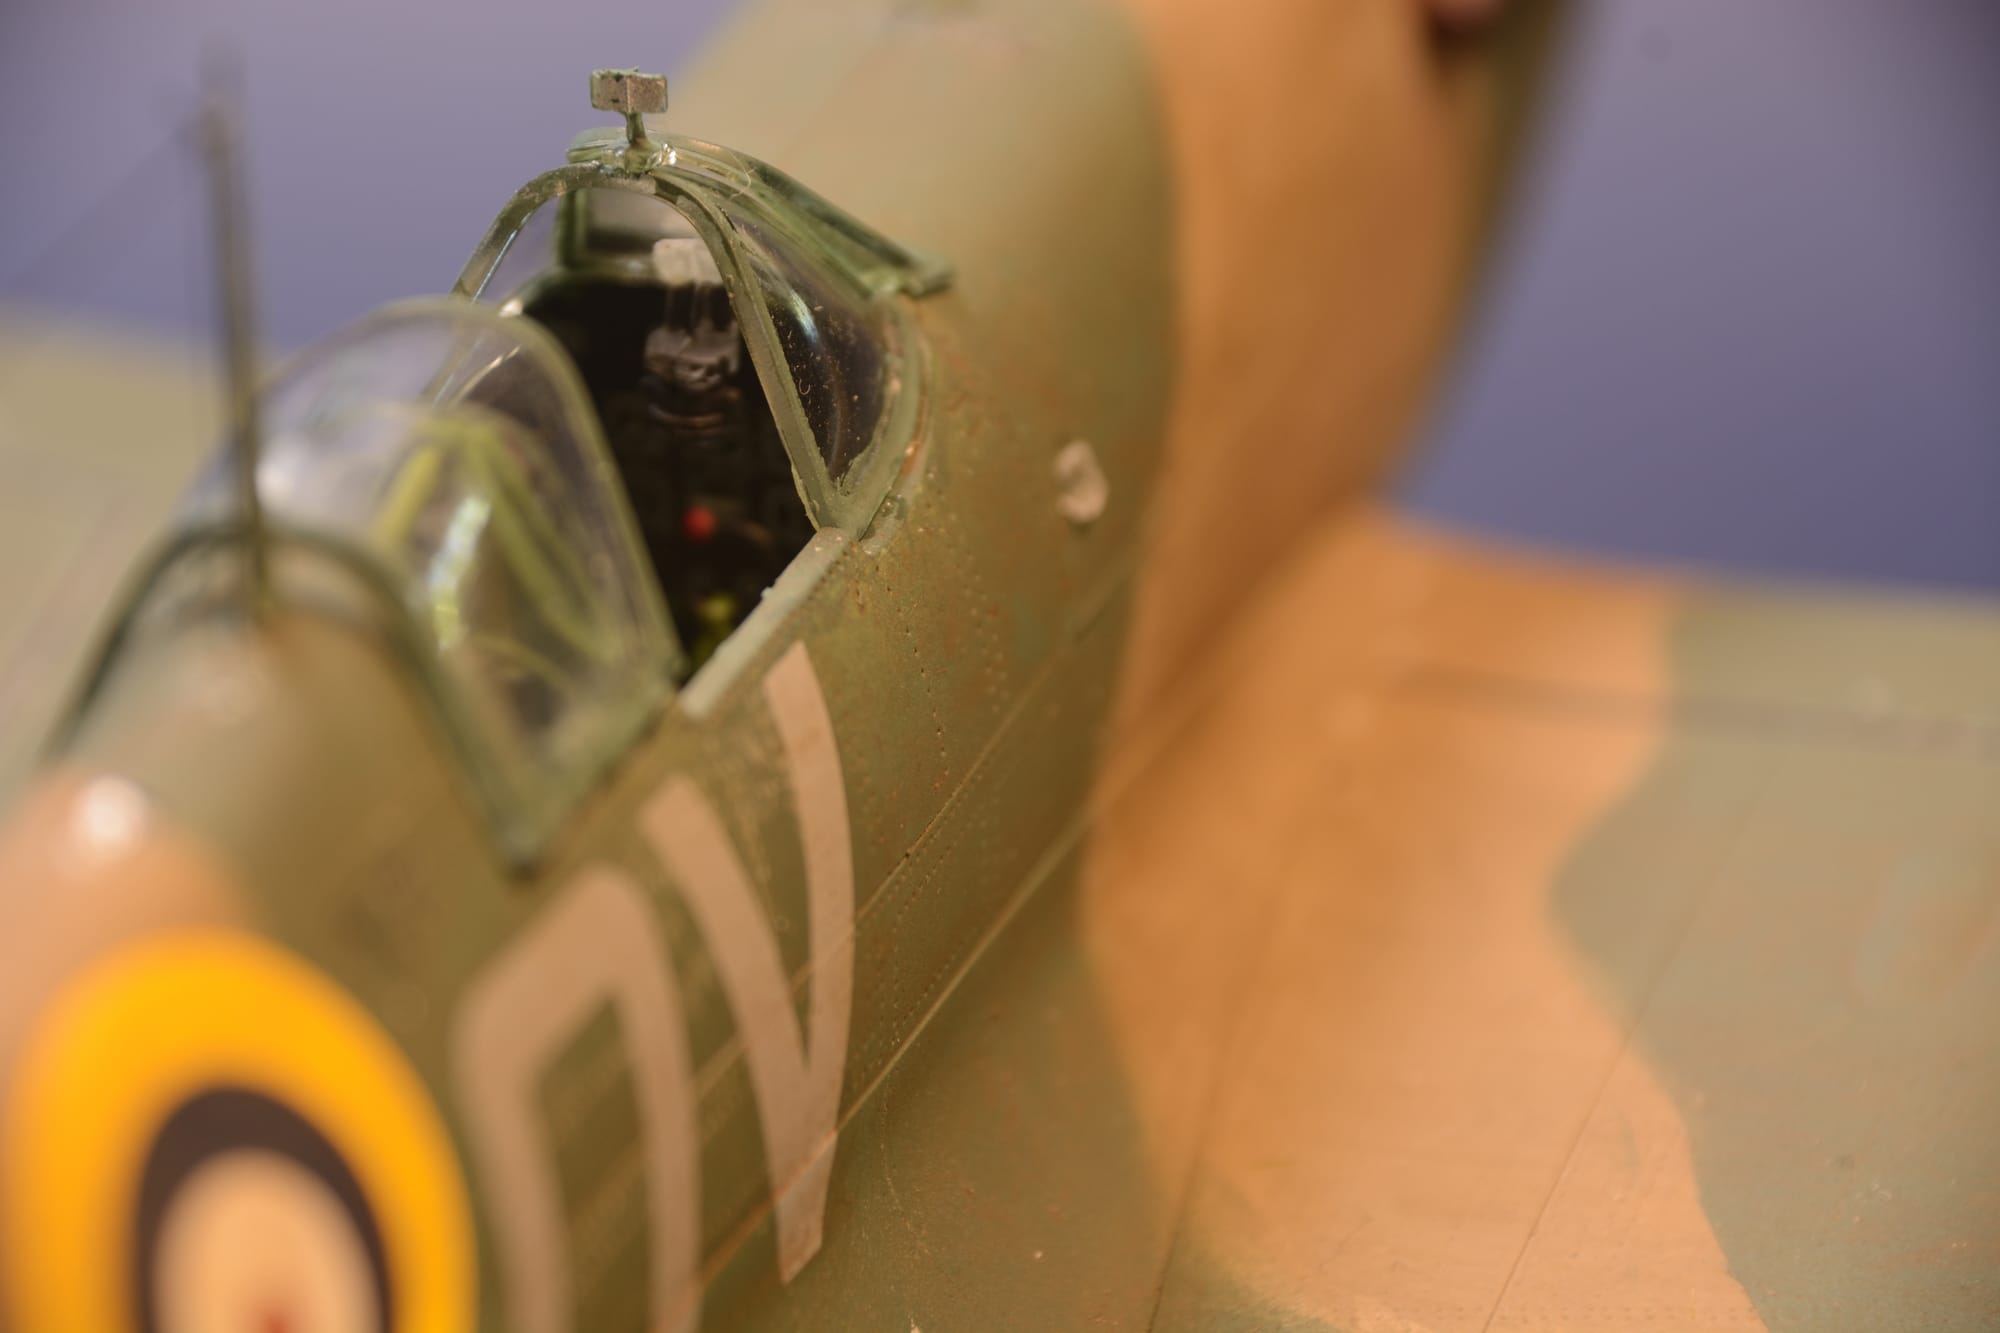
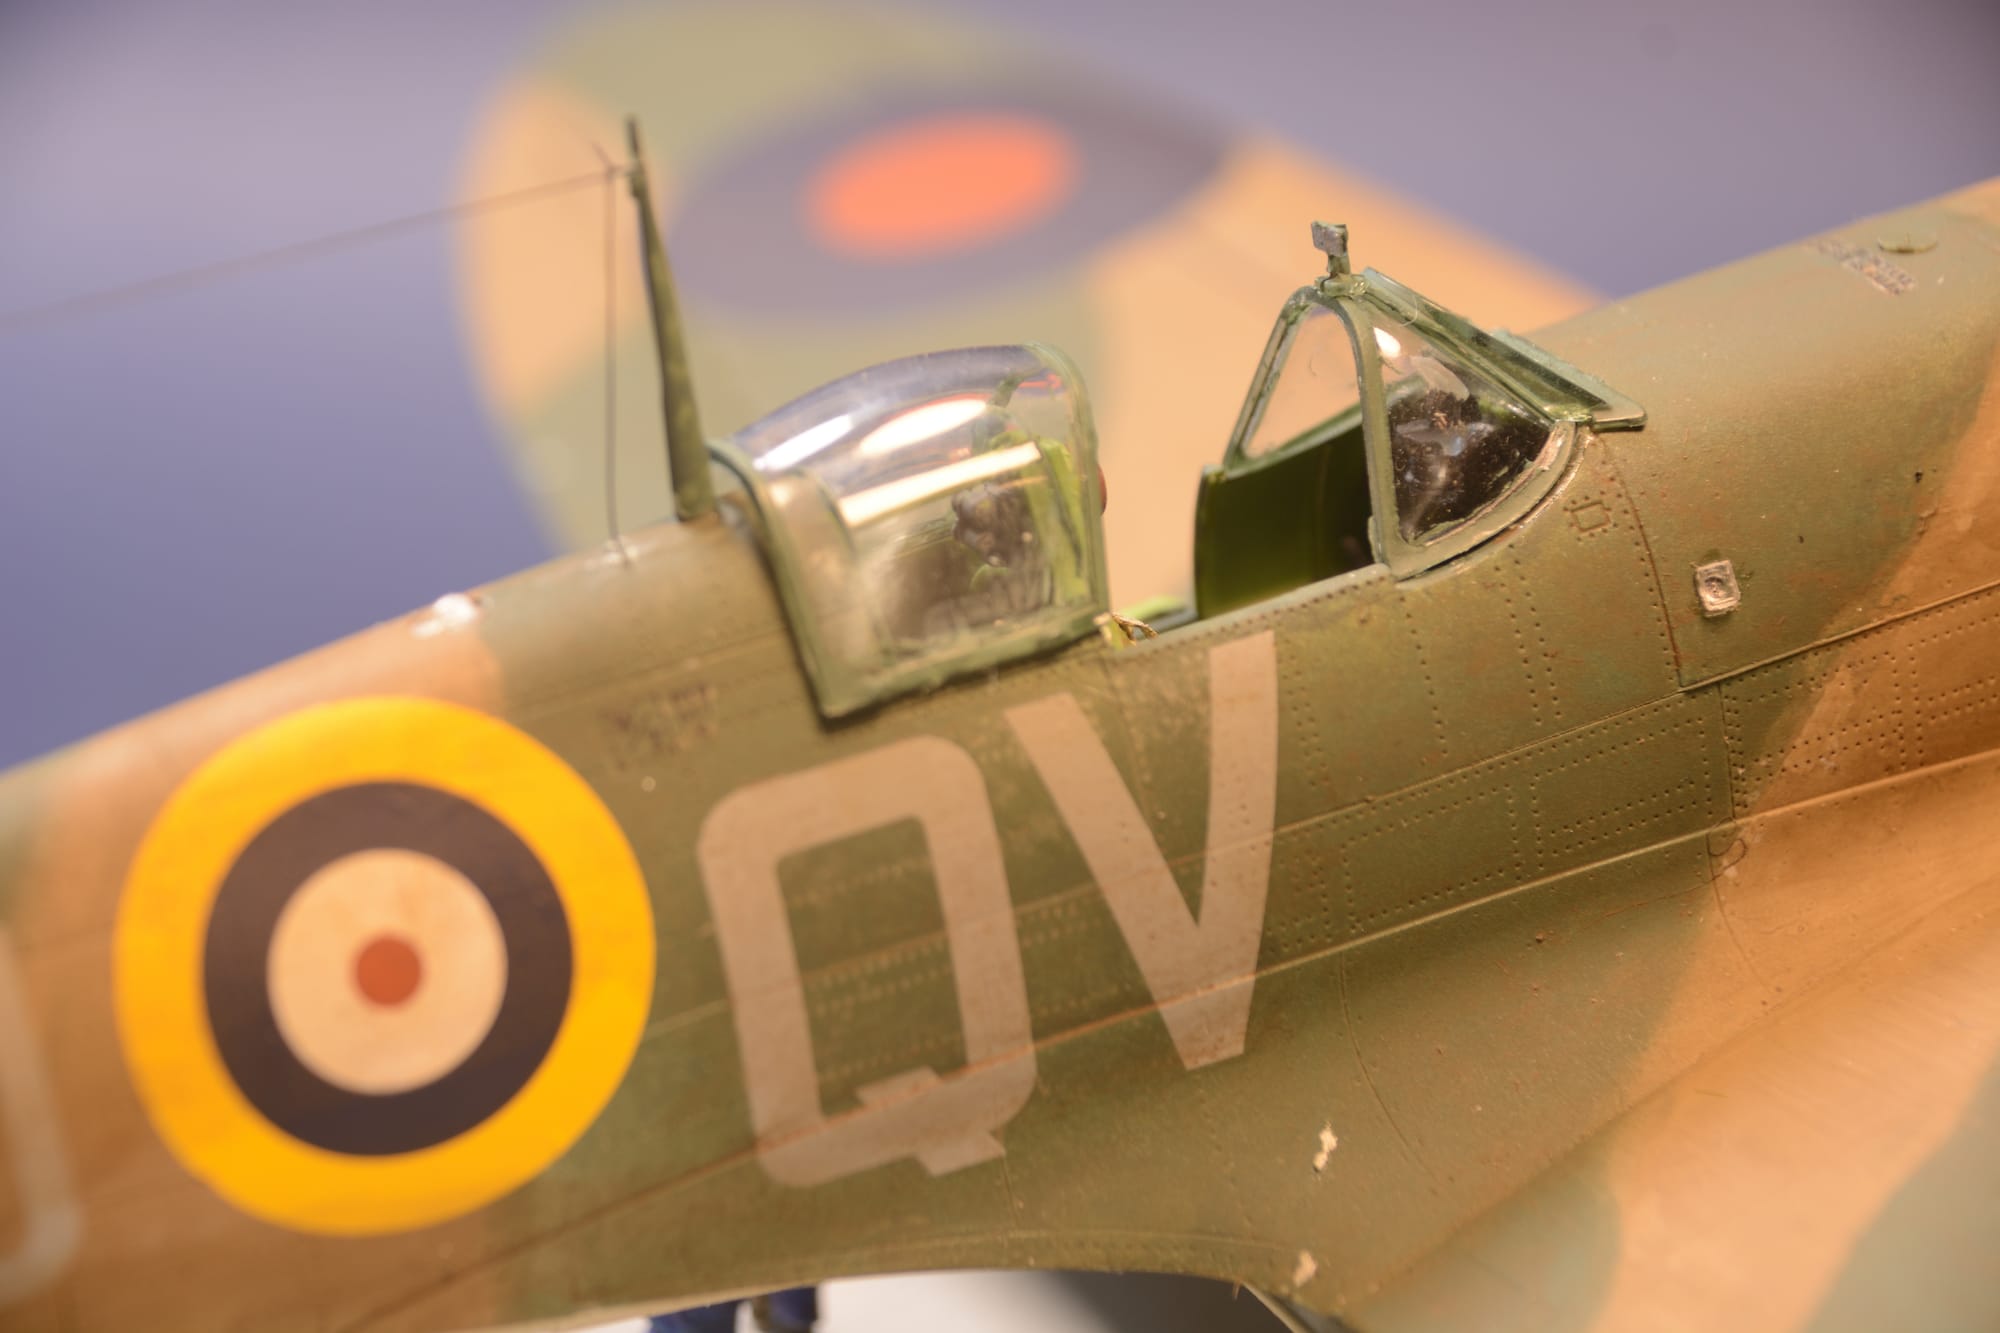
The model is from the Revell 1:32 scale kit, representing the Mk. IIa assigned to No. 19 Squadron, Fowlmere, England in June 1941. (Please see the Spitfire build photos in the Model Build Section)
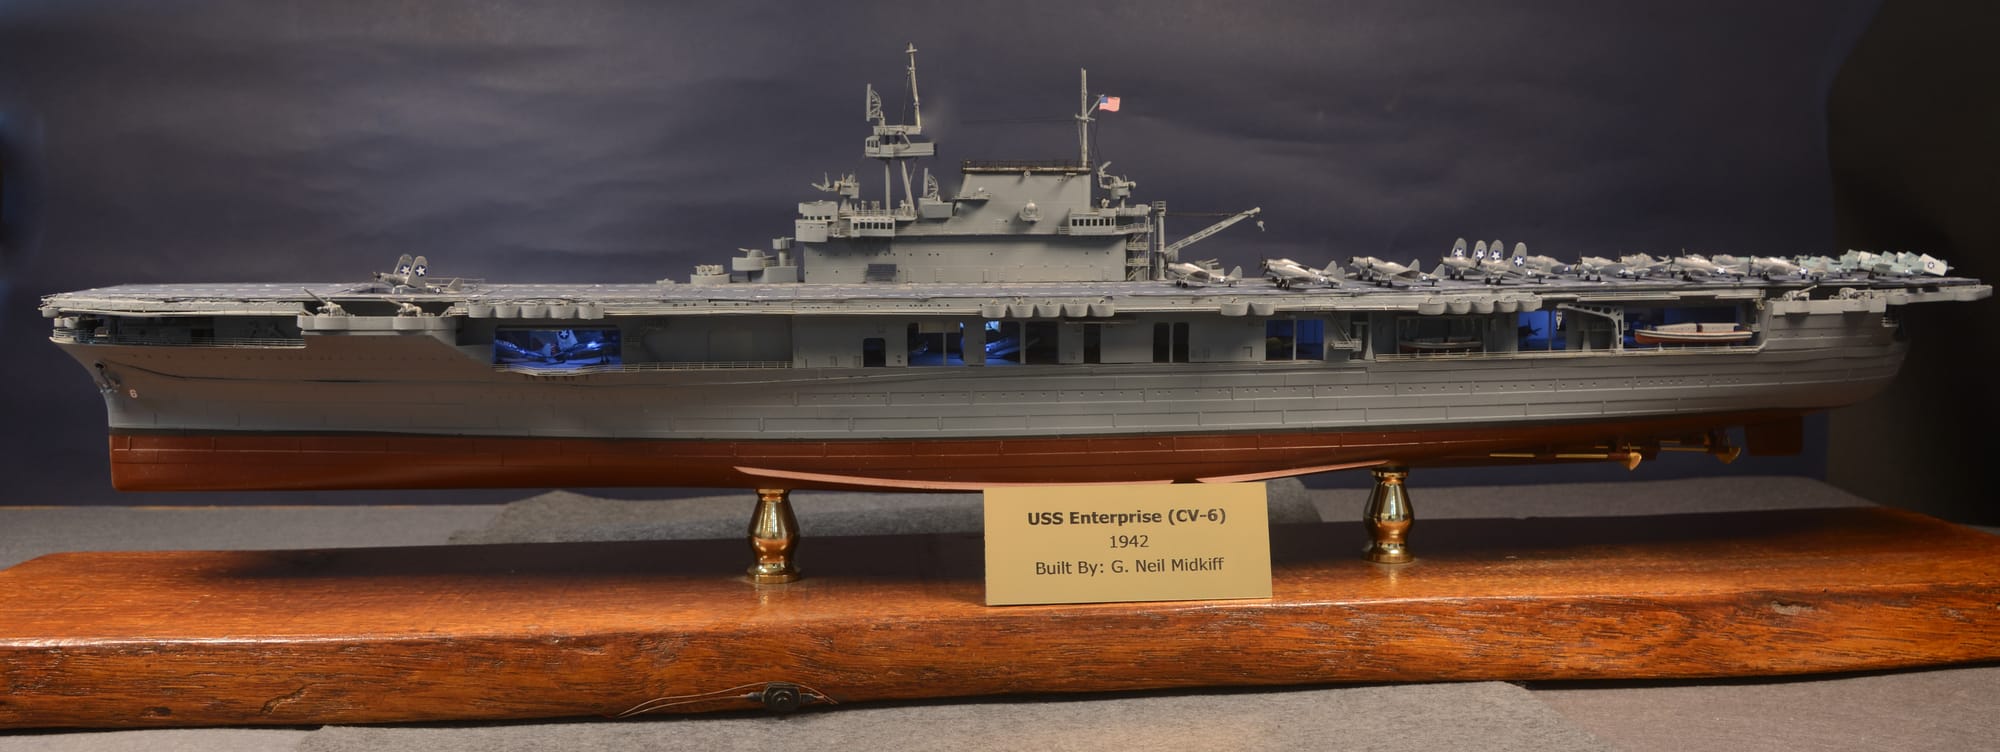
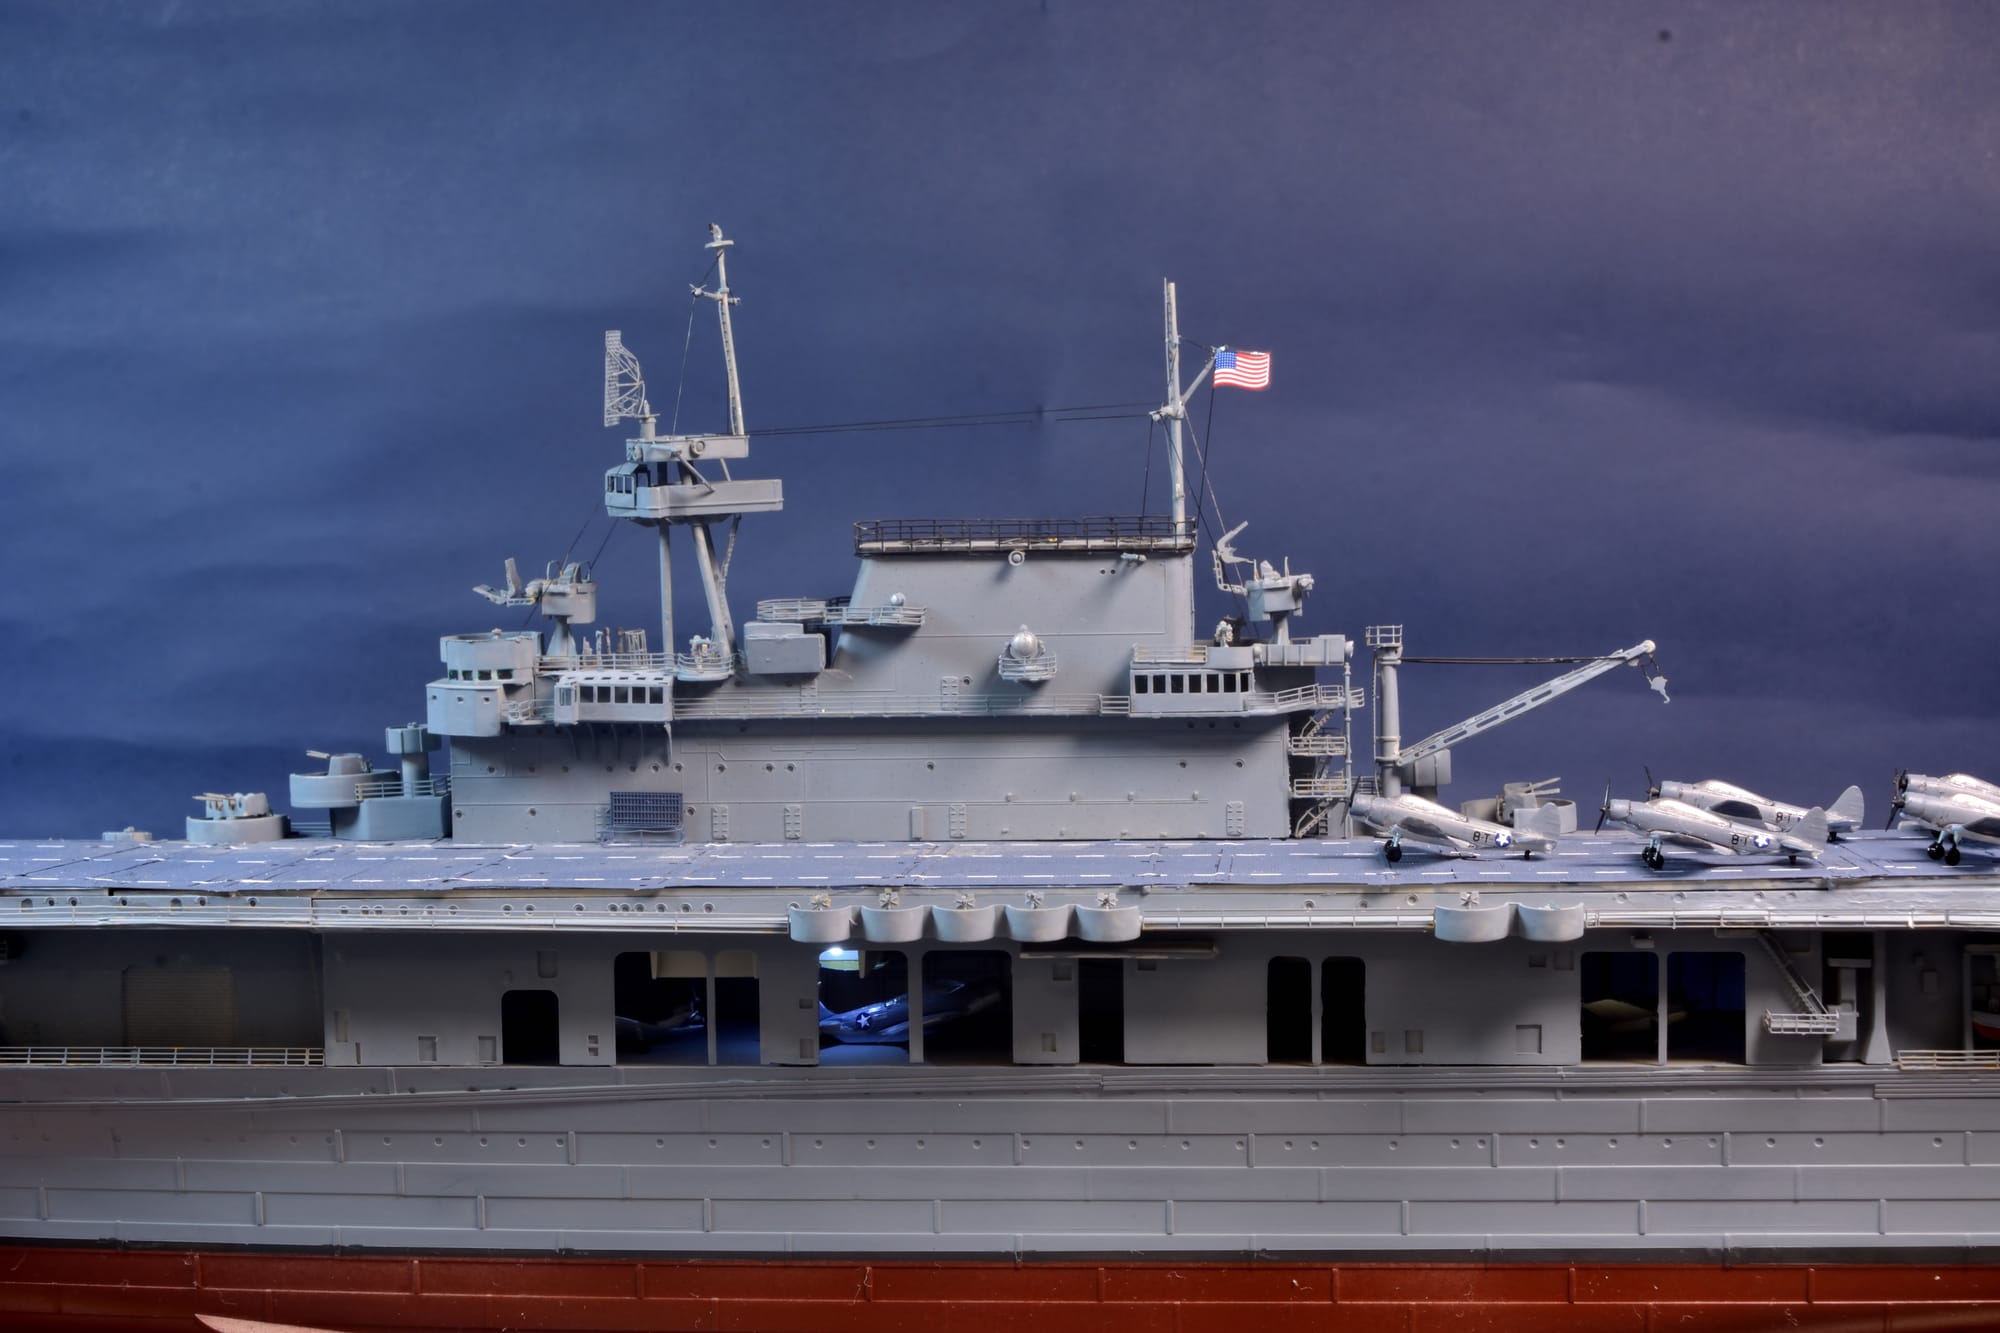
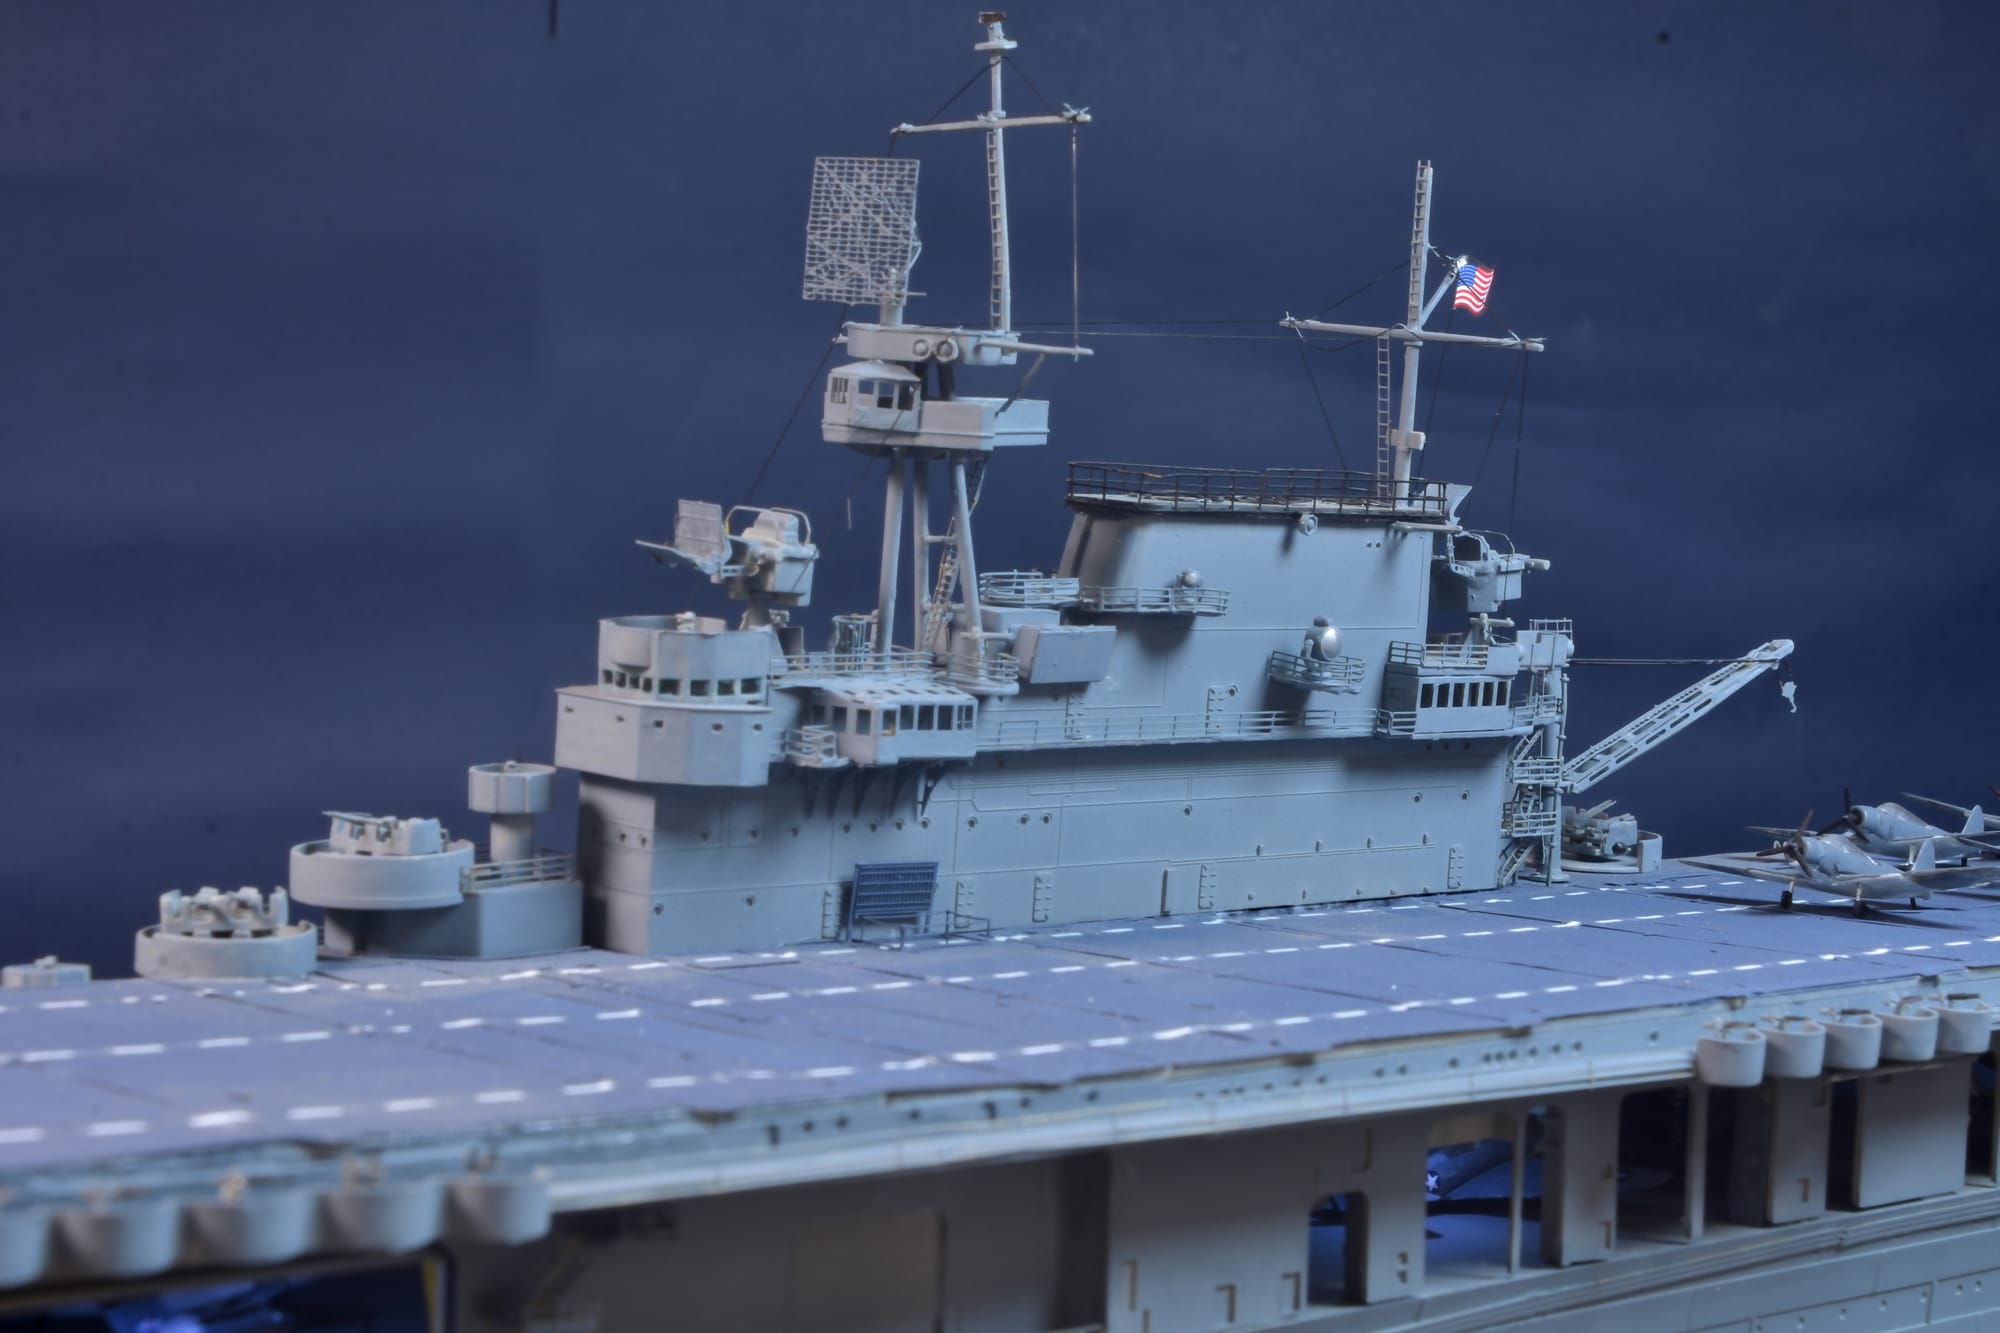
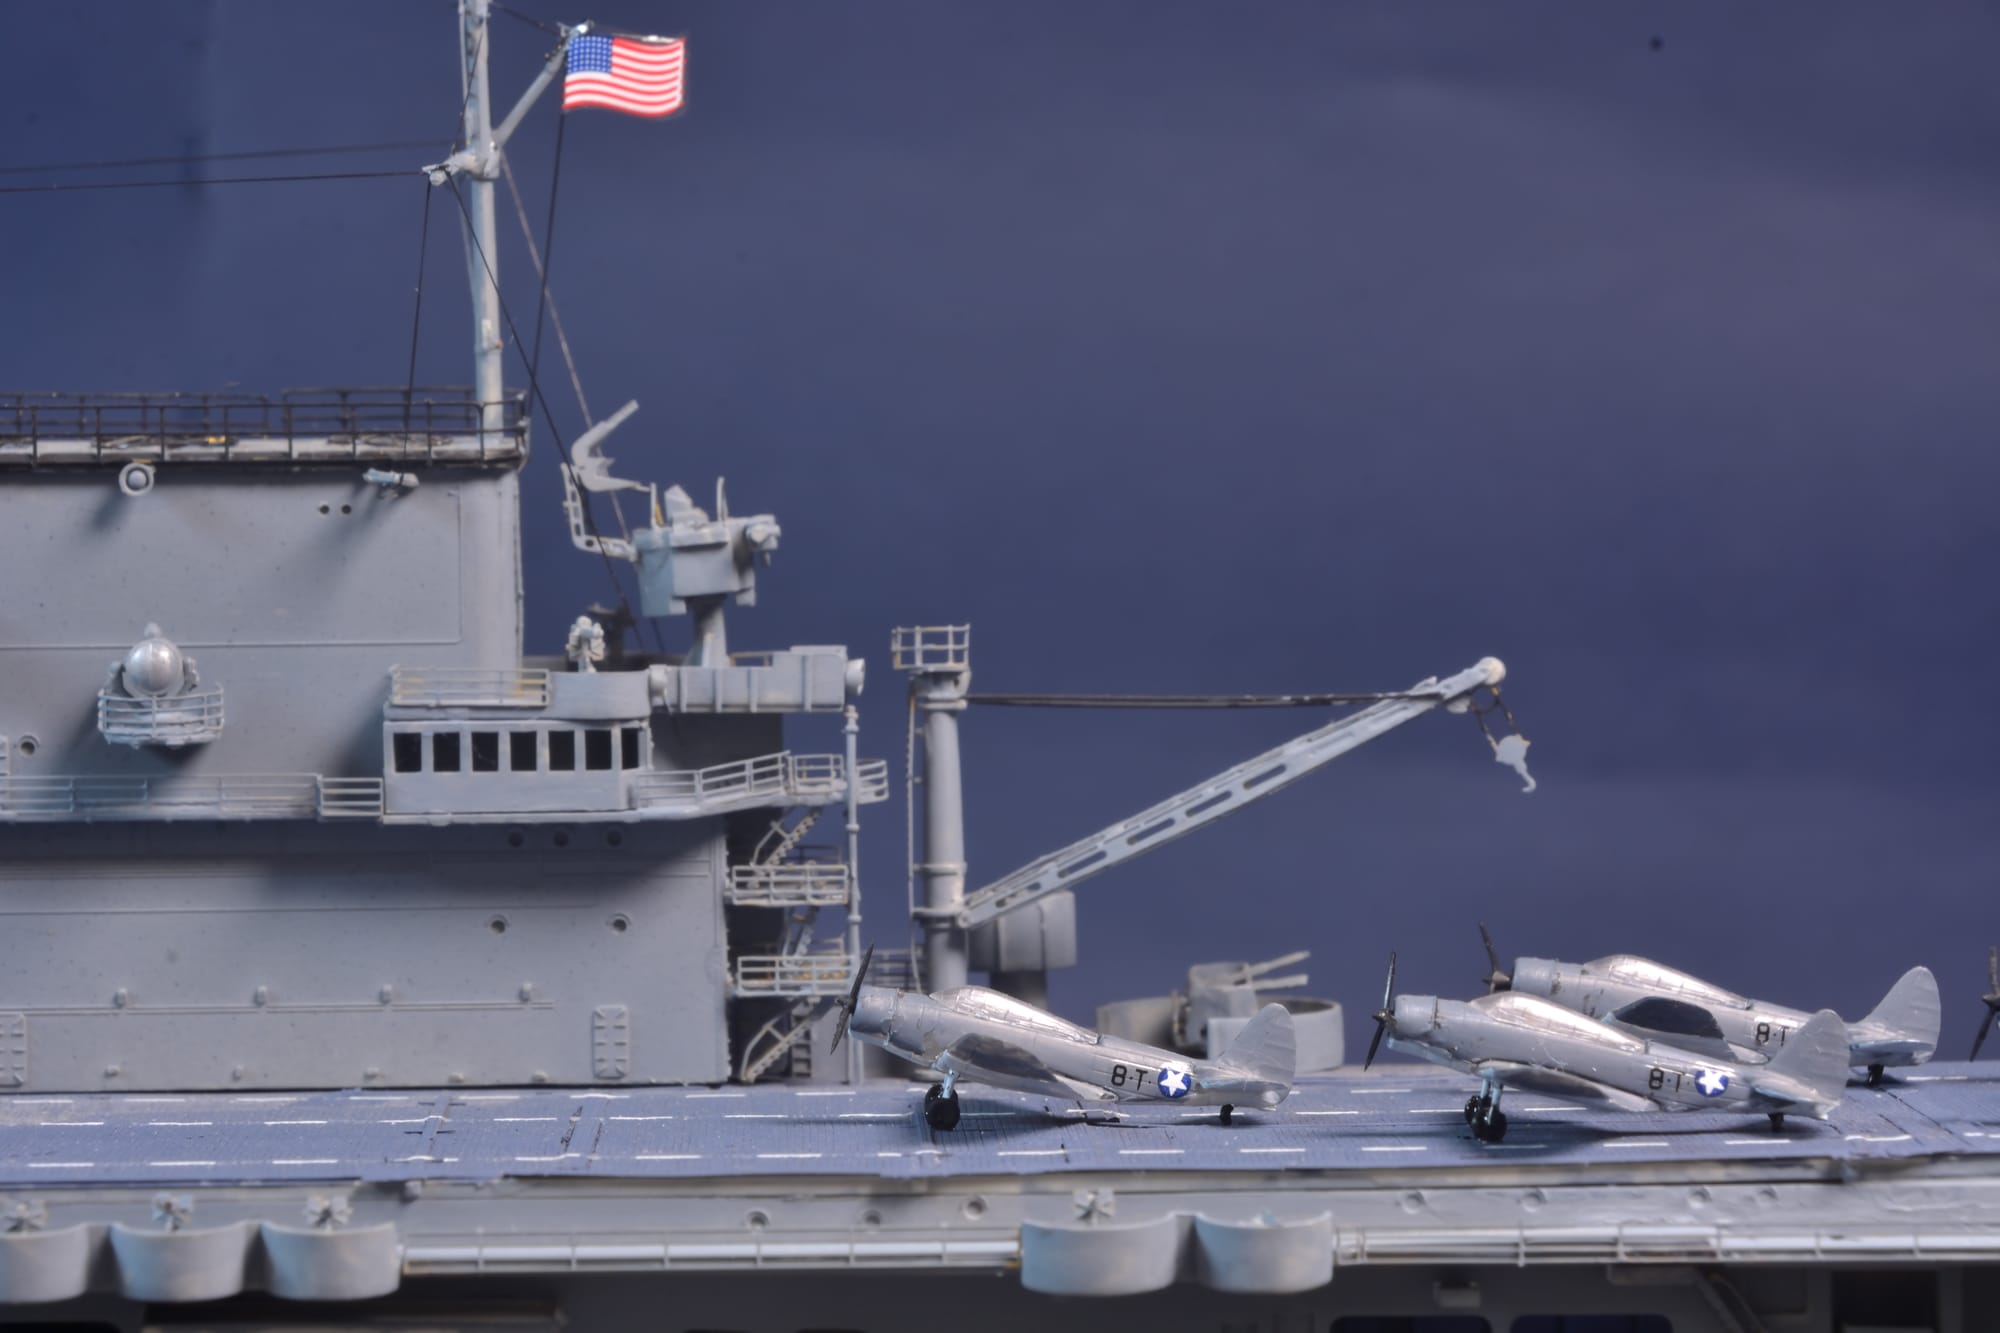
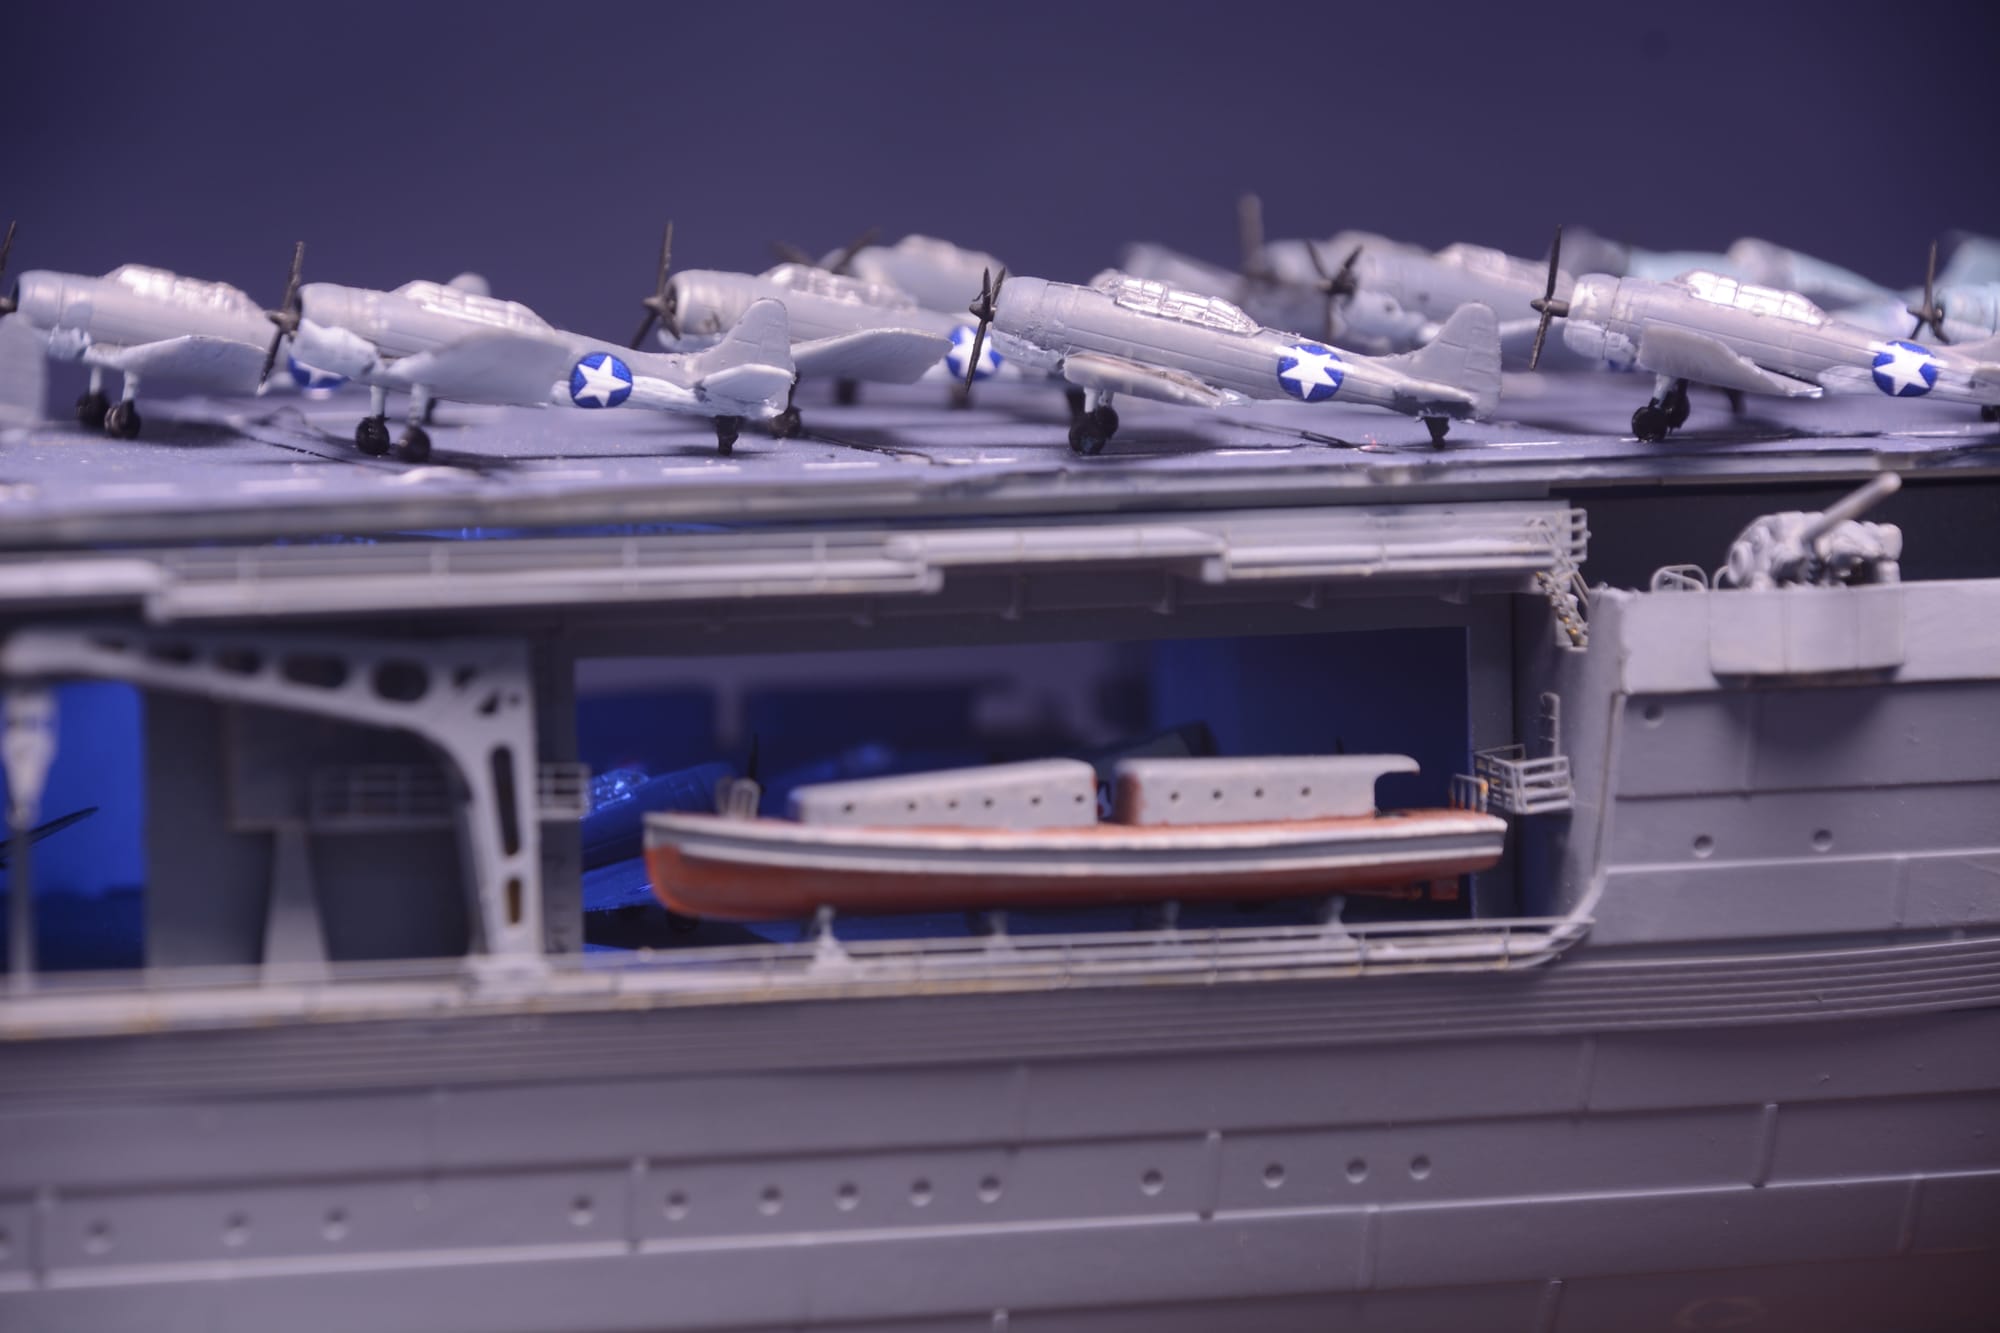
USS Enterprise CV-6
The Enterprise (CV-6) was the most decorated ship in the US Navy during WW II and one of the most famous aircraft carriers of all time. She was a Yorktown-class carrier launched in 1936 and the sixth aircraft carrier of the United States Navy. Nicknamed "The Big E", she was one of only three American fleet carriers commissioned before World War II to survive the war (the others being Saratoga and Ranger ).
Enterprise participated in more major actions of the war against Japan than any other United States ship. These actions included the attack on Pearl Harbor, the Battle of Midway, the Battle of the Eastern Solomons, the Battle of the Santa Cruz Islands, the Guadalcanal campaign, the Battle of the Philippine Sea, and the Battle of Leyte Gulf. By the end of the war, her planes and guns had downed 911 enemy planes, sunk 71 ships, and damaged or destroyed 192 more.
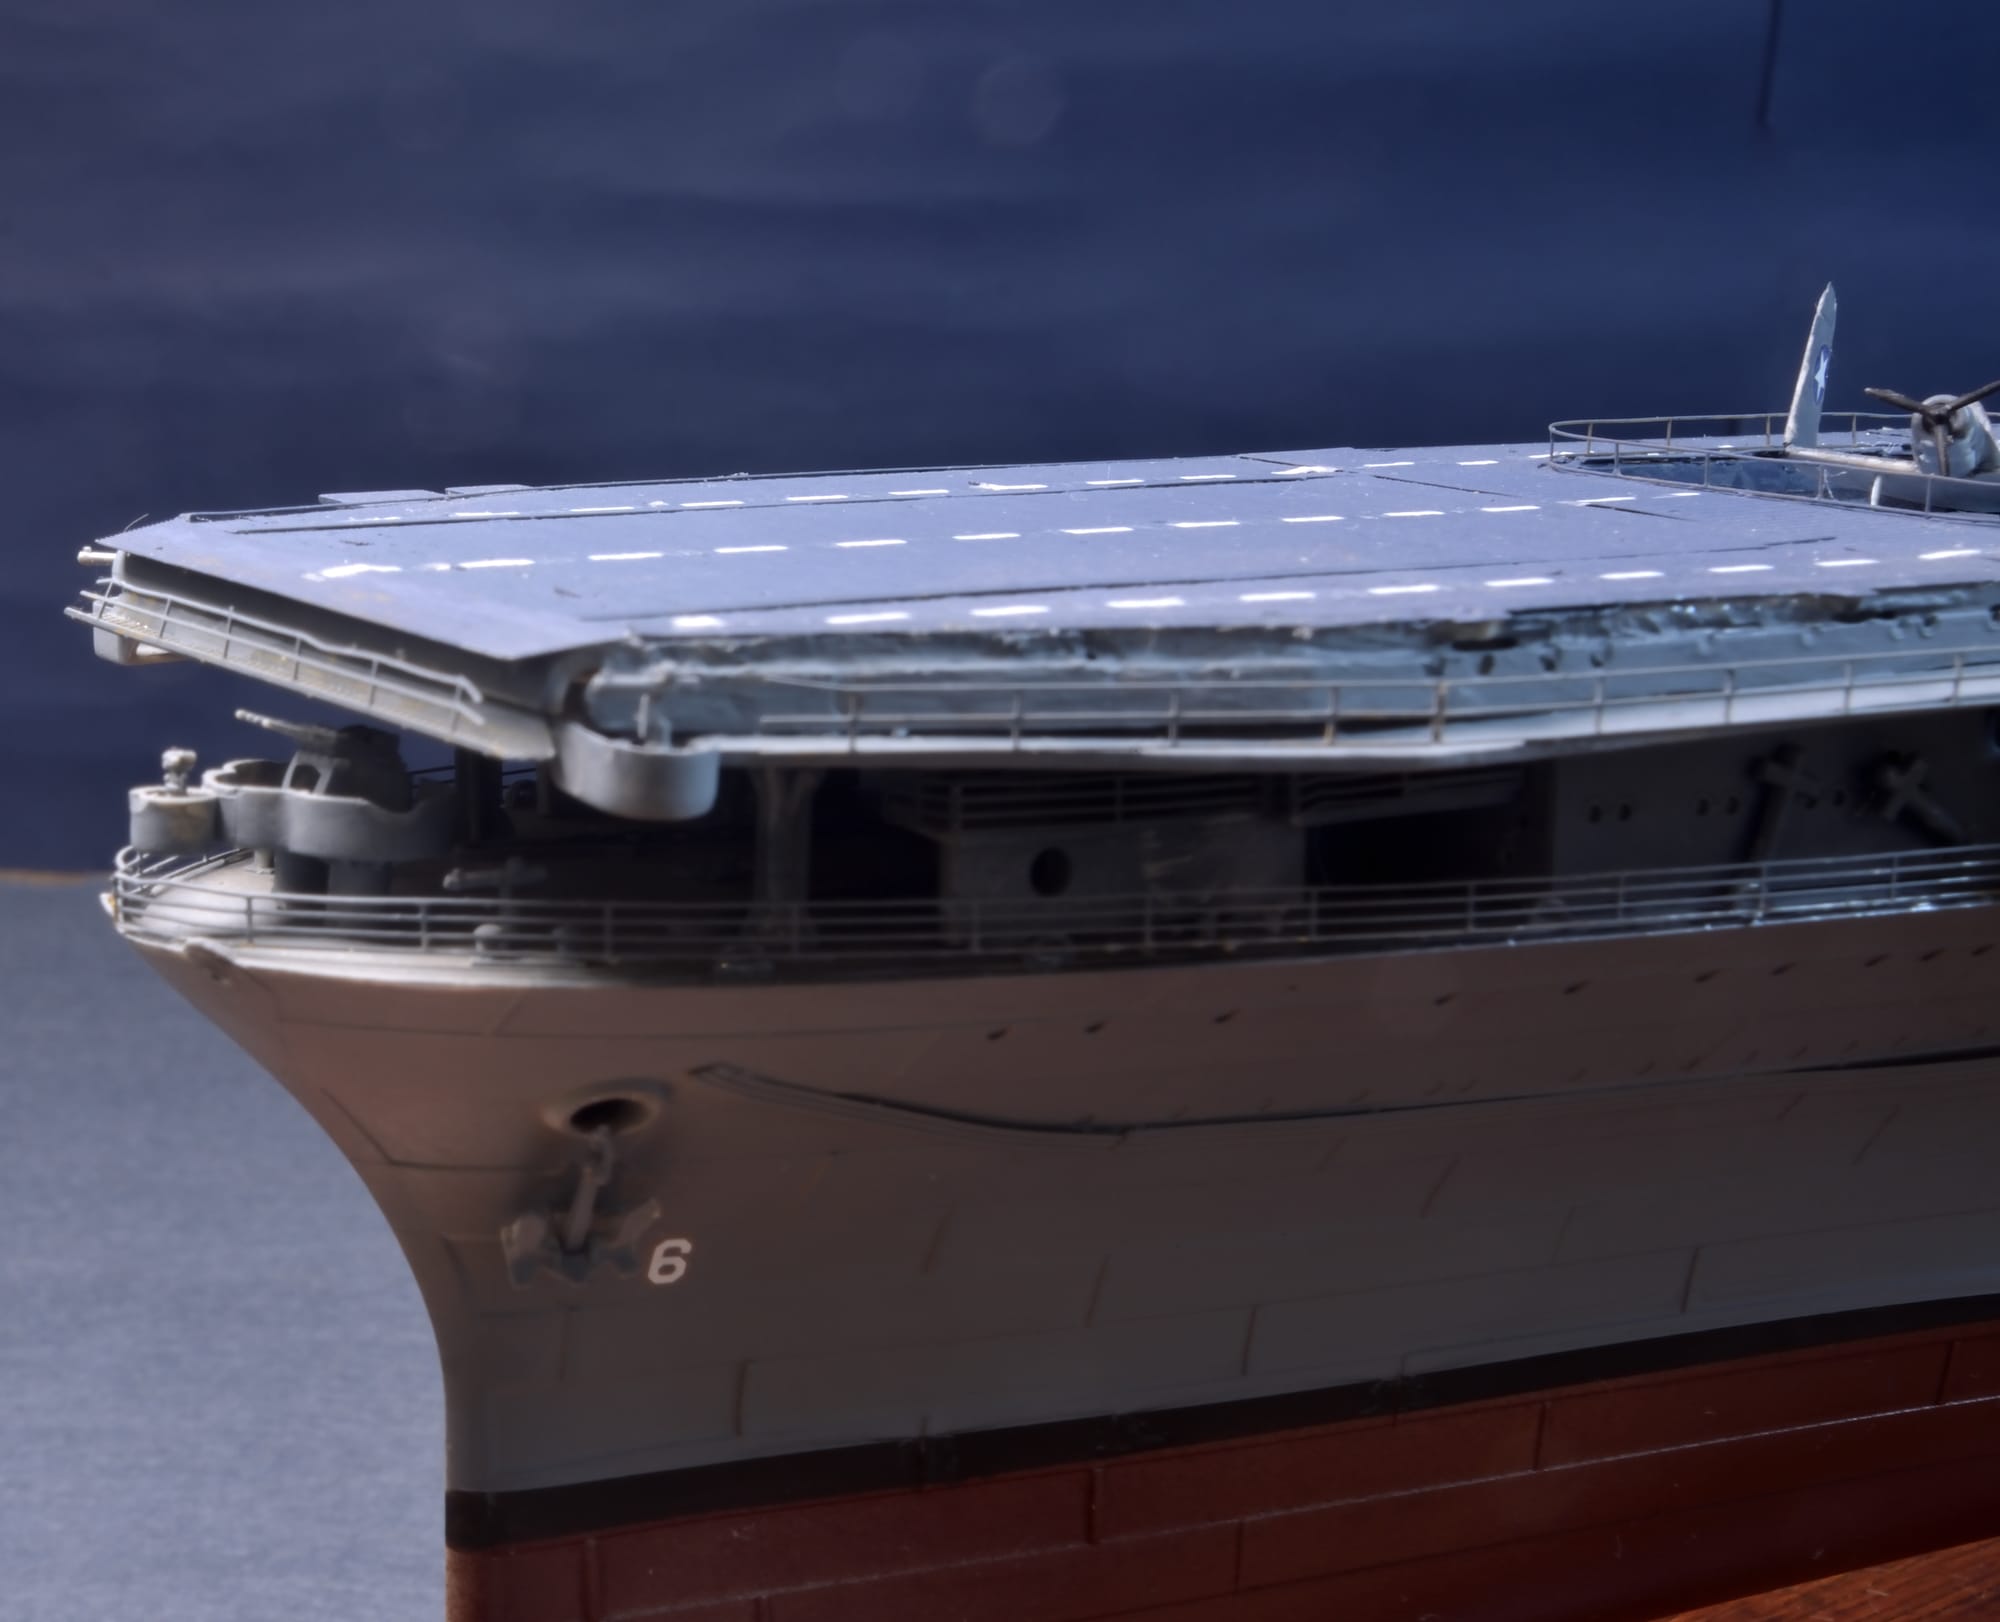
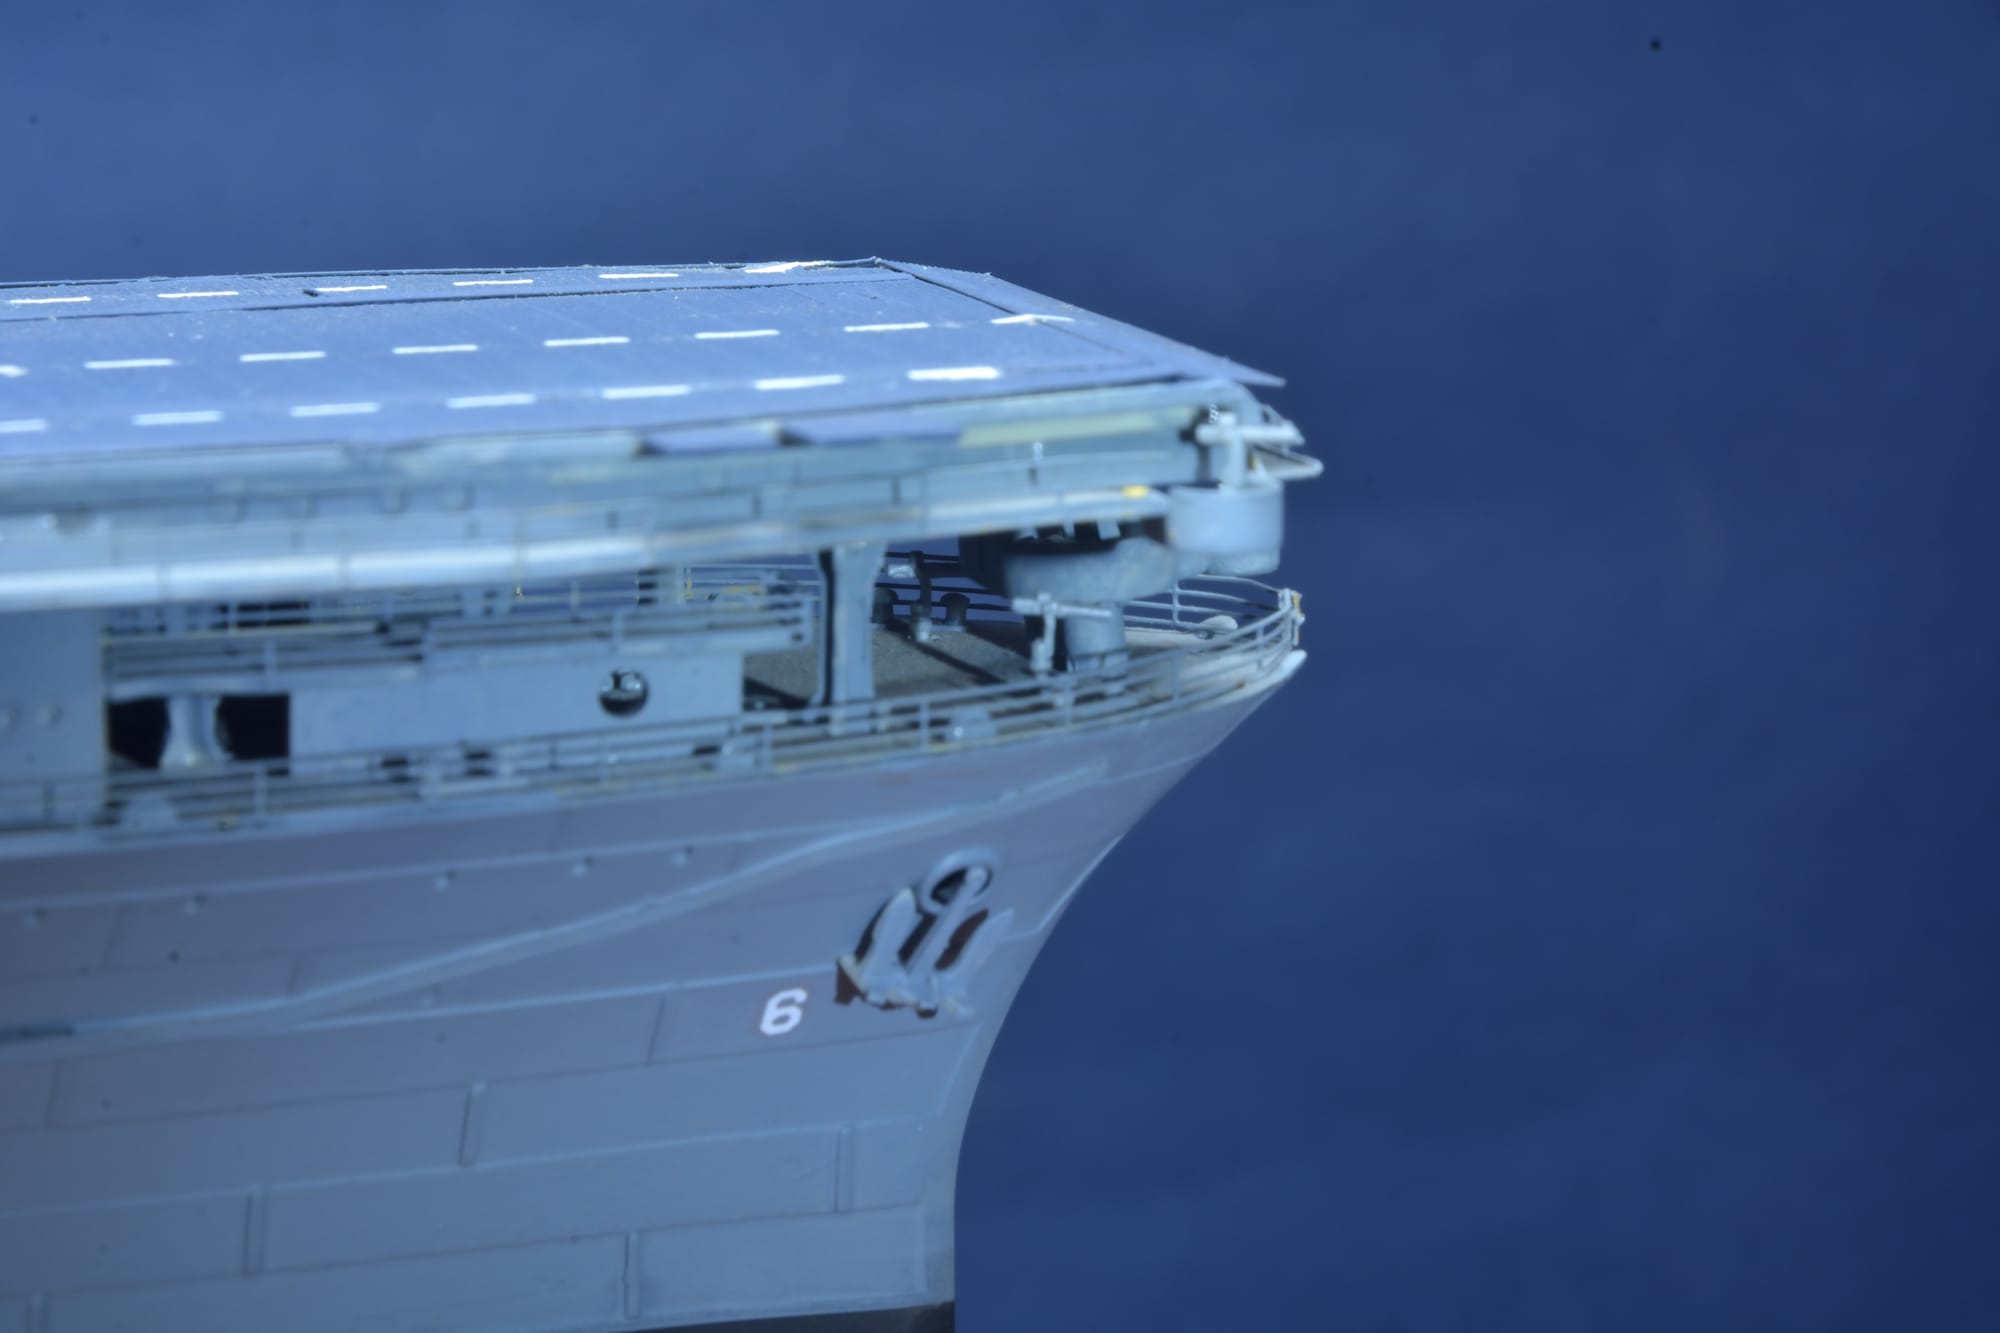
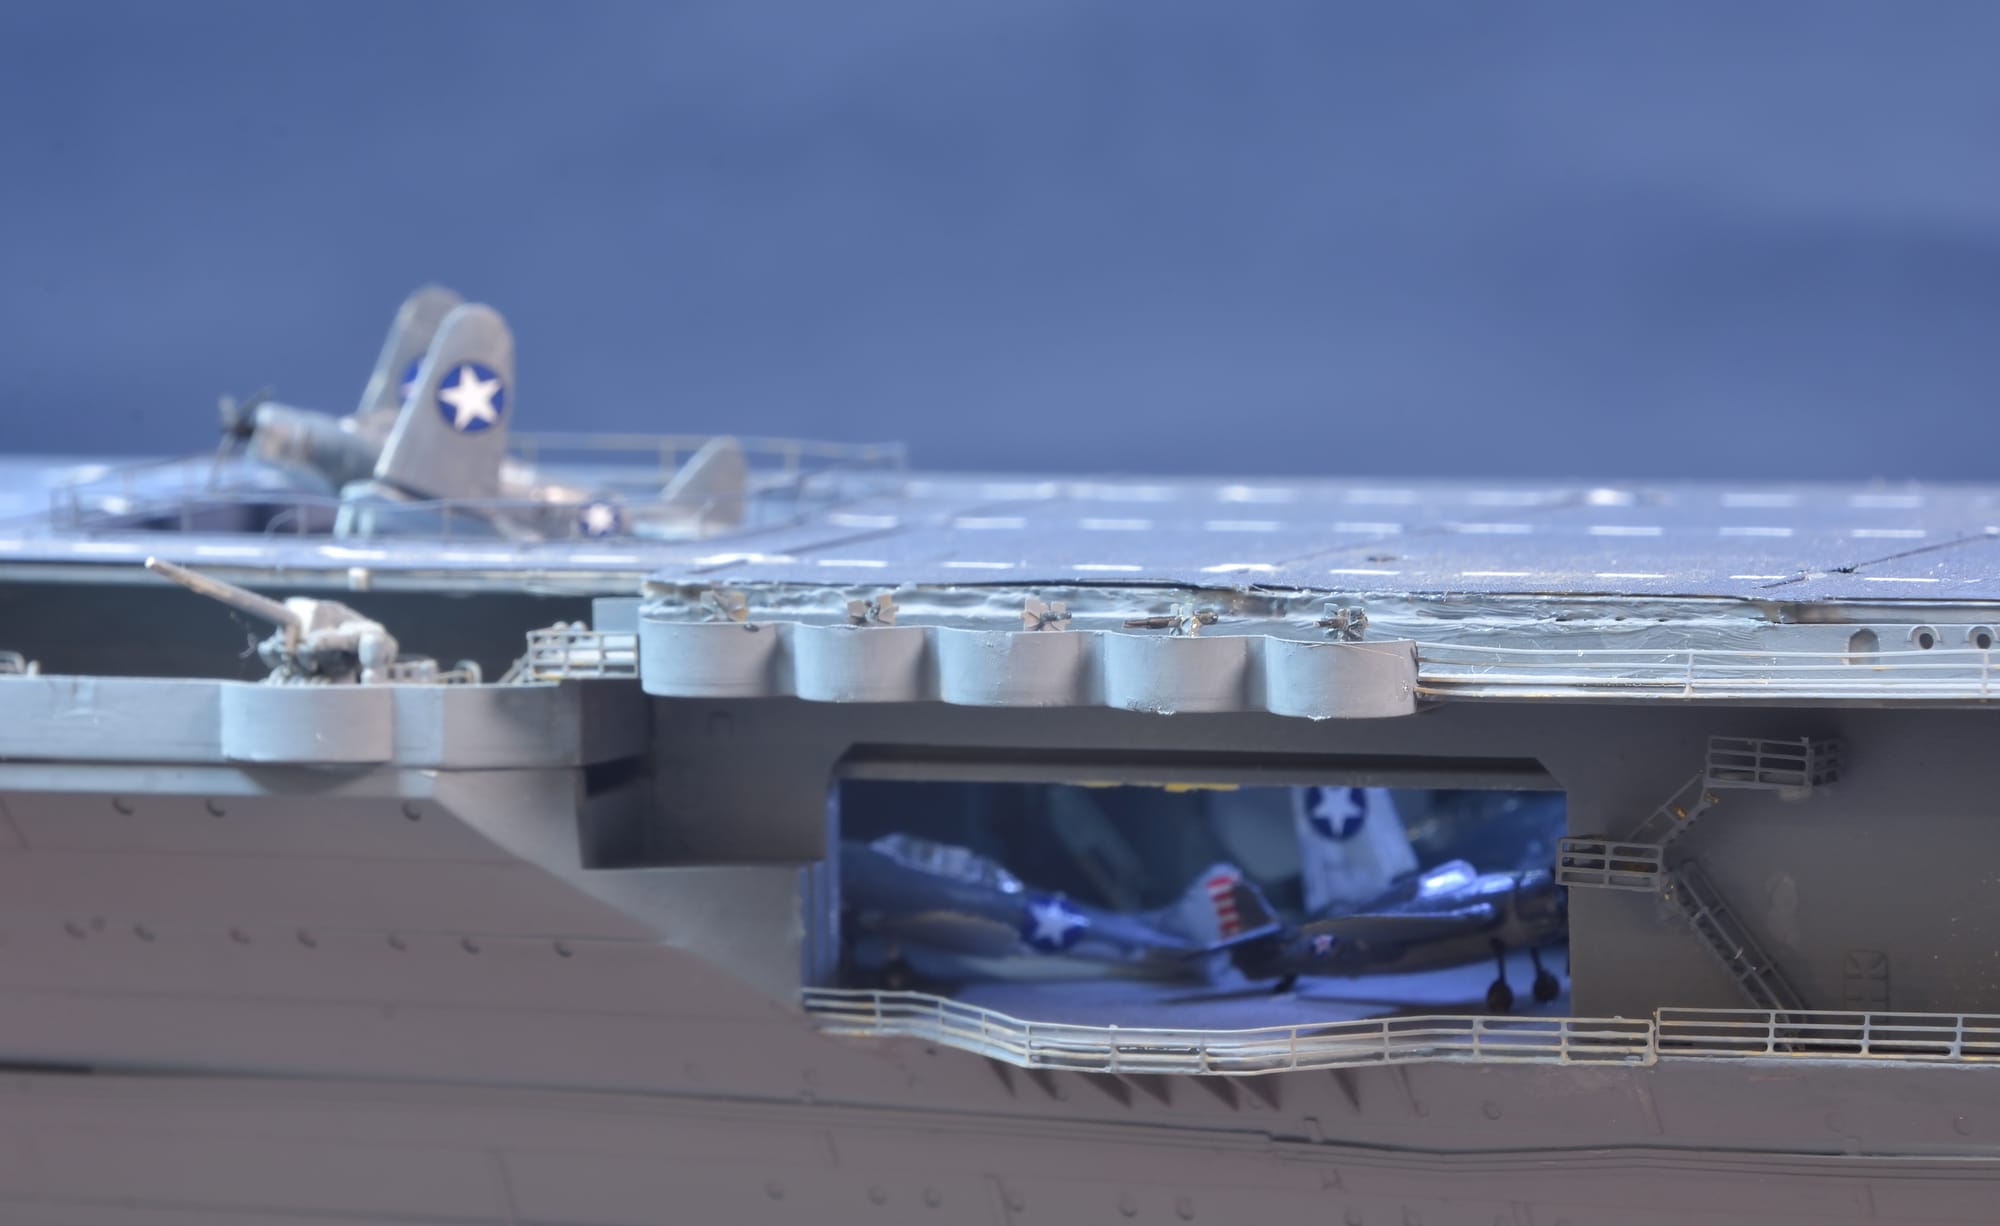
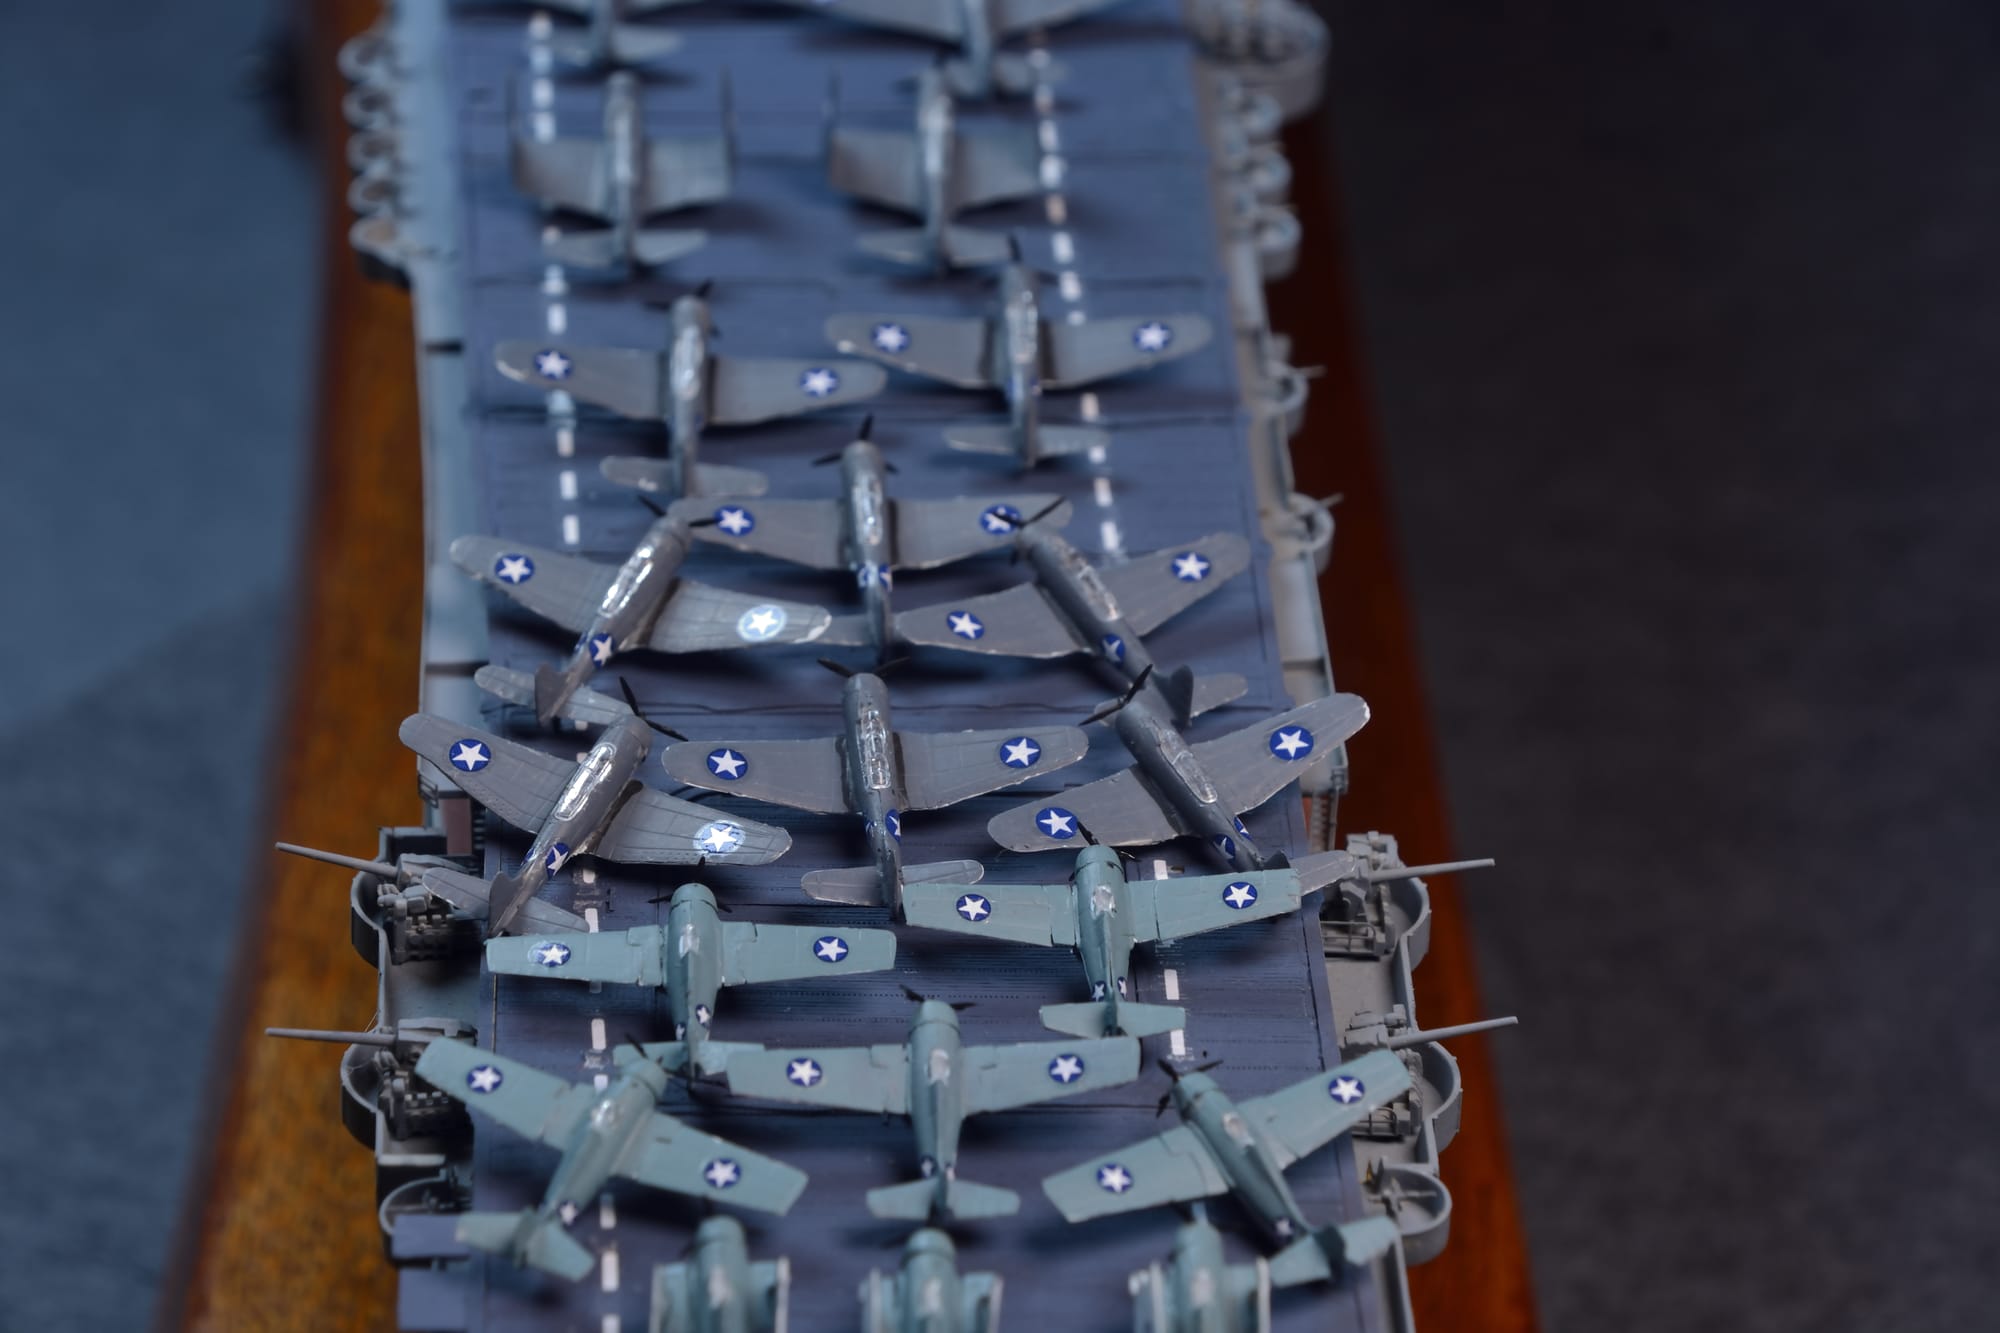
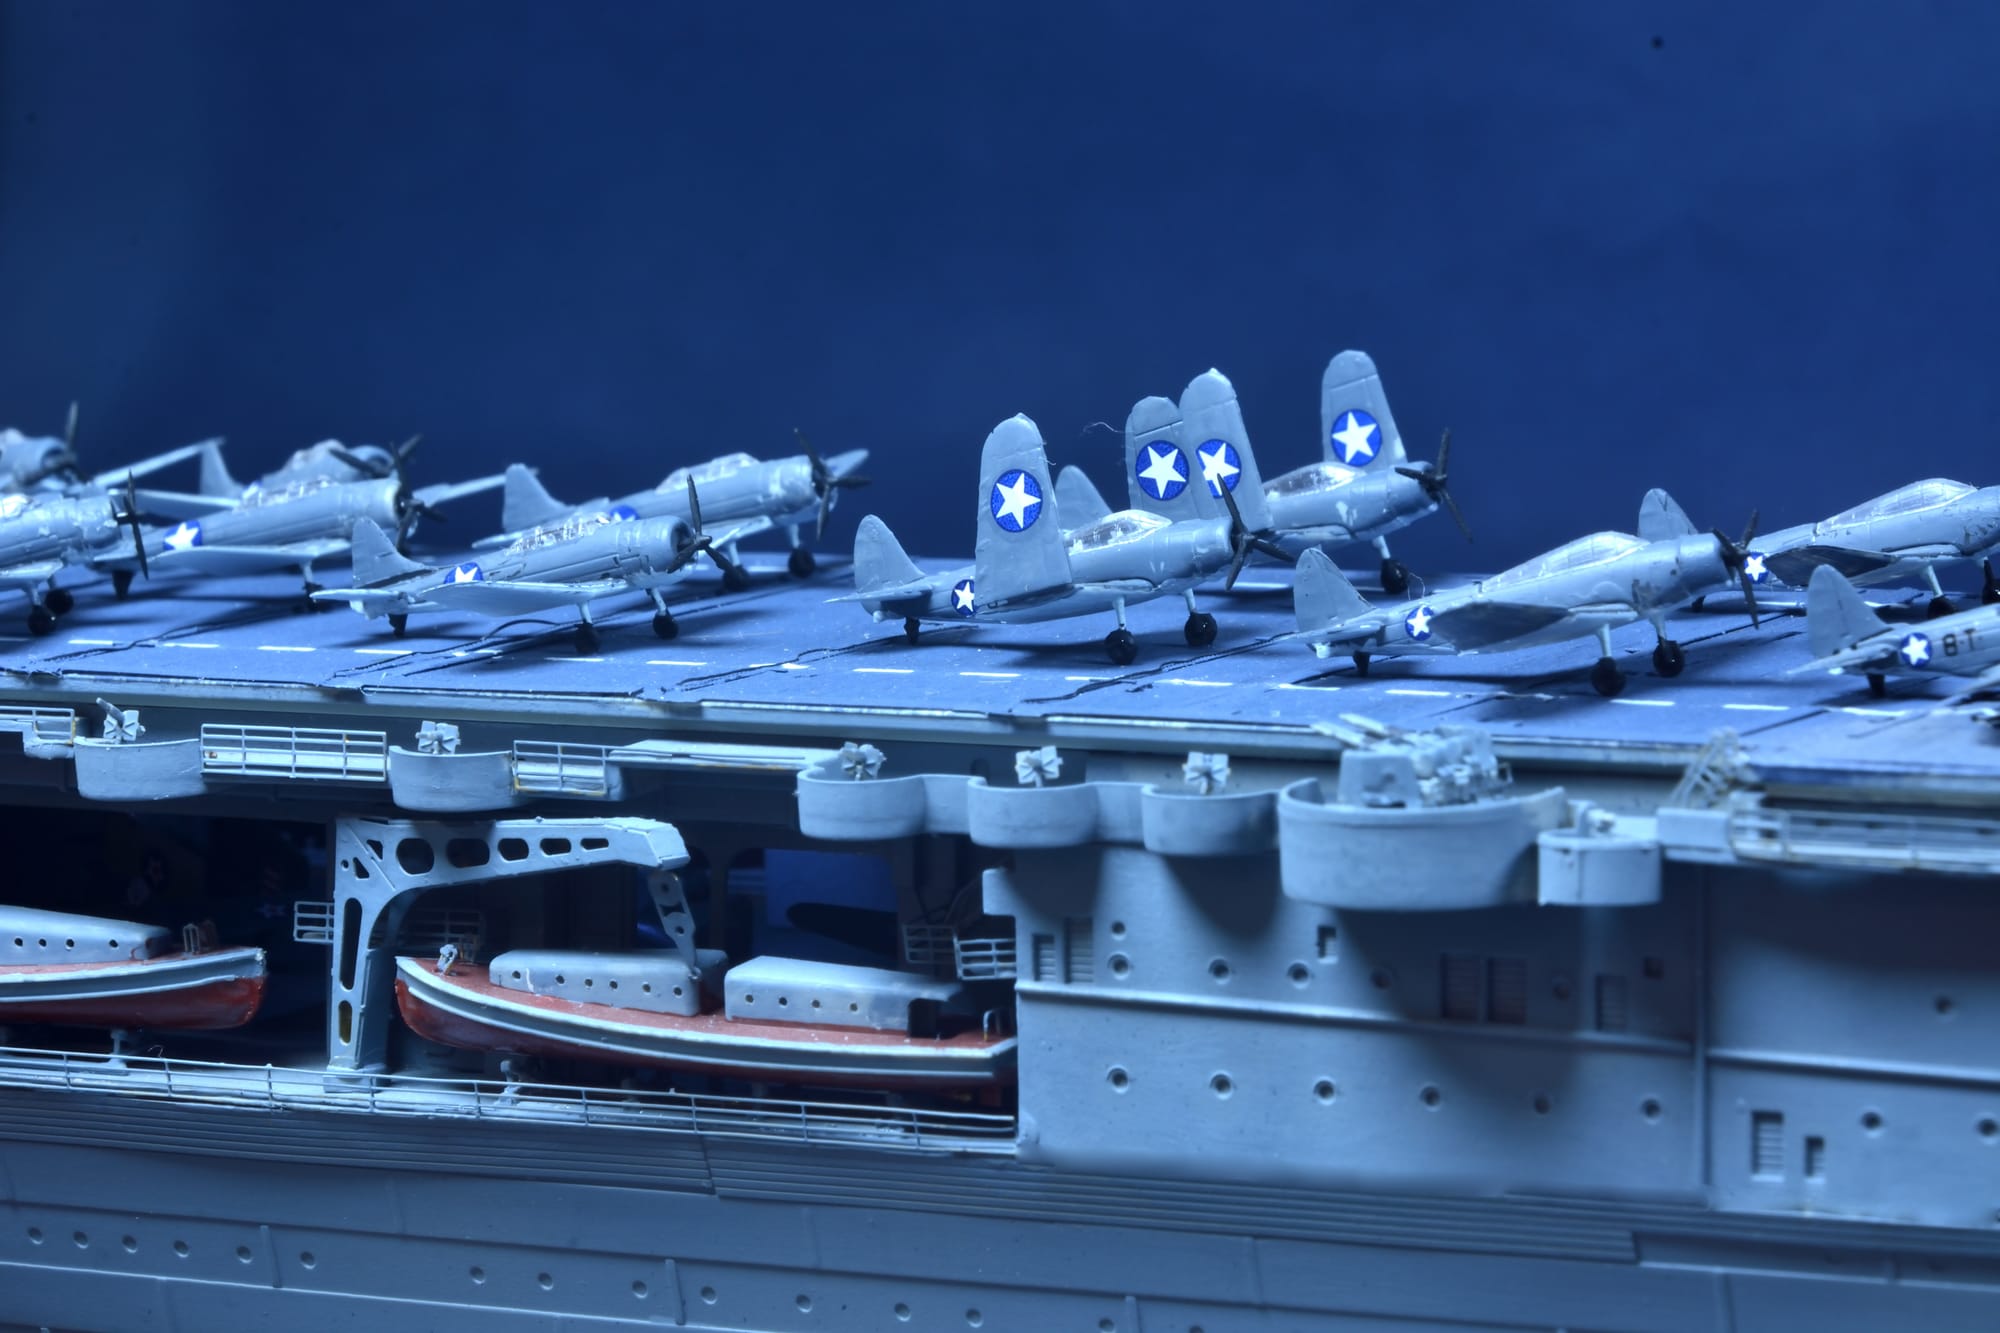
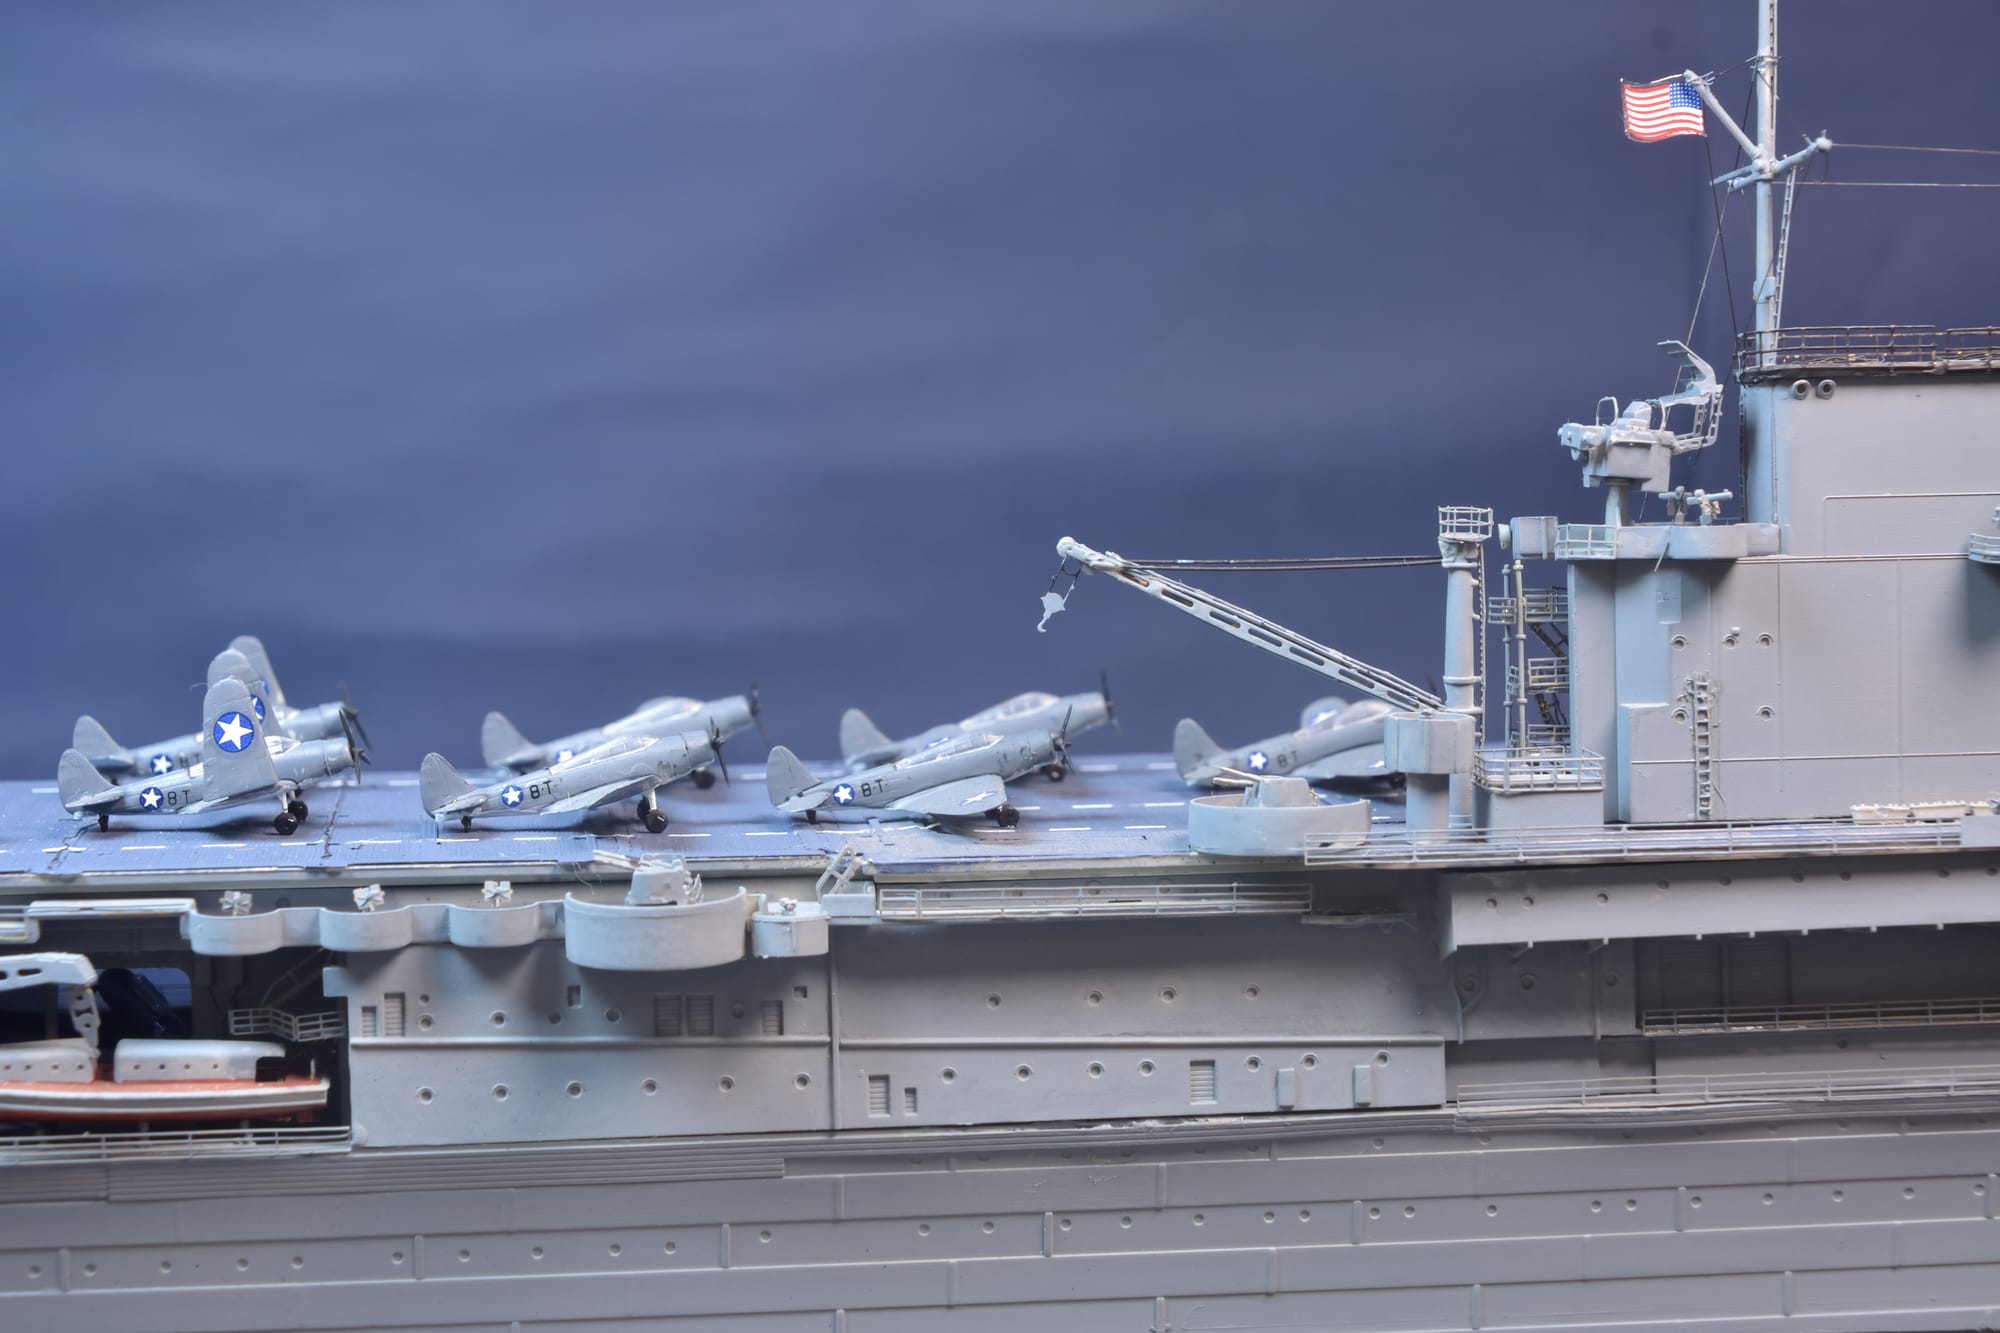
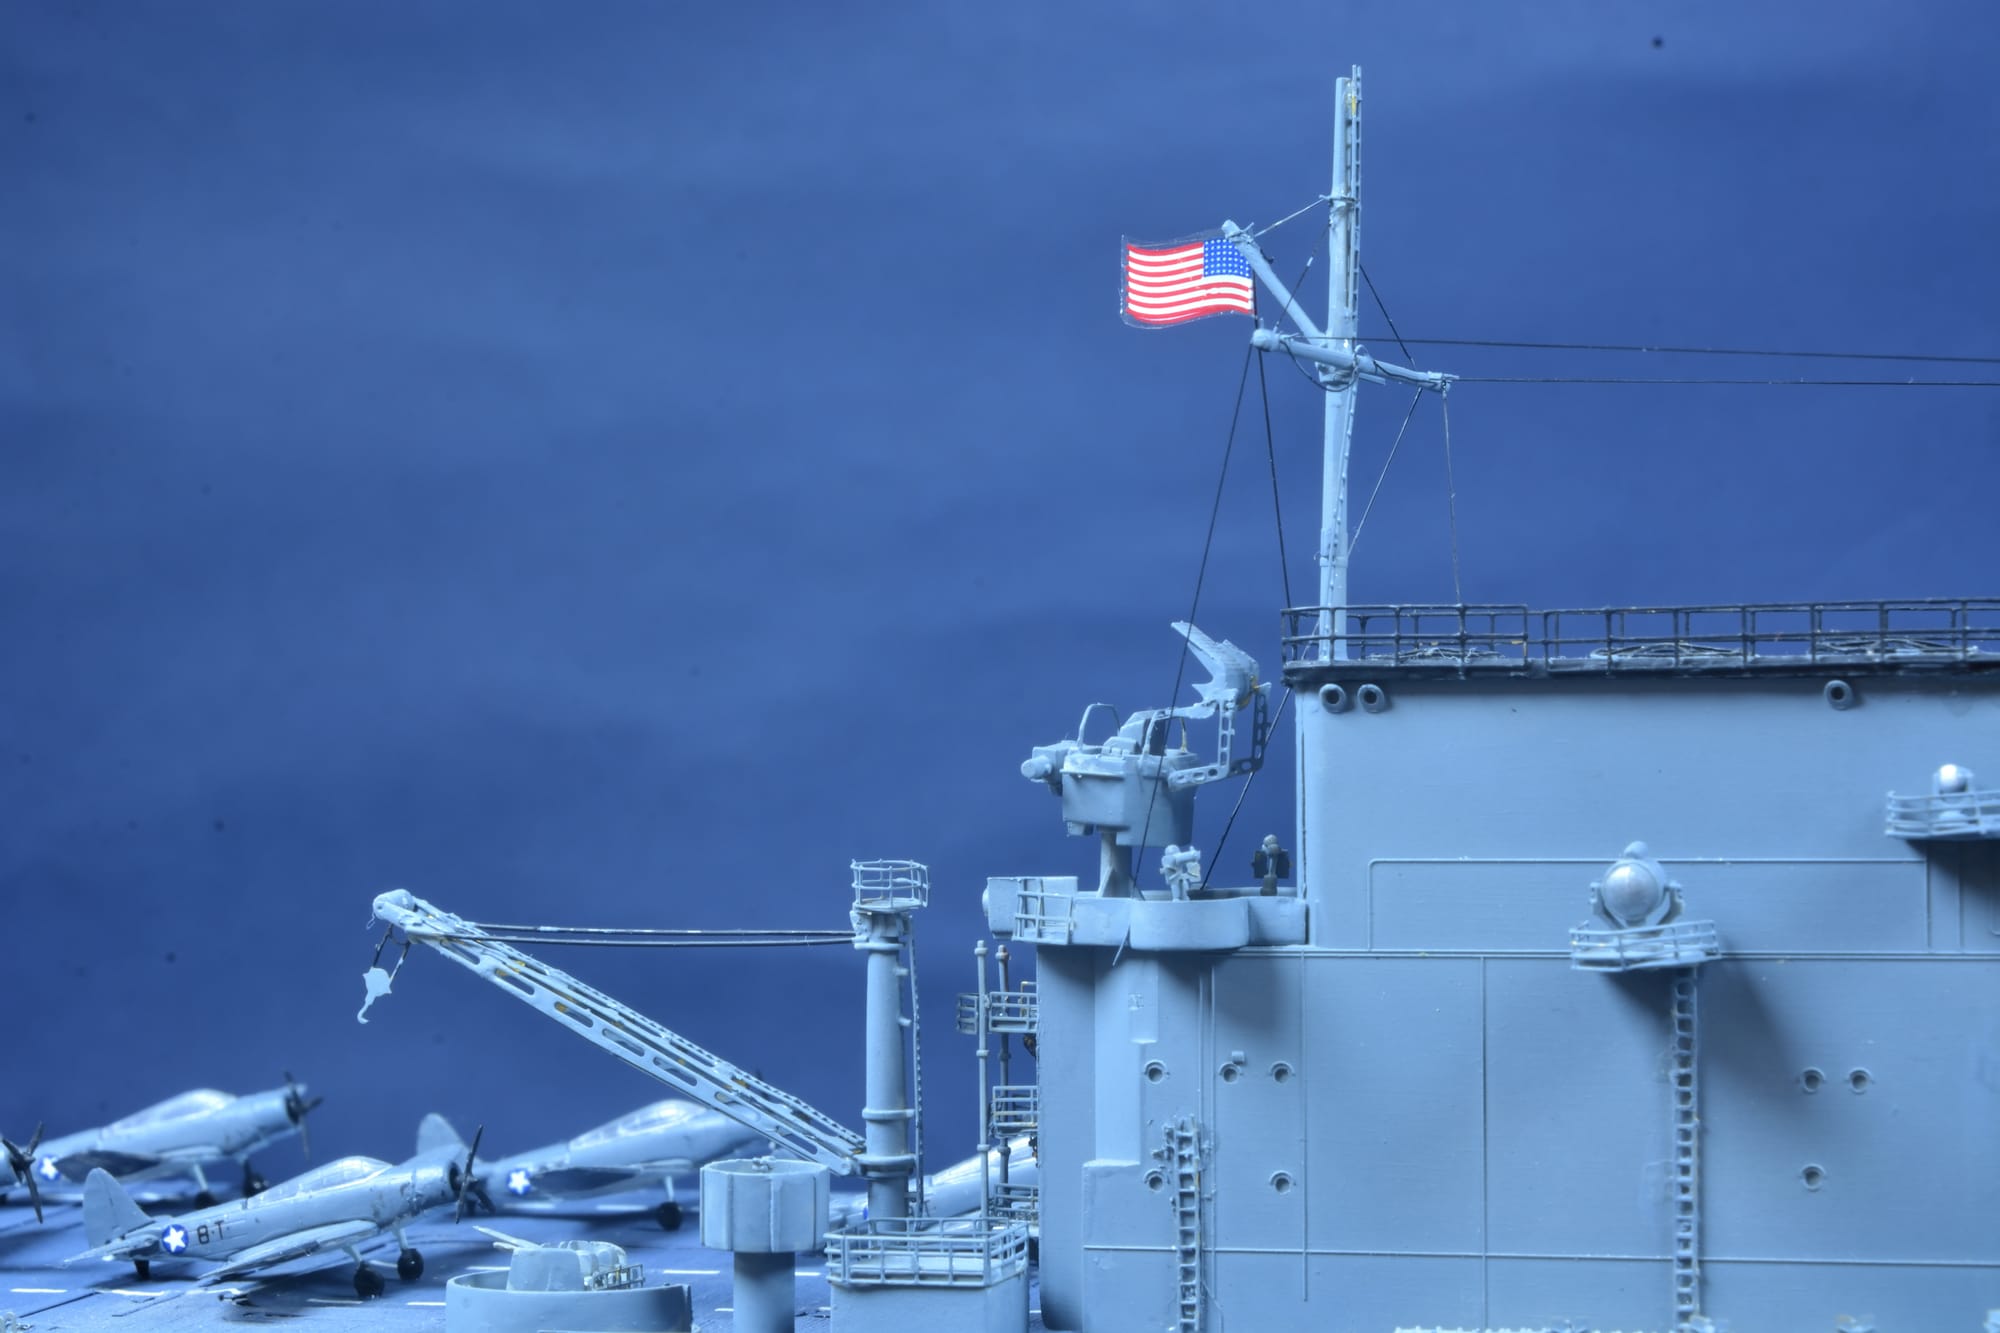
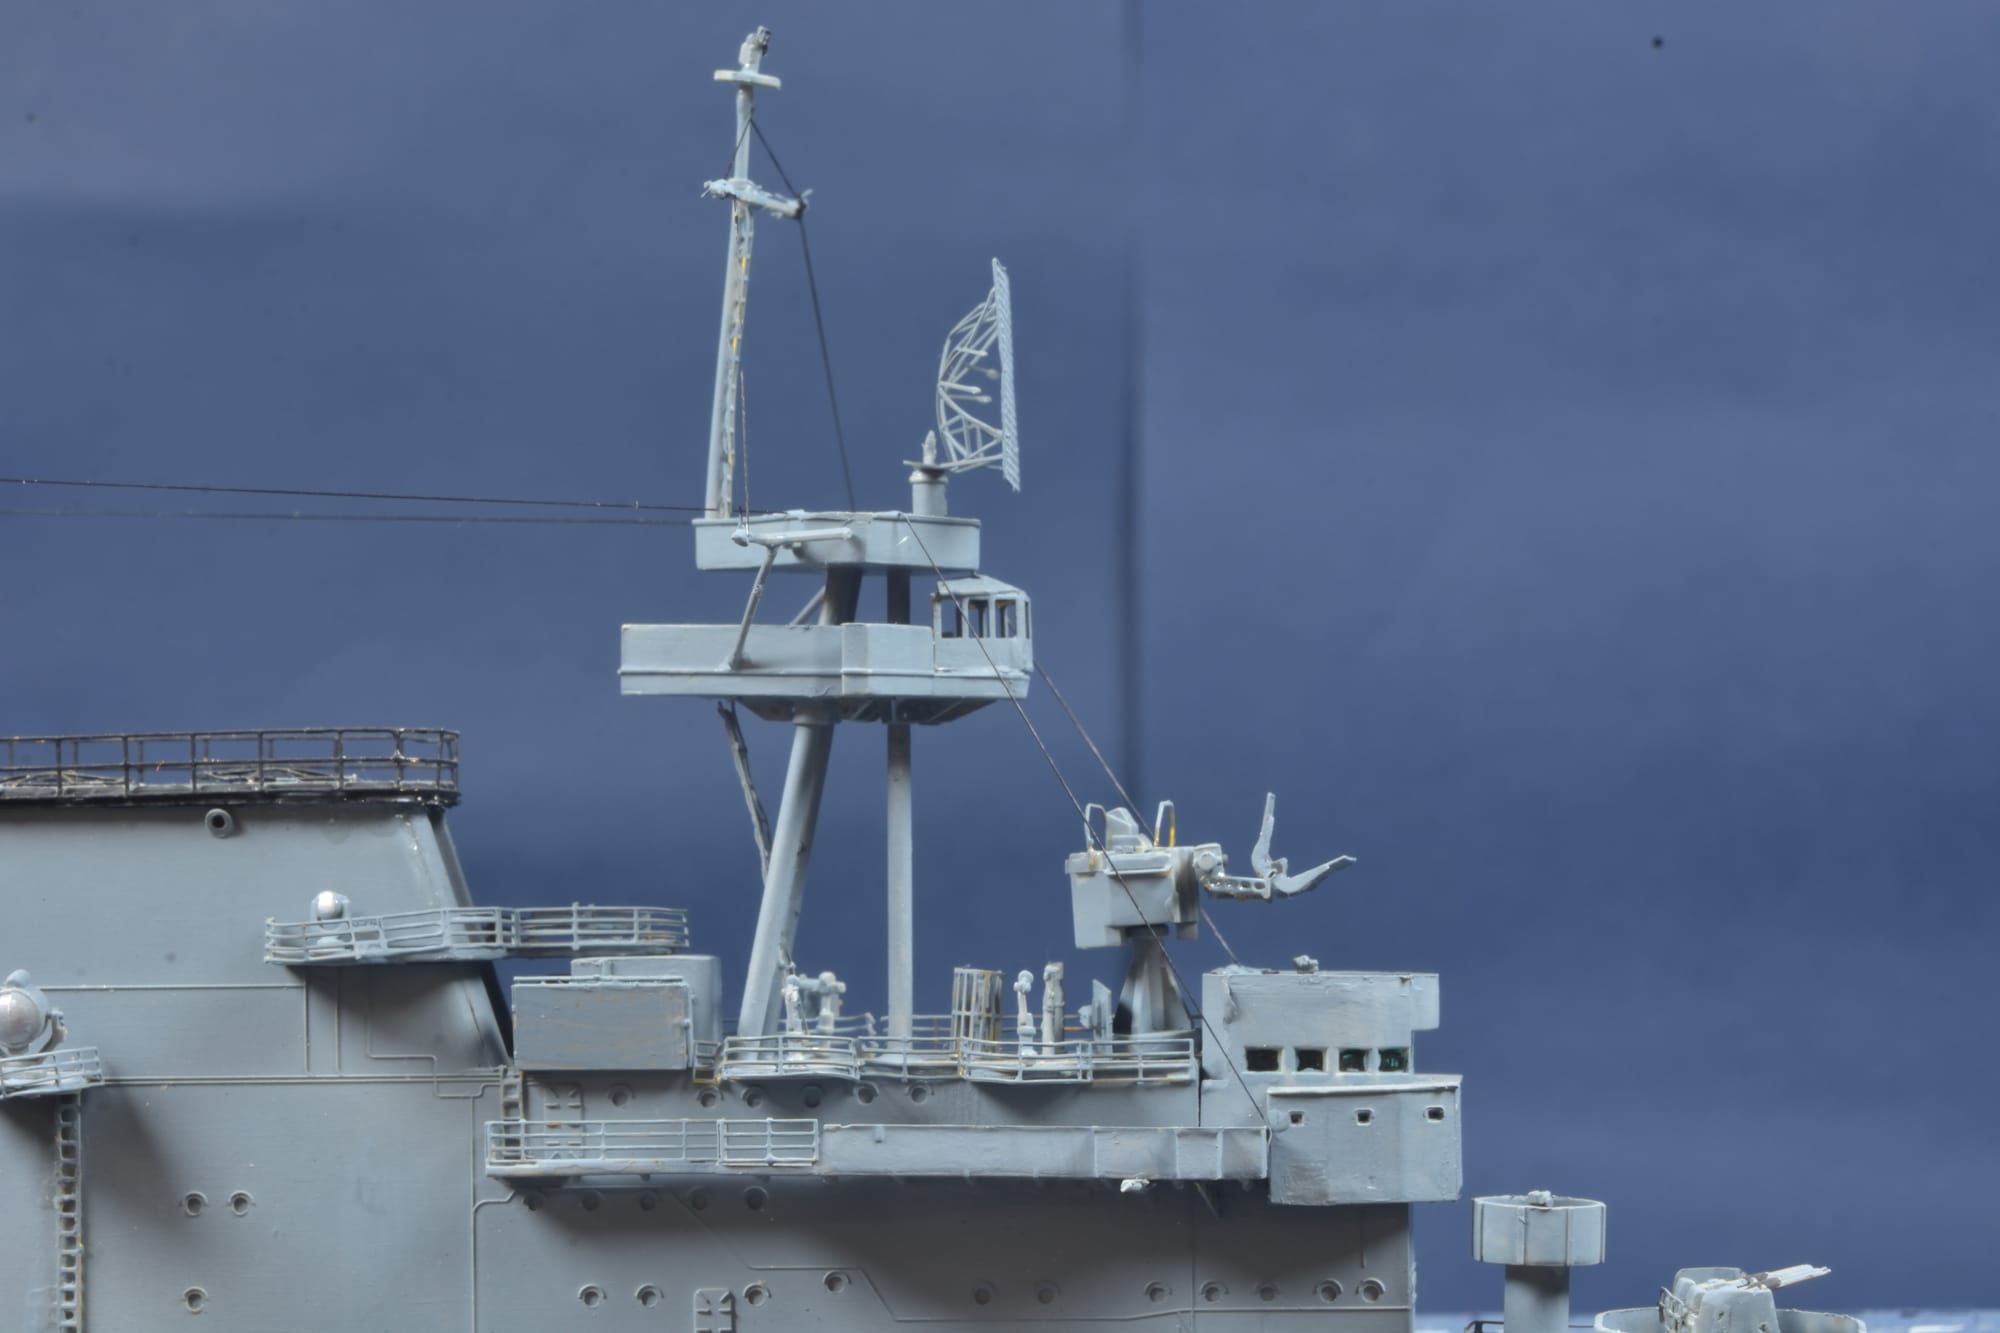
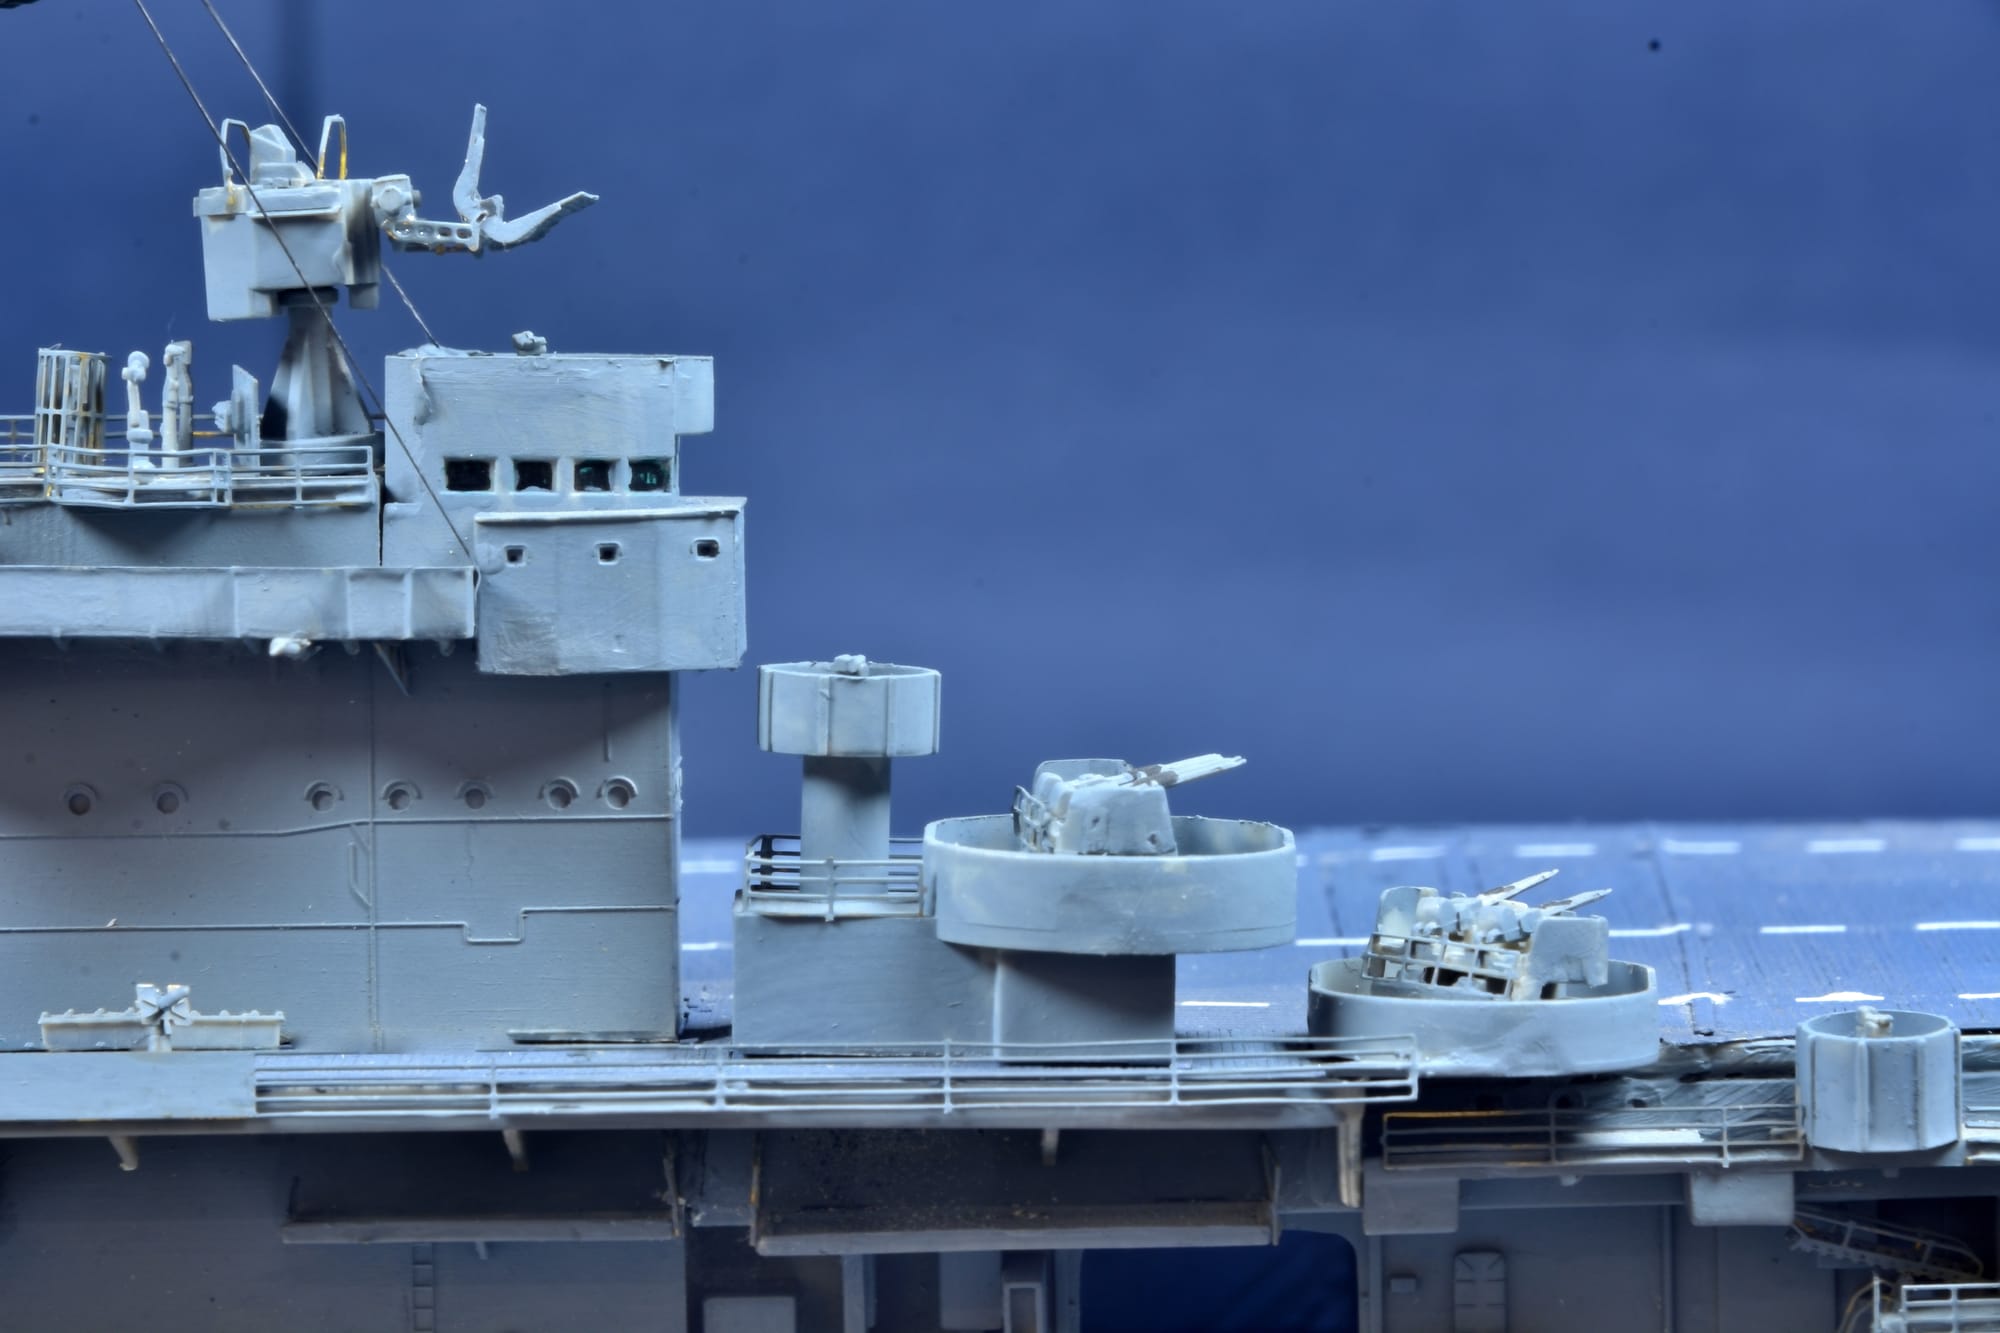
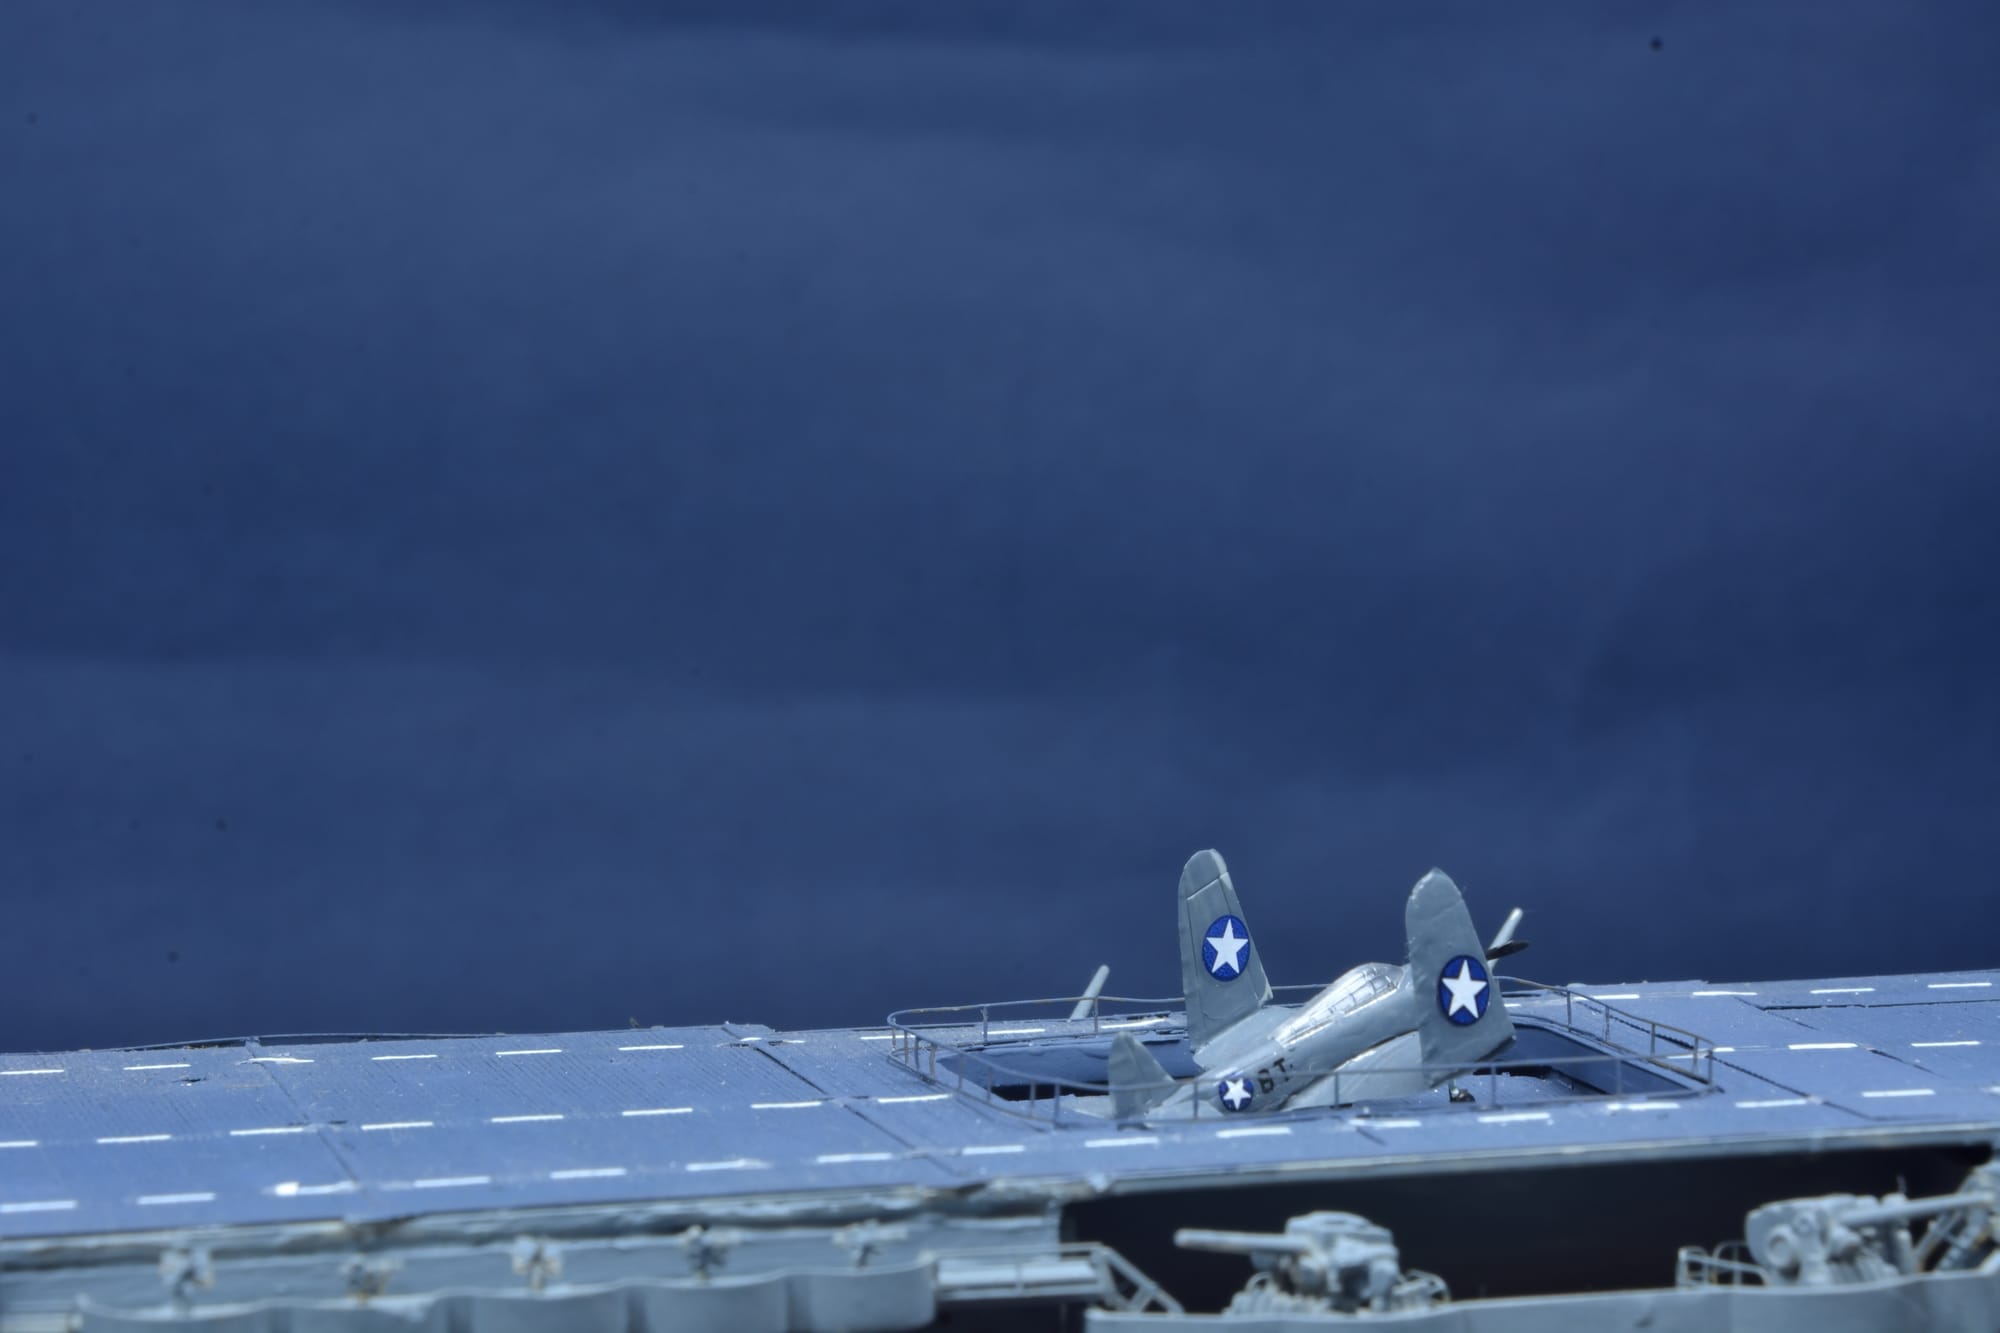
The model is from the I Love It (Trumpeter) 1:350 scale kit, representing the 1942 version. I added the wooden deck from Artwox and an extra 10 each of the three different aircraft. I also added interior lighting to make the aircraft in the hangar deck more visible. (Please see the Enterprise build photos in the Model Build Section)
